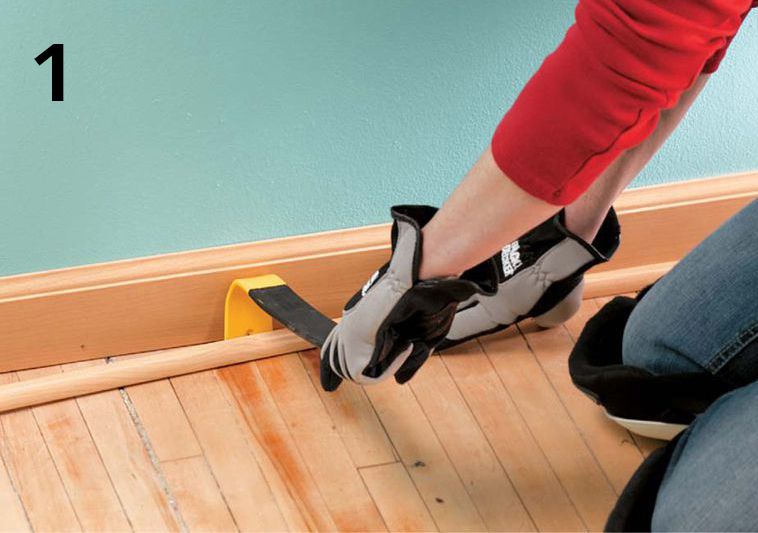

Wedge a pry bar between the shoe molding and baseboards. Move along the wall as nails loosen. Once removed, place a scrap 2 × 4 board against the wall and pry out baseboard at nails. Maintain the gap with wood shims. Number the sections for easy replacement. Place wide masking tape along the baseboards. Drive protruding nails in the floor 1/8" below the surface with a nail set.
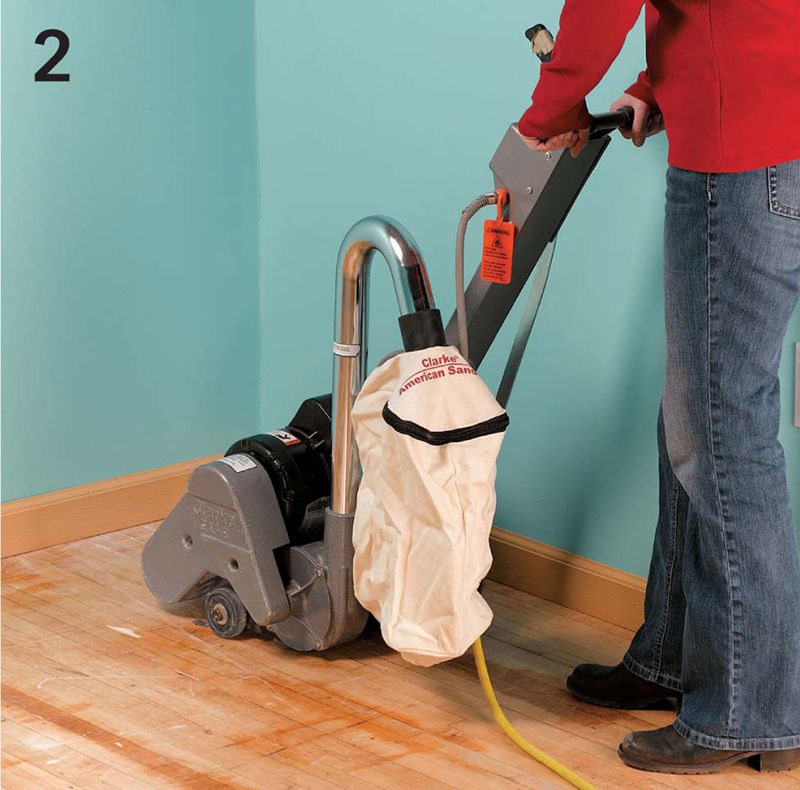
Practice with the drum sander turned off. Move forward and backward. Tilt or raise it off the floor a couple of times. A drum sander is heavy, bulky, and awkward. Once it touches the floor, it walks forward; if you stop it, it gouges the floor.
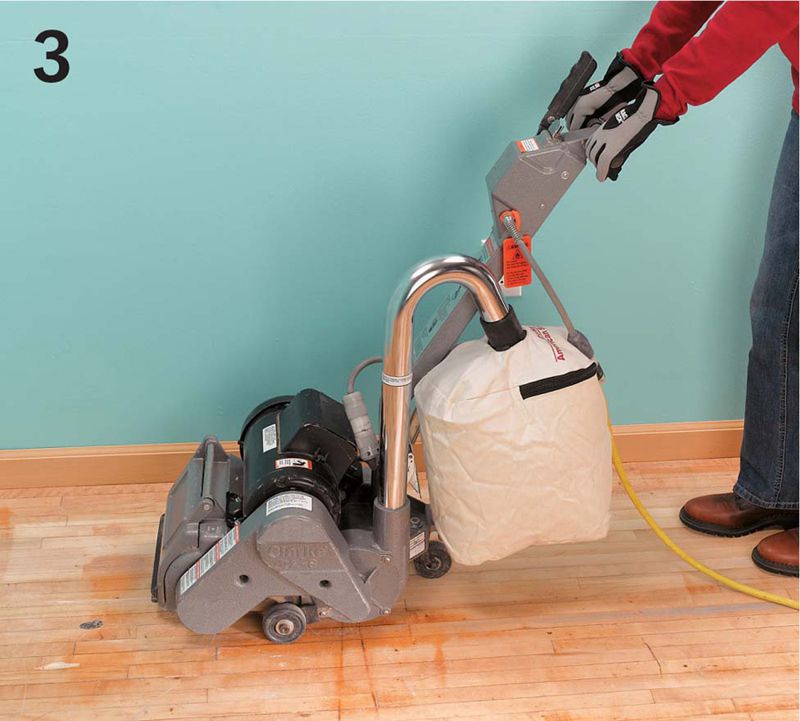
For the initial pass with the drum sander, sand with the grain using 40- or 60-grit paper; if there are large scratches, use 20 or 30. Start two-thirds down the room length on the right side; work your way to the left. Raise drum. Start motor. Slowly lower drum to floor. Lift the sander off the floor when you reach the wall. Move to the left 2 to 4" and then walk it backwards the same distance you just walked forward. Repeat.
When you get to the far left side of the room, turn the machine around and repeat the process. Overlap the sanded section two-thirds to feather out the ridgeline. Repeat the sanding process 3 or 4 more times using 120-grit sandpaper. Sand the entire floor. For the final passes, use finer sandpaper (150- to 180-grit) to remove scratches left by coarser papers.
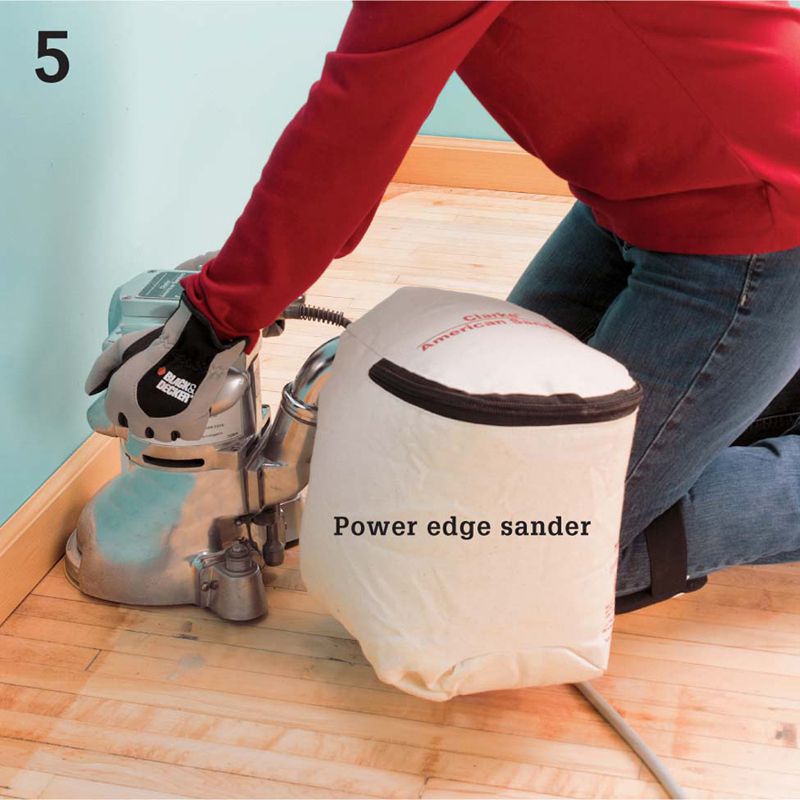
To sand hard-to-reach spots, first use a power edge sander along the walls, using the same grit that you last used with the drum sander. Make a succession of overlapping half-circles starting in the corner on one wall. Pull out in an arc and then swirl back to the wall. Continue around the room. Blend together any lines left by the drum and edge sanders by running a rotary buffer over the floor twice: first with an 80-grit screen and then with a 100-grit screen. Finally, use a 5" random orbital sander to smooth out the floor. The random motion naturally feathers out bumps.
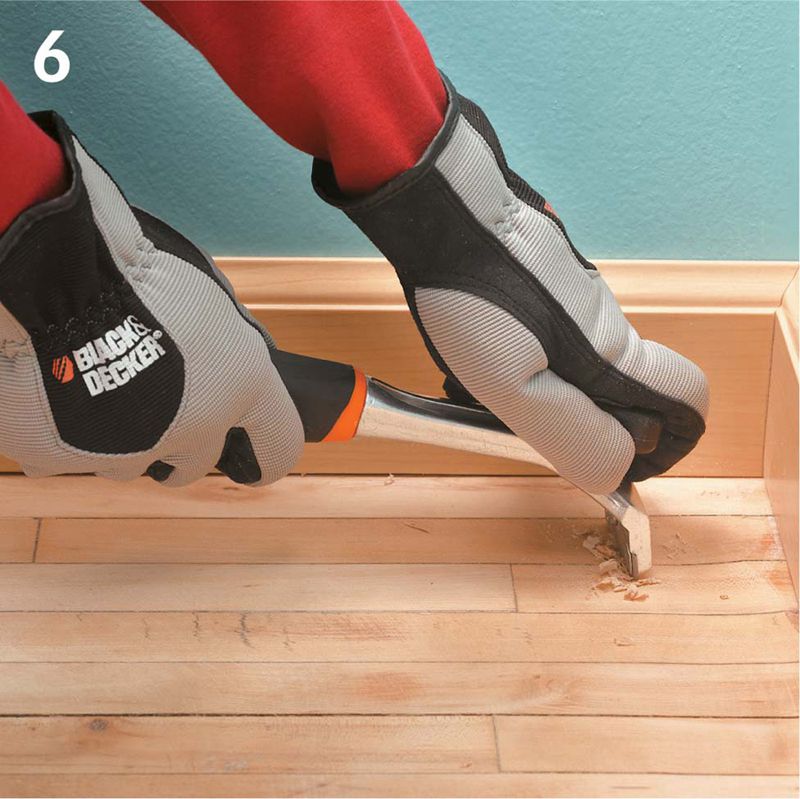
Use a paint scraper to get to corners and hard-to-reach nooks and crannies. Pull the scraper toward you with a steady downward pressure. Pull with the grain. Next, sand with a sanding block.

Prepare the room for finish by sweeping and vacuuming. Remove plastic on the doors, windows, and fixtures. Sweep and vacuum again. Wipe up fine particles with a tack cloth.
Apply polyurethane finish. Mix equal parts water-based polyurethane and water. Use a natural bristle brush to apply the mixture along walls and around obstacles. To apply the mixture in the middle of the room, use a painting pad on a pole. Apply 2 coats diagonally across the grain and a final coat in the direction of the grain.
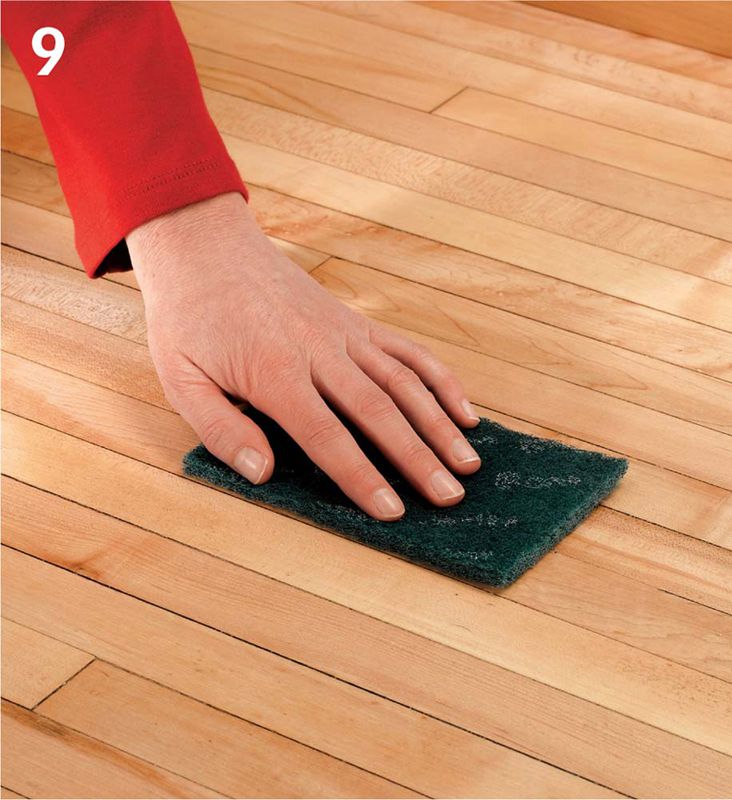
Allow the finish to dry after each coat. Lightly buff the floor with a fine to medium abrasive pad. Clean the floor with a damp cloth and wipe the area dry with a towel.
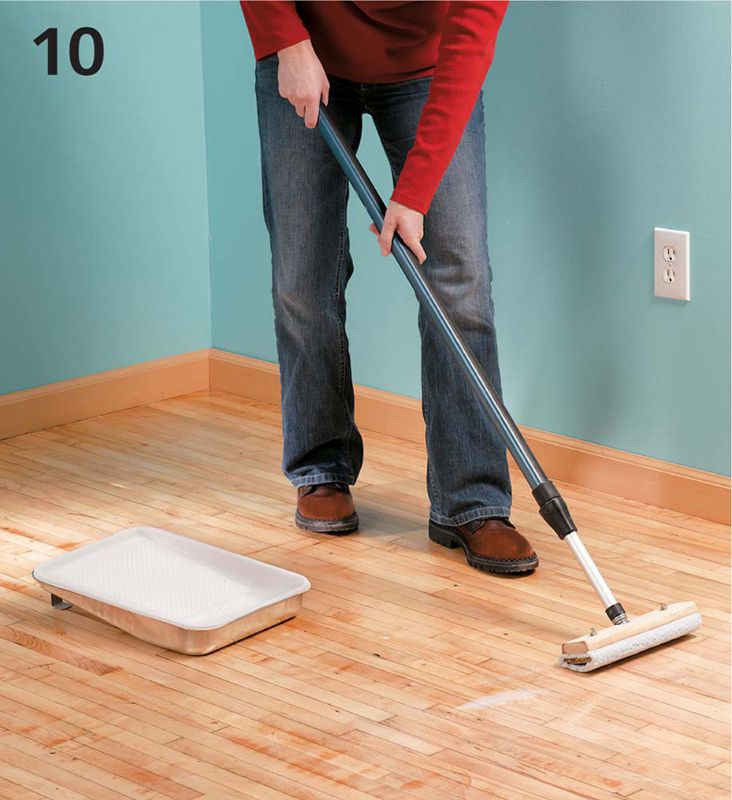
Apply at least two coats of undiluted polyurethane finish to get a hard, durable finish. Allow the finish to dry; repeat step 9 and then add a final coat. Do not overbrush.
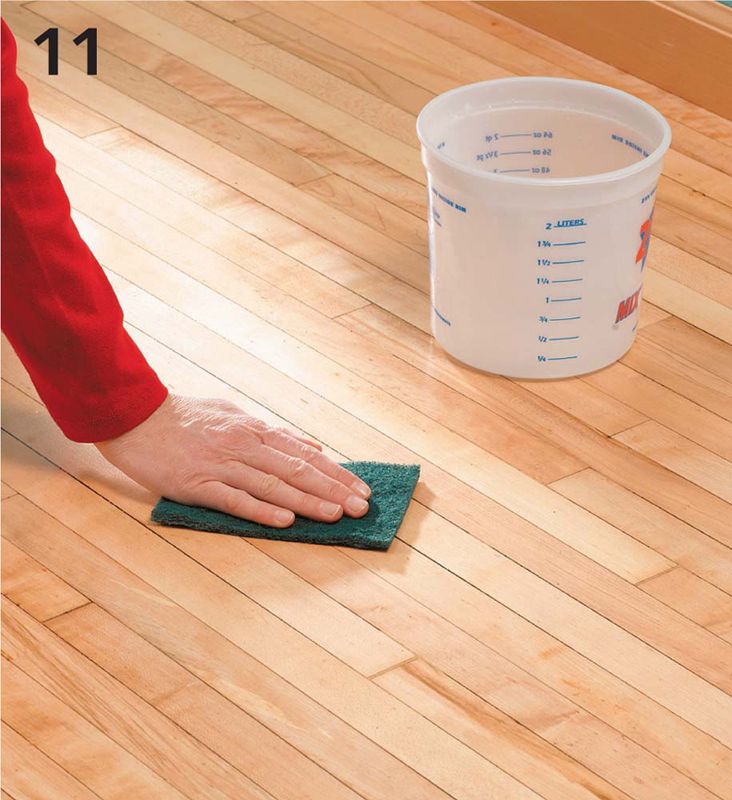
After the final coat is dry, buff the surface with water and a fine abrasive pad. This removes surface imperfections and diminishes gloss. After finishing, wait at least 72 hours before replacing the shoe molding.