Tools & Materials 
Hammer
Utility knife
Tape dispenser
Housewrap
Cap nails
Housewrap tape
Protective equipment
Housewrap is a specially engineered fabric that blocks air and water infiltration from the outside but allows moisture vapor to pass through from the inside. It’s best to apply the housewrap before installing windows and doors, but since that’s not always possible with a remodeling or siding replacement job, you can cut the housewrap to fit around them. Most siding materials need to be nailed to studs, and the marks on the housewrap identify their locations. Staples are permissible for fastening housewrap, but cap nails are recommended and have better holding power.
Felt paper is not the same as housewrap. It’s not necessarily designed to work as an air barrier, and it may absorb water. Do not substitute felt paper when housewrap is supposed to be used.

Make sure the stud marks on the housewrap are aligned with the wall studs.
 HOW TO INSTALL HOUSEWRAP
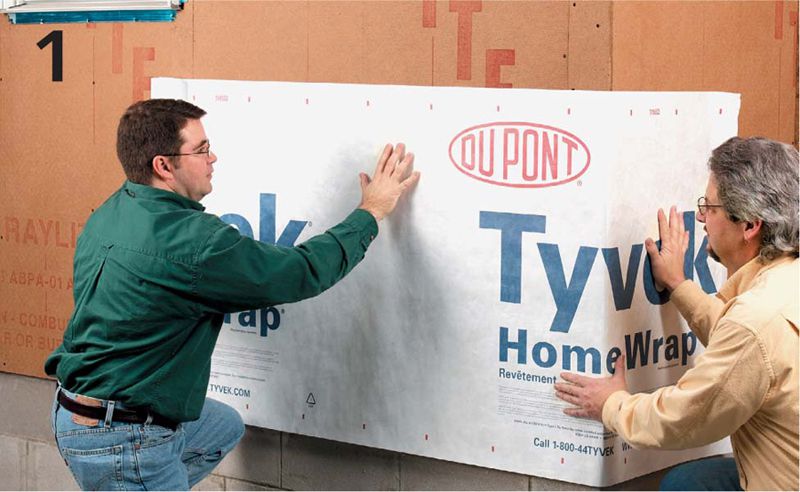
Starting 6 to 12" around a corner and 3" over the foundation to cover the sill plate, unroll the housewrap along the side of the house with the printed side facing out. Align the printed stud marks on the housewrap with the stud marks on the sheathing. Keep the roll straight as you unwrap it.

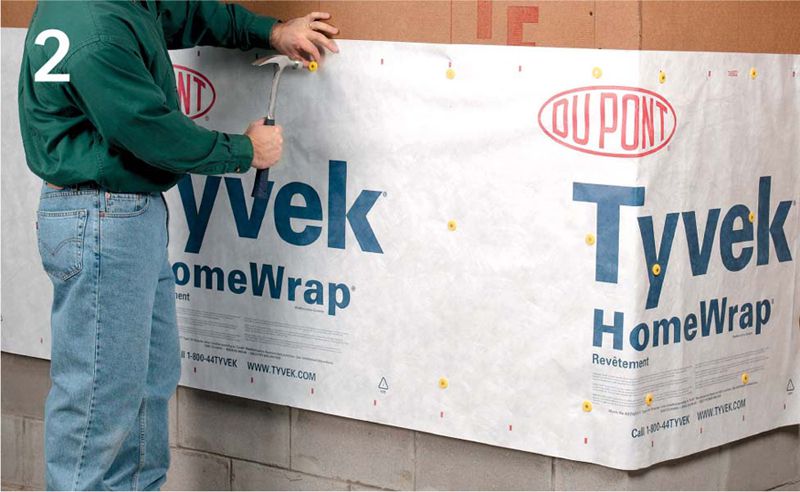
Nail the housewrap every 12 to 18" on the vertical stud lines using cap nails. Keep the housewrap pulled snug as it’s unrolled. Cut holes in the housewrap for extrusions such as hose spigots and the electric meter.

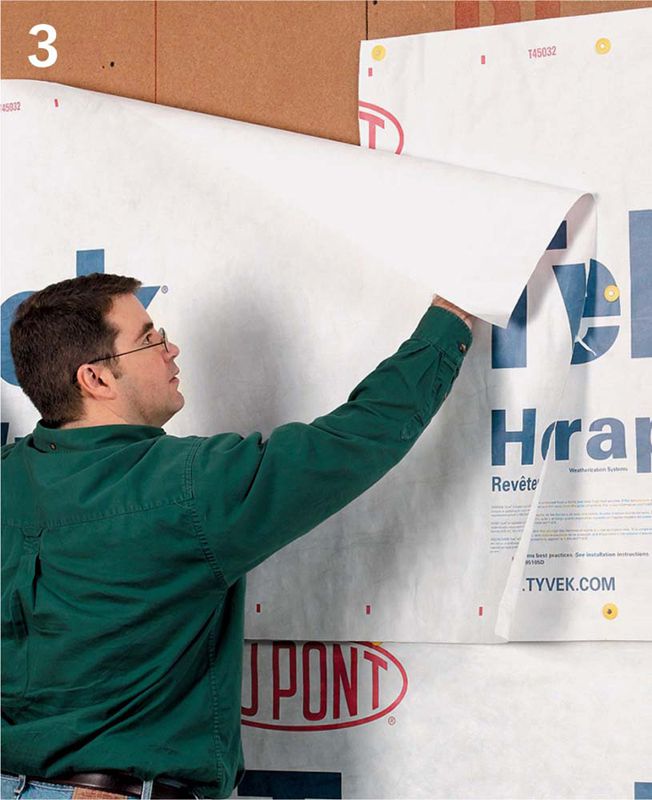
When starting a new roll, overlap vertical seams by 6 to 12", aligning the stud marks. Begin the second course by overlapping the bottom course by 6". Once again, make sure stud marks are lined up.

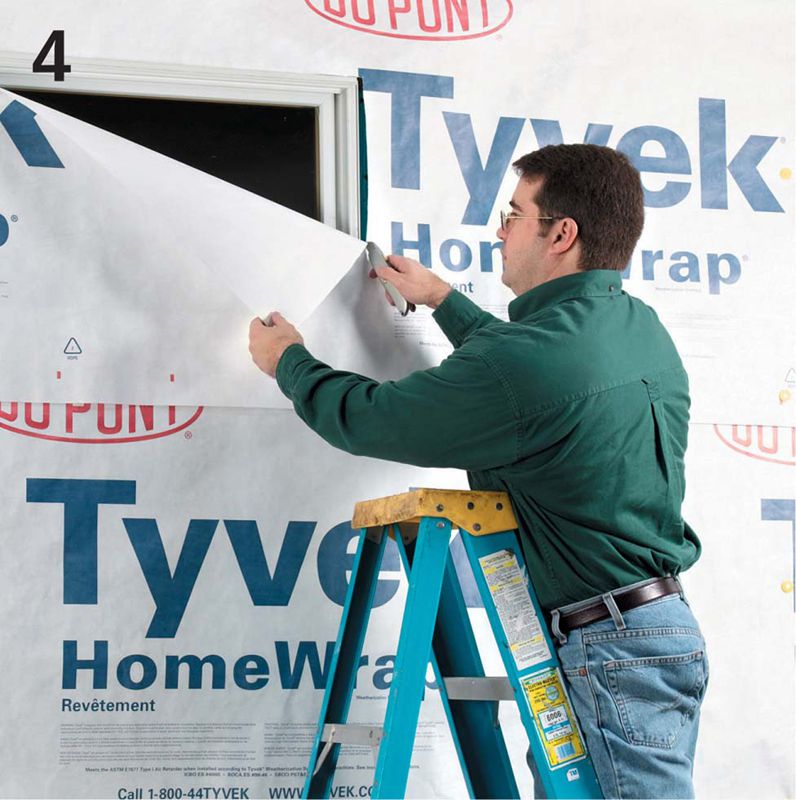
At window and door locations, cut the housewrap at the middle of the nailing flanges. At the bottom, cut the housewrap at the sill. Pull the sill and jamb flashing over the housewrap. Be careful not to slice the nailing flanges and windowsills when cutting the housewrap.

Tape all horizontal and vertical seams, accidental tears, and seams around doors, windows, and plumbing and electrical protrusions using housewrap tape. Tape the bottom of the protrusion first, then the sides, then place a piece of tape over the top.