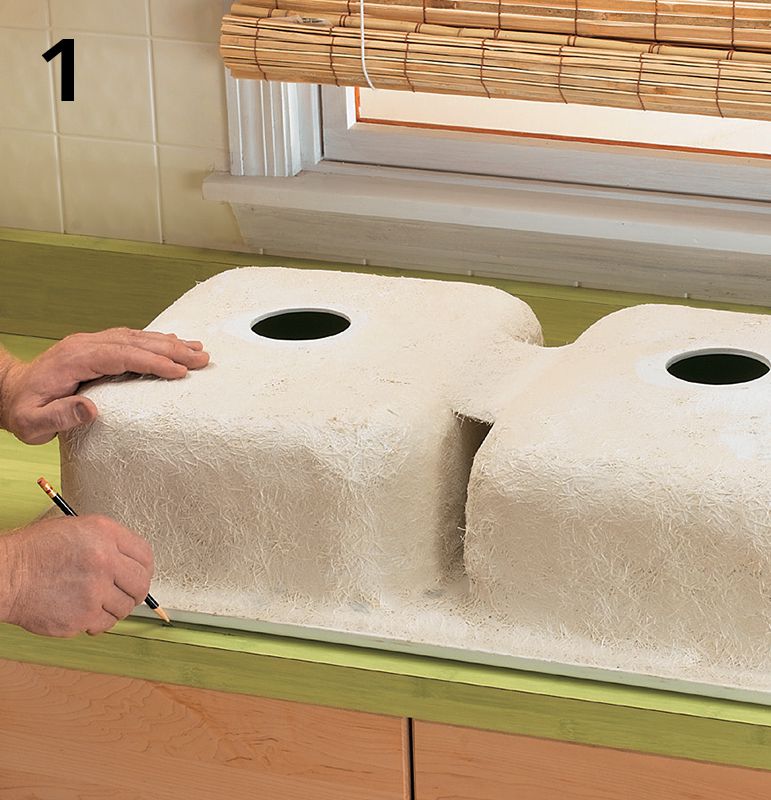
Invert the sink and trace around the edges as a reference for making the sink cutout cutting lines, which should be parallel to the outlines, but about 1" inside of them to create a 1" ledge. If your sink comes with a template for the cutout, use it.
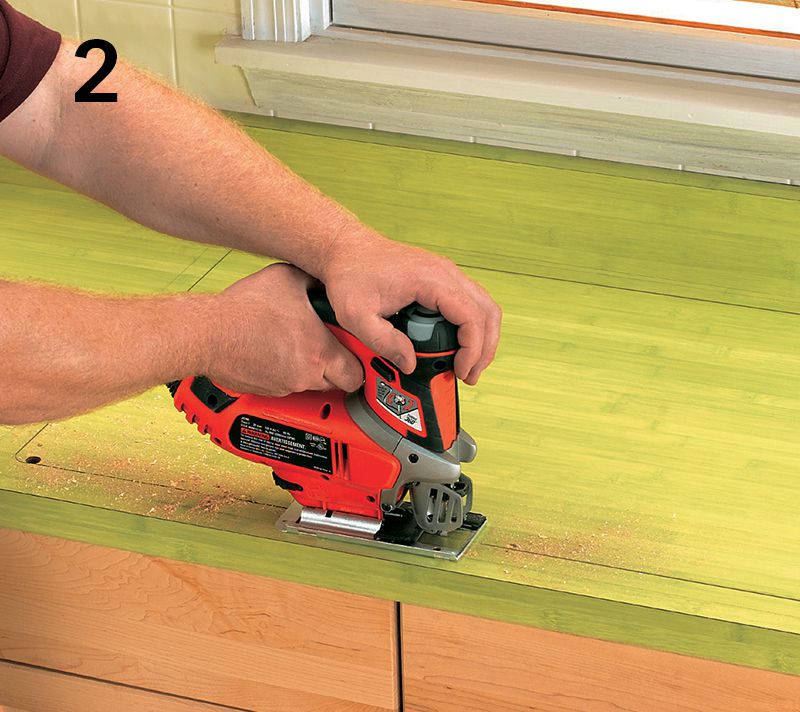
Drill a starter hole and cut out the sink opening with a jigsaw. Cut right up to the line. Because the sink flange fits over the edges of the cutout, the opening doesn’t need to be perfect, but as always you should try to do a nice, neat job.
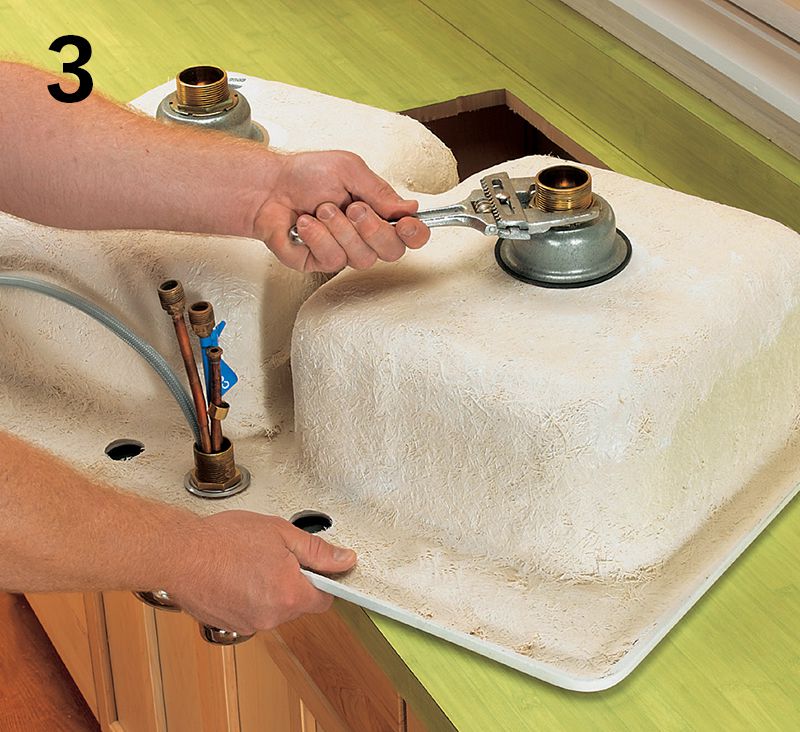
Attach as much of the plumbing as makes sense to install prior to setting the sink into the opening. Having access to the underside of the flange is a great help when it comes to attaching the faucet body, sprayer, and strainer, in particular.
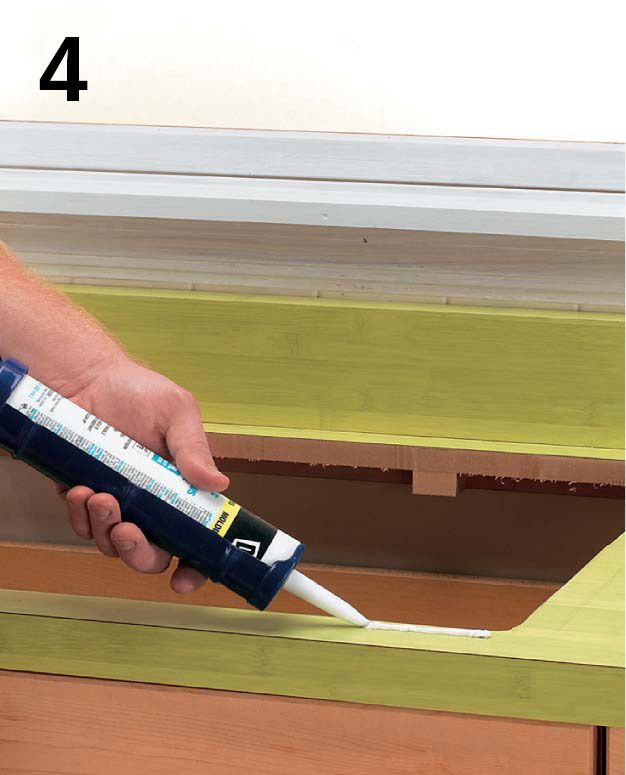
Apply a bead of silicone caulk around the edges of the sink opening. The sink flange most likely is not flat, so try and apply the caulk in the area that will make contact with the flange.
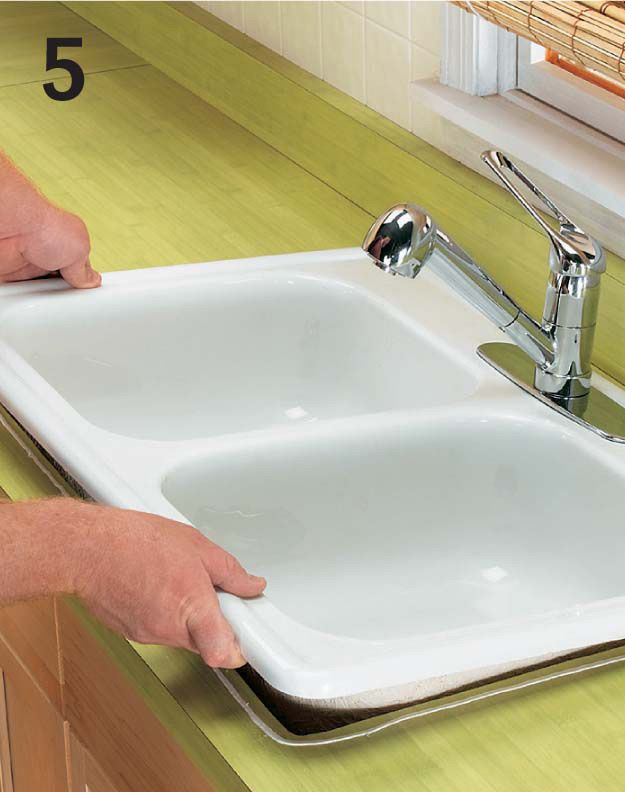
Place the sink in the opening. Try to get the sink centered right away so you don’t need to move it around and disturb the caulk, which can break the seal. If you are installing a heavy cast-iron sink, it’s best to leave the strainers off so you can grab onto the sink at the drain openings.
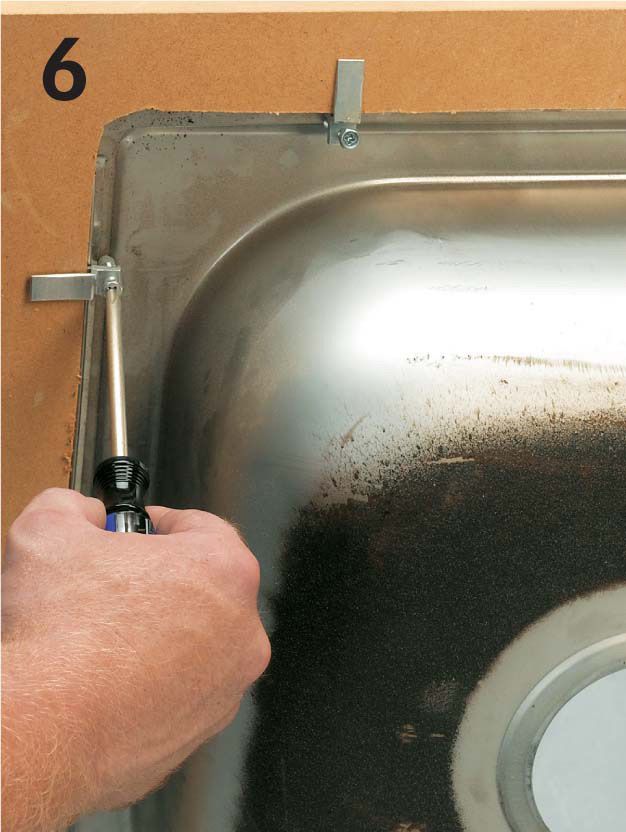
For sinks with mounting clips, tighten the clips from below using a screwdriver or wrench (depending on the type of clip your sink has). There should be at least three clips on every side. Don’t overtighten the clips—this can cause the sink flange to flatten or become warped.