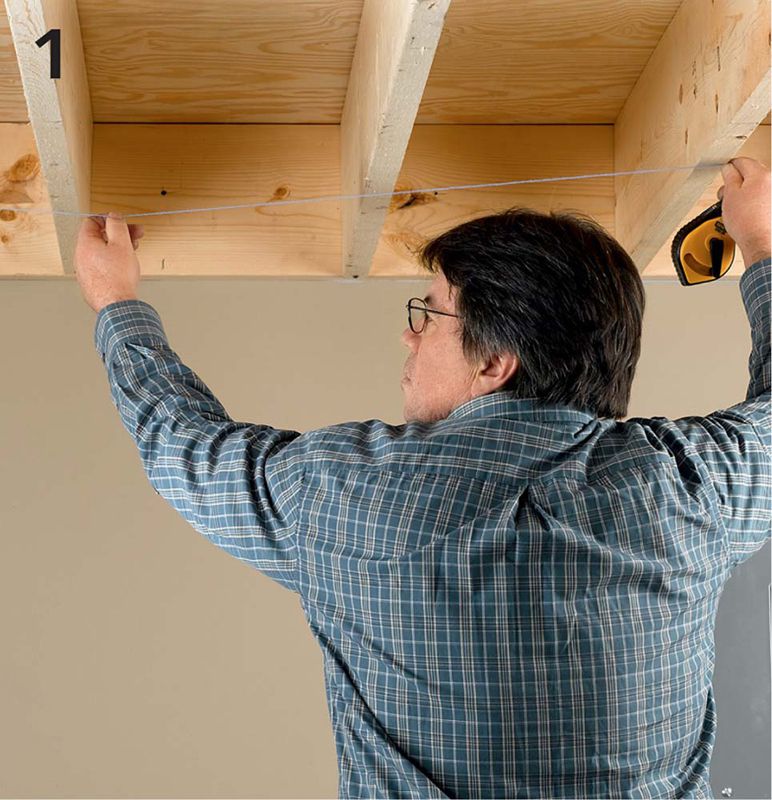
Mark the location for the light canister. If you are installing multiple lights, measure out from the wall at the start and end of the run, and connect them with a chalkline snapped parallel to the wall. If the ceiling is finished with a surface (wallboard), see next page.
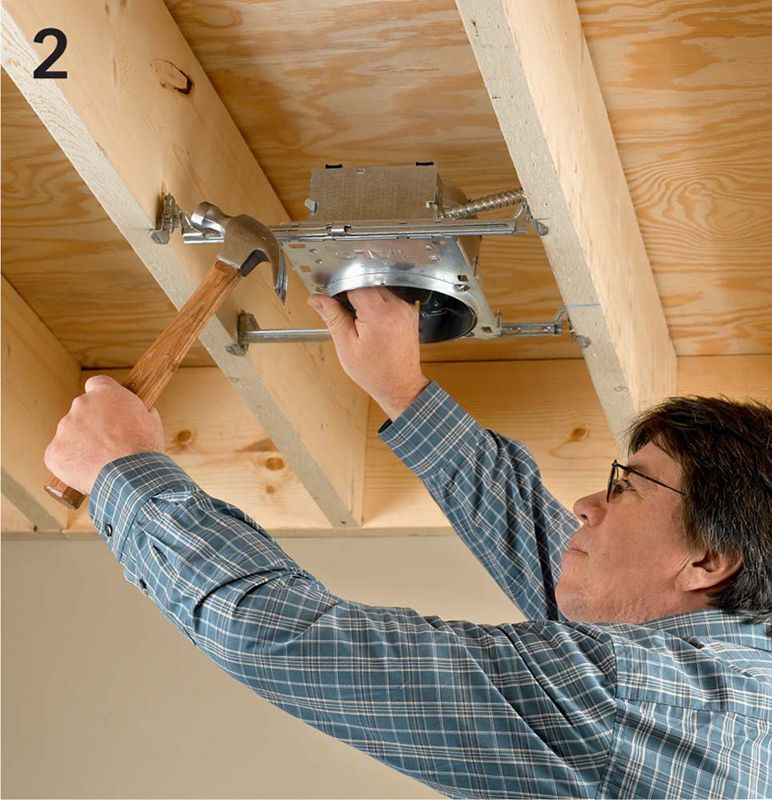
Install the housing for the recessed fixture. Housings for new construction (or remodeling installations where the installation area is fully accessible from either above or below) have integral hanger bars that you attach to the each joist in the joist bay.
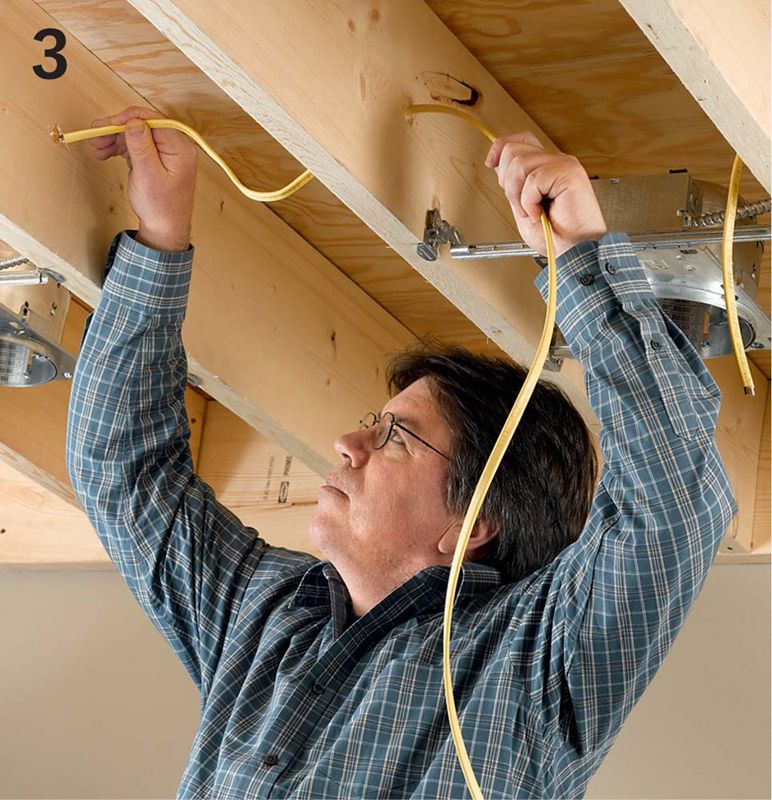
Run electric cable from the switch to each canister location. Multiple lights are generally installed in series so there is no need to make pigtail connections in the individual boxes. Make sure to leave enough extra cable at each location to feed the wire into the housing and make the connection.
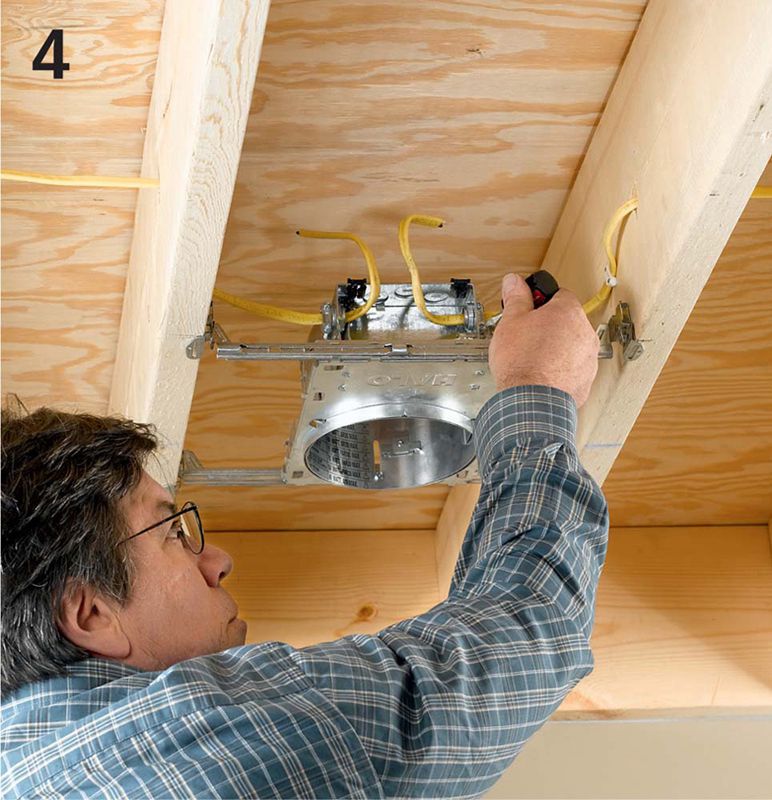
Run the feeder cables into the electrical boxes attached to the canister housings. You’ll need to remove knockouts first and make sure to secure the cable with a wire staple within 8″ of the entry point to the box.
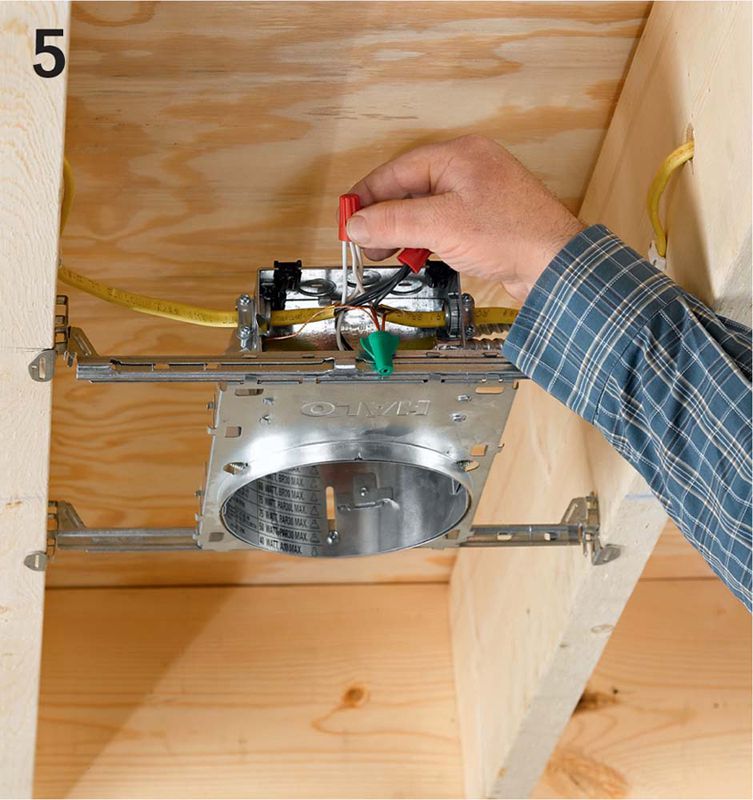
Connect the feeder wires to the fixture wires inside the junction box. Twist the hot lead together with the black fixture wire, as well as the black lead to other fixtures further downline. Also connect the neutral white wires. Join the ground wires and pigtail them to the grounding screw or clip in the box. Finish the ceiling, as desired.

Attach your trim kit of choice. Normally, these are hung with torsion spring clips from notches or hooks inside the canister. This should be done after the ceiling is installed and finished for new construction projects. With certain types of trim kits, such as eyeball trim, you’ll need to install the light bulb before the trim kit.
 HOW TO CONNECT A RECESSED FIXTURE CAN IN A FINISHED CEILING
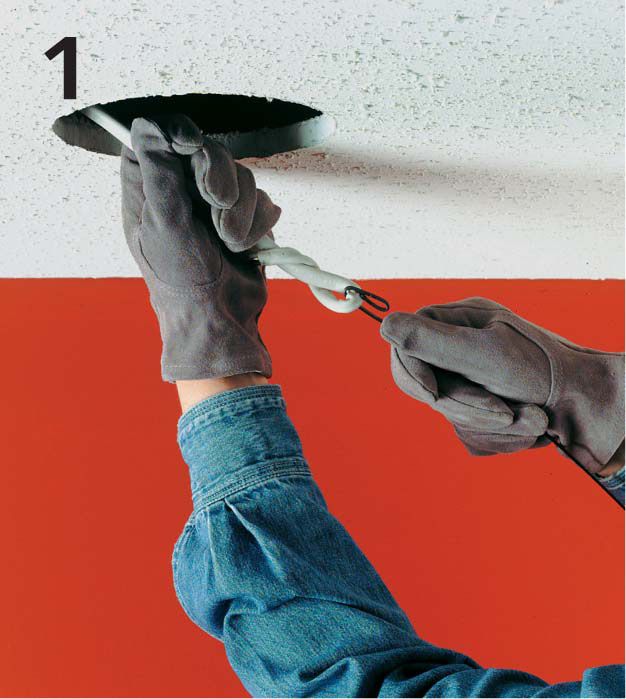
Make the hole for the can. Most fixtures will include a template for sizing the hole. Fish 14/2 cable from the switch location to the hole. Pull about 16″ of cable out of the hole for making the connection.
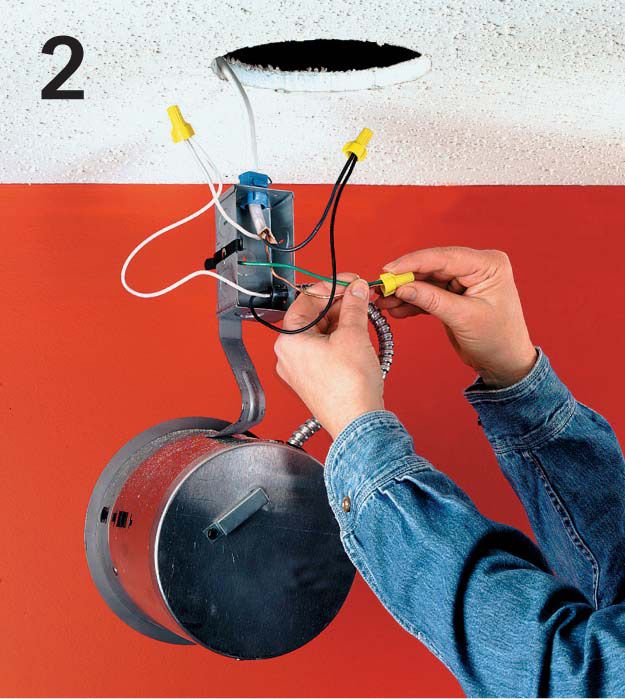
Remove a knockout from the electrical box attached to the can. Thread the cable into the box; secure it with a cable clamp. Remove sheathing insulation. Connect the black fixture wire to the black circuit wire, the white fixture wire to the white circuit wire, and then connect the ground wire to the grounding screw or grounding wire attached to the box.
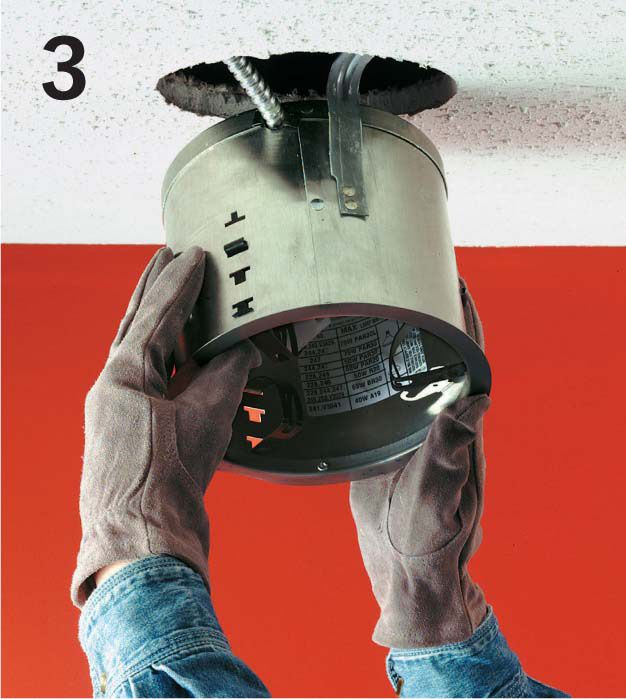
Retrofit cans secure themselves in the hole with spring-loaded clips. Install the can in the ceiling by depressing the mounting clips so the can will fit into the hole. Insert the can so that its edge is tight to the ceiling. Push the mounting clips back out so they grip the drywall and hold the fixture in place. Install the trim piece.