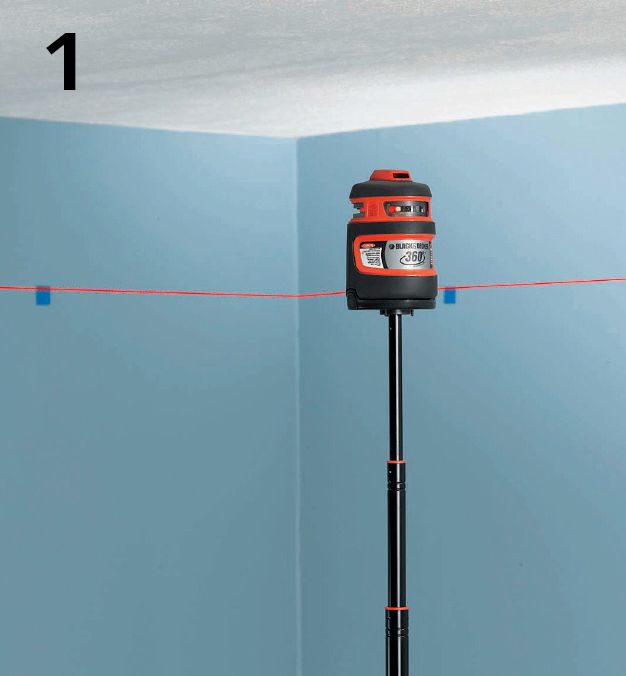
Measure down the desired distance from the ceiling and draw a level reference line around the room using a pencil and a 4-ft. level or use a laser level. Use a stud finder to locate the framing members, and mark the locations on the walls with blue painter’s tape.
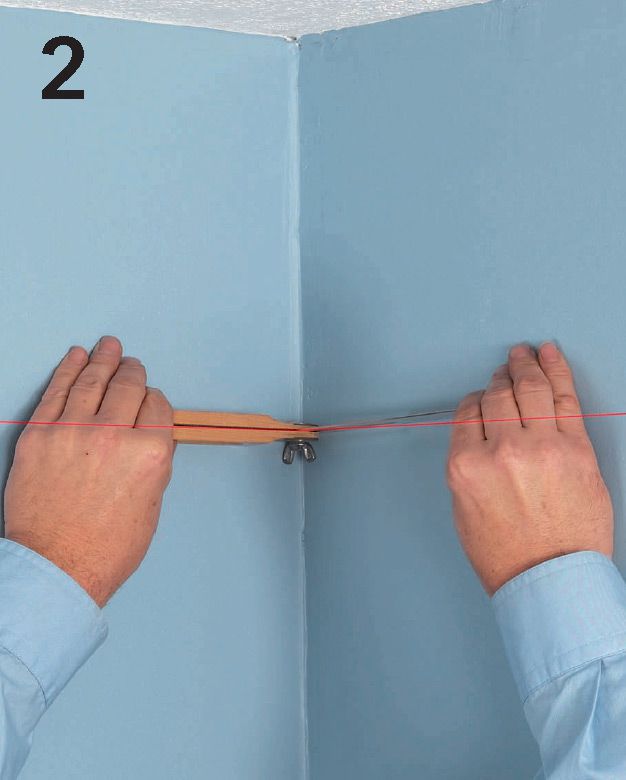
Use a T-bevel to measure the angle of the corner, tightening the lock nut with the blade and the handle on the reference line. Place the T-bevel on the table of your power miter saw and adjust the miter blade so that it matches the angle.
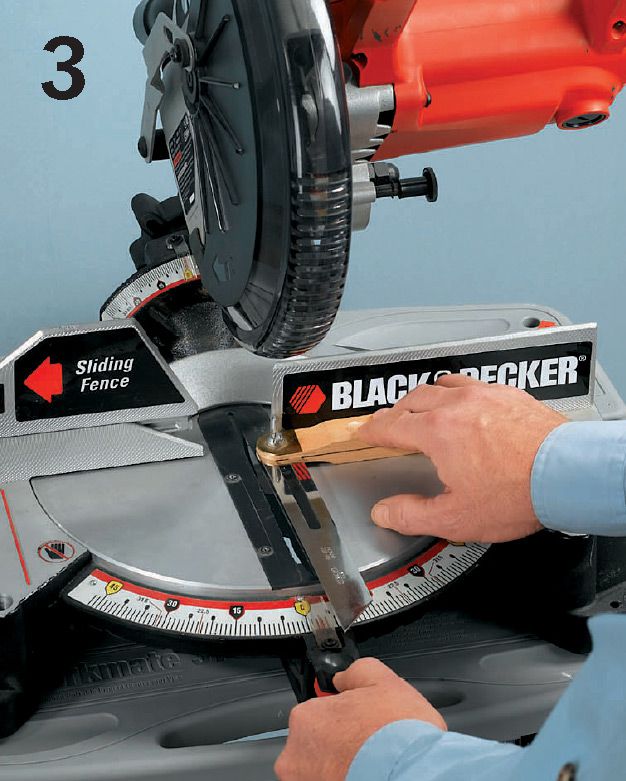
Calculate the cutting angle. First, adjust the saw blade so it is parallel to the arm of the T-bevel when the handle is flush against the saw fence. Note the number of degrees, if any, away from zero that the blade location reads. Subtract this number from 180 and divide by 2; this is your cutting angle.
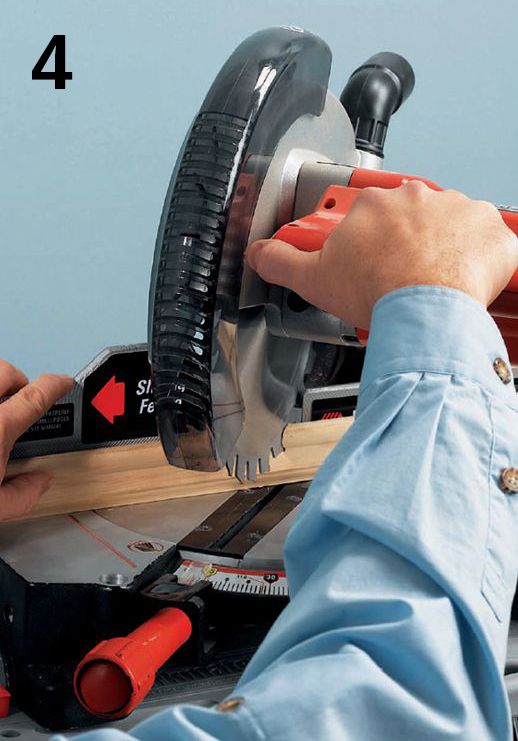
Cut both mating parts at the same bevel angle, arrived at in step 3. When cutting picture rail, the molding should be positioned with the bottom edge resting on the table and the back face flat against the saw fence.
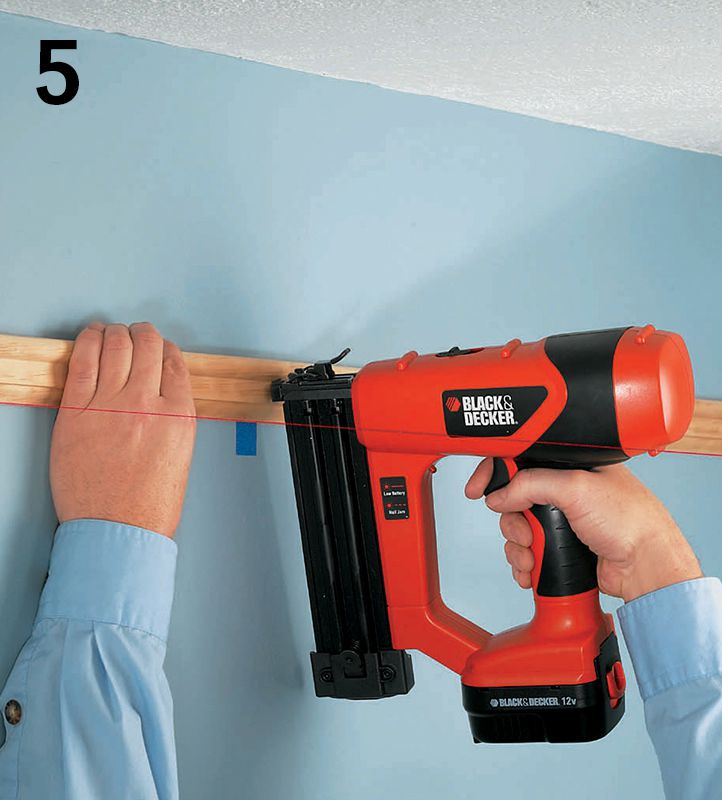
Nail the molding at the stud locations covering the level line around the room (if you’re using a laser level, you simply keep it in position and turned on to cast a reference line you can follow). After each molding is completely nailed in place, go back to each stud location and drive 1 5/8" drywall screws into the molding through counter-bored pilot holes.
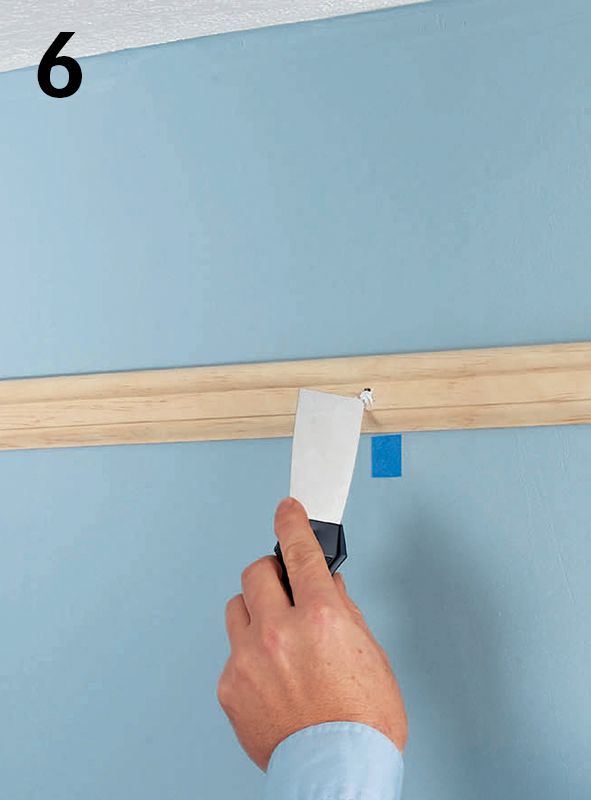
Fill nail holes with wood filler. Let the filler dry and sand it smooth. Then apply a final coat of paint over the molding face.