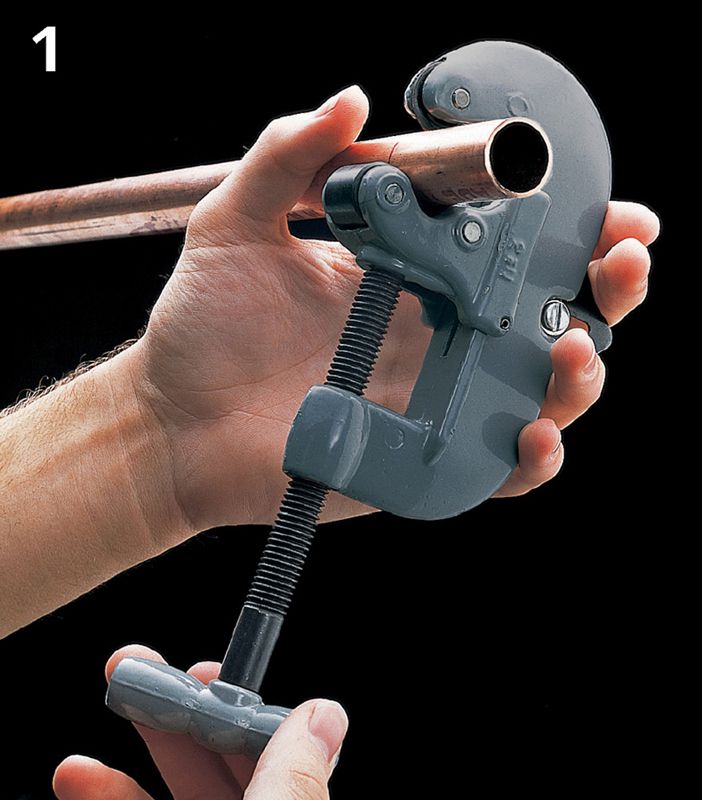
Place the tubing cutter over the pipe and tighten the handle so that the pipe rests on both rollers and the cutting wheel is on the marked line.
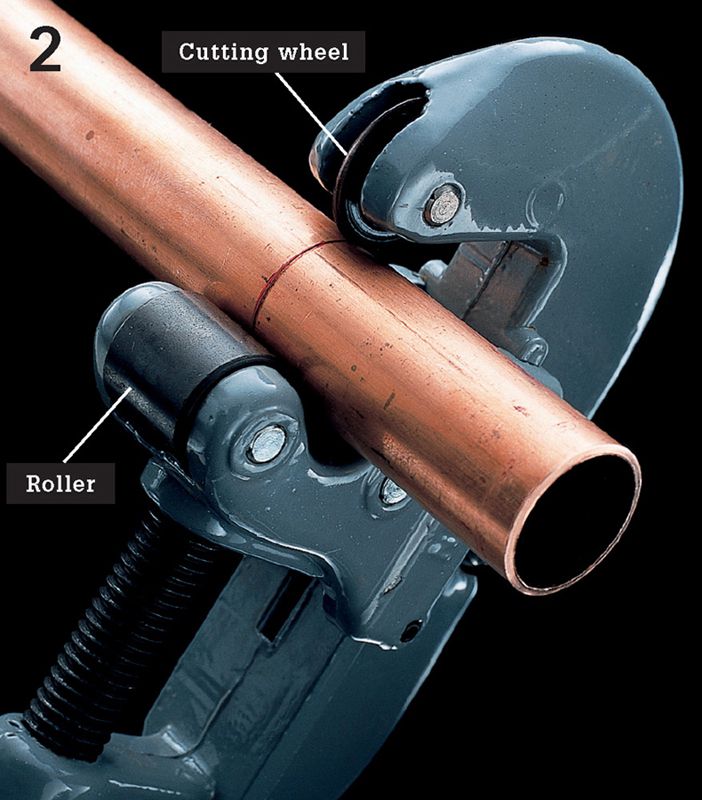
Turn the tubing cutter one rotation so that the cutting wheel scores a continuous straight line around the pipe.
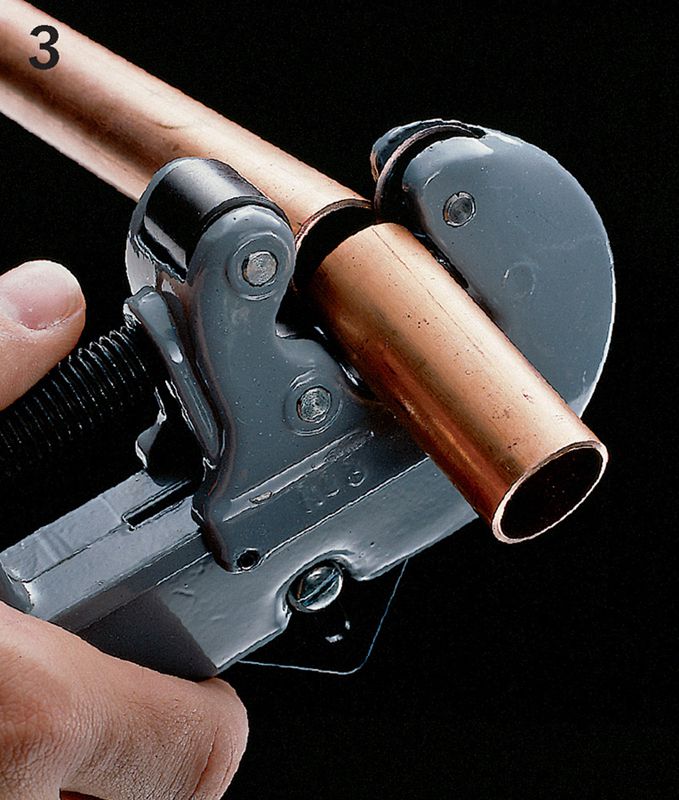
Rotate the cutter in the opposite direction, tightening the handle slightly after every two rotations, until the cut is complete.
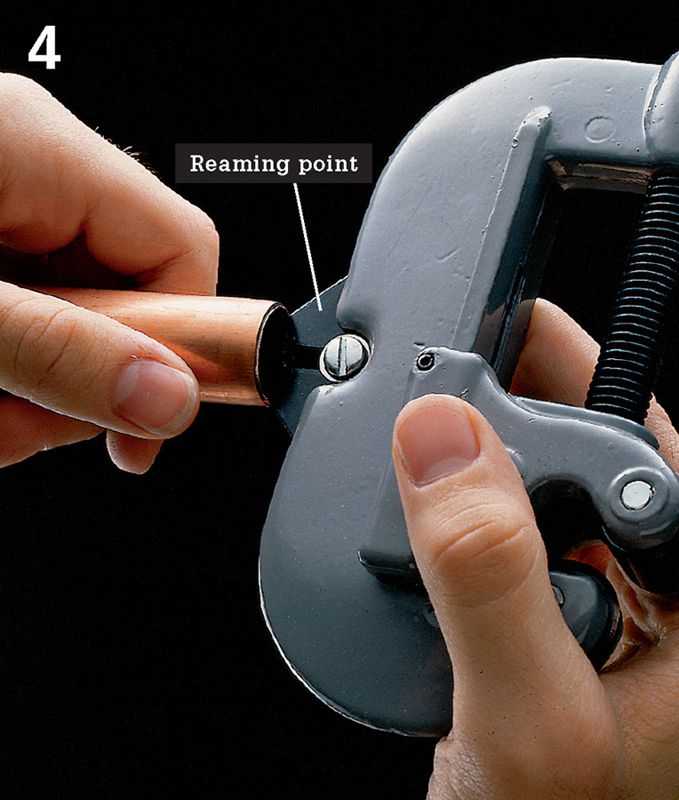
Remove sharp metal burrs from the inside edge of the cut pipe, using the reaming point on the tubing cutter, or a round file.
 HOW TO SOLDER COPPER PIPES & FITTINGS
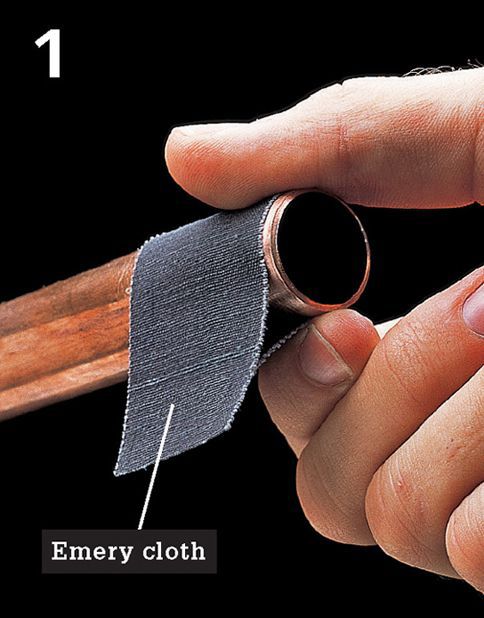
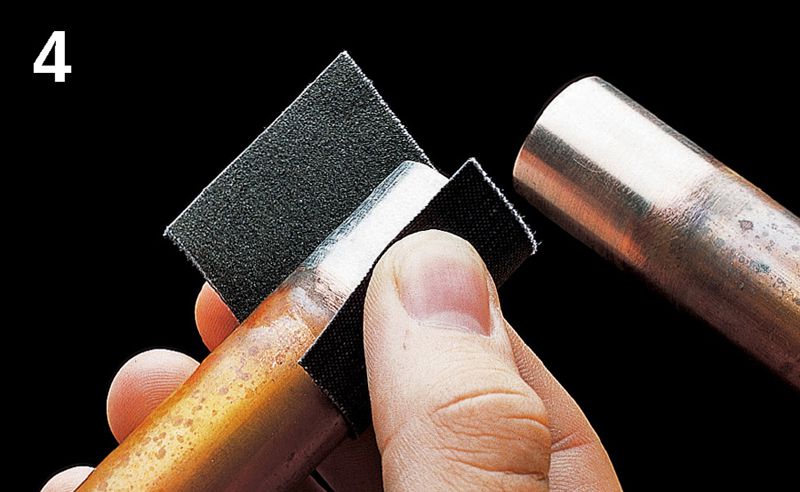
Clean the end of each pipe by sanding with emery cloth. Ends must be free of dirt and grease to ensure that the solder forms a good seal.
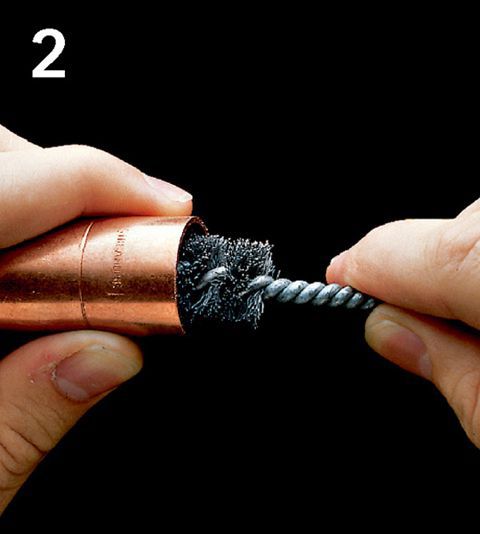
Clean the inside of each fitting by scouring with a wire brush or emery cloth.
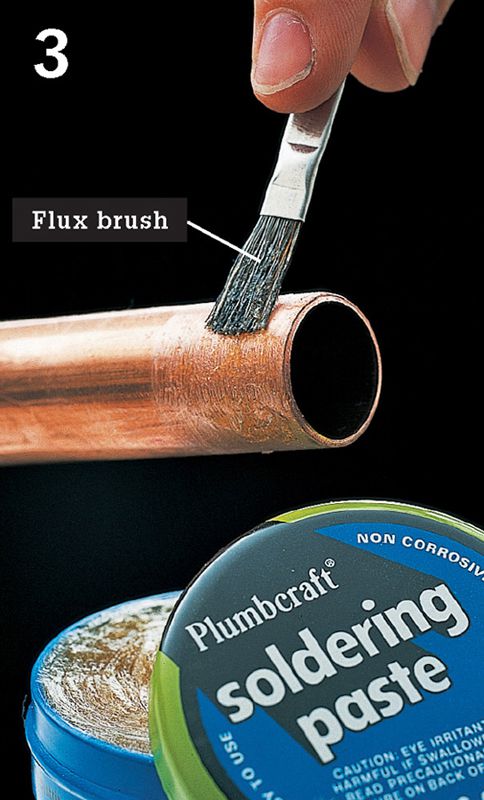
Apply a thin layer of soldering paste (flux) to end of each pipe, using a flux brush. Soldering paste should cover about 1" of pipe end.
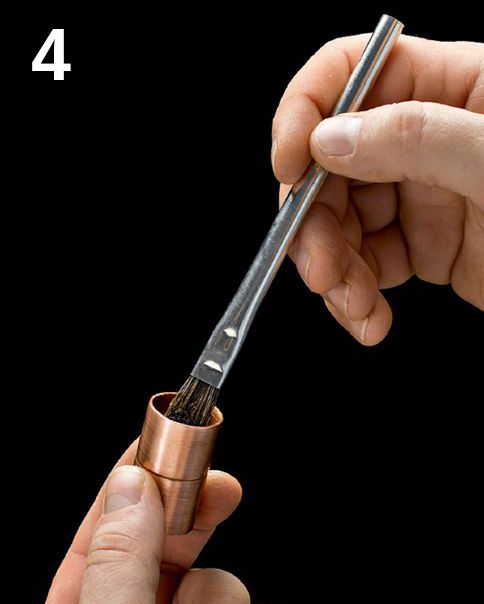
Apply a thin layer of flux to the inside of the fitting.
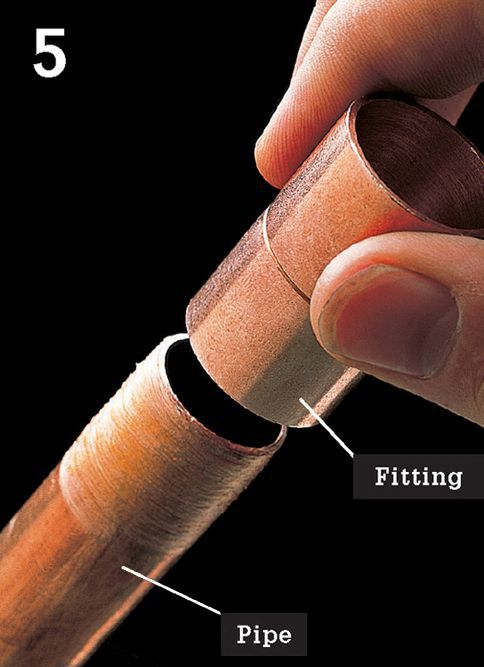
Assemble each joint by inserting the pipe into the fitting so it is tight against the bottom of the fitting sockets. Twist each fitting slightly to spread soldering paste.

Use a clean dry cloth to remove excess flux before soldering the assembled fitting.
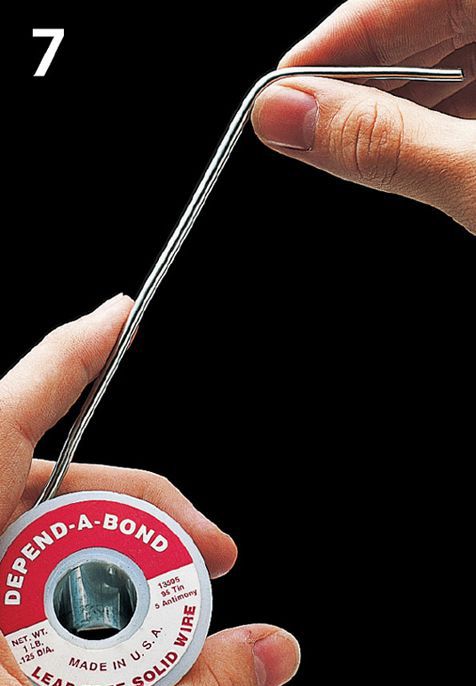
Prepare the wire solder by unwinding 8" to 10" of wire from spool. Bend the first 2" of the wire to a 90° angle.
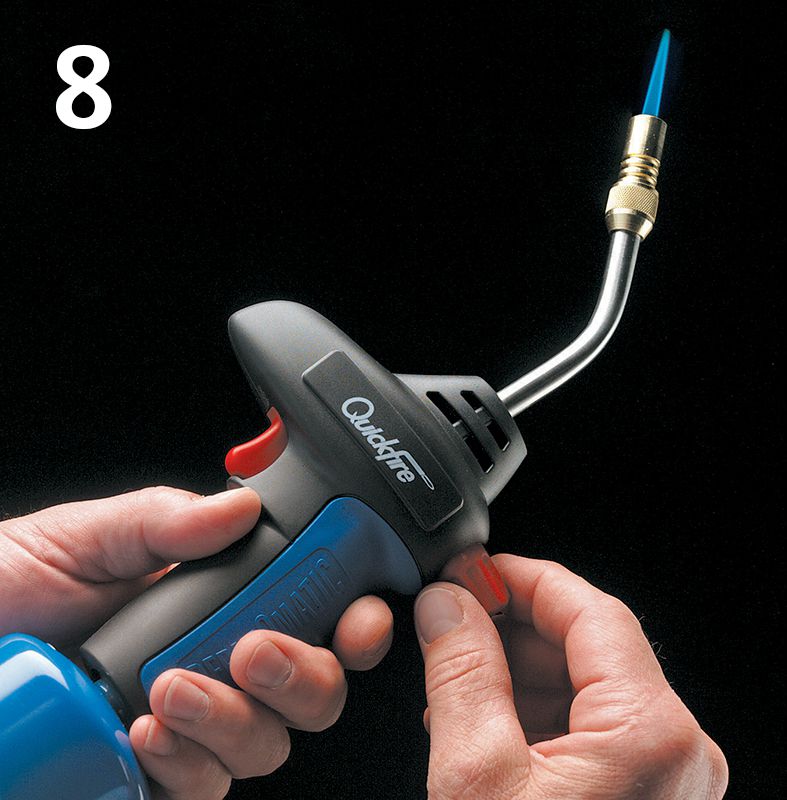
Open the gas valve and trigger the spark lighter to ignite the torch. Adjust the torch valve until the inner portion of the flame is 1" to 2" long.
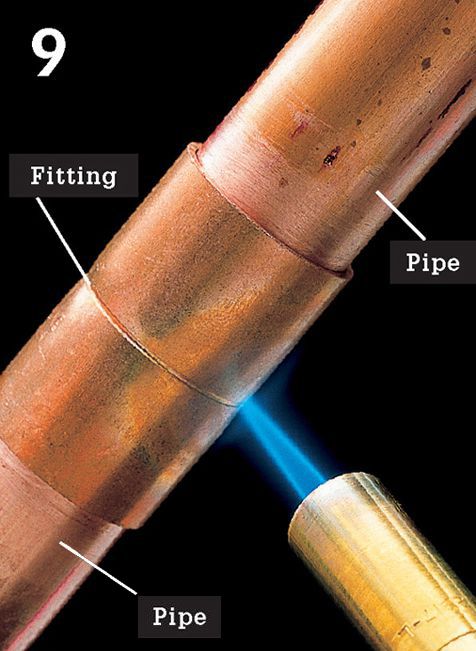
Move the torch flame back and forth and around the pipe and the fitting to heat the area evenly.
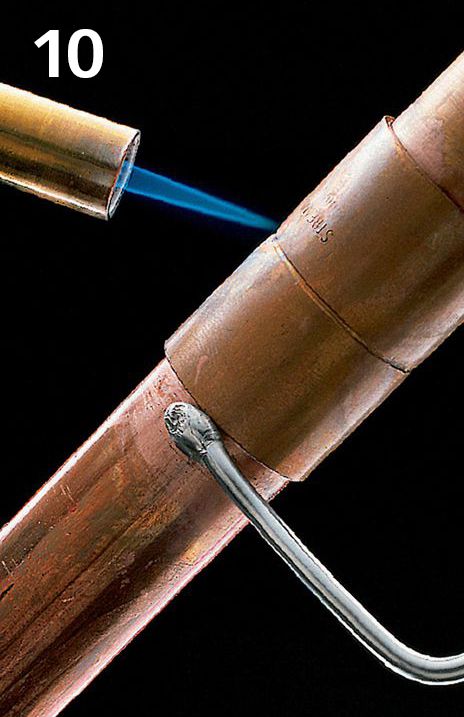
Heat the other side of the copper fitting to ensure that heat is distributed evenly. Touch solder to pipe. Solder will melt when the pipe is at the right temperature.
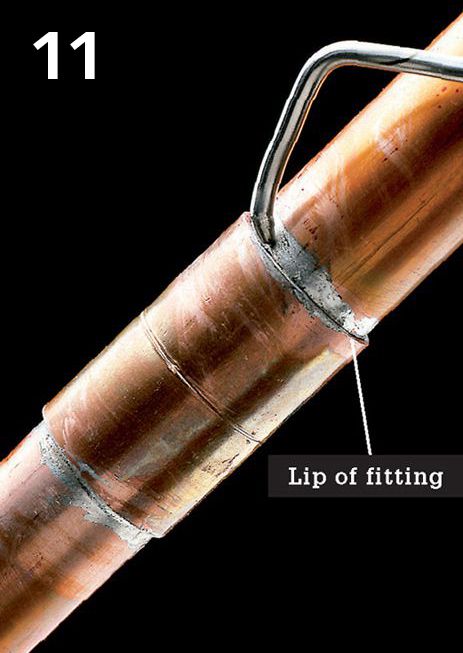
When solder melts, remove the torch and quickly push 1/2" to 3/4" of solder into each joint. Capillary action fills the joint with liquid solder. A correctly soldered joint should show a thin bead of solder around the lips of the fitting.
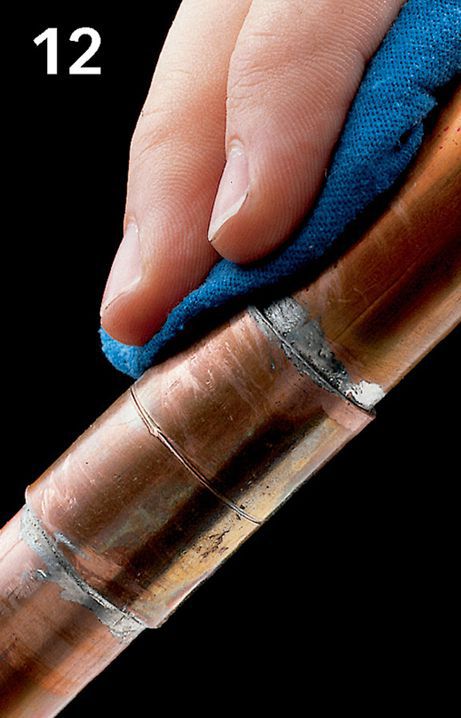
Allow the joint to cool briefly, then wipe away excess solder with a dry rag. Caution: Pipes will be hot. If joints leak after water is turned on, disassemble and resolder.
HOW TO SOLDER BRASS VALVES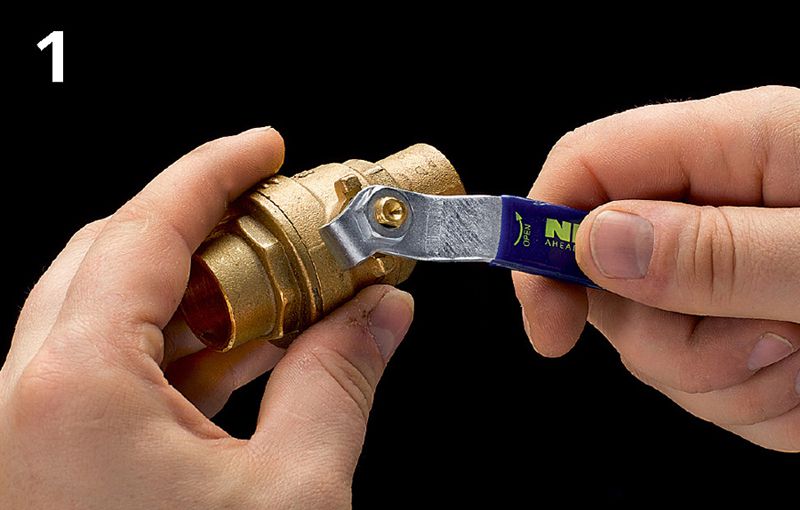
Valves should be fully open during all stages of the soldering process. If a valve has any plastic or rubber parts, remove them prior to soldering.
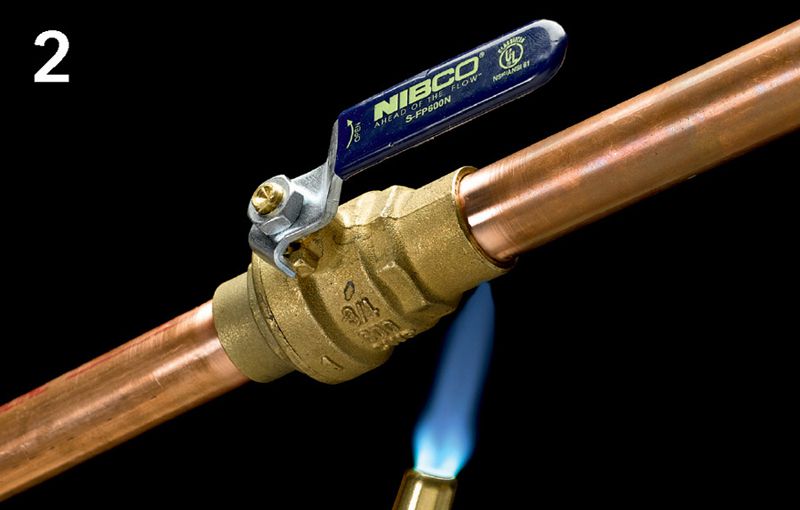
To prevent valve damage, quickly heat the pipe and the flanges of the valve, not the valve body. After soldering, cool the valve by spraying with water.
HOW TO TAKE APART SOLDERED JOINTS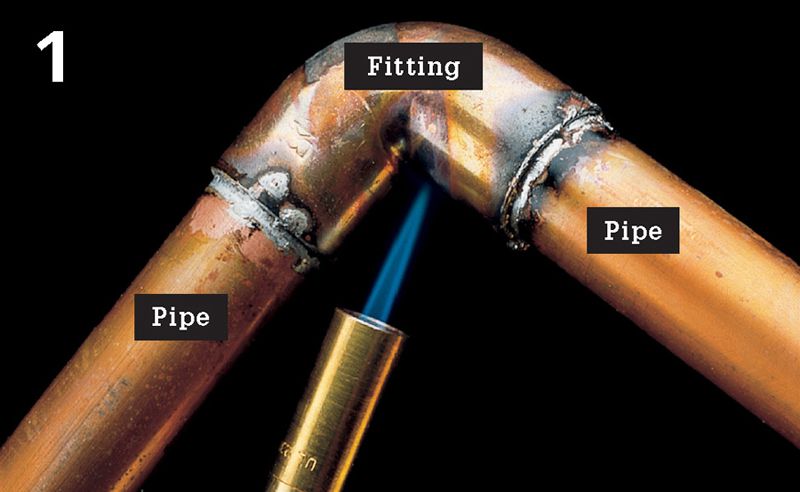
Turn off the water and drain the pipes by opening the highest and lowest faucets in the house. Light your torch. Hold the flame tip to the fitting until the solder becomes shiny and begins to melt.
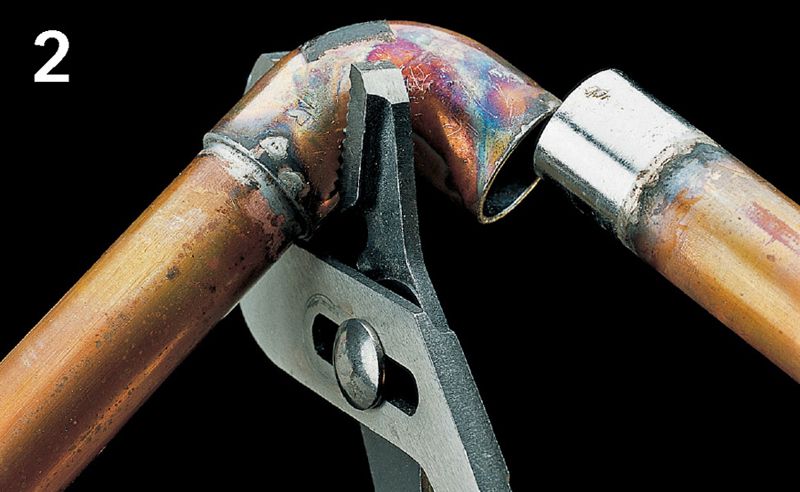
Use channel-type pliers to separate the pipes from the fitting.
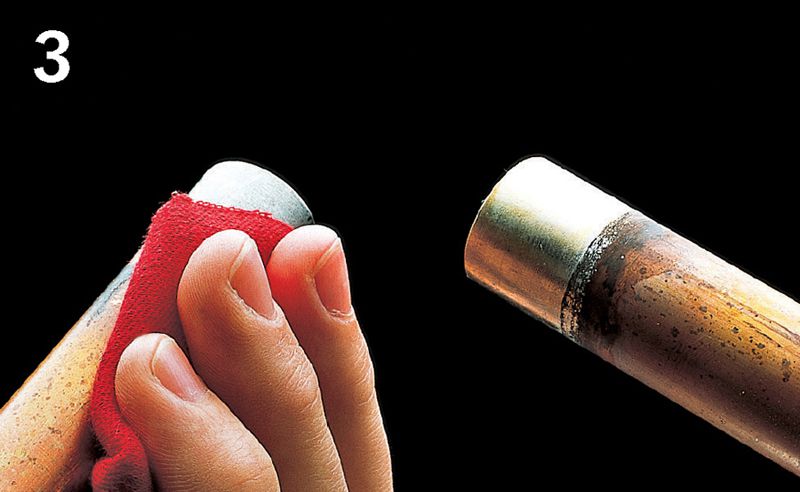
Remove old solder by heating the ends of the pipe with your torch. Use a dry rag to wipe away melted solder quickly. Caution: Pipes will be hot.
Use emery cloth to polish the ends of the pipe down to bare metal. Never reuse fittings.