EXTERIOR
ROOFING: PREPARING: FLASHING
Flashing is a metal or rubber barrier used to protect the seams around roof elements or between adjoining roof surfaces. Metal flashings are made of either galvanized steel, copper, or aluminum. Whatever metal you choose, use nails made of the same material. Mixing metals can cause corrosion and discoloration.
Flashing’s primary job is to channel water off the roof and away from seams. It’s installed in areas where shingles can’t be applied and would otherwise be prone to leaks. Some flashing, such as the valley flashing shown on the next page, is installed over the underlayment, prior to the installation of the shingles. Other flashing, such as flashing for vent pipes, is installed in conjunction with the shingles, and is shown as part of the roofing sequences throughout this chapter.
While most flashing is preformed, you’ll sometimes need to bend your own. This is especially true for flashing around roof elements, such as chimneys and dormers, that often need to be custom fit. Building a bending jig, as shown on the next page, allows you to easily bend flashing to fit your needs.
When installing flashing around roof elements, the flashing should be secured to one surface only—usually the roof deck. Use only roofing cement to bond the flashing to the roof elements. The flashing must be able to flex as the roof element and the roof deck expand and contract. If the flashing is fastened to both the roof deck and roof element, it will tear or loosen.
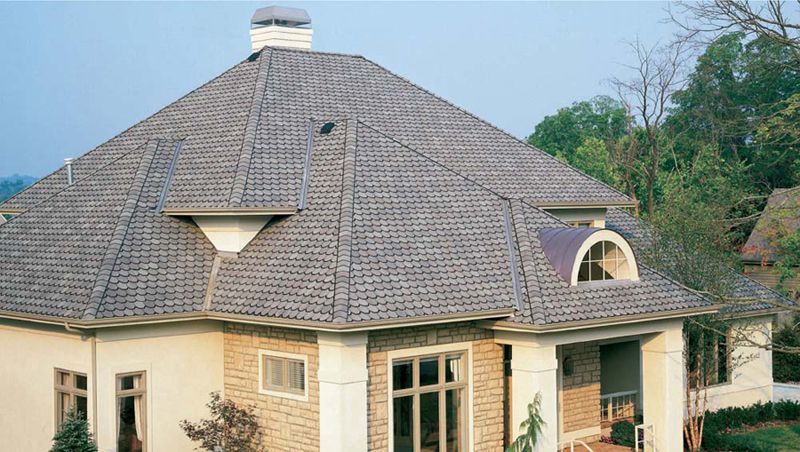
Flashing is a critical component of roofs that helps keep the structure watertight. Most roofs have flashing in the valleys and around dormers. This roof uses several valley flashings as well as flashing around the window and around the bump-out in the roof.
 HOW TO BEND FLASHING
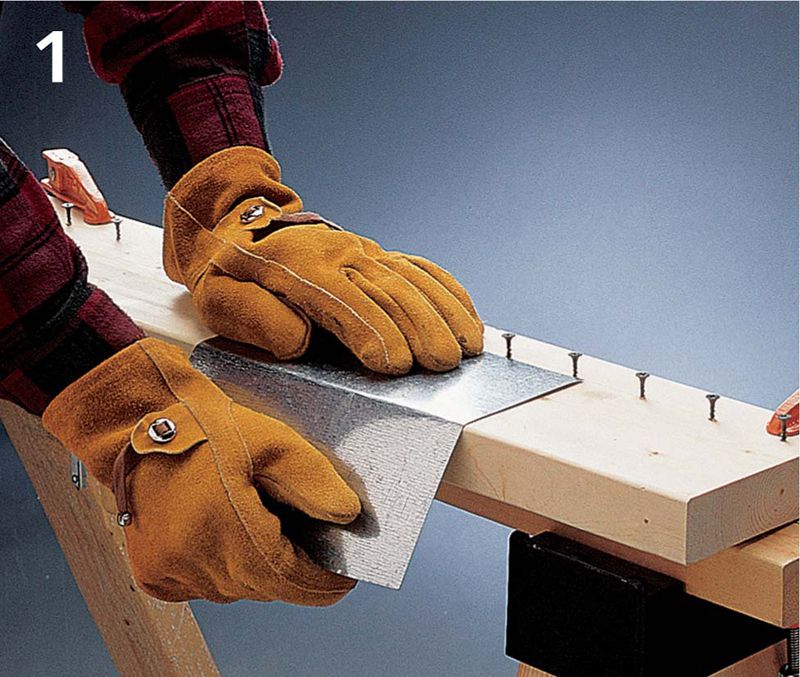
To bend flashing, make a bending jig by driving screws into a piece of wood, creating a space one-half the width of the flashing when measured from the edge of the board. Clamp the bending jig to a work surface. Lay a piece of flashing flat on the board and bend it over the edge.
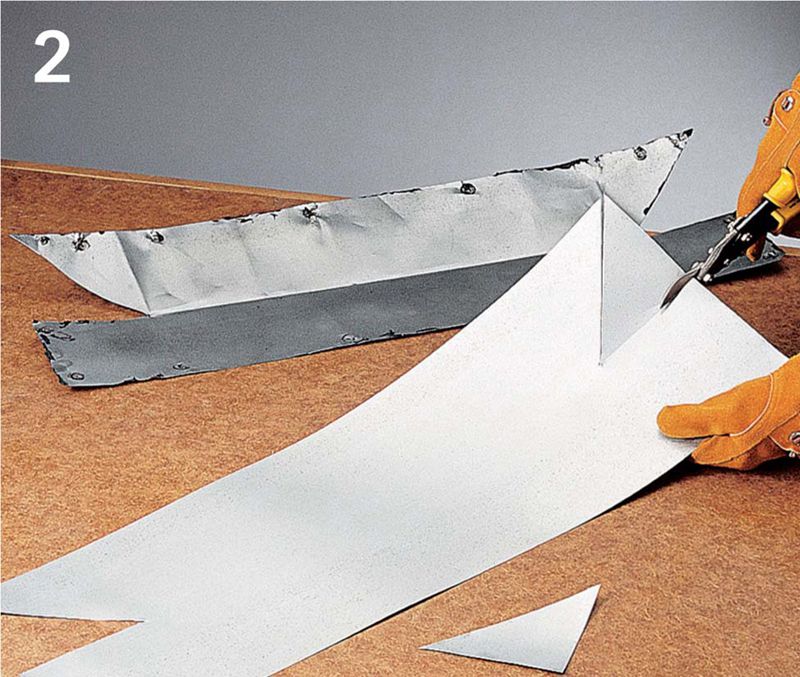
Use the old flashing as a template for making replacement pieces. This is especially useful for reproducing complicated flashing, such as saddle flashing for chimneys and dormers.
 HOW TO INSTALL VALLEY FLASHING
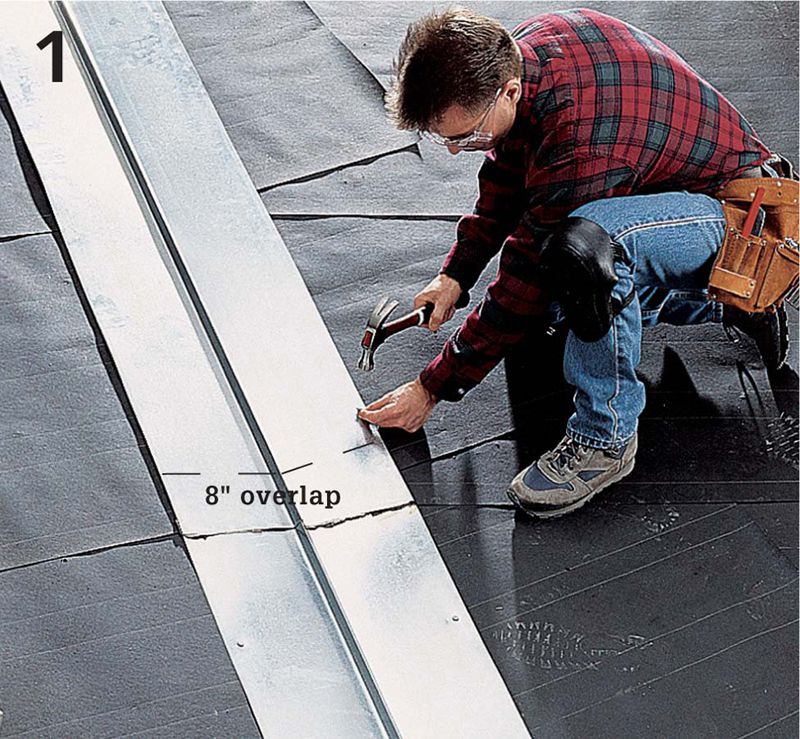
Starting at the eaves, set a piece of valley flashing into the valley so the bottom of the V rests in the crease of the valley. Nail the flashing at 12" intervals along each side. Trim the end of the flashing at the eaves so it’s flush with the drip edge at each side. Working toward the top of the valley, add flashing pieces so they overlap by at least 8" until you reach the ridge.
Let the top edge of the flashing extend a few inches beyond the ridge. Bend the flashing over the ridge so it lies flat on the opposite side of the roof. If you’re installing preformed flashing, make a small cut in the spine for easier bending. Cover nail heads with roofing cement (unless you’re using rubber gasket nails). Apply roofing cement along the side edges of the flashing.


