EXTERIOR
ROOFING: REPAIRING
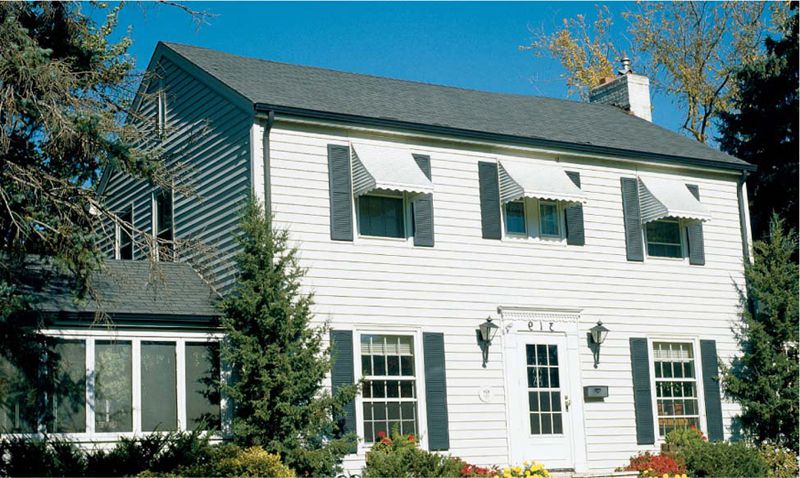
A roof system is composed of several elements that work together to provide three basic, essential functions for your home: shelter, drainage, and ventilation. The roof covering and flashing are designed to shed water, directing it to gutters and downspouts. Air intake and outtake vents keep fresh air circulating below the roof sheathing, preventing moisture and heat buildup.
When your roof system develops problems that compromise its ability to protect your home—cracked shingles, incomplete ventilation, or damaged flashing—the damage quickly spreads to other parts of your house. Routine inspections are the best way to make sure the roof continues to do its job effectively.
 TIPS FOR IDENTIFYING ROOFING PROBLEMS
Ice dams occur when melting snow refreezes near the eaves, causing ice to back up under the shingles, where it melts onto the sheathing and seeps into the house.
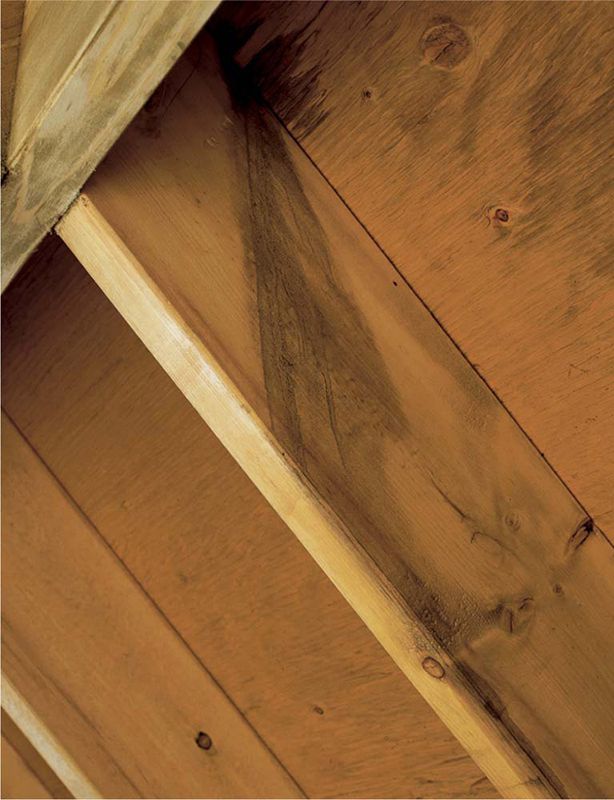
Inspect both the interior and the exterior of the roof to spot problems. From inside the attic, check the rafters and sheathing for signs of water damage. Symptoms will appear in the form of streaking or discoloration. A moist or wet area also signals water damage.
COMMON ROOFING PROBLEMS
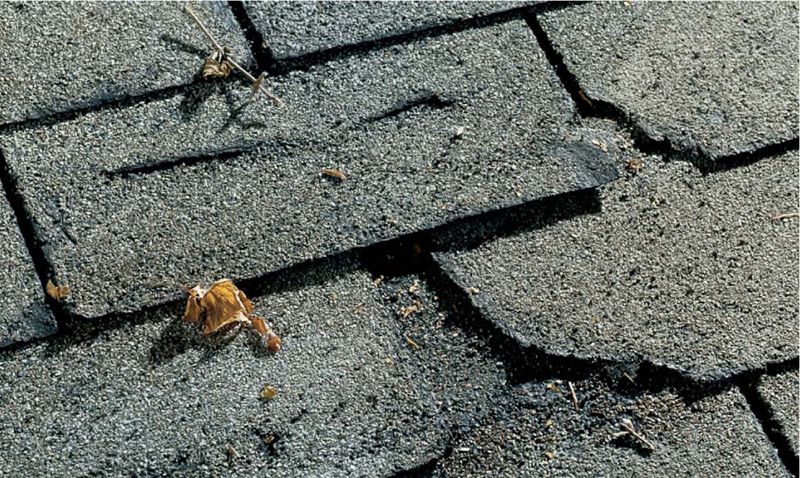
Wind, weather, and flying debris can damage shingles. The areas along valleys and ridges tend to take the most weather-related abuse. Torn, loose, or cracked shingles are common in these areas.
Buckled and cupped shingles are usually caused by moisture beneath the shingles. Loosened areas create an entry point for moisture and leave shingles vulnerable to wind damage.
A sagging ridge might be caused by the weight of too many roofing layers. It might also be the result of a more significant problem, such as a rotting ridge board or insufficient support for the ridge board.
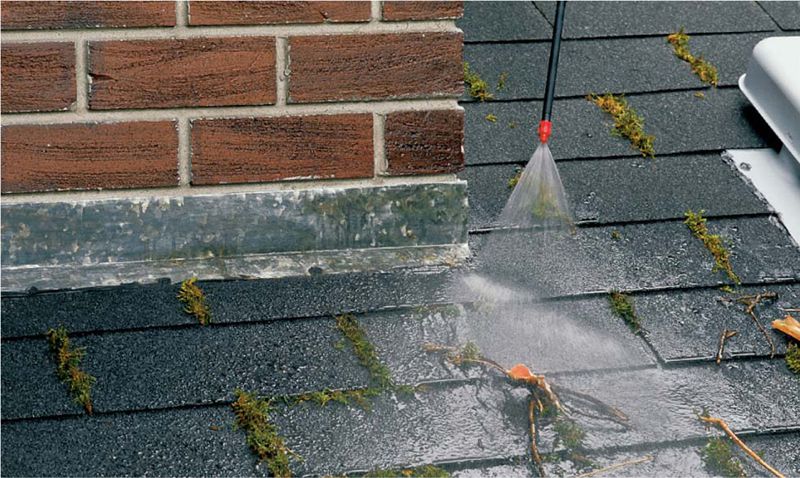
Dirt and debris attract moisture and decay, which shorten a roof’s life. To protect shingles, carefully wash the roof once a year using a pressure washer. Pay particular attention to areas where moss and mildew may accumulate.
In damp climates, it’s a good idea to nail a zinc strip along the center ridge of a roof, under the ridge caps. Minute quantities of zinc wash down the roof each time it rains, killing moss and mildew.
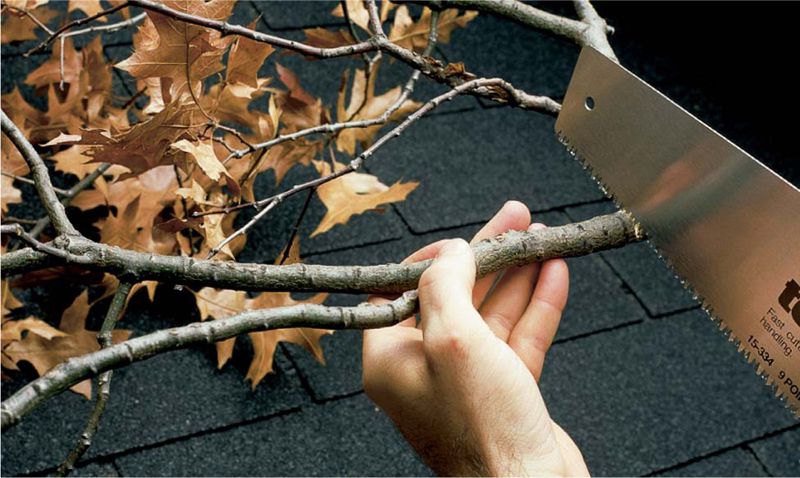
Overhanging tree limbs drop debris and provide shade that encourages moss and mildew. To reduce chances of decay, trim any limbs that overhang the roof.
HOW TO LOCATE & EVALUATE LEAKS
If you have an unfinished attic, examine the underside of your roof with a flashlight on a rainy day. If you find wetness, discoloration, or other signs of moisture, trace the trail up to where the water is making its entrance.
Water that flows toward a wall can be temporarily diverted to minimize damage. Nail a small block of wood in the path of the water, and place a bucket underneath to catch the drip. On a dry day, drive a nail through the underside of the roof decking to mark the hole.
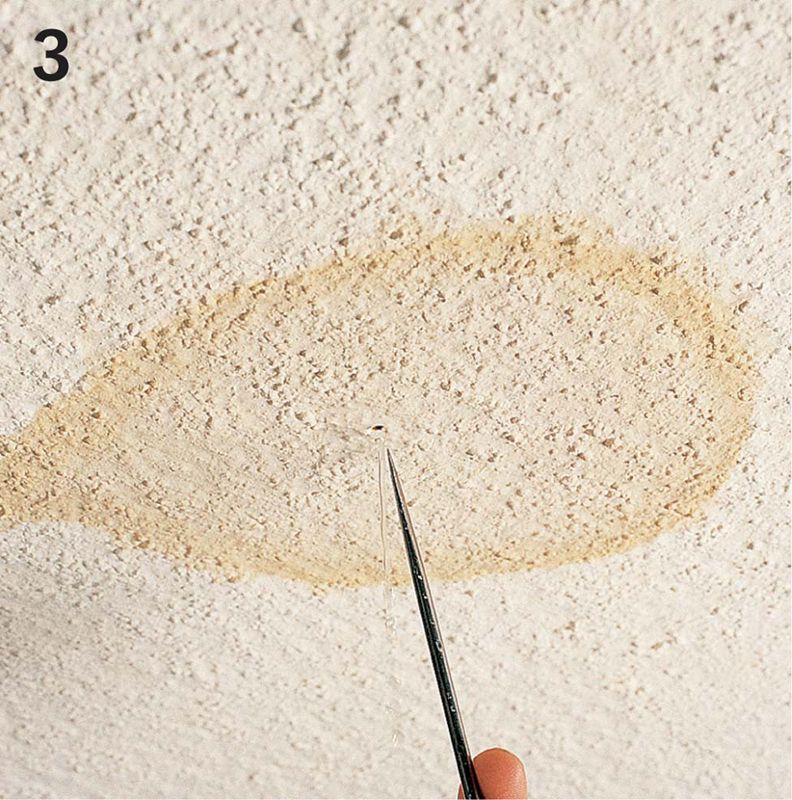
If the leak is finding its way to a finished ceiling, take steps to minimize damage until the leak can be repaired. As soon as possible, reduce the accumulation of water behind a ceiling by poking a small hole in the wallboard or plaster and draining the water.
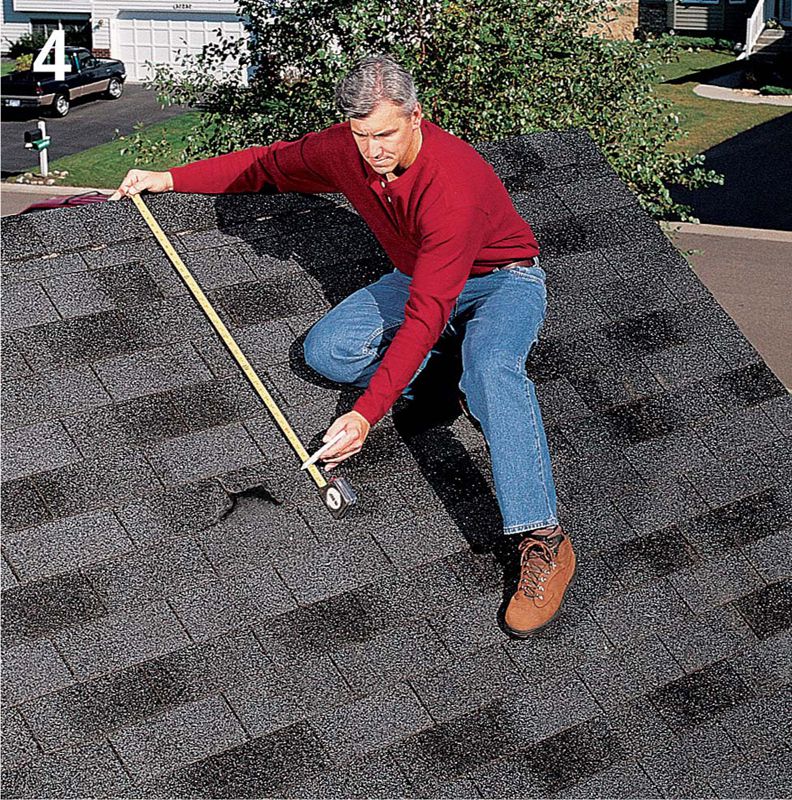
Once you mark the source of a leak from inside, measure from that spot to a point that will be visible and identifiable from outside the house, such as a chimney, vent pipe, or the peak of the roof. Get up on the roof and use that measurement to locate the leak.
HOW TO MAKE EMERGENCY REPAIRS
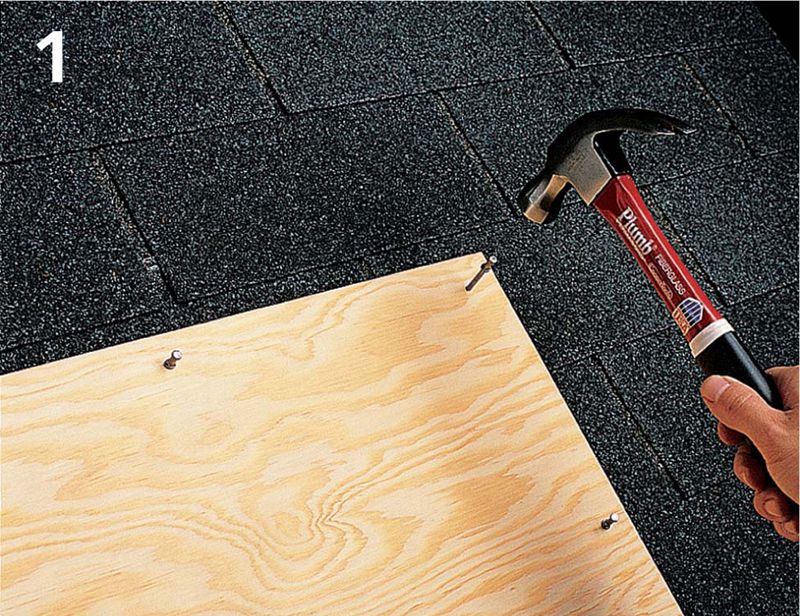
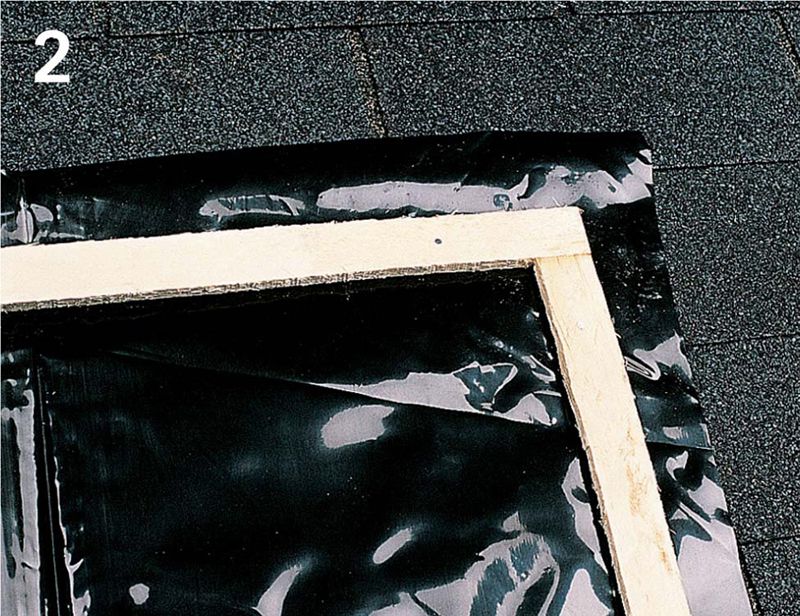
If your roof is severely damaged, the primary goal is to prevent additional damage until permanent repairs are made. Nail a sheet of plywood to the roof to serve as emergency cover to keep out the wind and water. Tip: For temporary repairs, use double-headed nails, which can be easily removed. Fill nail holes with roofing cement when the repair is complete.
Cover the damaged area by nailing strips of lath around the edges of a plastic sheet or tarp.
HOW TO MAKE SPOT REPAIRS WITH ROOFING CEMENT
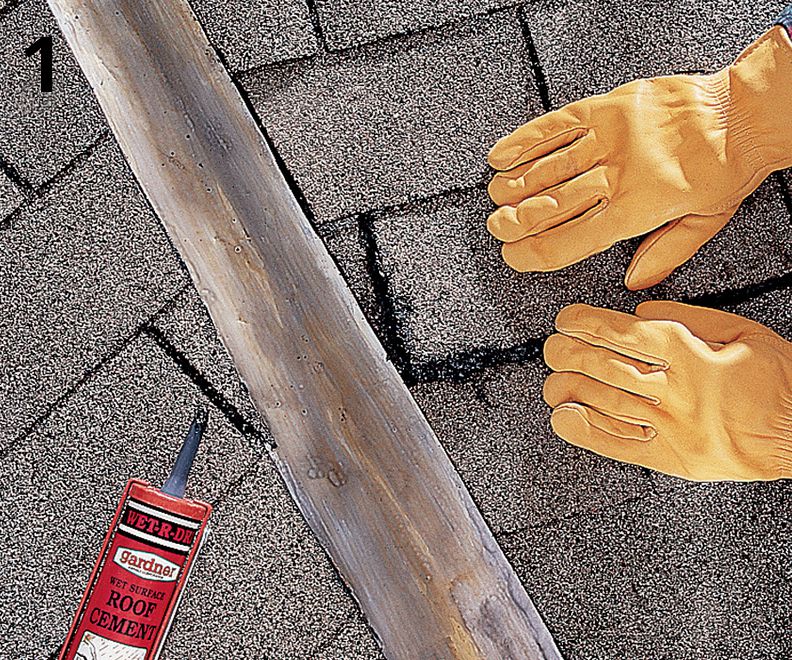
To reattach a loose shingle, wipe down the felt paper and the underside of the shingle. Let each dry, then apply a liberal coat of roofing cement. Press the shingle down to seat it in the bed of cement. Tip: Heat softens the roof’s surface, and cold makes it brittle. If needed, warm shingles slightly with a hair dryer to make them easier to work with and less likely to crack.
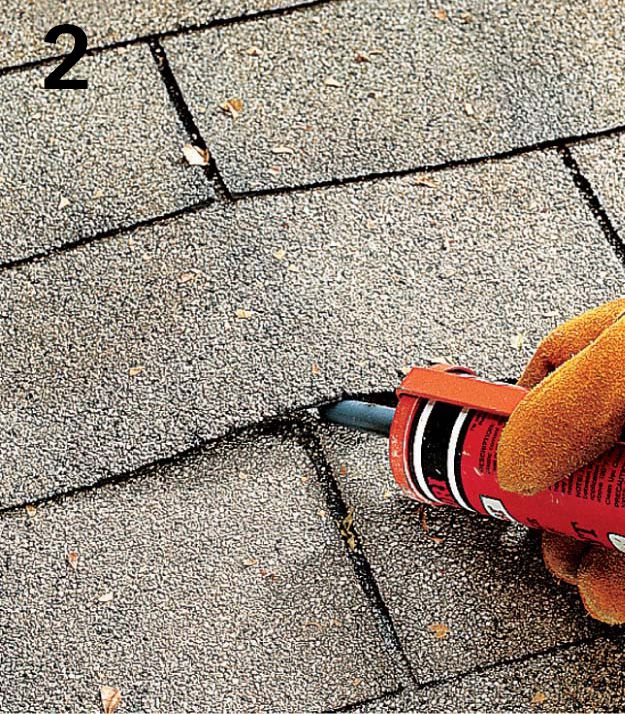
Tack down buckled shingles by cleaning below the buckled area, filling the area with roofing cement, then pressing the shingle into the cement. Patch cracks and splits in shingles with roofing cement.
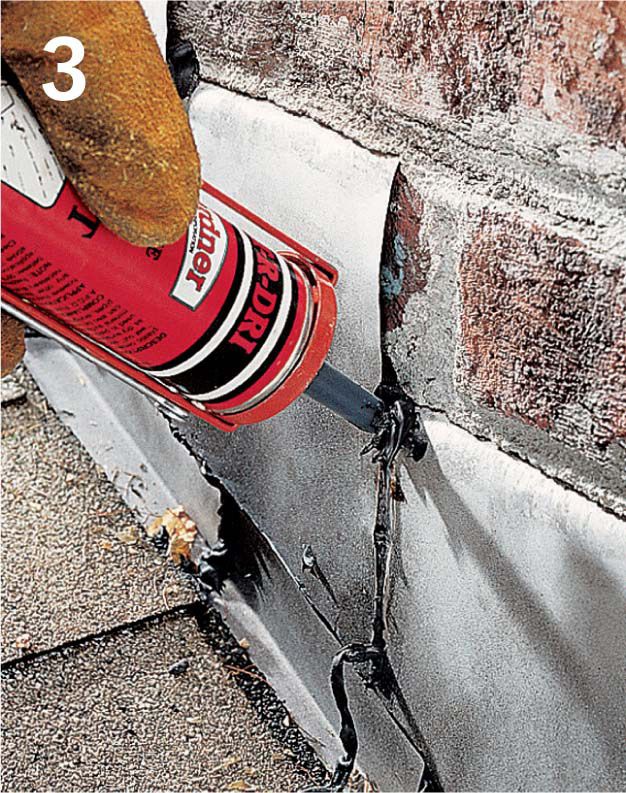
Check the joints around flashing, which are common places for roof leaks to occur. Seal any gaps by cleaning out and replacing any failed roofing cement.
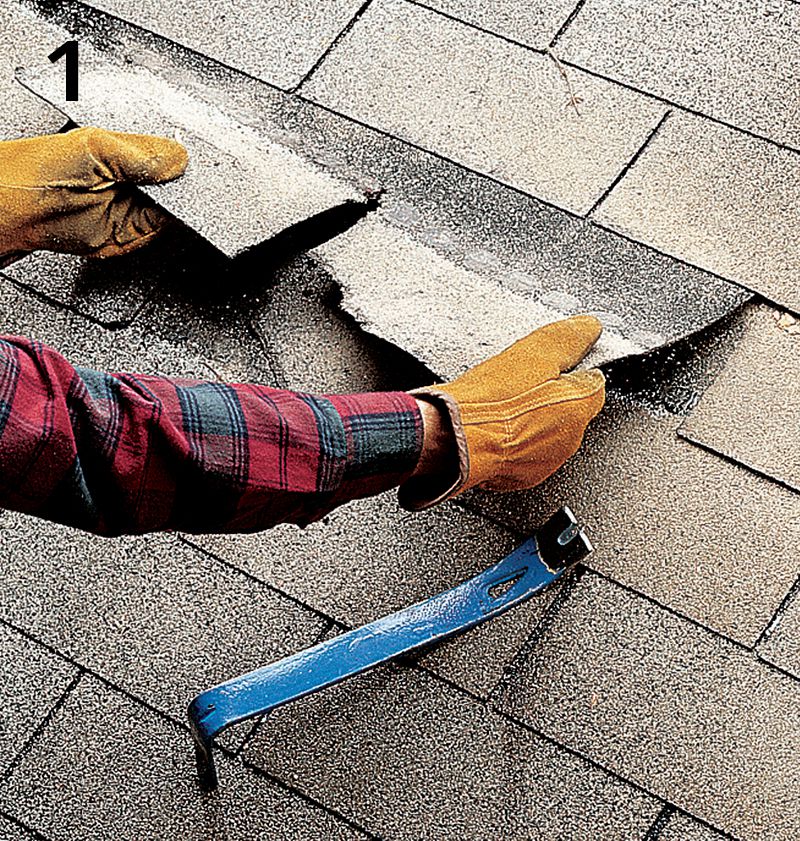
HOW TO REPLACE ASPHALT SHINGLES
Pull out damaged shingles, starting with the uppermost shingle in the damaged area. Be careful not to damage surrounding shingles that are still in good condition.
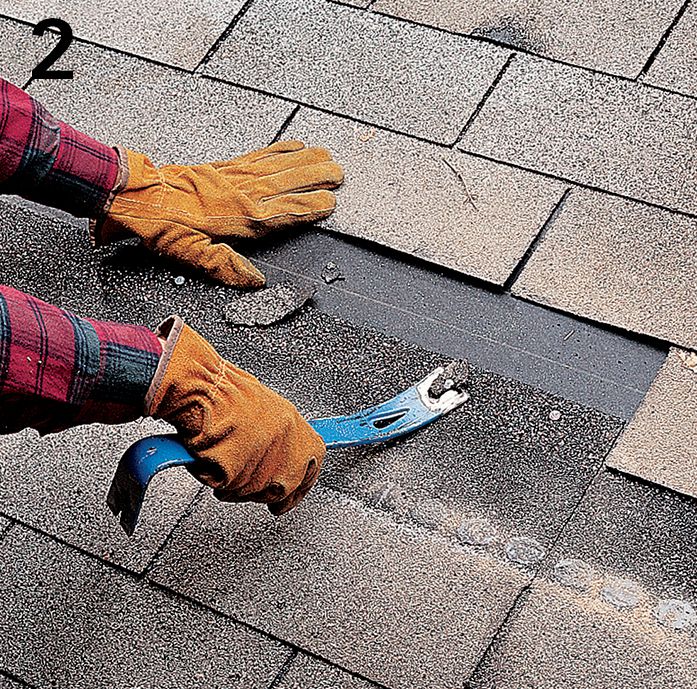
Remove old nails in and above the repair area using a flat pry bar. Patch damaged felt paper with roofing cement.
Install the replacement shingles, beginning with the lowest shingle in the repair area. Nail above the tab slots using 7/8 or 1" roofing nails.
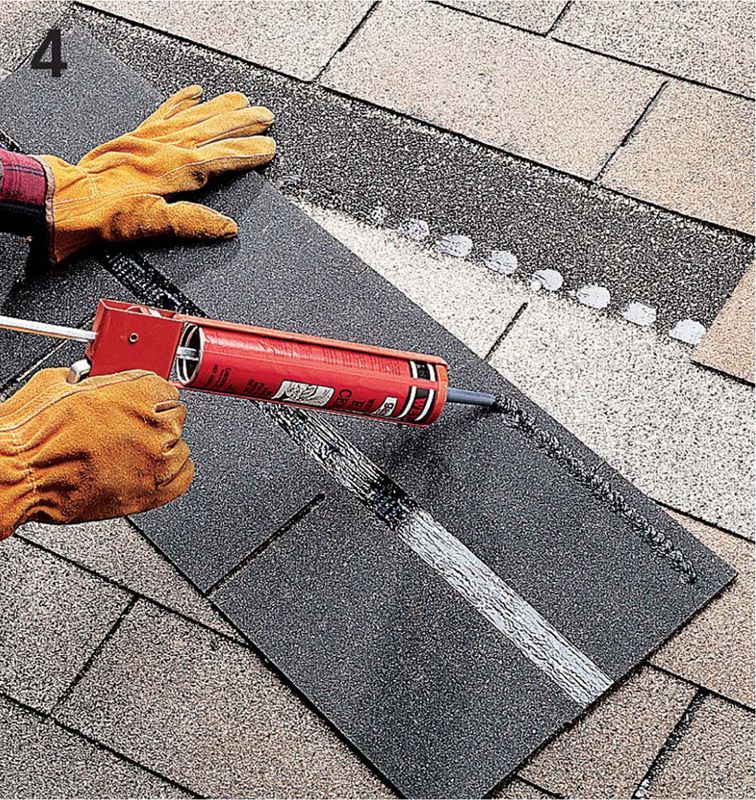
Install all but the top shingle with nails, then apply roofing cement to the underside of the top shingle, above the seal line.
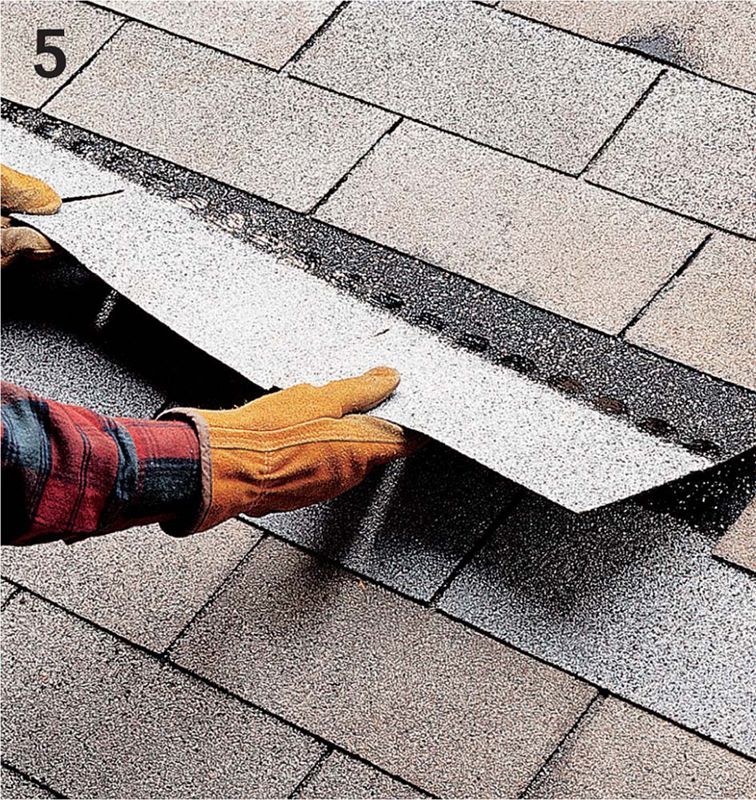
Slip the last shingle into place, under the overlapping shingle. Lift the shingles immediately above the repair area, and nail the top replacement shingle.
HOW TO REPLACE WOOD SHAKES & SHINGLES
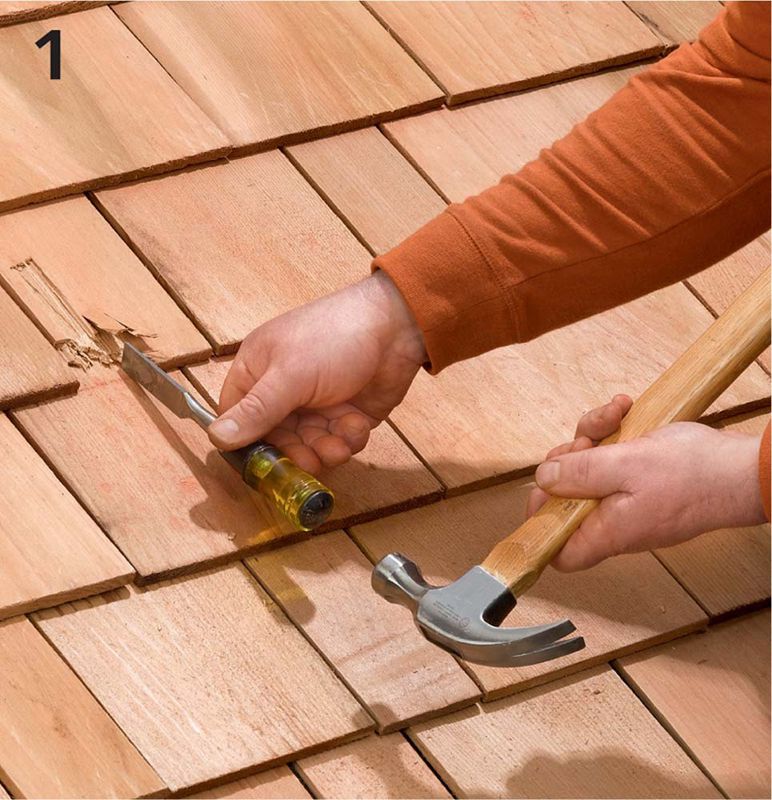
Split the damaged wood shingles or shakes with a wood chisel and mallet so they can be removed.
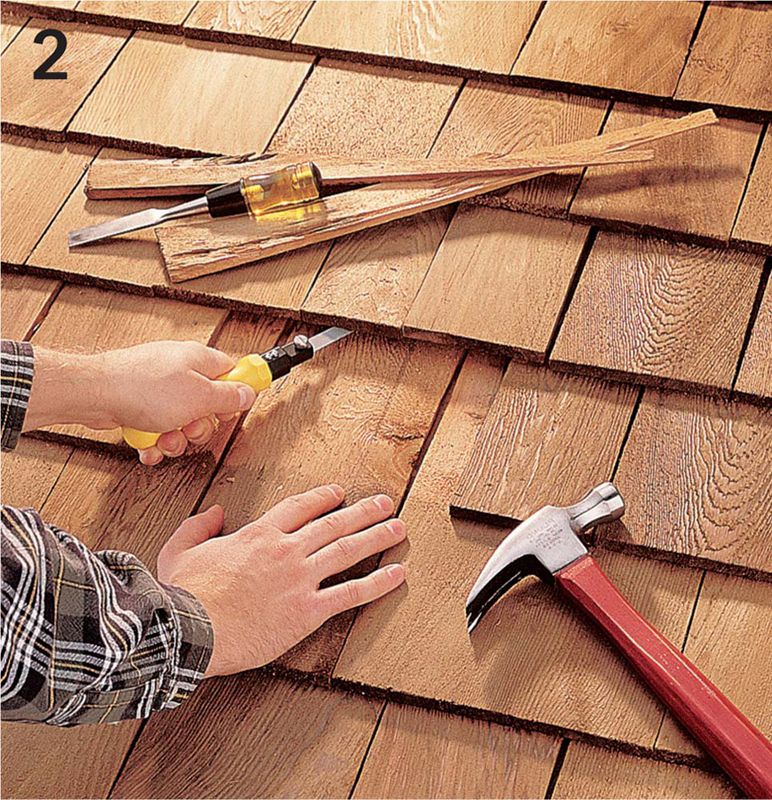
Remove the pieces. Slide a hacksaw blade under the overlapping shingles and cut the nail heads. Pry out the remaining pieces of the shakes or shingles.
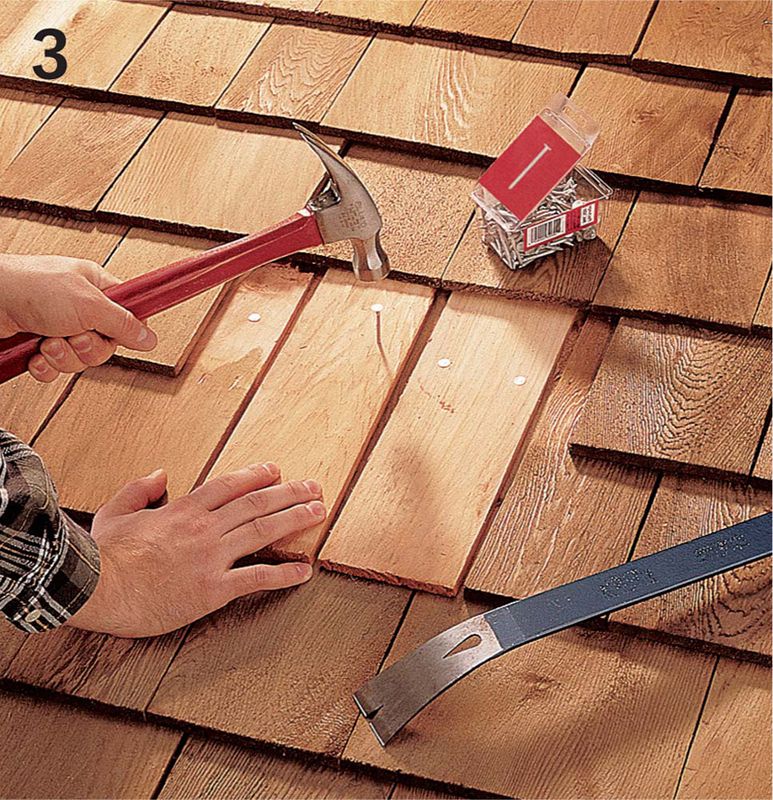
Gently pry up, but don’t remove, the shakes or shingles above the repair area. Cut new pieces for the lowest course, leaving a 5/8" gap between pieces. Nail replacements in place with ring-shank siding nails. Fill in all but the top course in the repair area.
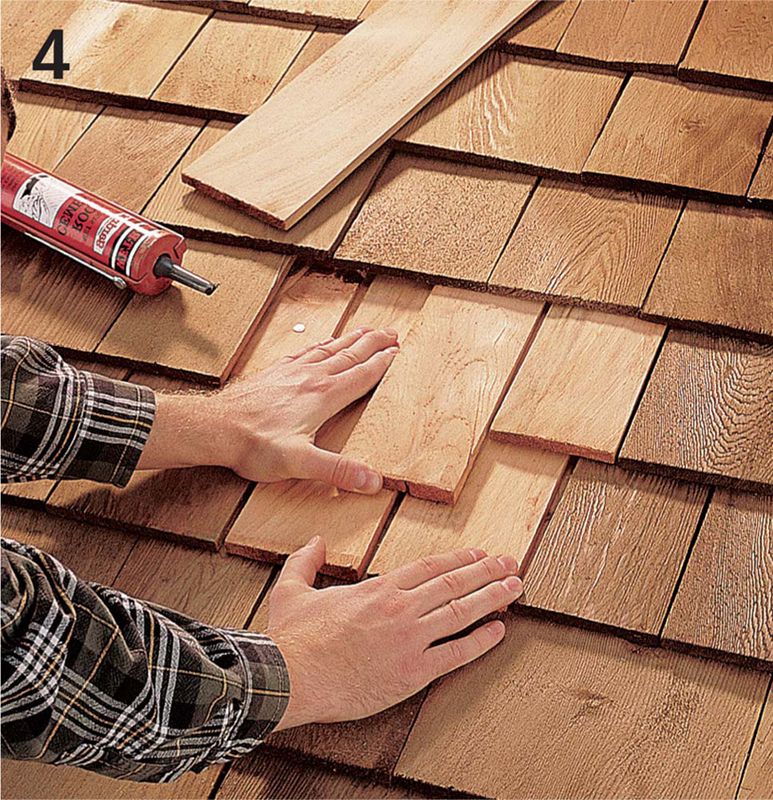
Cut the shakes or shingles for the top course. Because the top course can’t be nailed, use roofing cement to fasten the pieces in place. Apply a coat of roofing cement where the shakes or shingles will sit, then slip them beneath the overlapping pieces. Press down to seat them in the roofing cement.