Tools & Materials 
Pry bar
Hammer
16d nails
Roof jacks
2 × 8 or 2 × 10 lumber
Sure footing isn’t an issue when you’re working on a low-pitched roof, but it becomes a real safety concern for roofs with 7-in-12 or steeper pitches. In these situations, you need to install roof jacks to create a stable work area and navigate the roof safely. Roof jacks are steel braces that nail temporarily to roof decking to support a 2 × 8 or 2 × 10 perch. In addition to improving your footing, roof jacks also provide a flatter surface to stand on, which can help reduce ankle strain. Roof jacks should be installed every 4 feet of plank length with 16d nails. They’re inexpensive and available wherever roofing products are sold.
Tools & Materials
Pry bar
Hammer
16d nails
Roof jacks
2 × 8 or 2 × 10 lumber
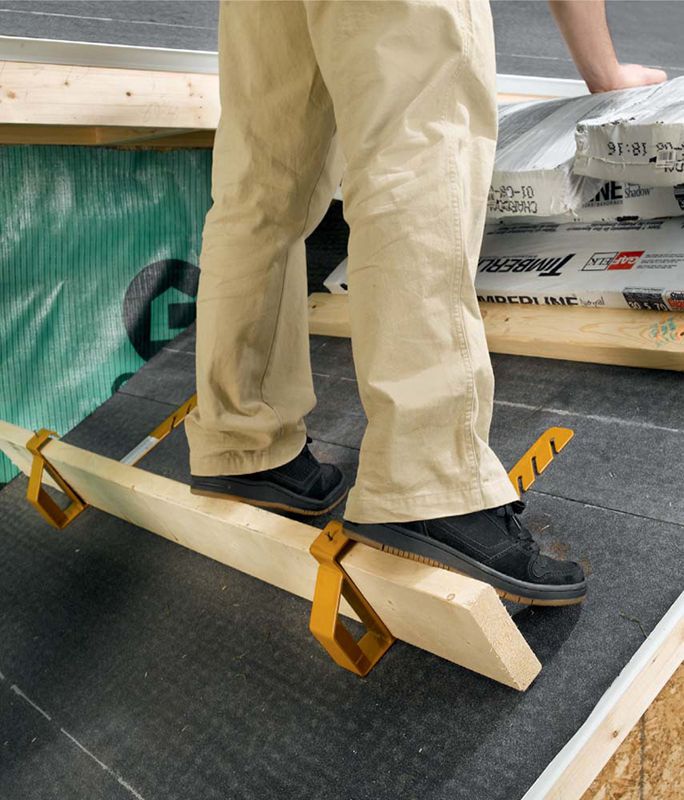
Roof jacks are steel braces that you nail to the roof deck. Installed in pairs, they support a dimensional board (usually a 2 × 8) to create a sturdy work platform on a sloped roof.
 HOW TO INSTALL ROOF JACKS
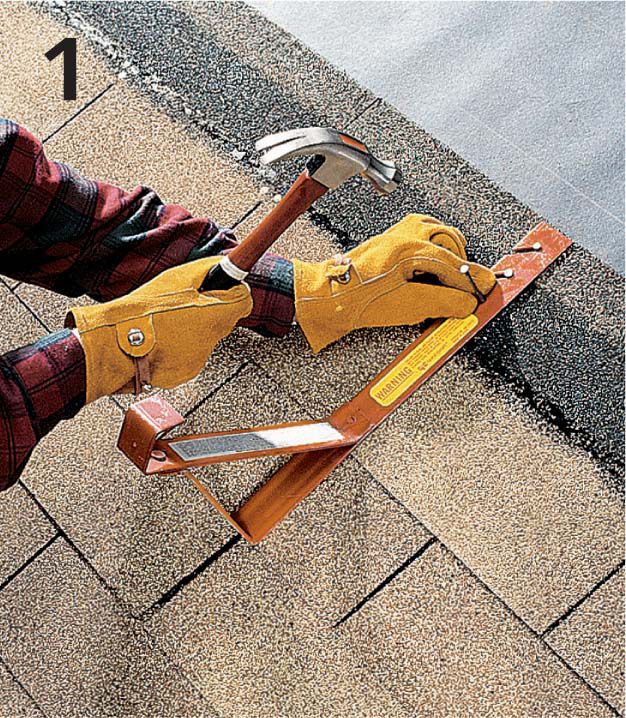
Nail roof jacks to the roof at the fourth or fifth course. Drive 16d nails into the overlap, or dead area, where they won’t be exposed. Install one jack every 4 ft., with a 6" to 12" overhang at the ends of the boards.
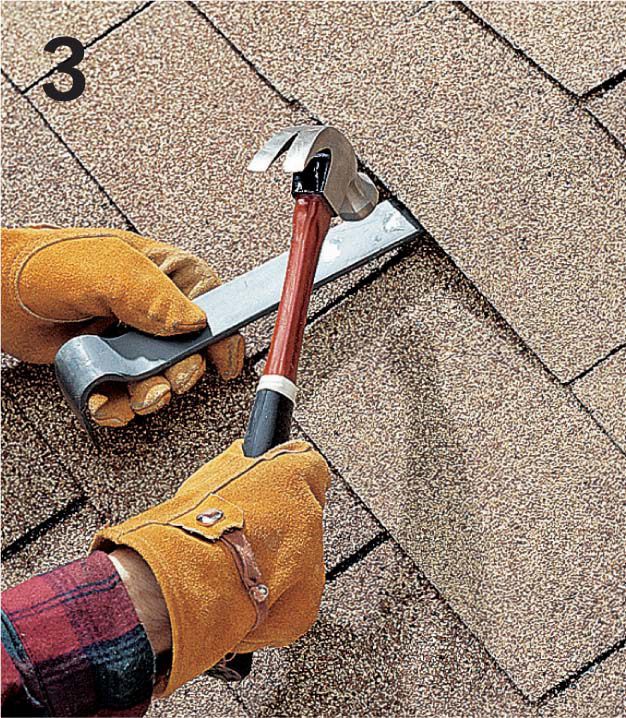
Shingle over the tops of the roof jacks. Rest a 2 × 8 or 2 × 10 board on the jacks. Fasten the board with a nail driven through the hole in the lip of each roof jack.
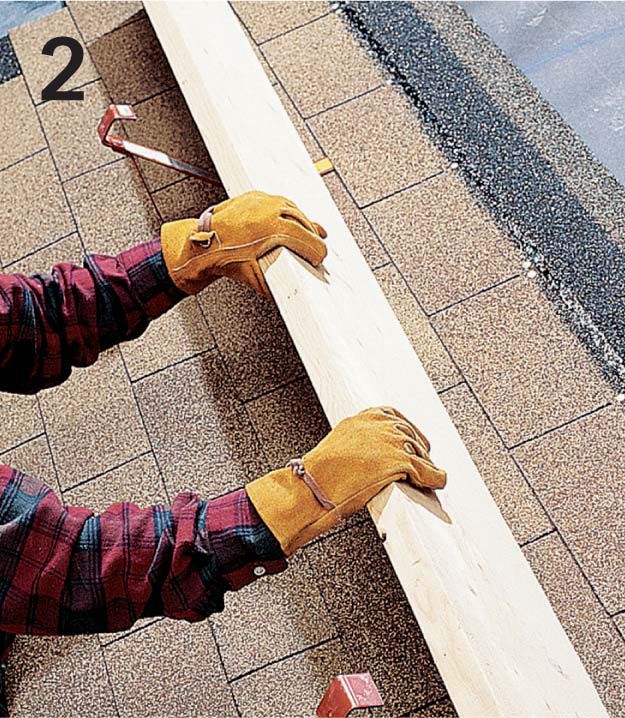
When the project is complete, remove the boards and jacks. Position the end of a flat pry bar over each nail and drive in the nail by rapping the shank with a hammer.