Mark out the location of the shower, including any new walls, on the floor and walls. Most kits can be installed over wallboard, but you can usually achieve a more professional looking wall finish if you remove the wallcovering and floor covering in the installation area. Dispose of the materials immediately and thoroughly clean the area.
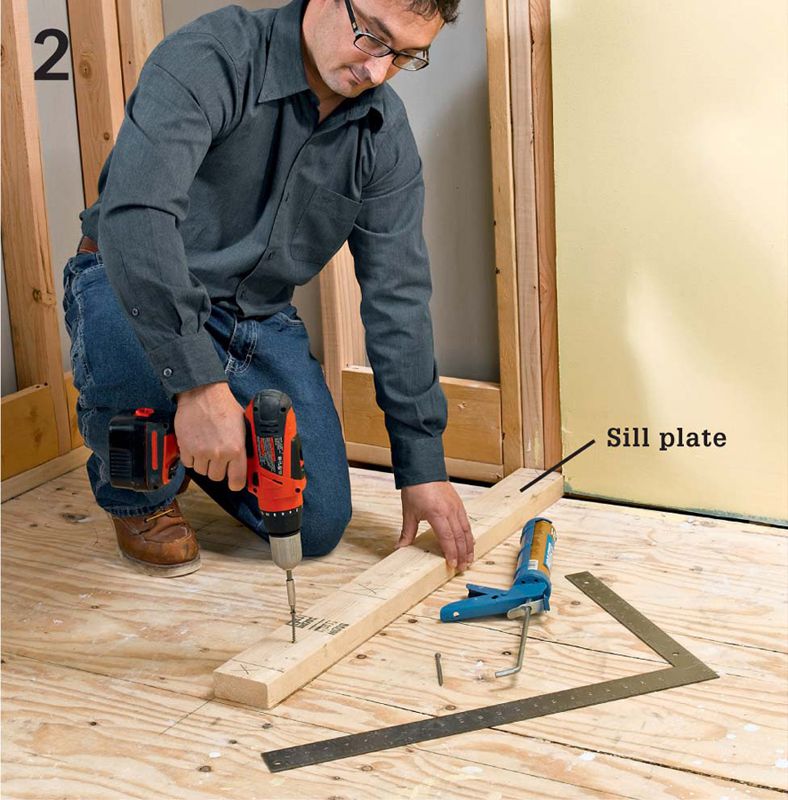
If you are adding a wall to create the alcove, lay out the locations for the studs and plumbing on the new wood sill plate. Also lay out the stud locations on the cap plate that will be attached to the ceiling. Refer to the enclosure kit instructions for exact locations and dimensions of studs. Attach the sill plate to the floor with deck screws and panel adhesive, making sure it is square to the back wall and the correct distance from the side wall.
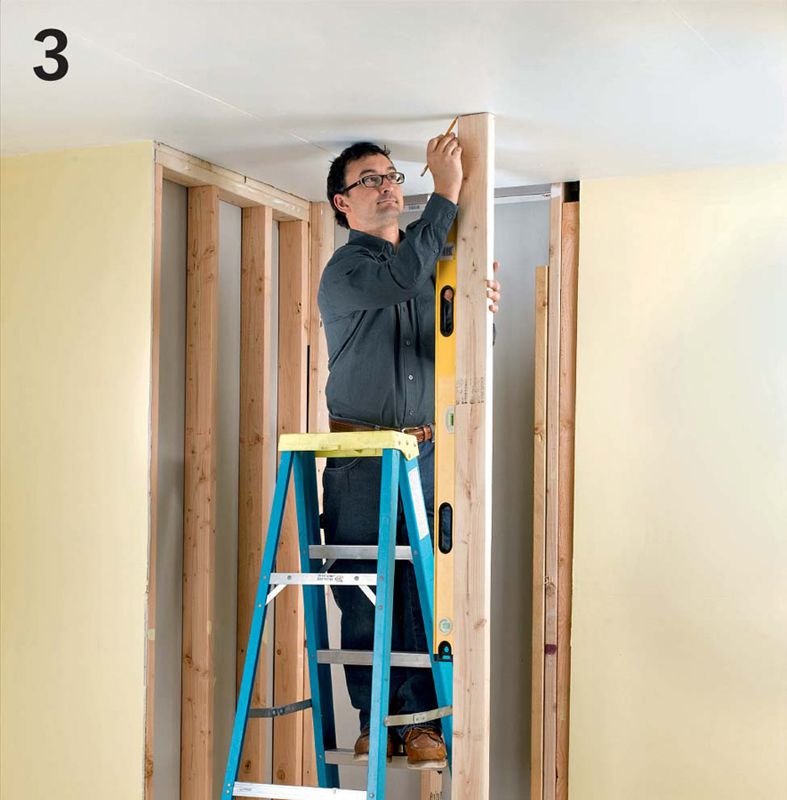
Align a straight 2 × 4 right next to the sill plate and make a mark on the ceiling. Use a level to extend that line directly above the sill plate. Attach the cap plate at that point.
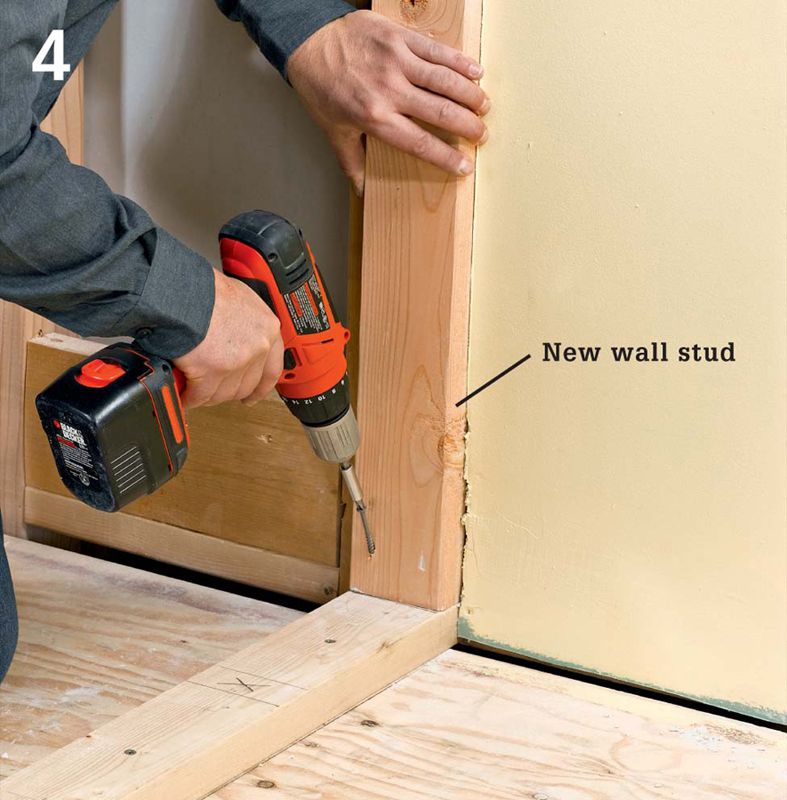
Install the 2 × 4 studs at the outlined locations. Check with a level to make sure each stud is plumb, and then attach them by driving deck screws toenail style into the sill plate and cap plate.
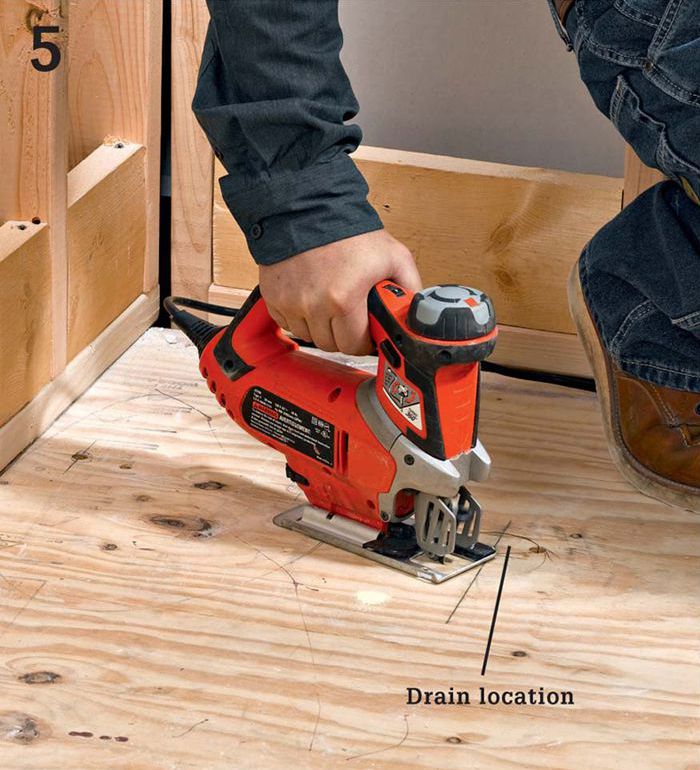
Cut an access hole in the floor for the drain, according to the installation manual instructions. Drill openings in the sill plate of the wet wall (the new wall in this project) for the supply pipes, also according to the instructions.
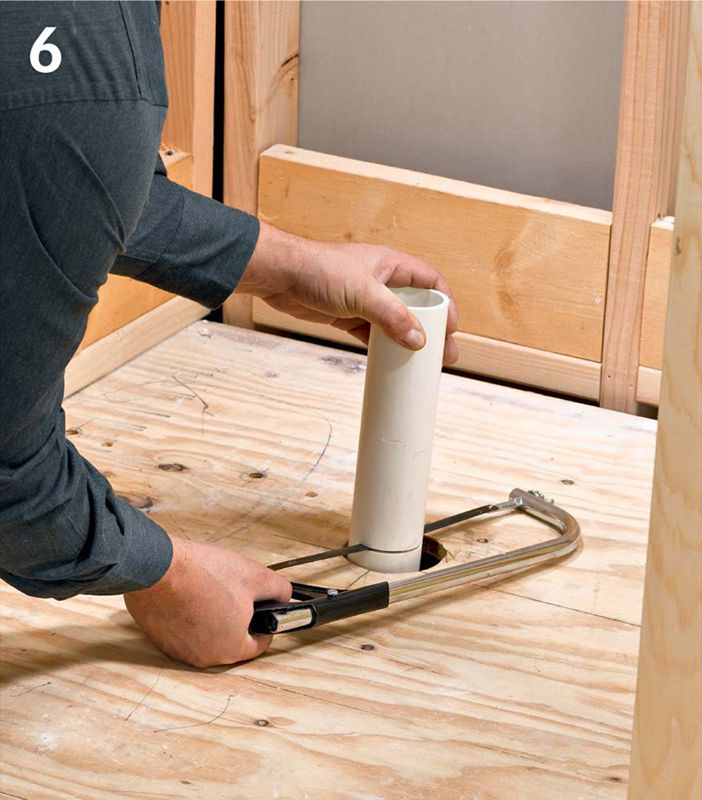
Install a drain pipe and branch line and then trim the drain pipe flush with the floor. If you are not experienced with plumbing, hire a plumber to install the new drain line.
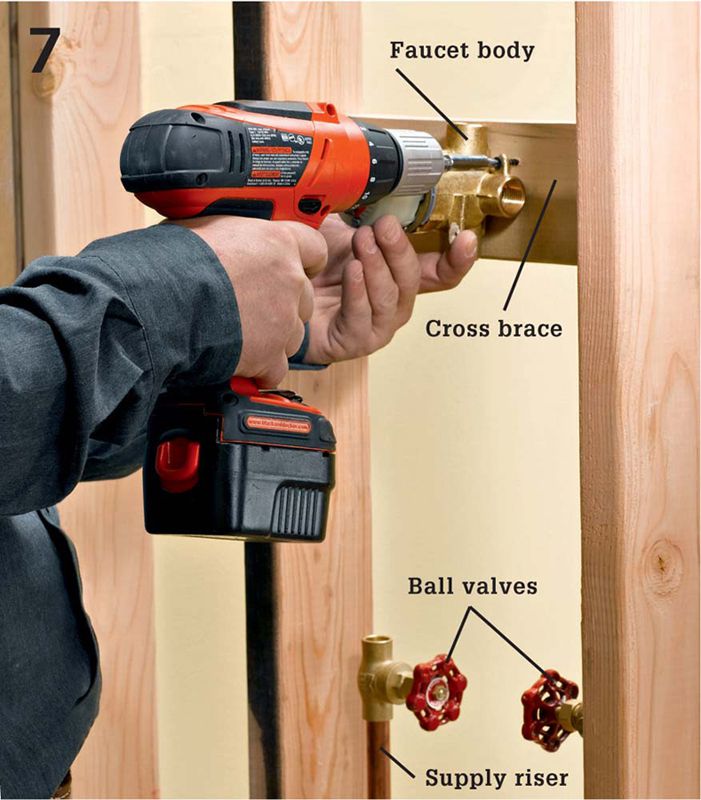
Install new supply risers as directed in the instruction manual (again, have a plumber do this if necessary). Also install cross braces between the studs in the wet wall for mounting the faucet body and shower arm.
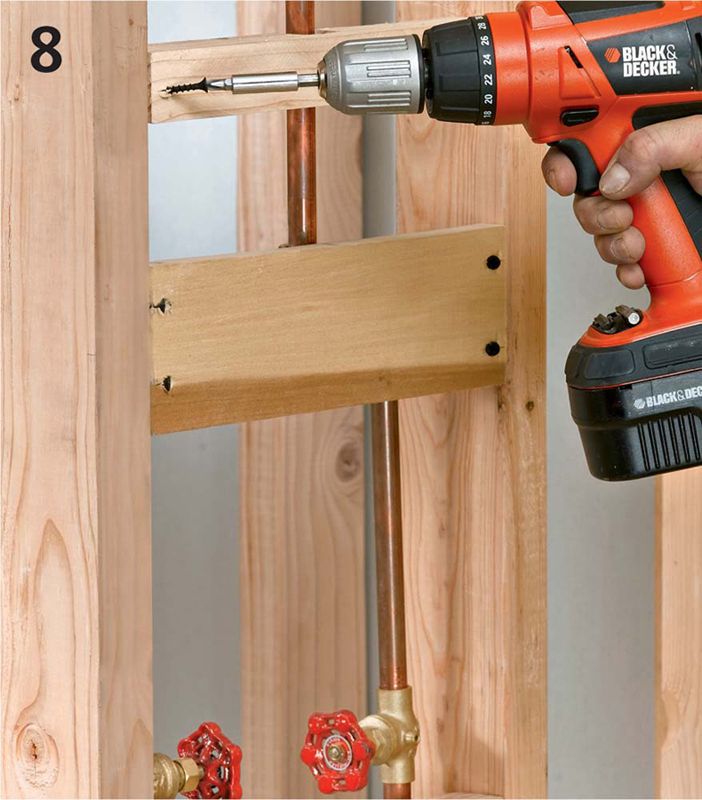
If the supply plumbing is located in a wall (old or new) that is accessible from the non-shower side, install framing for a removable access panel.
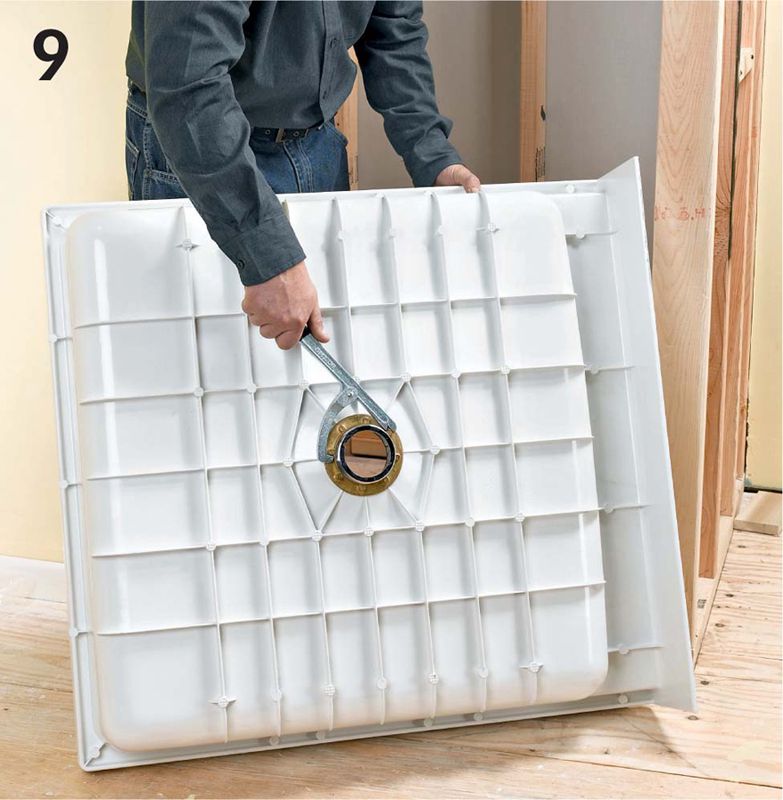
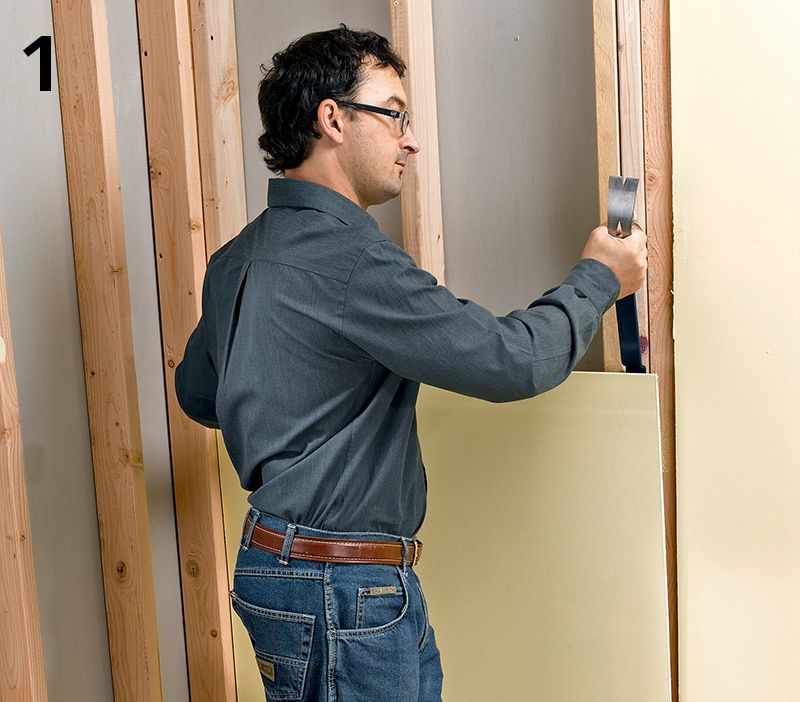
Attach the drain tailpiece that came with your receptor to the underside of the unit, following the manufacturer’s instructions precisely. Here, an adjustable spud wrench is being used to tighten the tailpiece.
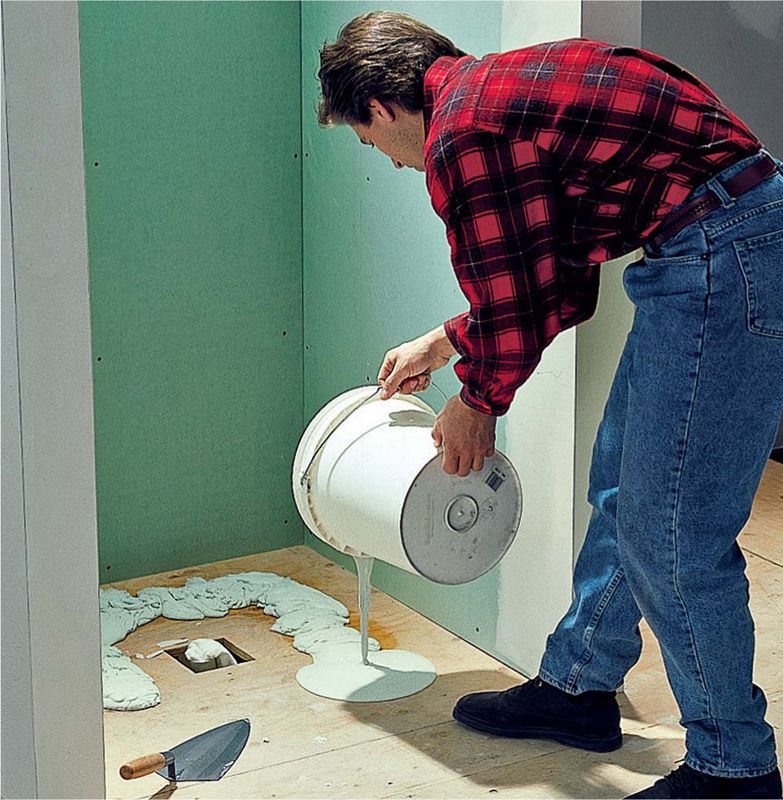
Option: To stabilize the receptor, especially if the floor is uneven, pour or trowel a layer of thinset mortar into the installation area, taking care to keep the mortar out of the drain access hole. Do not apply mortar in areas where the receptor has feet that are intended to make full contact with the floor.
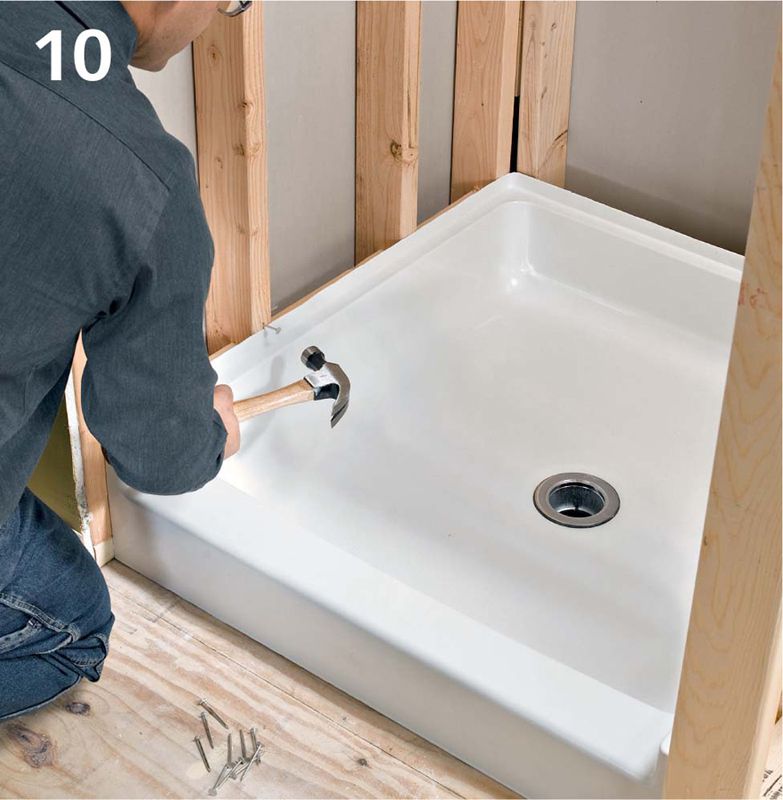
Set the receptor in place, check to make sure it is level, and shim it if necessary. Secure the receptor with large-head roofing nails driven into the wall stud so the heads pin the flange against the stud. Do not overdrive the nails.
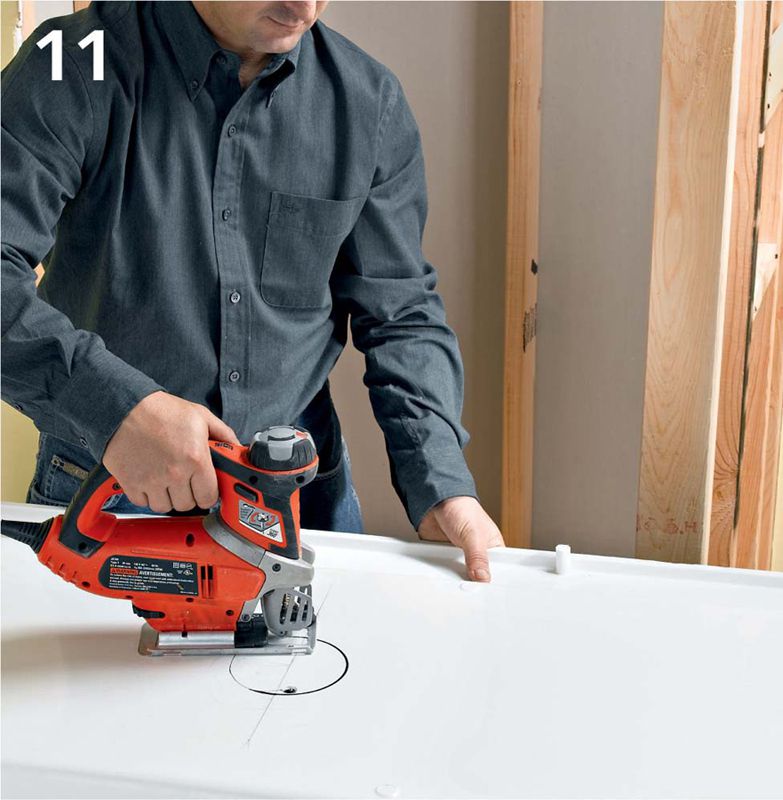
Lay out the locations for the valve hole or holes in the end wall panel that will be installed on the wet wall. Check your installation instructions. Some kits come with a template marked on the packaging carton. Cut the access hole with a hole saw and drill or with a jigsaw and fine-tooth blade. If using a jigsaw, orient the panel so the good surface is facing down.
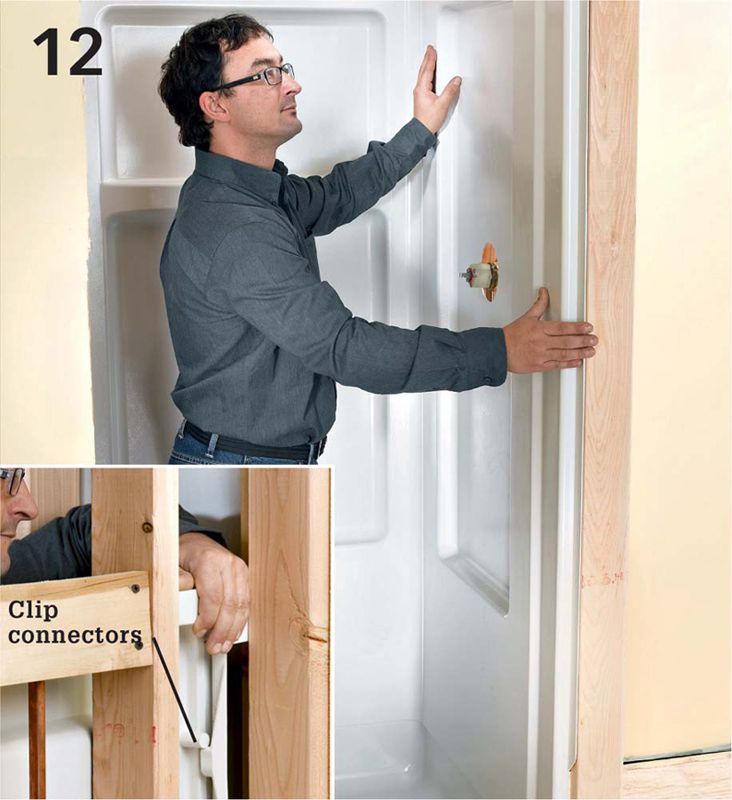
Position the back wall so there is a slight gap (about 1/32") between the bottom of the panel and the rim of the receptor—set a few small spacers on the rim if need be. Tack a pair of roofing nails above the top of the back panel to hold it in place (or, use duct tape). Position both end walls and test the fits. Make clip connections between panels (inset) if your kit uses them.
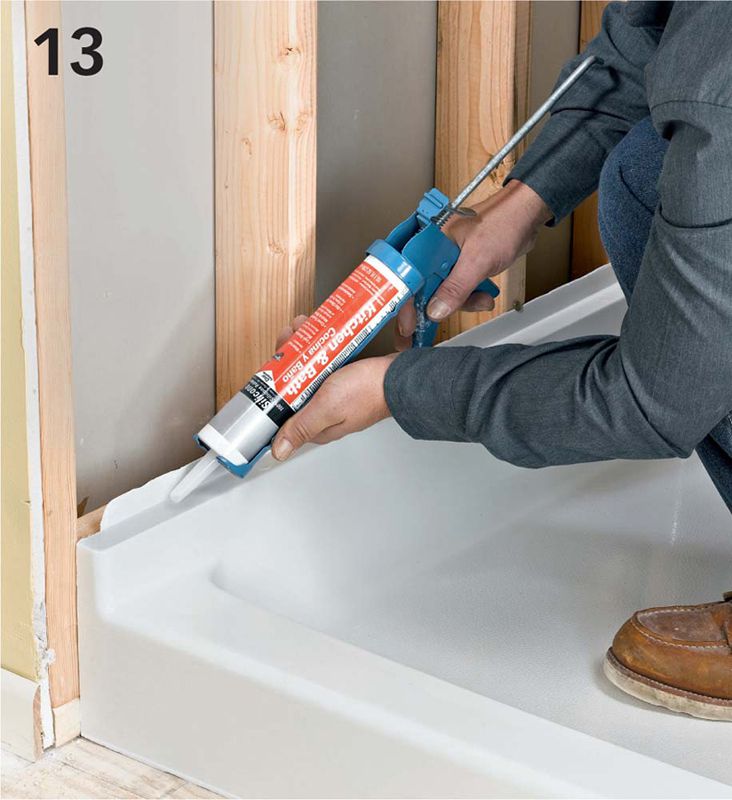
Remove the end wall so you can prepare the installation area for them. If your kit recommends panel adhesive, apply it to the wall or studs. In the kit shown here, only a small bead of silicone sealant on the receptor flange is required.
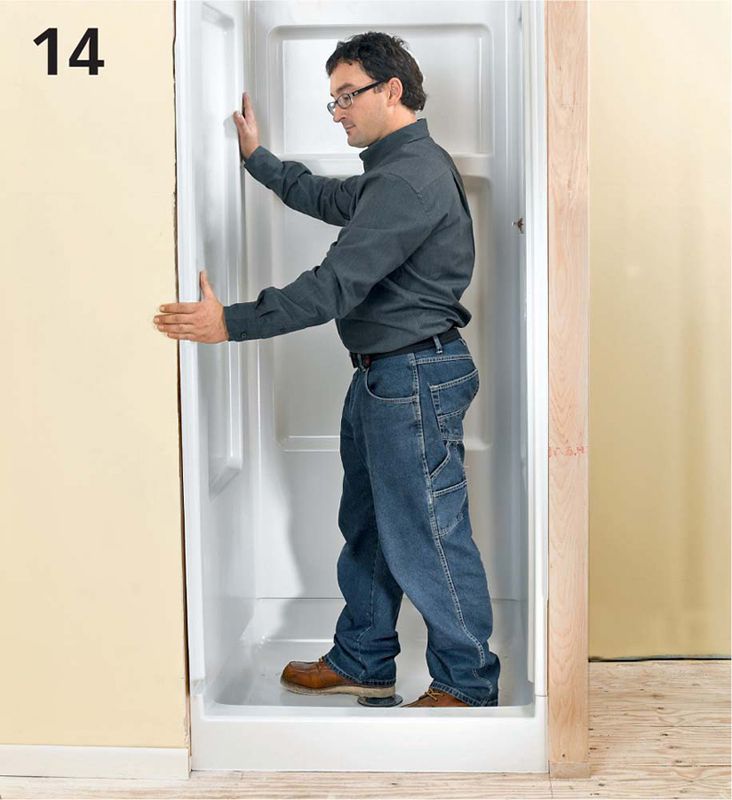
Reinstall the end panels, permanently clipping them to the back panel according to the kit manufacturer’s instructions. Make sure the front edges of the end panels are flush with the front of the receptor.
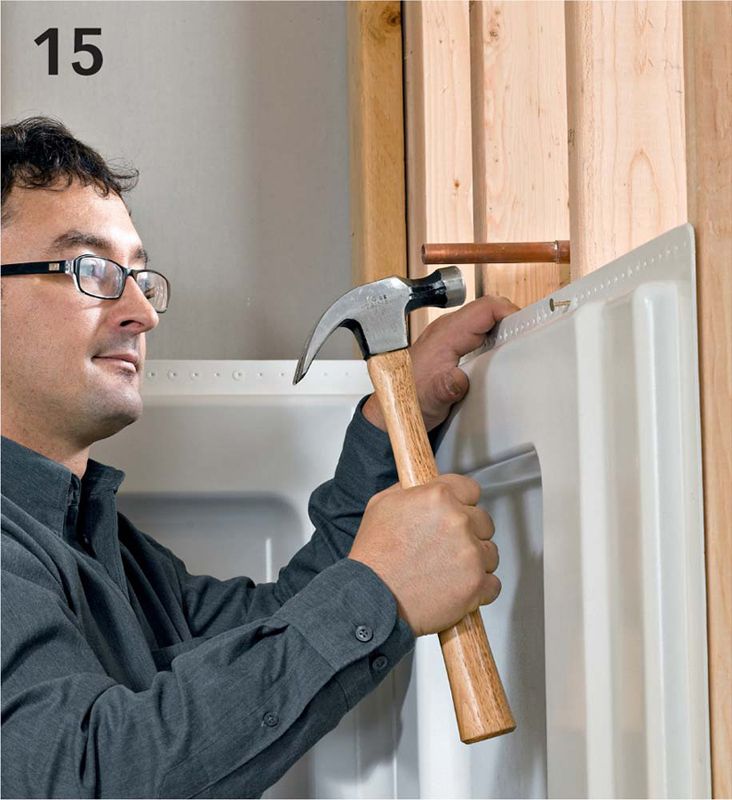
Once the panels are positioned correctly and snapped together, fasten them to the wall studs. If the panels have predrilled nail holes, drive roofing nails through them at each stud at the panel tops and every 4" to 6" along vertical surfaces.
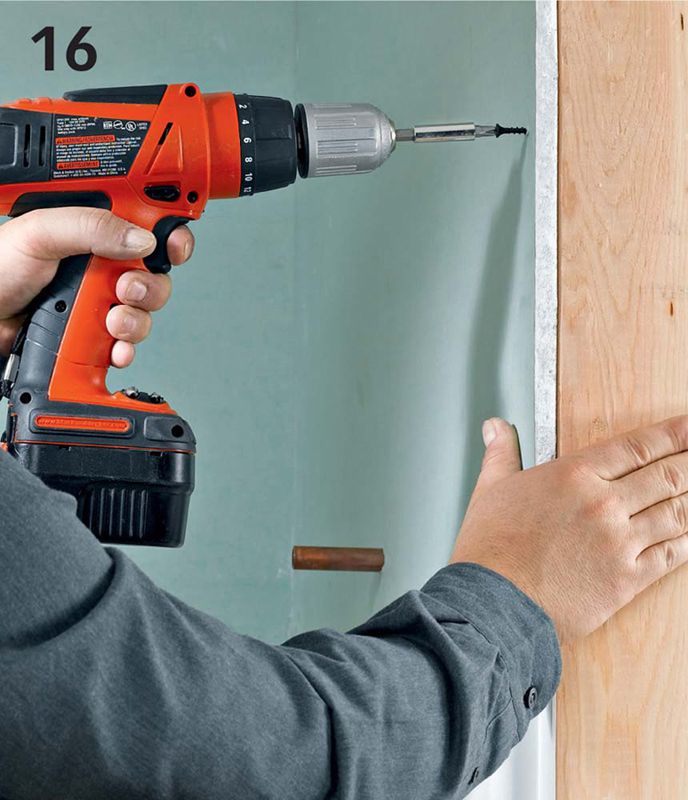
Install wallcovering material above the enclosure panels and anywhere else it is needed. Use moisture-resistant materials, and maintain a gap of 1/4" between the shoulders of the top panel flanges and the wallcovering.
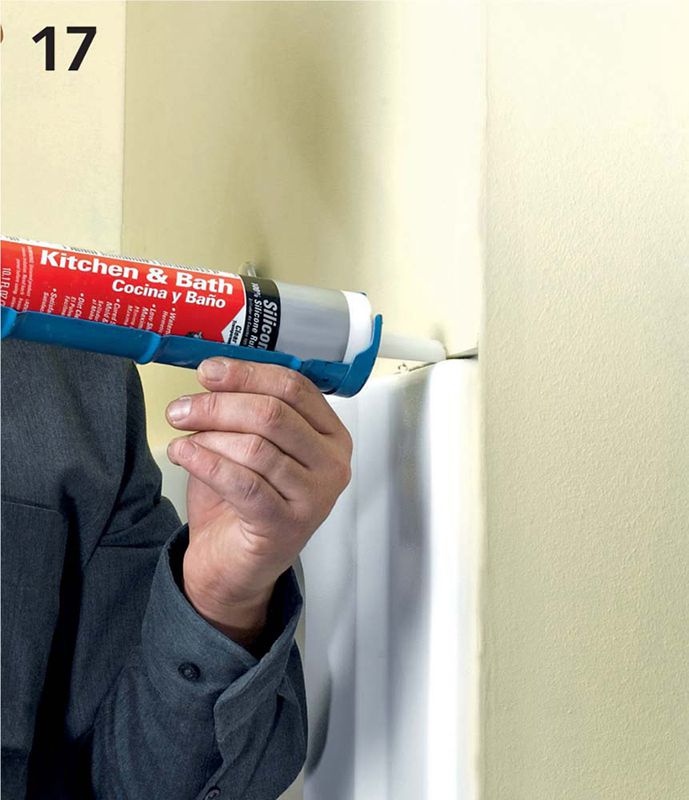
Finish the walls and then caulk between the enclosure panels and the wallcoverings with tub and tile caulk.
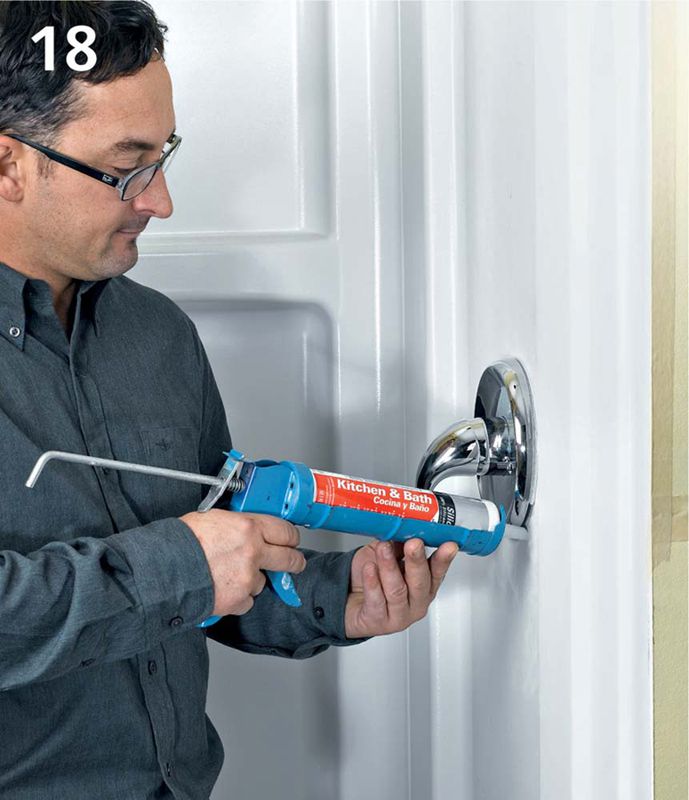
Install the faucet handles and escutcheon and caulk around the escutcheon plate. Install the shower arm escutcheon and showerhead.
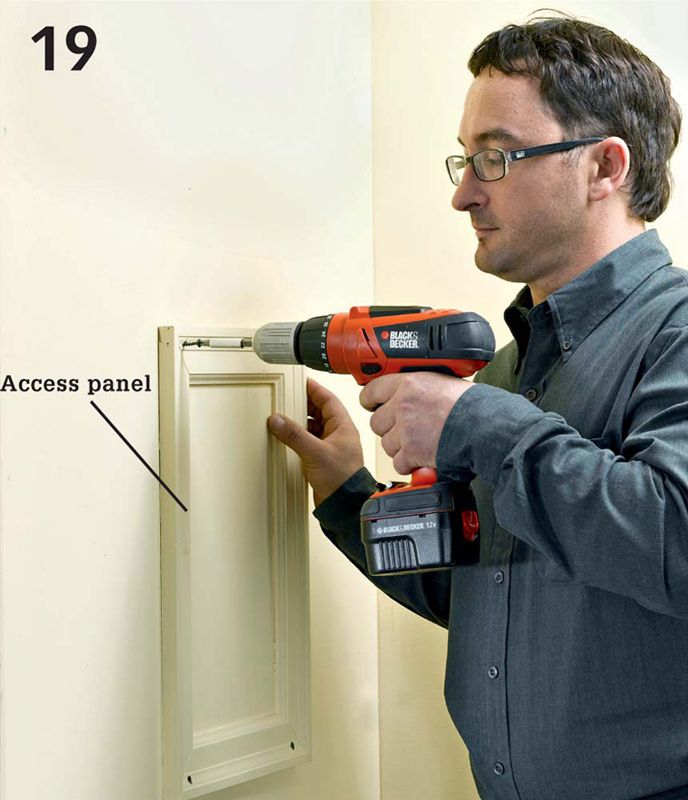
You can make an access panel out of plywood framed with mitered case molding, or buy a ready-made plumbing panel. Attach the panel to the opening created in step 8.