Tools & Materials 
Screwdriver
Masking tape
New thermostat
Protective equipment
A thermostat is a temperature-sensitive switch that automatically controls home heating and air-conditioning systems. There are two types of thermo stats used to control heating and air-conditioning systems. Low-voltage thermostats control whole-house heating and air conditioning from one central location. Line-voltage thermostats are used in zone heating systems, where each room has its own heating unit and thermostat.
A low-voltage thermostat is powered by a transformer (usually located inside the furnace) that reduces 120-volt current to about 24 volts. A low-voltage thermostat is very durable, but failures can occur if wire connections become loose or dirty, if thermostat parts become corroded, or if a transformer wears out. Some thermostat systems have two transformers. One transformer controls the heating unit, and the other controls the air-conditioning unit.
Line-voltage thermostats are powered by the same circuit as the heating unit, usually a 240-volt circuit. Always make sure to turn off the power before servicing a line-voltage thermostat (typically, these are found in electric heaters).
A thermostat can be replaced in about one hour. Many homeowners choose to replace standard low-voltage or line-voltage thermostats with programmable setback thermostats. These programmable thermostats can cut energy use by up to 35 percent.
When buying a new thermostat, make sure the new unit is compatible with your heating/air-conditioning system. For reference, take along the brand name and model number of the old thermostat and of your heating/air-conditioning units. When buying a new low-voltage transformer, choose a replacement with voltage and amperage ratings that match the old thermostat.
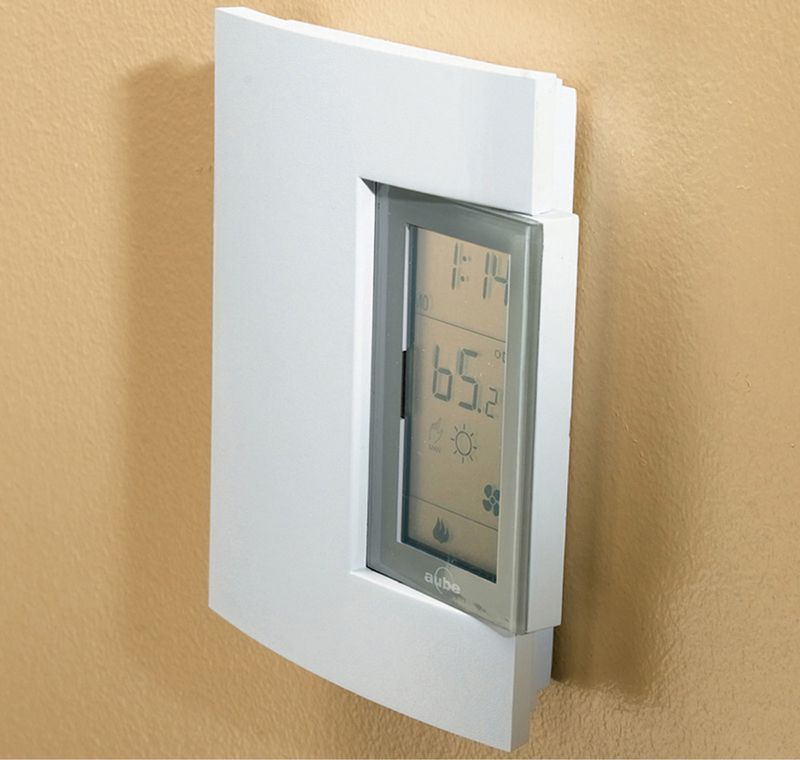
A programmable thermostat allows you to significantly reduce your energy consumption by taking greater control over your heating and cooling system.
 TRADITIONAL LOW-VOLTAGE THERMOSTATS
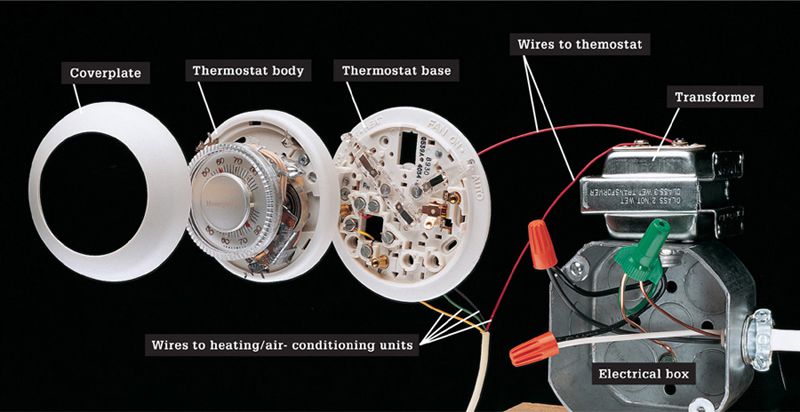
Low-voltage thermostat system has a transformer that is either connected to an electrical junction box or mounted inside a furnace access panel. Very thin wires (18 to 22 gauge) send current to the thermostat. The thermostat constantly monitors room temperatures and sends electrical signals to the heating/cooling unit through additional wires. The number of wires connected to the thermostat varies from two to six, depending on the type of heating/air-conditioning system. In the common four-wire system shown above, power is supplied to the thermostat through a single wire attached to screw terminal R. Wires attached to other screw terminals relay signals to the furnace heating unit, the air-conditioning unit, and the blower unit. Before removing a thermostat, make sure to label each wire to identify its screw terminal location.
 PROGRAMMABLE THERMOSTATS
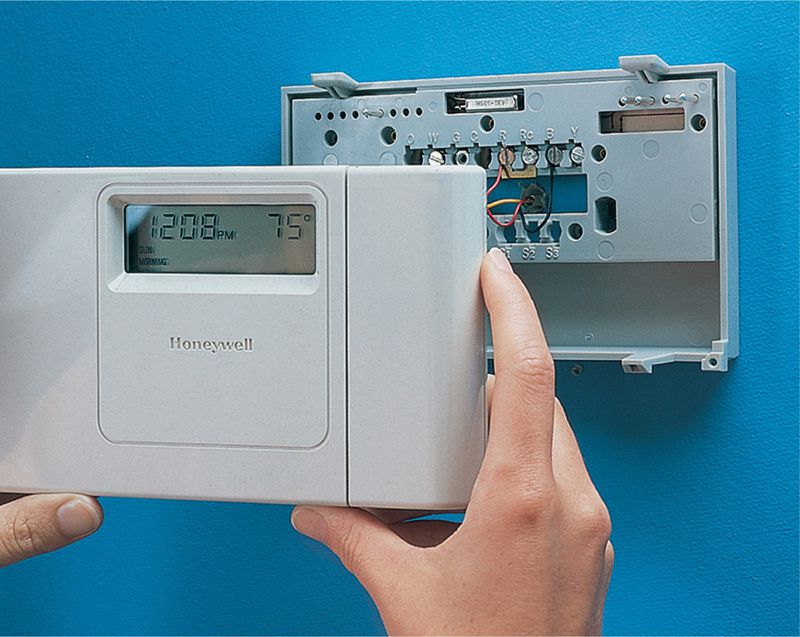
Programmable thermostats contain sophisticated circuitry that allows you to set the heating and cooling systems in your house to adjust automatically at set times of the day. Replacing a manual thermostat with a programmable model is a relatively simple job that can have big payback on heating and cooling energy savings.
 HOW TO UPGRADE TO A PROGRAMMABLE THERMOSTAT
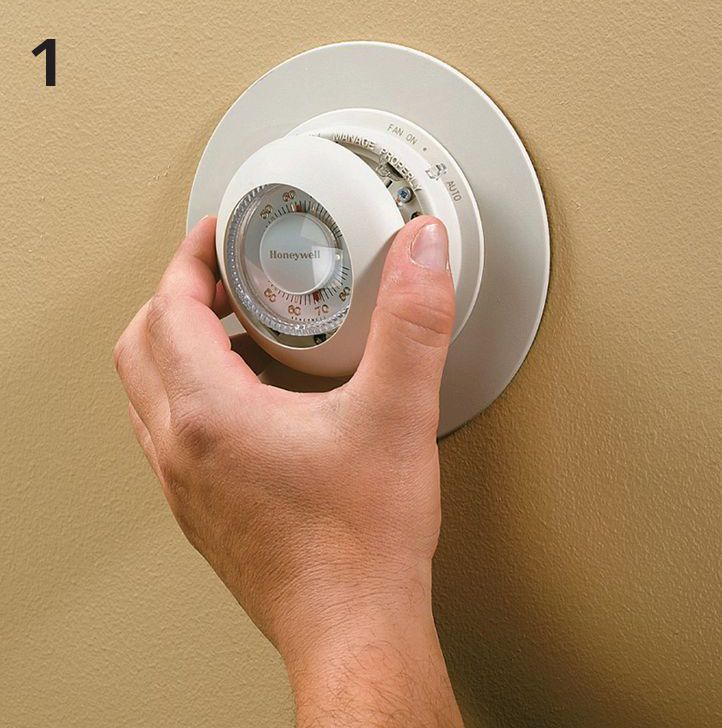
Start by removing the existing thermostat. Turn off the power to the furnace at the main service panel and test for power. Then remove the thermostat cover.
The body of the thermostat is held to a wall plate with screws. Remove these screws and pull the body away from the wall plate. Set the body aside.
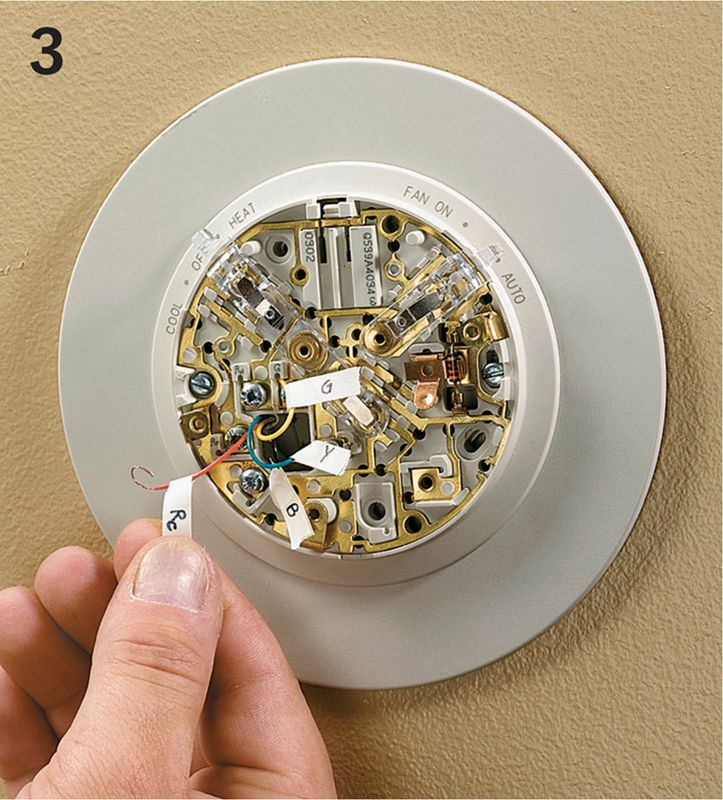
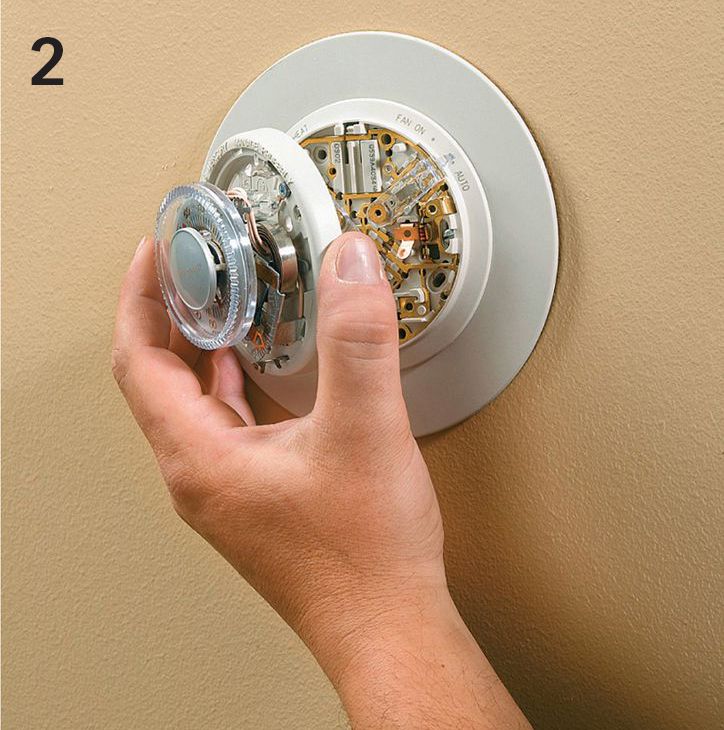
The low-voltage wires that power the thermostat are held by screw terminals to the mounting plate. Do not remove the wires until you label them with tape according to the letter printed on the terminal to which each wire is attached.
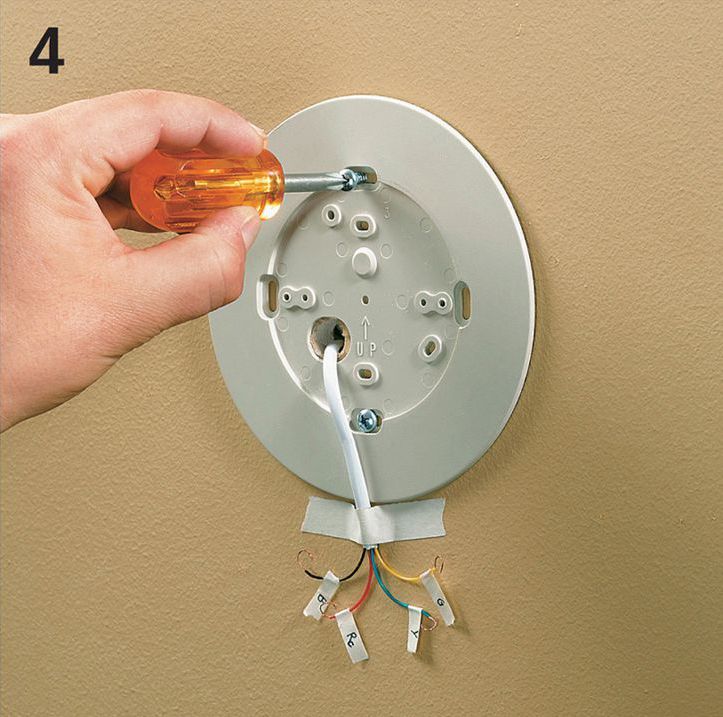
Once all the wires are labeled and removed from the mounting plate, tape the cable that holds these wires to the wall to keep it from falling back into the wall. Then unscrew the mounting plate and set it aside.
Position the new thermostat base on the wall and guide the wires through the central opening. Screw the base to the wall using wall anchors if necessary.
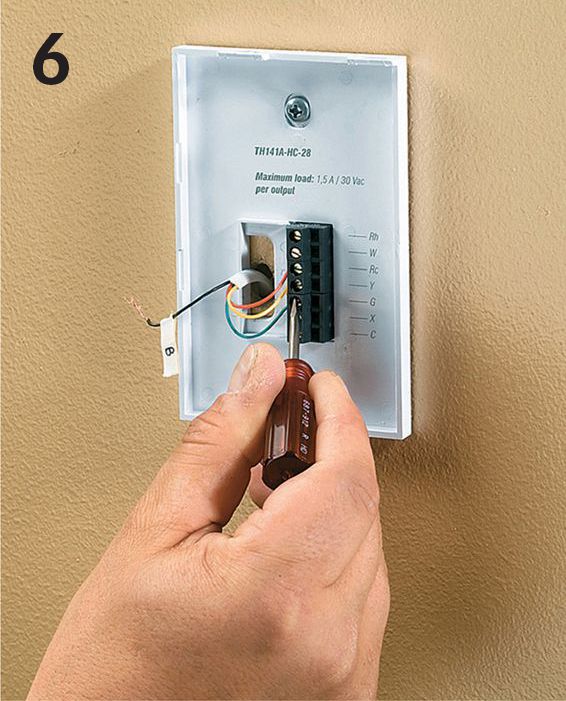
Check the manufacturer’s instructions to establish the correct terminal for each low-voltage wire. Then connect the wires to these terminals, making sure each screw is secure.
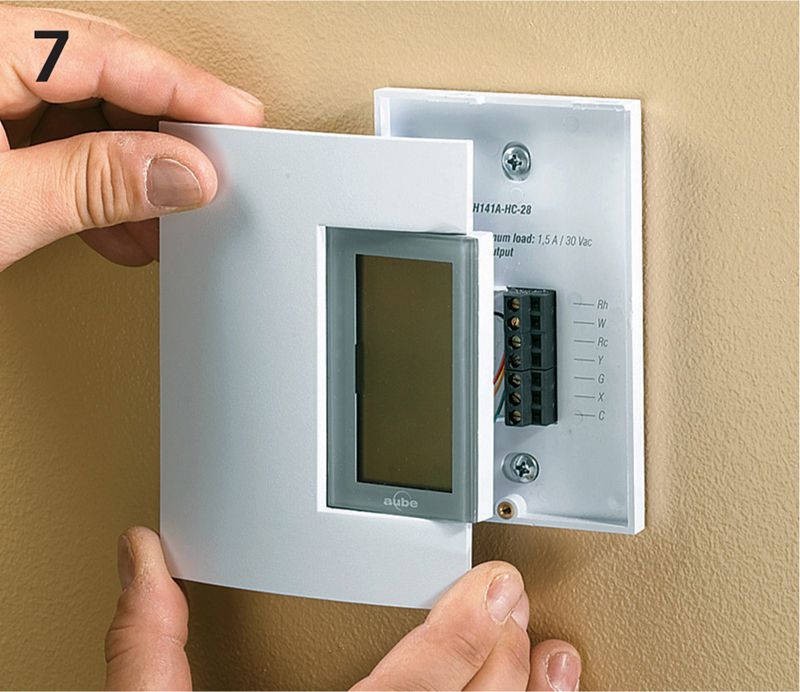
Programmable thermostats require batteries to store the programs so they won’t disappear if the power goes out in a storm. Make sure to install batteries before you snap the thermostat cover in place. Program the new unit to fit your needs, and then turn on the power to the furnace.