FLOORS
TILING: FLOORS
Ceramic tile installation starts with determining the best layout. You snap perpendicular reference lines and dry-fit tiles to ensure the best placement.
When setting tiles, work in small sections so the mortar doesn’t dry before the tiles are set. Use spacers between tiles to ensure consistent spacing. Plan an installation sequence to avoid kneeling on set tiles. Be careful not to kneel or walk on tiles until the designated drying period is over.
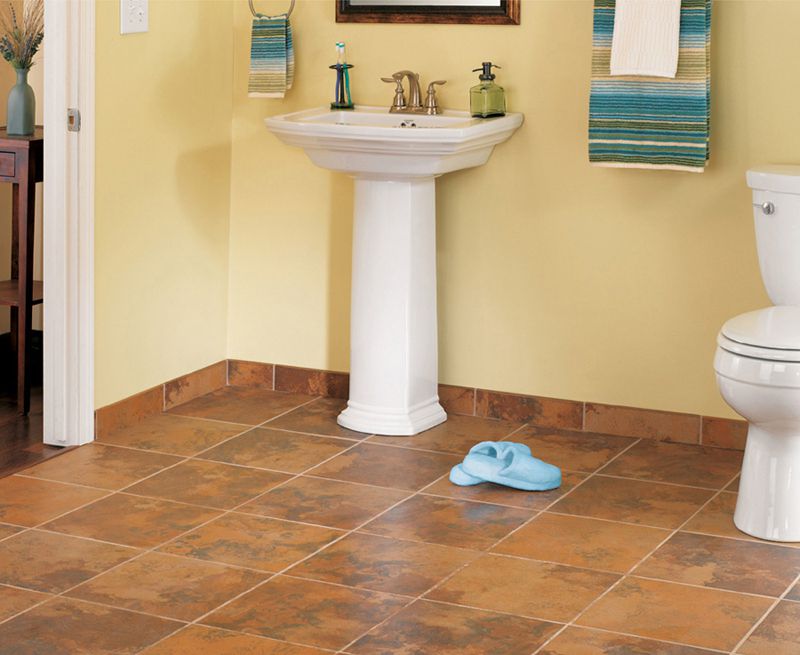
Floor tile can be laid in many decorative patterns, but for your first effort stick to a basic grid. In most cases, floor tile is combined with profiled base tile (installed after flooring).
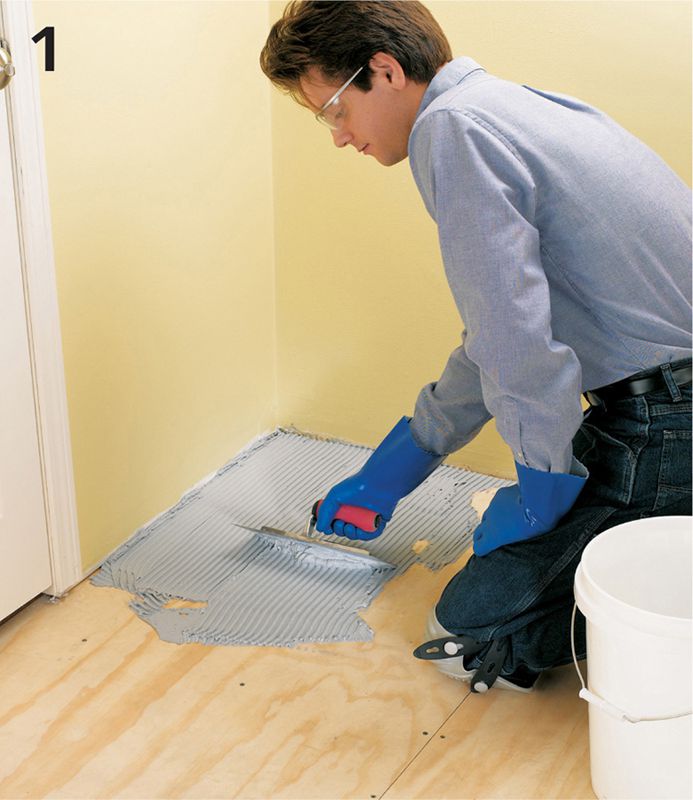
Make sure the subfloor is smooth, level, and stable. Spread thin-set mortar on the subfloor for one sheet of cementboard. Place the cementboard on the mortar, keeping a 1/4" gap along the walls.
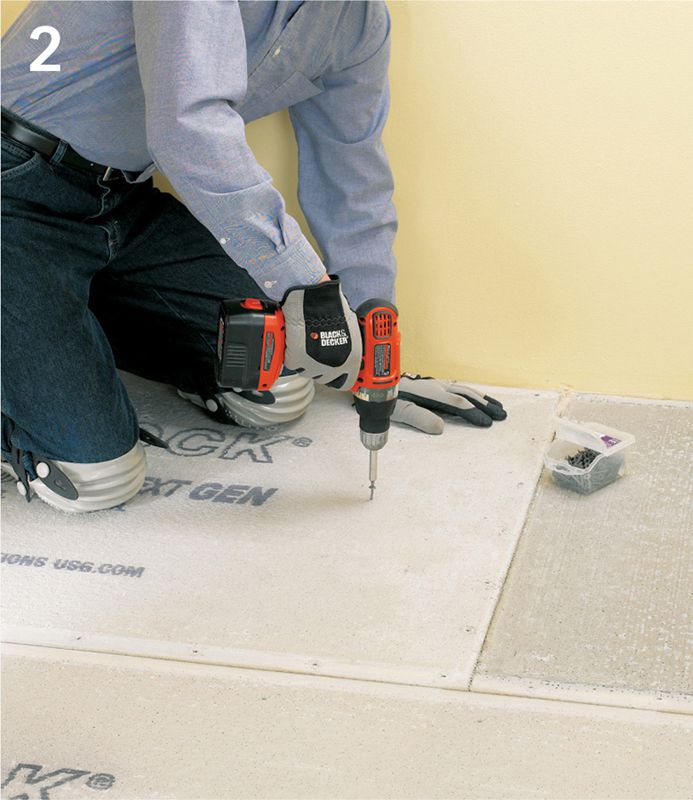
Fasten it in place with 1 1/4" cementboard screws. Place fiberglass-mesh wallboard tape over the seams. Cover the remainder of the floor.
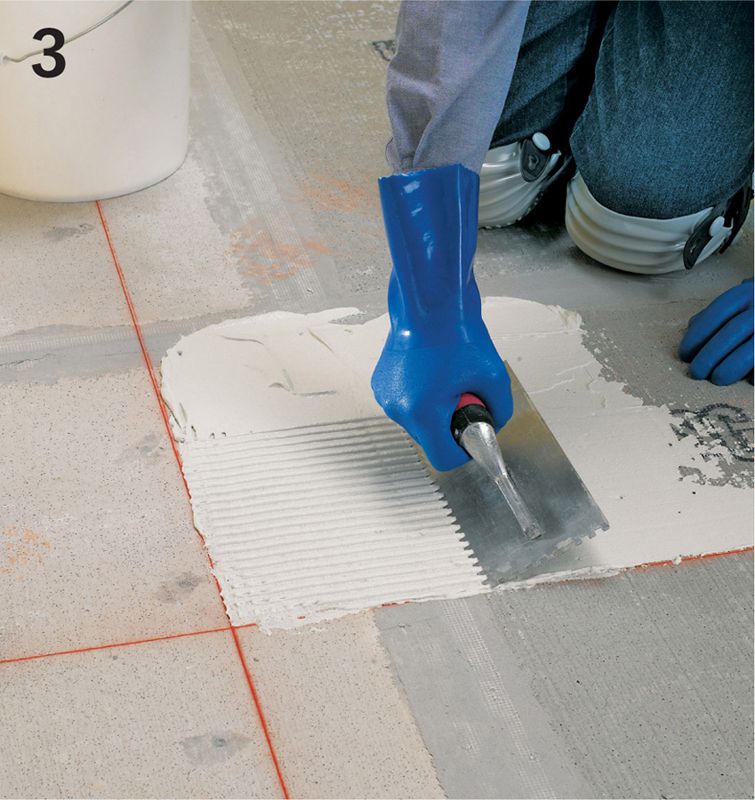
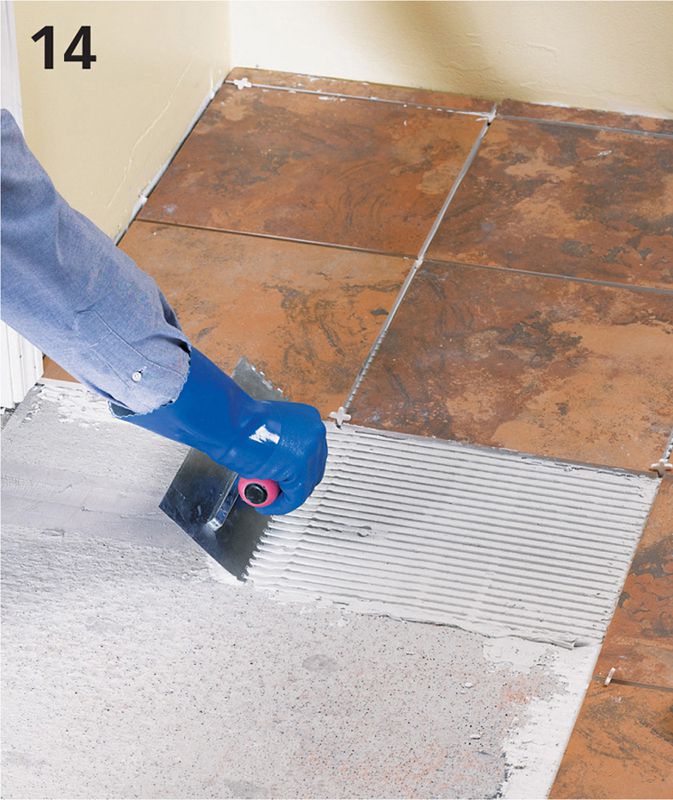
Draw reference lines and establish the tile layout (see pages 528 and 529). Mix a batch of thin-set mortar, then spread the mortar evenly against both reference lines of one quadrant, using a 1/4" square-notched trowel. Use the notched edge of the trowel to create furrows in the mortar bed.
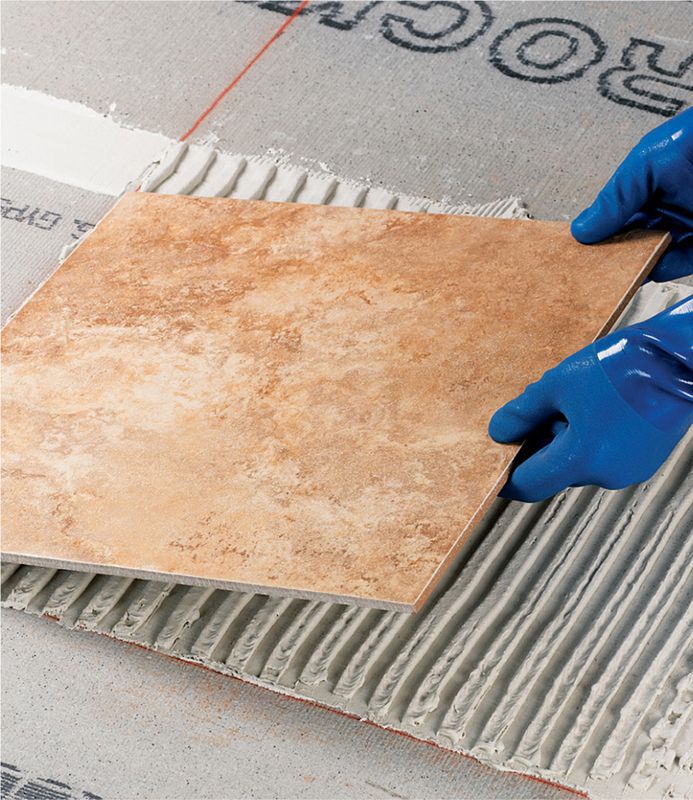
Set the first tile in the corner of the quadrant where the reference lines intersect. When setting tiles that are 8" square or larger, twist each tile slightly as you set it into position.
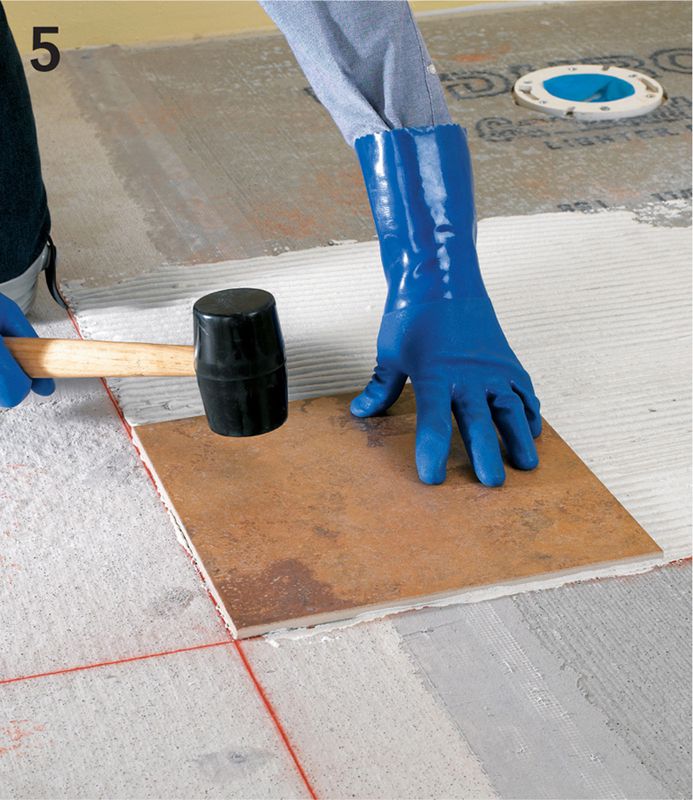
Using a soft rubber mallet, gently tap the central area of each tile a few times to set it evenly into the mortar.
Variation: for large tiles or uneven stone, use a larger trowel with notches that are at least 1/2" deep.
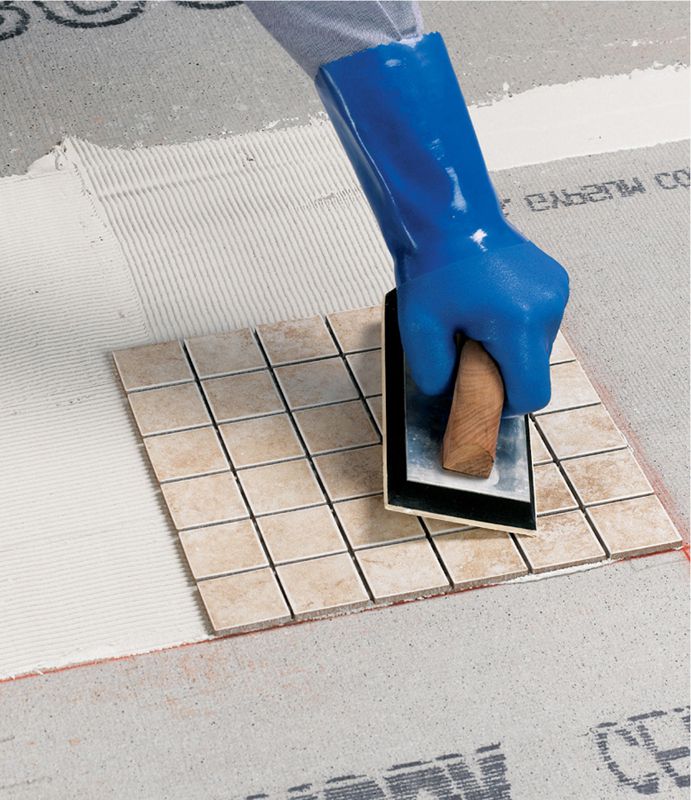
Variation: For mosaic sheets, use a 3/16" V-notched trowel to spread the mortar and a grout float to press the sheets into the mortar. Apply pressure gently to avoid creating an uneven surface.
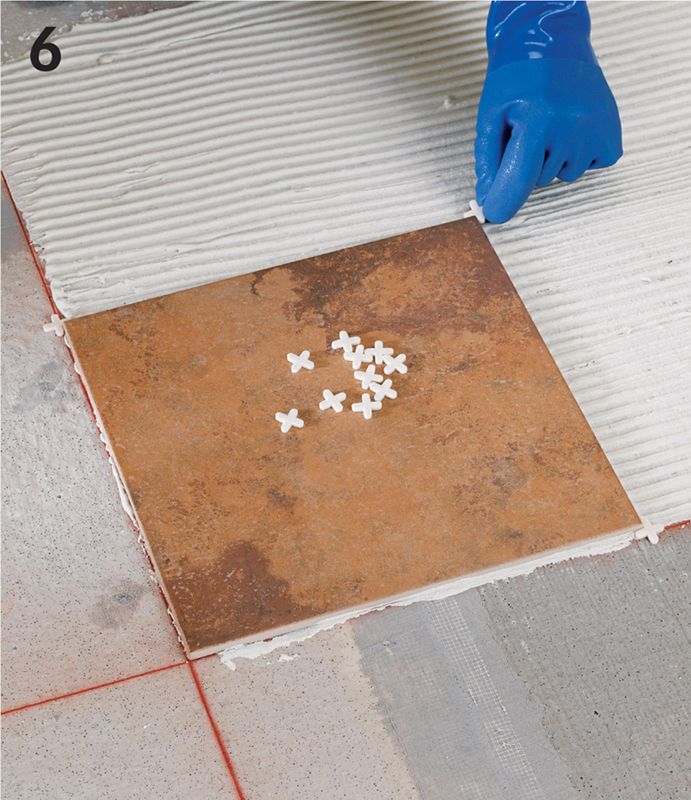
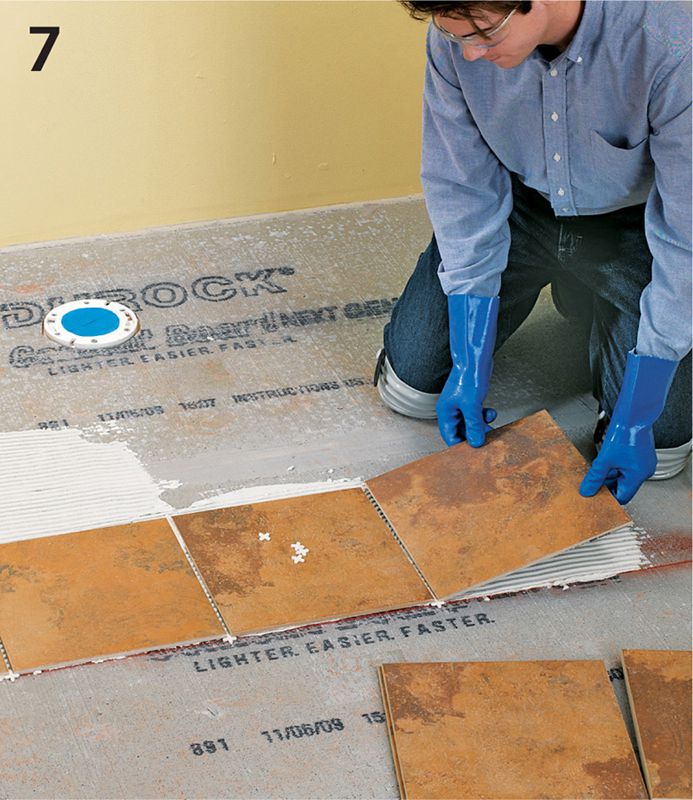
To ensure consistent spacing between tiles, place plastic tile spacers at the corners of the set tile. With mosaic sheets, use spacers equal to the gaps between tiles.
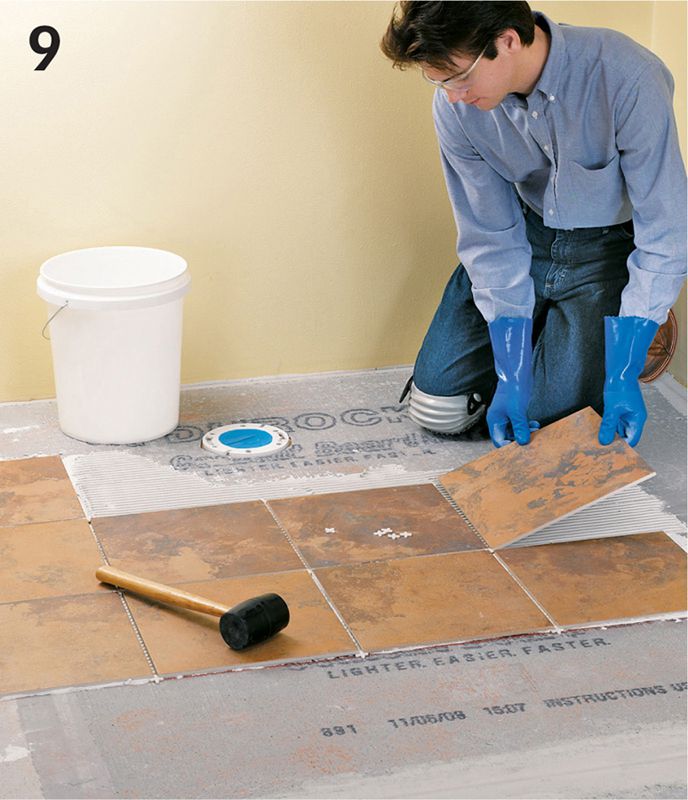
Position and set adjacent tiles into the mortar along the reference lines. Make sure the tiles fit neatly against the spacers.
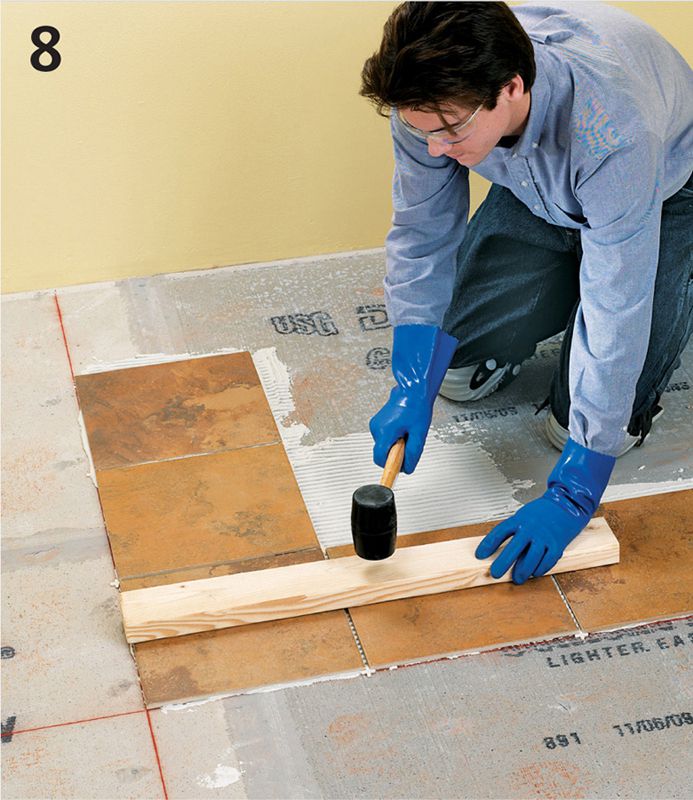
To make sure the tiles are level with one another, place a straight piece of 2 × 4 across several tiles, then tap the board with a mallet.
Lay tile in the remaining area covered with mortar. Repeat steps 2 to 7, continuing to work in small sections, until you reach walls or fixtures.
Measure and mark tiles to fit against walls and into corners. Cut the tiles to fit. Apply thin-set mortar directly to the back of the cut tiles, instead of the floor, using the notched edge of the trowel to furrow the mortar.
Set the cut pieces of tile into position. Press down on the tile until each piece is level with adjacent tiles.
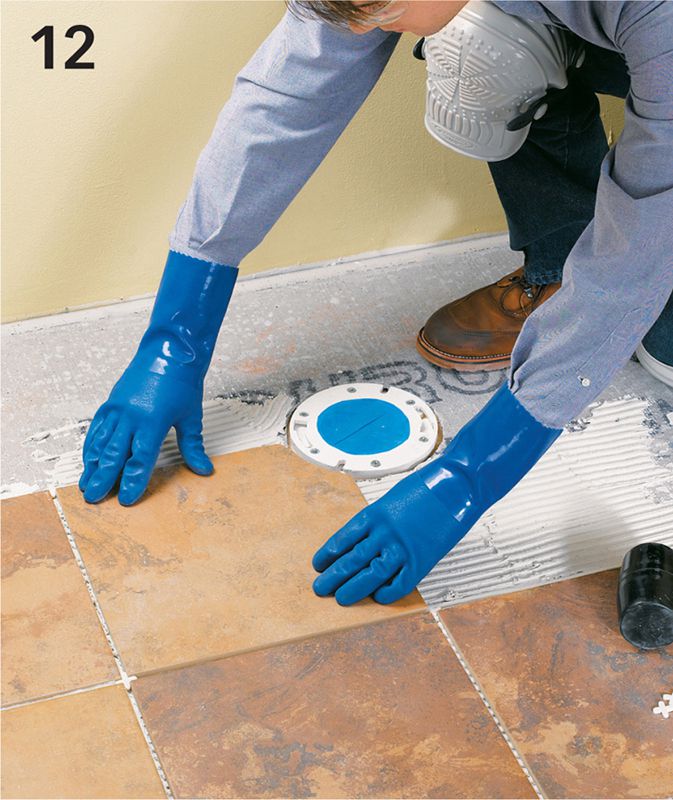
Measure, cut, and install tiles that require notches or curves to fit around obstacles, such as exposed pipes or toilet drains.
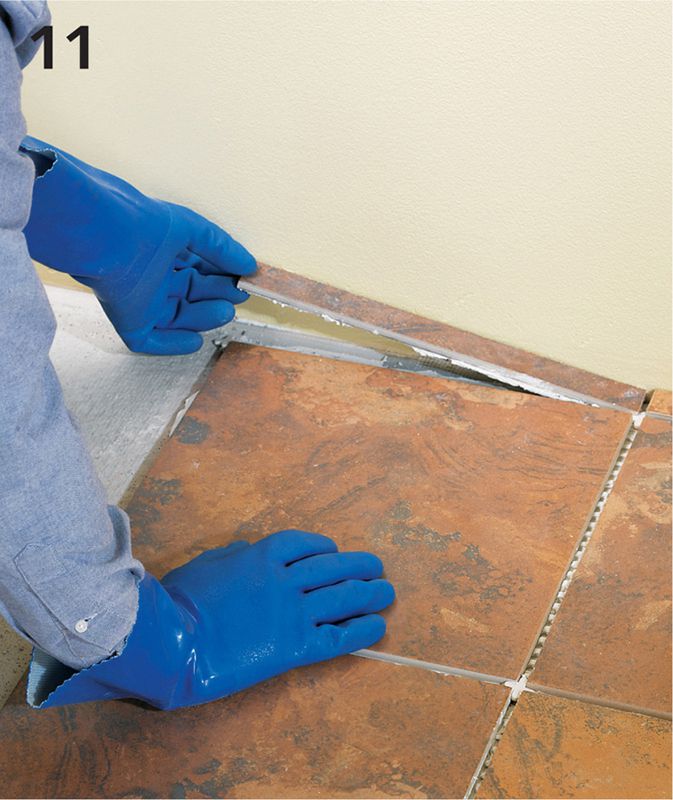
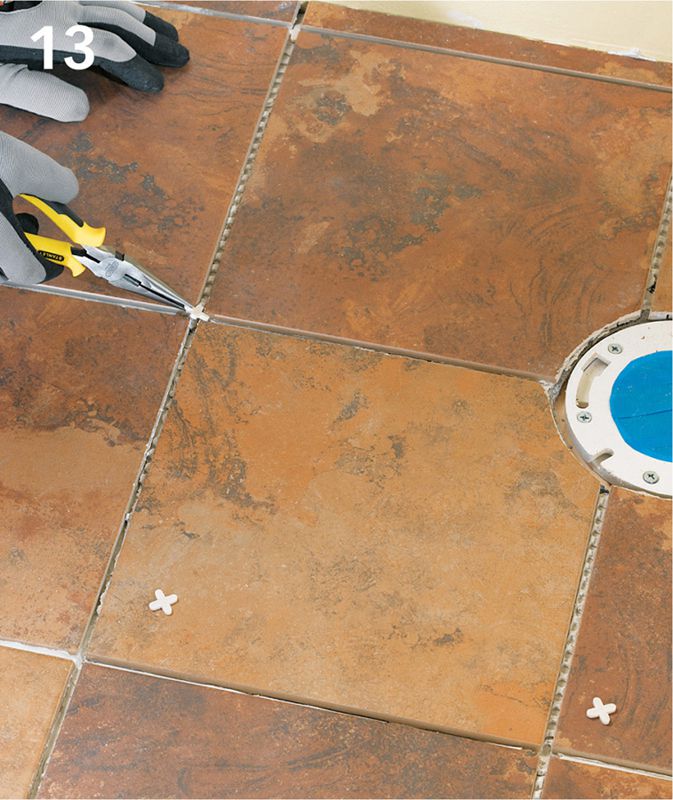
Carefully remove the spacers with needlenose pliers before the mortar hardens.
Apply mortar and set tiles in the remaining quadrants, completing one quadrant before starting the next. Inspect all of the tile joints and use a utility knife or grout knife to remove any high spots of mortar that could show through the grout.
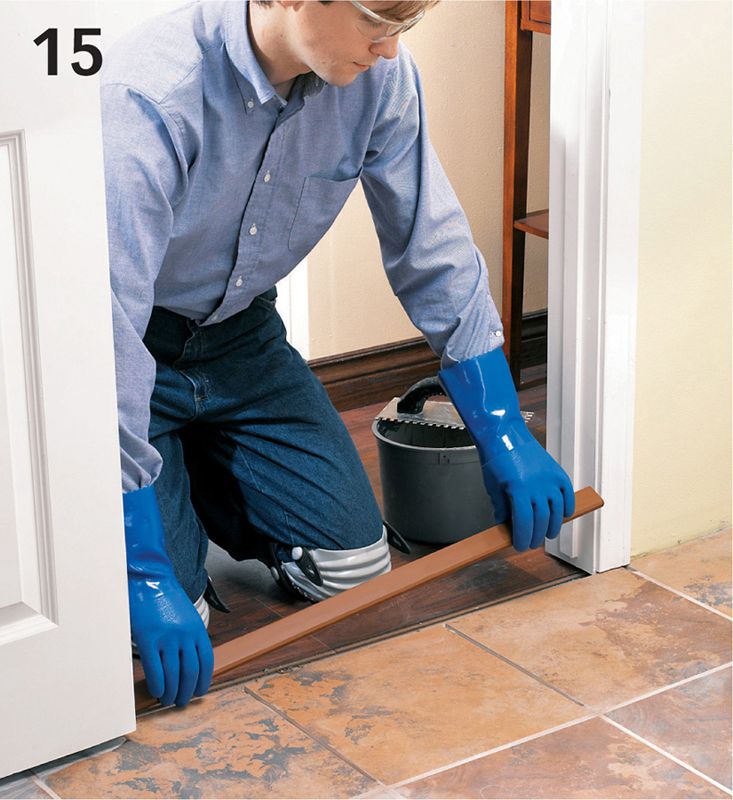
Install threshold material in doorways. If the threshold is too long for the doorway, cut it to fit with a jigsaw or circular saw and a tungsten-carbide blade. Set the threshold in thin-set mortar so the top is even with the tile. Keep the same space between the threshold as between tiles. Let the mortar set for at least 24 hours.
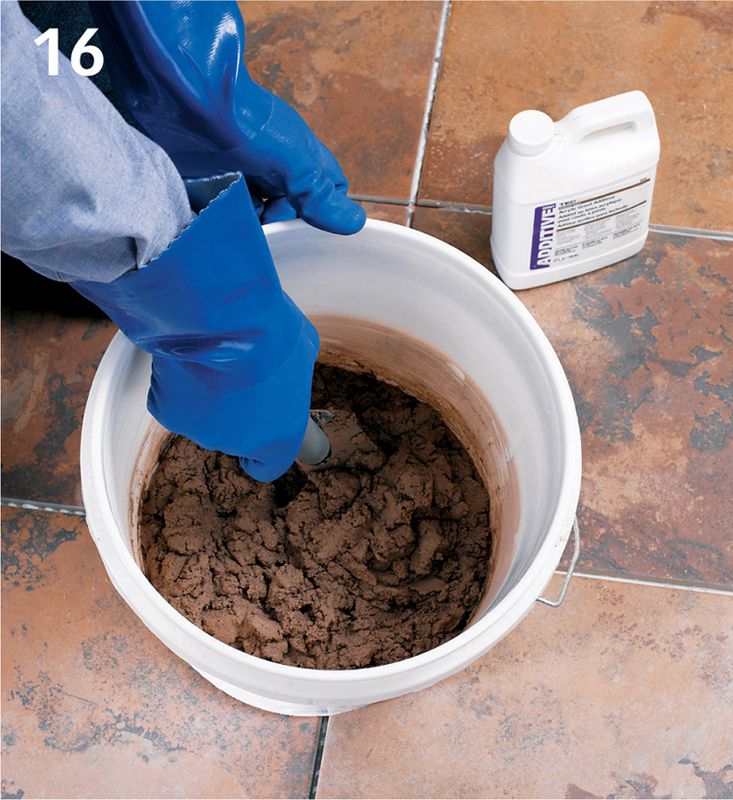
Prepare a small batch of floor grout to fill the tile joints. When mixing grout for porous tile, such as quarry or natural stone, use an additive with a release agent to prevent grout from bonding to the tile surfaces.
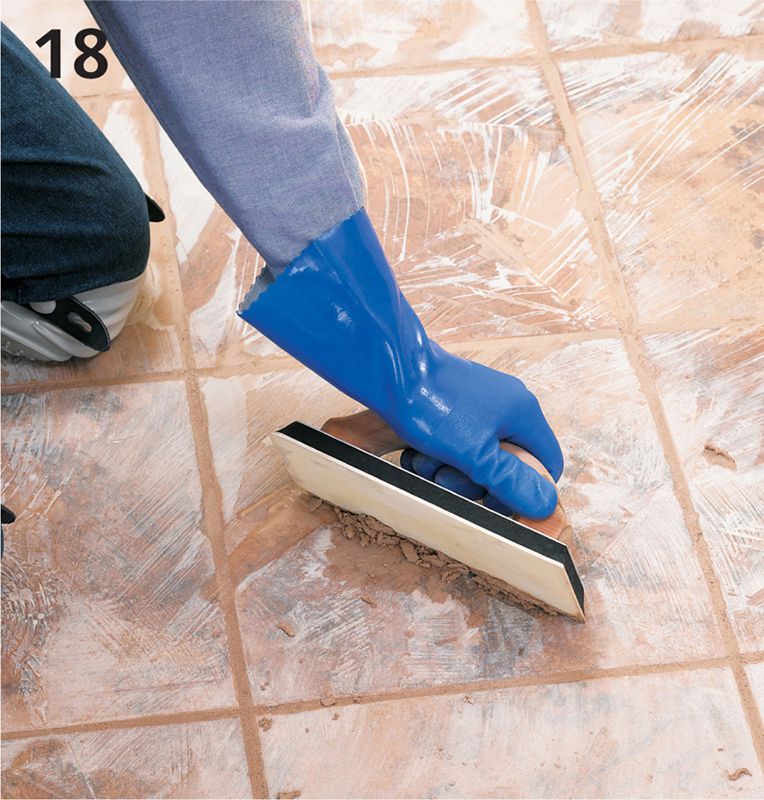
Starting in a corner, pour the grout over the tile. Use a rubber grout float to spread the grout outward from the corner, pressing firmly on the float to completely fill the joints. For best results, tilt the float at a 60° angle to the floor and use a figure eight motion.
Use the grout float to remove excess grout from the surface of the tile. Wipe diagonally across the joints, holding the float in a near-vertical position. Continue applying grout and wiping off excess until about 25 sq. ft. of the floor has been grouted.
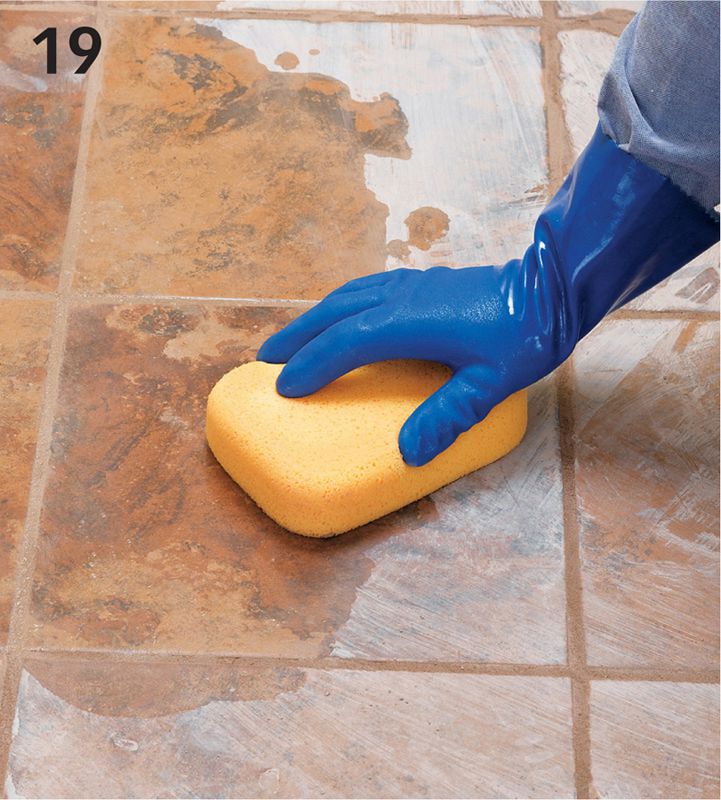
Wipe a damp grout sponge diagonally over about 2 sq. ft. of the floor at a time. Rinse the sponge in cool water between wipes. Wipe each area only once since repeated wiping can pull grout back out of joints. Repeat steps 15 to 18 to apply.
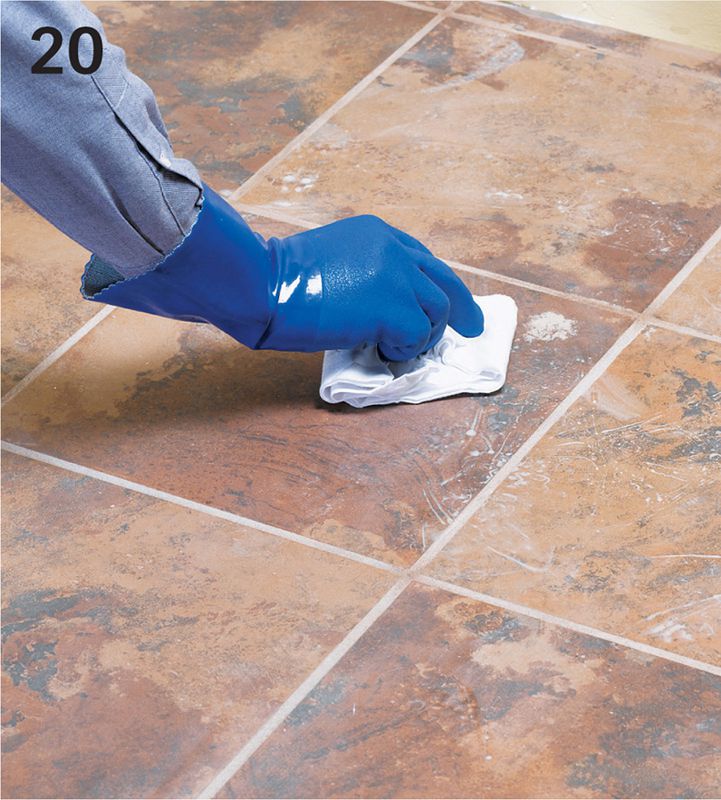
Allow the grout to dry for about 4 hours, then use a soft cloth to buff the tile surface and remove any remaining grout film.
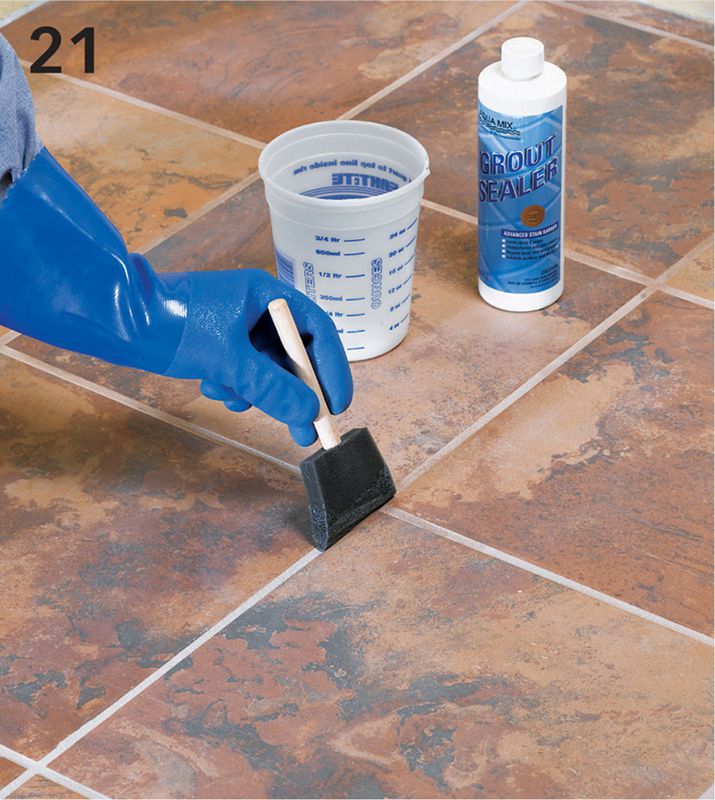
Apply grout sealer to the grout lines, using a small sponge brush or sash brush. Avoid brushing sealer on tile surfaces. Wipe up any excess sealer immediately.
Variation: Use a tile sealer to seal porous tile, such as quarry tile or unglazed tile. Following the manufacturer’s instructions, roll a thin coat of sealer over the tile and grout joints, using a paint roller and extension handle.
 HOW TO INSTALL BULLNOSE BASE TRIM
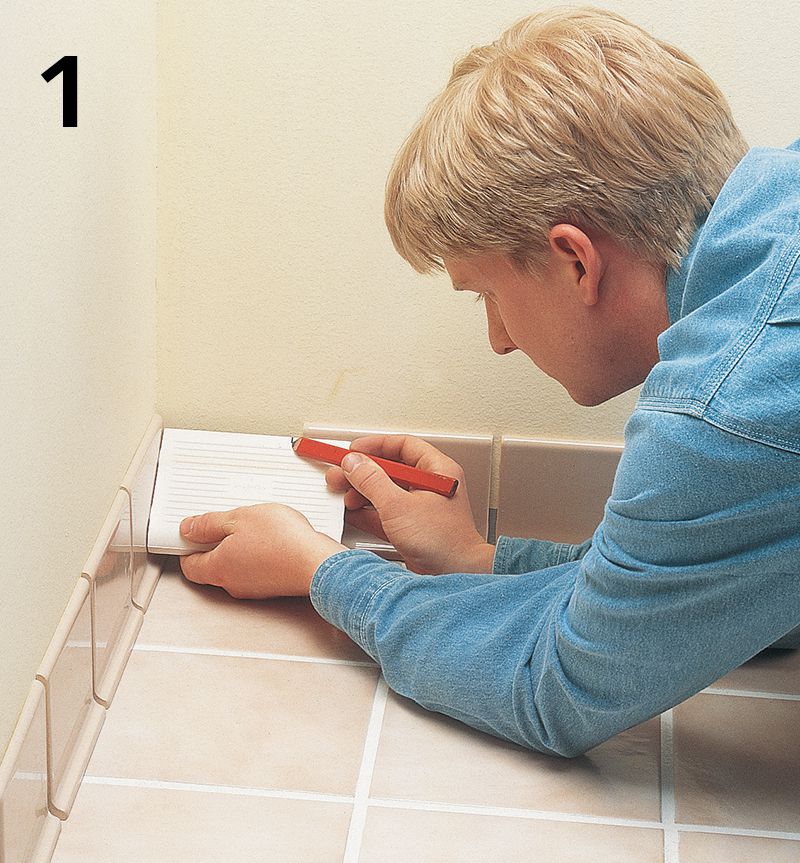
Dry-fit the tiles to determine the best spacing. Grout lines in base tile do not always align with grout lines in the floor tile. Use rounded bullnose tiles at outside corners, and mark tiles for cutting as needed.
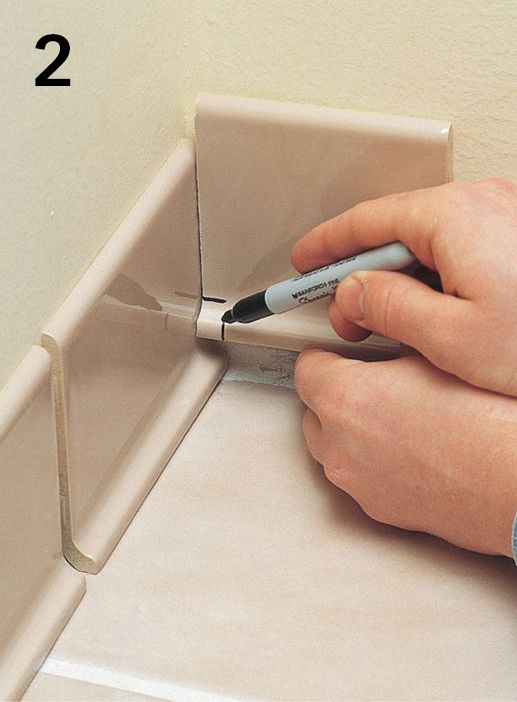
Leaving a 1/8" expansion gap between tiles at corners, mark any contour cuts necessary to allow the coved edges to fit together. Use a jigsaw with a tungsten-carbide blade to make curved cuts.
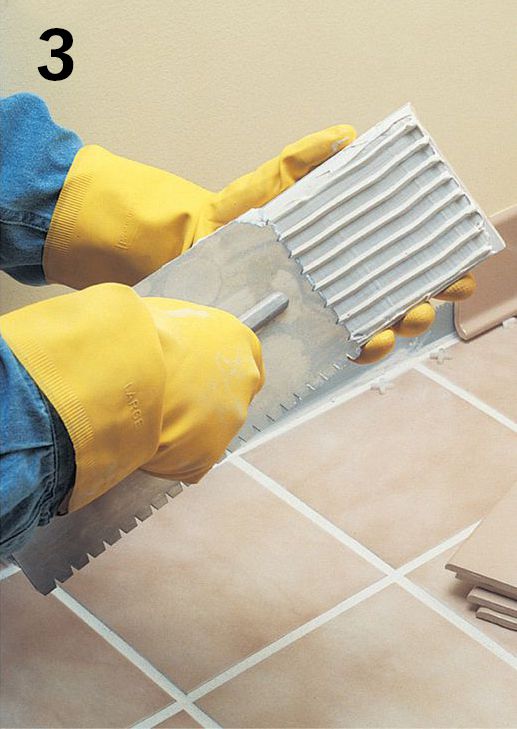
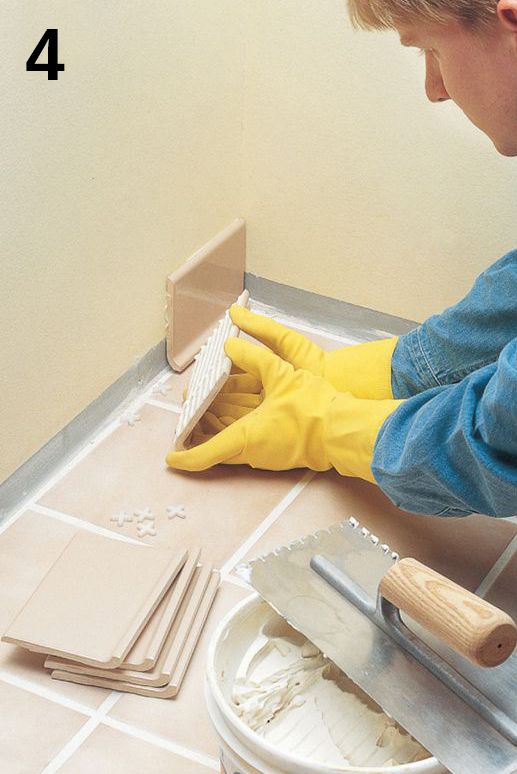
Begin installing base-trim tiles at an inside corner. Use a notched trowel to apply wall adhesive to the back of the tile. Place 1/8" spacers on the floor under each tile to create an expansion joint.
Press the tile onto the wall. Continue setting tiles, using spacers to maintain 1/8" gaps between the tiles and 1/8" expansion joints between the tiles and floor.
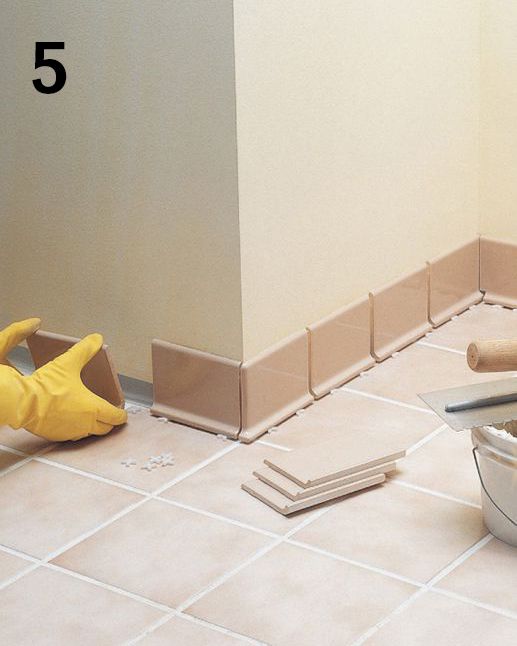
Use a double-bullnose tile on one side of outside corners to cover the edge of the adjoining tile.
After the adhesive dries, grout the vertical joints between tiles and apply grout along the tops of the tiles to make a continuous grout line. Once the grout hardens, fill the expansion joint between the tiles and floor with caulk.