WALLS & CEILINGS
TRIM: CHAIR RAIL: INSTALLING
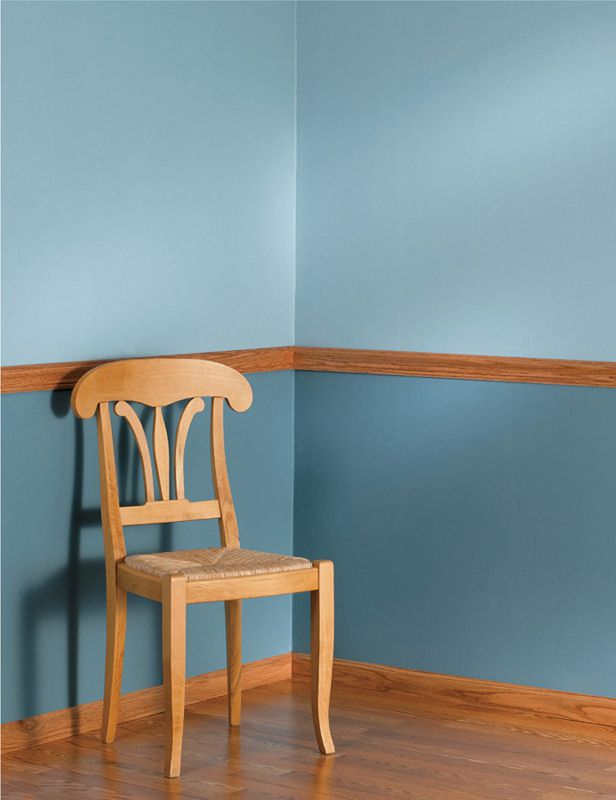
Chair rail molding typically runs horizontally along walls at a height of 32 to 36 inches (the rule of thumb is to install it one-third of the way up the wall). Originally installed to protect walls from chair backs, today chair rail is commonly used to divide a wall visually. Chair rail may cap wainscot, serve as a border for wallpaper, or divide two different colors on a wall. Or more interesting chair rail profiles can be effective alone on a one-color wall.
Stock chair rail moldings are available at most lumberyards and home centers. However, more intricate and elaborate chair rails can be crated by combining multiple pieces of trim.
Chair rail once was installed to protect fragile walls from chair backs, but today it is mainly installed as a decorative accent that visually breaks up dull walls.
 HOW TO INSTALL CHAIR RAIL
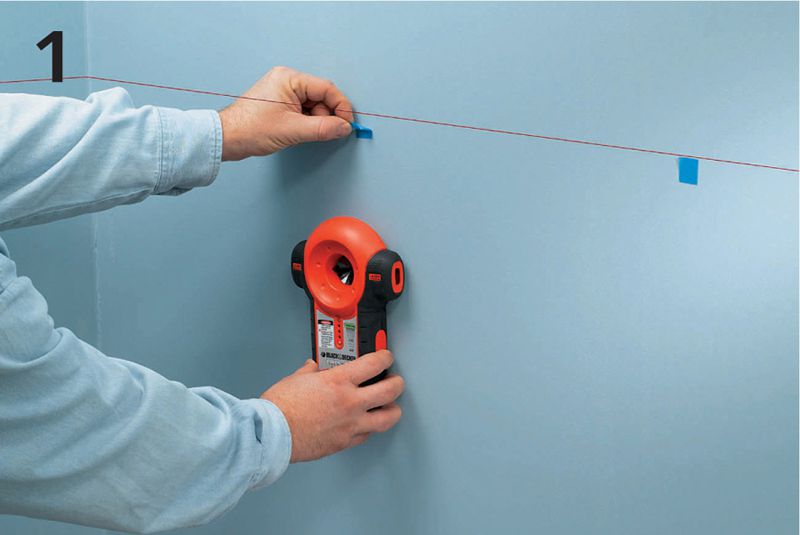
On the starting wall of your installation, measure up the desired height at which you plan to install the chair rail, minus the width of the molding. Mark a level line at this height around the room. Locate all studs along the walls and mark their locations with painter’s tape below the line.
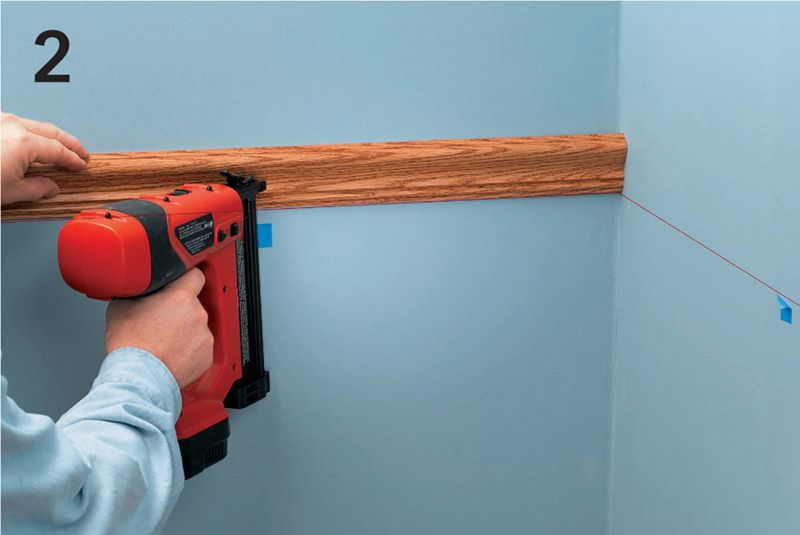
Measure, cut, and install the first piece of chair rail with the ends cut squarely, butting into both walls (in a wall run with two inside corners). Nail the molding in place with two 2" finish nails at each stud location.
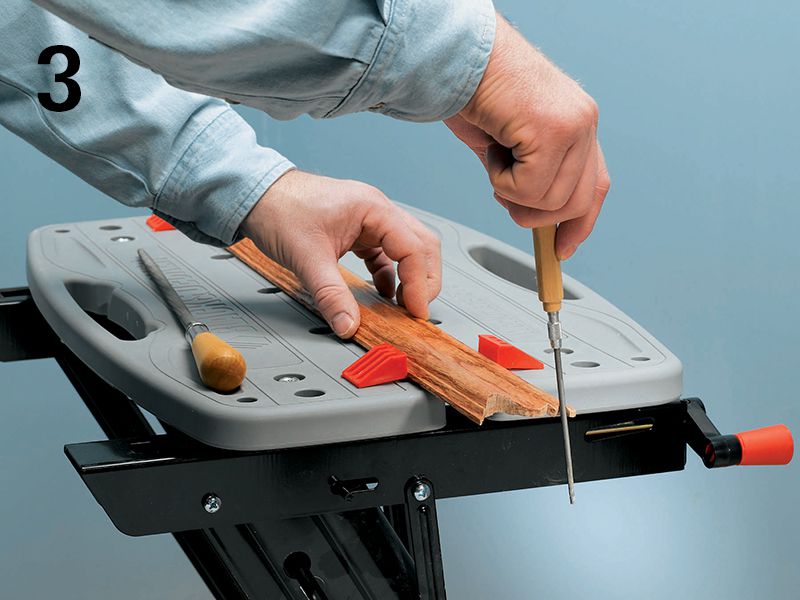
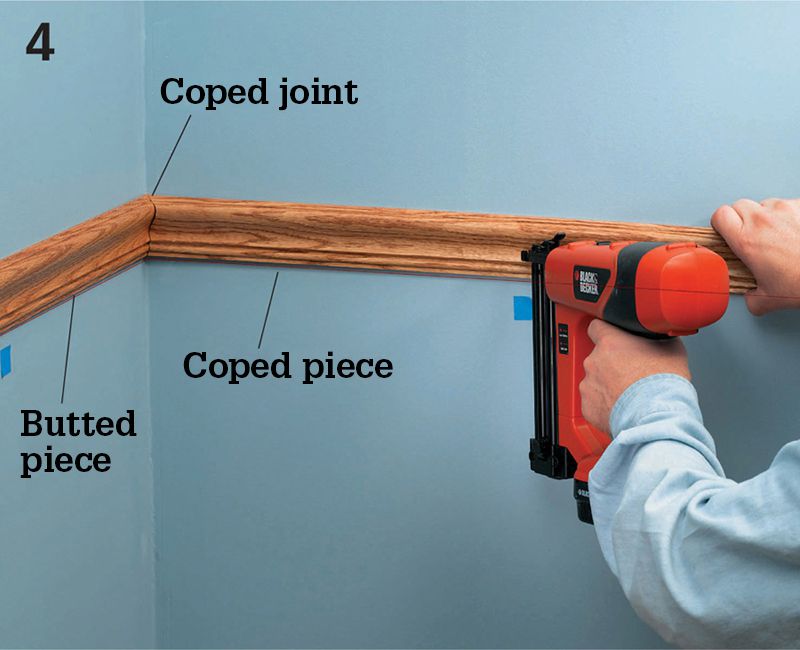
Miter-cut the second piece of molding with a power miter saw and then cope the end with a coping saw. Clean up the edge of the cope cut with a metal file to ensure a tight fit. Dry-fit the piece to check for any gaps in the joint.
When the coped joint fits tightly, measure, mark, and cut the opposing end of the second piece of trim squarely with a miter saw. Nail the second piece in place with two nails at each stud location. Follow the level line with the bottom edge of the molding.
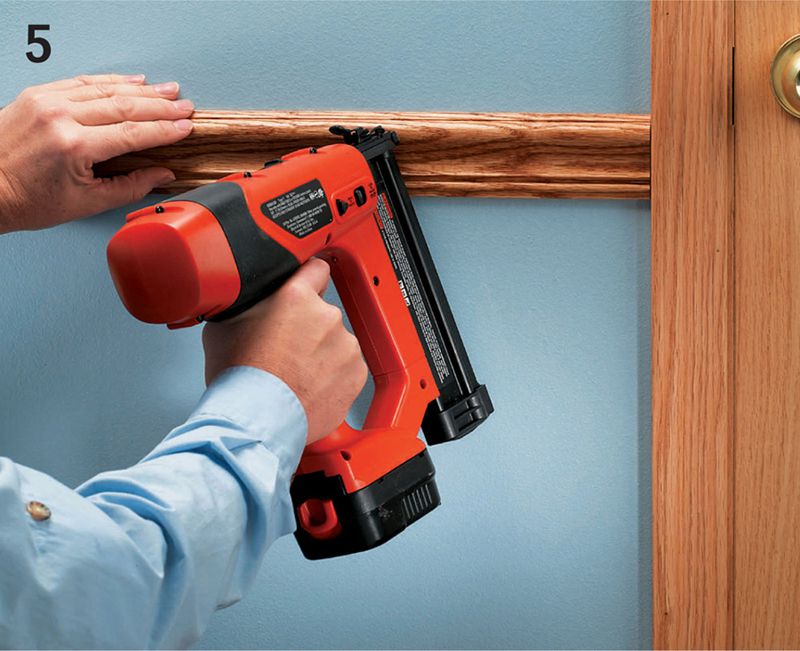
Install the third piece of chair rail with a cope cut at one end. Use a butt joint where the molding runs into door and window casings. Fill all nail holes with putty and apply a final coat of finish to the molding.
OPTION: Apply a painted finish for a more casual appearance. White semigloss is a safe choice.