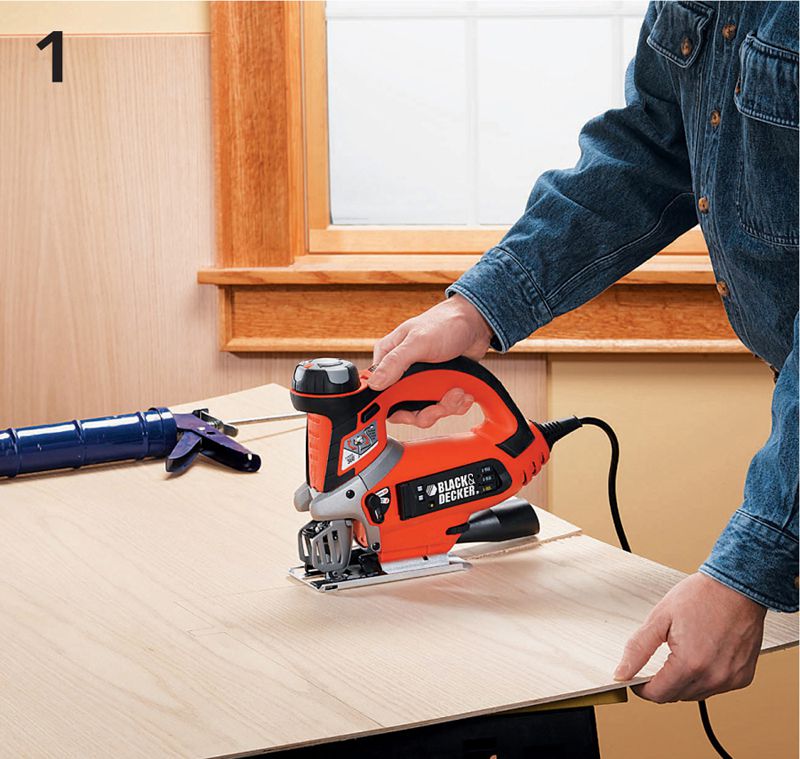
Snap a level line at the top rail height. Because the rails and stiles are the same thickness, the backer panel should run all the way from the floor to just shy of the top of the top rail. Cut the backers so the grain will run vertically when installed. Attach them to the walls with panel adhesive, notching to fit around obstructions such as this window opening.
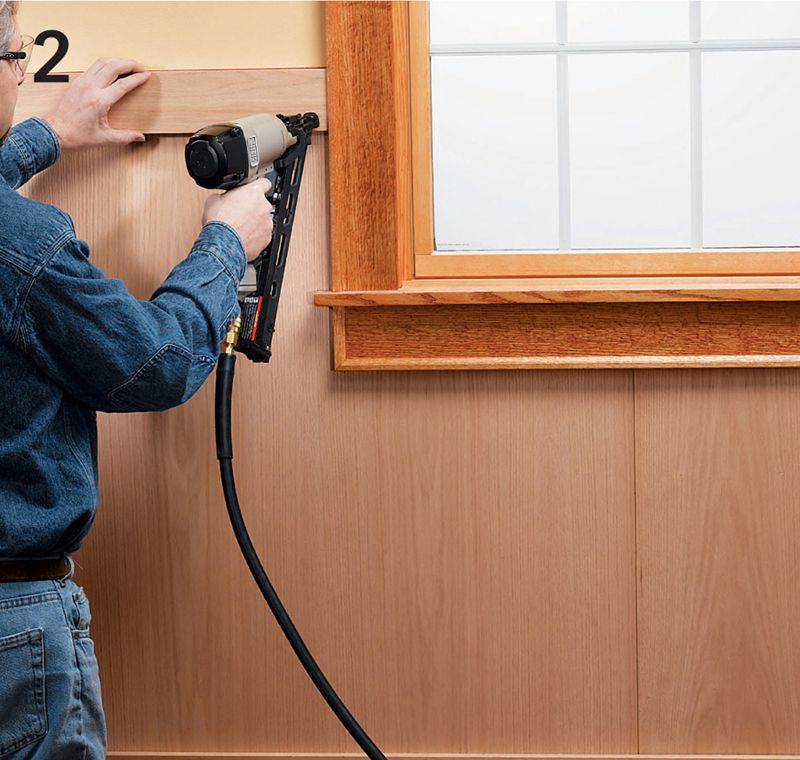
Install the baseboard and top rail directly over the backer panels, using a finish nailer or by hand-nailing with 6d finish nails. The top edge of the top rail pieces should be slightly higher then the backer panels. Use your reference line as a guide for the top rail, but double check with a level.
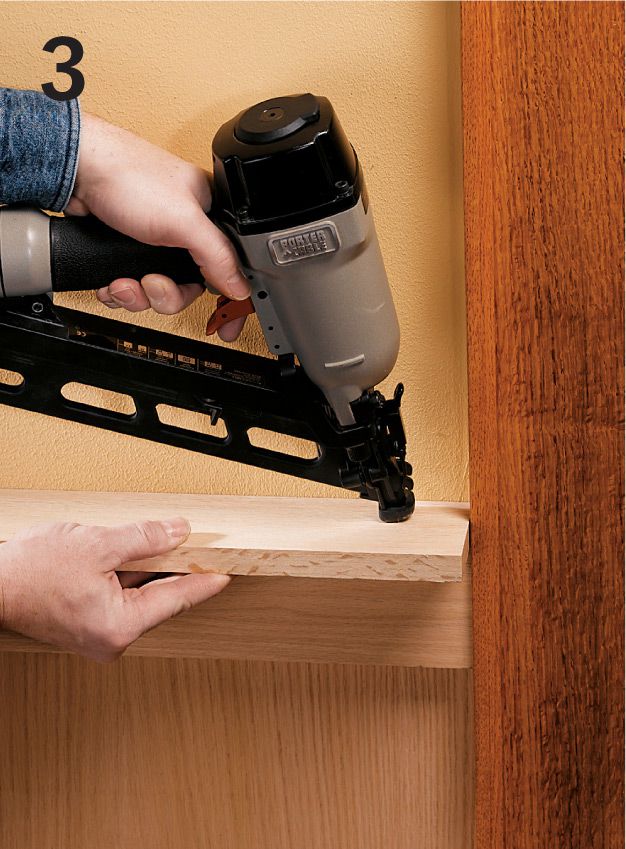
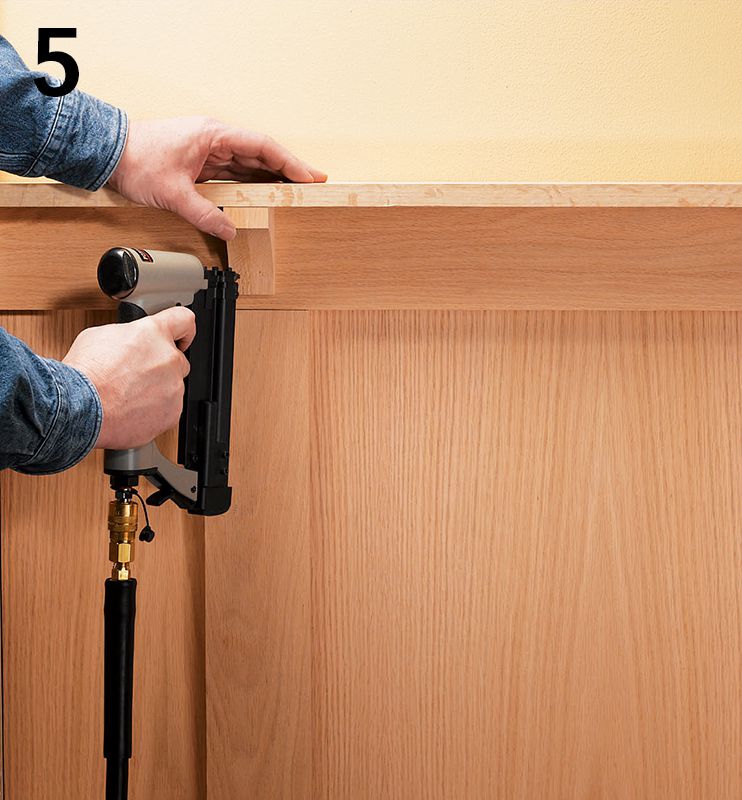
Attach the cap rail pieces with a finish nailer. The caps should butt flush against the wall, concealing the top edges of the backer panels. Also butt the cap rails against the window and door casings.
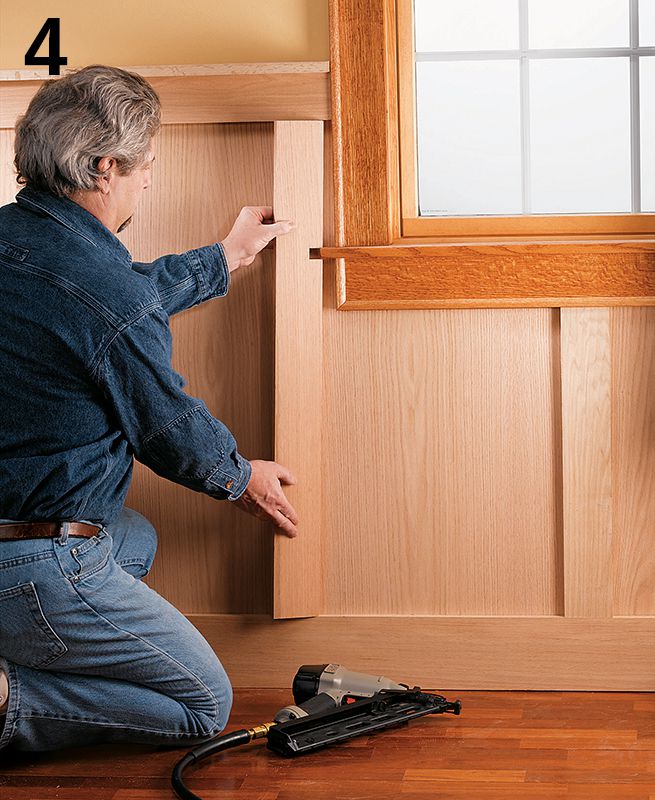
Cut the stiles to fit between the top rail and the baseboard and install them. It’s okay to vary the spacing slightly from wall to wall, but try to keep them evenly spaced on each wall. Where the wainscot meets door or window casing, butt the edges of the stiles against the casing. This can mean notching around window aprons or horns as well as door plinth blocks.
Add decorative touches, such as the corbels we cut for this installation. The corbels provide some support for the cap rail but their function is primarily decorative. We glued and nailed one corbel at each end of each cap rail piece and above each stile, and then added an intermediate one between each pair of stiles.