WINDOWS & DOORS
WINDOWS: INSTALLING
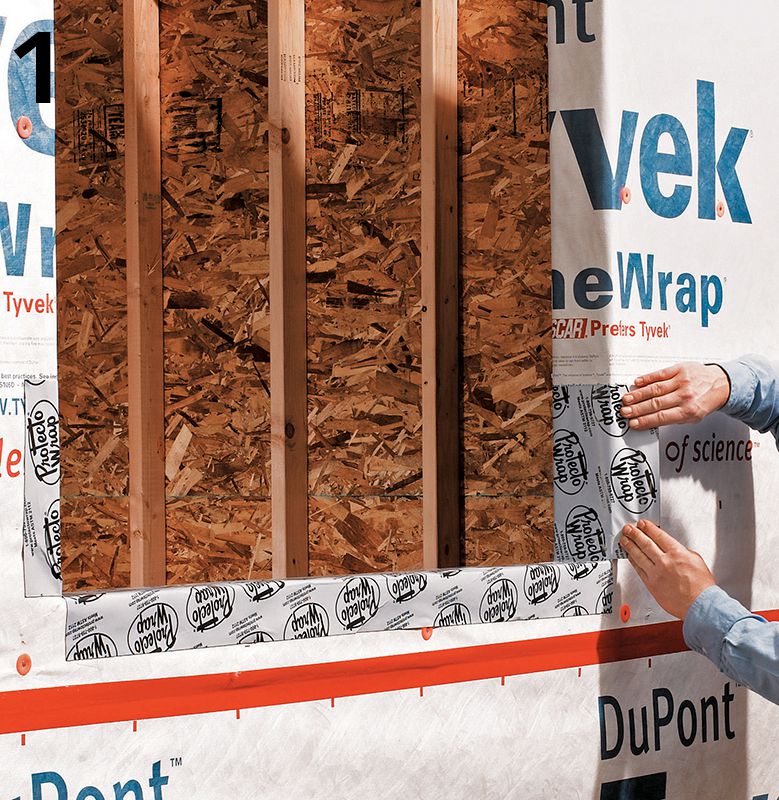
Preventing water from getting in is one of the most important considerations when installing a window. The key is to seal all joints around the window and block anyplace the water could wick in. Although caulking can be effective, it’s also easy to miss small spots, and caulking will deteriorate over time. That’s why builders in wetter parts of the country install plenty of flashing around the window with waterproof membrane. If you want extra protection against water infiltration, start from the bottom, cut strips of self-adhesive waterproof membrane, and apply them under the window, up the sides, and then on top of the window. All seams should face down and the top and bottom strips should run out 6 inches on either side of the window. Repeat the procedure over the nailing flanges.
New windows can be installed after the wall framing and sheathing is done. Many builders sheath over the window openings, then cut them out as they install each window, to keep weather and wildlife out.
 HOW TO INSTALL A WINDOW
Flash the rough sill. Apply 9"-wide self-adhesive flashing tape to the rough sill to prevent moisture infiltration below the window. Install the flashing tape so it wraps completely over the sill and extends 10 to 12" up the jack studs. Fold the rest of the tape over the housewrap to create a 3" overlap. Peel off the backing and press the tape firmly in place. Install tape on the side jambs butting up to the header, and then flash the header.
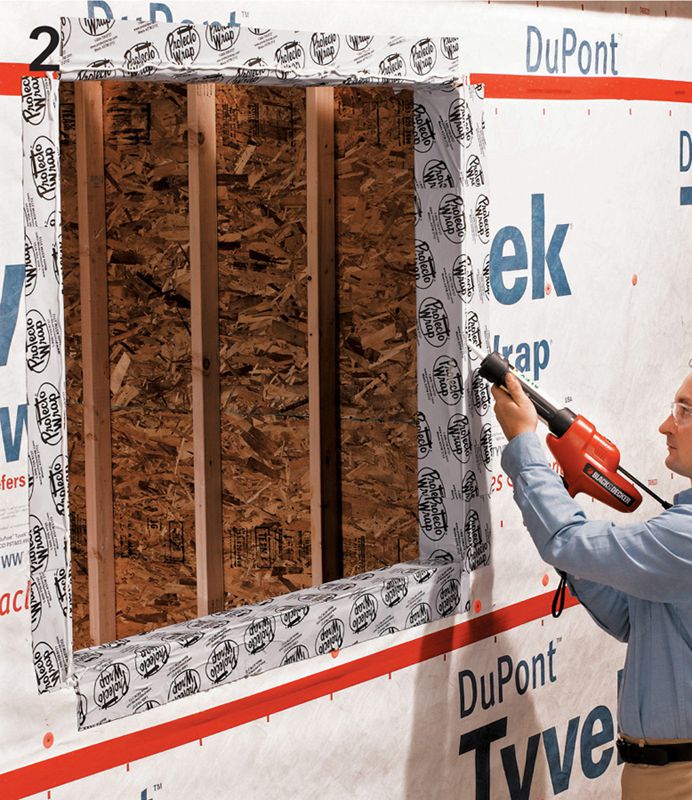
Caulk the opening. Apply a 1/2"-wide bead of caulk around the outside edges of the jack studs and header to seal the window flange in the opening. Leave the rough sill uncaulked to allow any water that may penetrate the flashing to drain out.
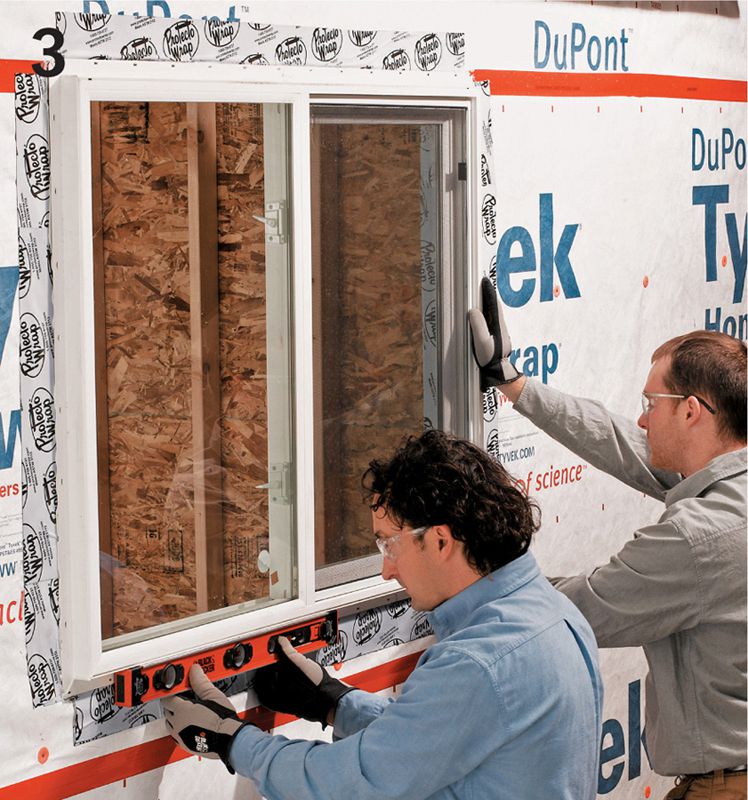
Position the window. Set the window unit into the rough opening, and center it side to side. Check the sill for level.
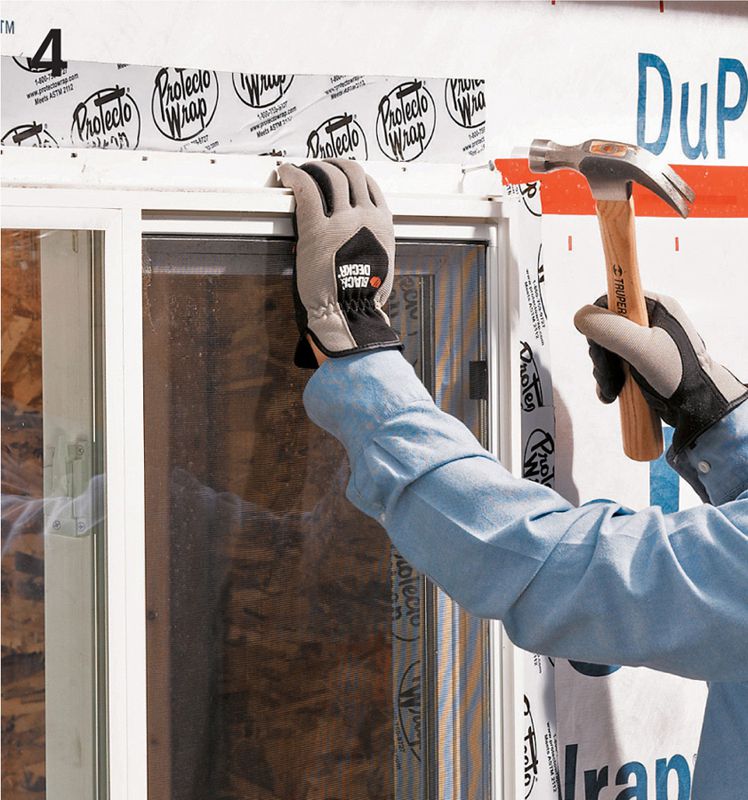
Tack the top corners. Drive a roofing nail through each top corner hole of the top window flange to tack it in place. Do not drive the rest of the nails into the top flange yet.
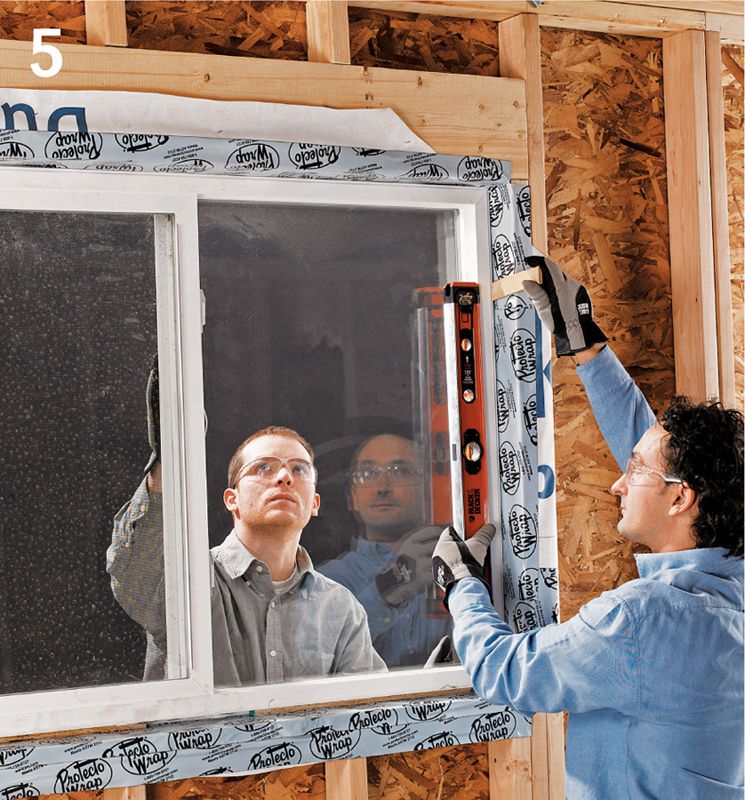
Plumb the window. Have a helper hold the window in place from outside while you work inside. Check the window jamb for square by measuring from corner to corner. If the measurements are the same, the jamb is square. Insert shims between the side jambs and rough opening near the top corners to hold the jambs in position. Use additional shims as needed to bring the jamb into square. Recheck the diagonals after shimming.
Nail the flanges. Drive 2" roofing nails through the flange nailing holes and into the rough sill to secure it. Handnail this flange, being careful not to damage the flange or window cladding.
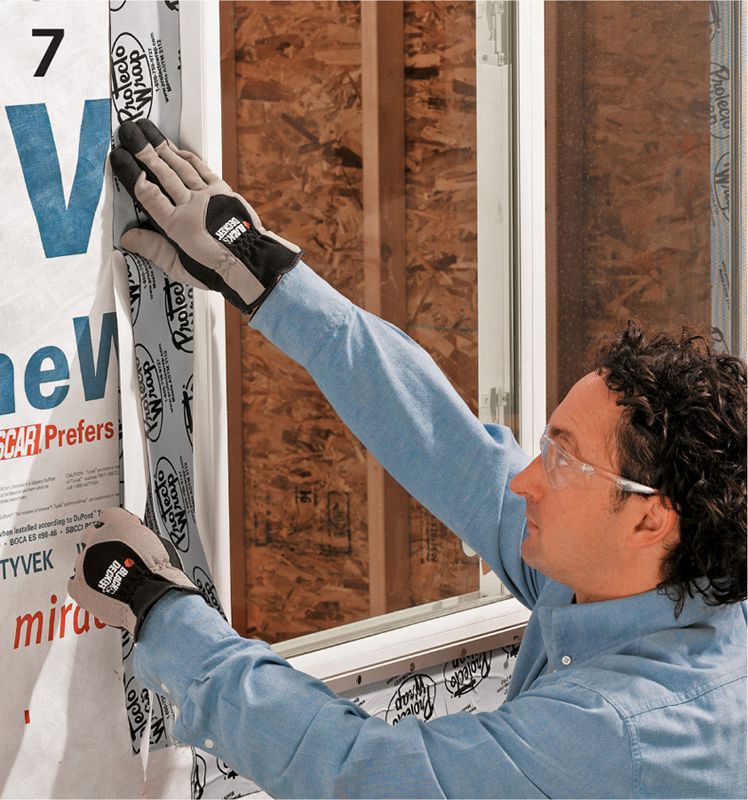
Flash the side flanges. Seal the side flanges with flashing tape, starting 4 to 6" below the sill flashing and ending 4 to 6" above the top flange. Press the tape firmly in place.
Install the drip cap. Cut a piece of metal drip edge to fit over the top window jamb. This is particularly important if your new window has an unclad wooden jamb with preinstalled brickmold. Set the drip edge in place on the top jamb, and secure the flange with a strip of wide flashing tape. Do not nail it. Overlap the side flashing tape by 6". Note: If you plan to trim the window with wood brickmold or other moldings, install the drip edge above that trim instead.
Finish the installation. Cut the shim ends so they are flush with the inside of the wall using a utility knife or handsaw.
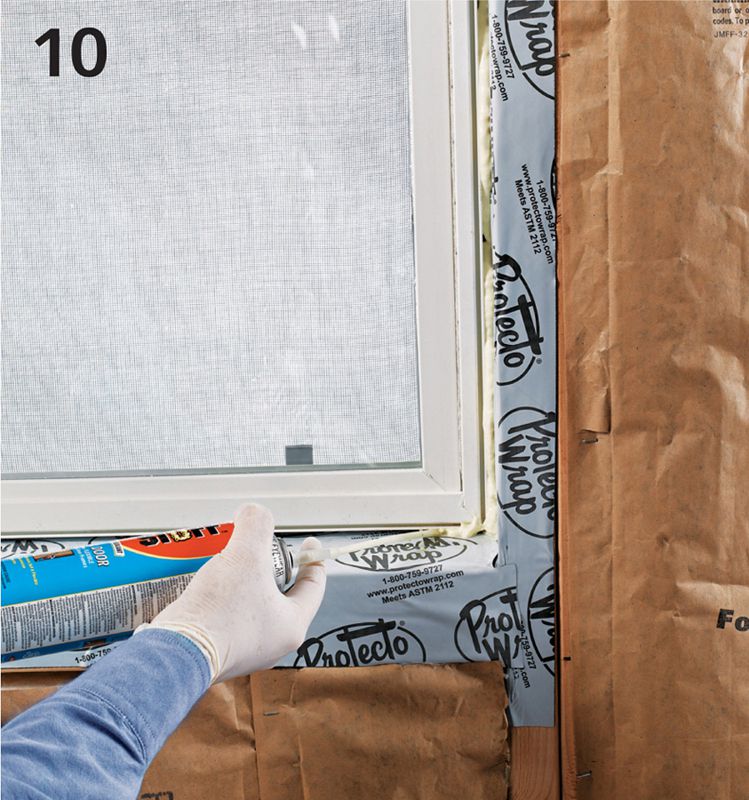
Spray minimal expanding foam insulation for windows and doors around the perimeter of the window on the interior side.