Crepe secrets
Take these tips to heart if you want to produce perfectly cooked crepes with a fine lattice of browning every time.
1 Use a balloon whisk when incorporating the milk and eggs into the sifted dry ingredients — the whisk will be more efficient and gentle in mixing the ingredients together than a wooden spoon. Add the whisked egg and milk in a steady stream and gradually incorporate the flour by stirring with the whisk. Only stir until the ingredients have been combined and a smooth batter forms — over-stirring will cause the crepes to be tough and slightly ‘rubbery’.
2 Always stand the batter at room temperature for the recommended time (usually 1–2 hours). Standing the batter allows the starch grains in the flour to soften and expand, resulting in lighter crepes. The batter will thicken slightly while standing and should be the consistency of pouring cream when ready for cooking — if it is too thick, stir in a little more milk or water just before cooking.
3 The best pan to use for making crepes is a heavy-based crepe pan. New crepe pans will need seasoning before using for the first time. To do this, thoroughly wash and dry the pan then add about 5 mm (¼ inch) of vegetable oil to the pan and heat over low heat until the oil starts to smoke. Remove the pan from the heat and set aside to cool completely. Pour out the oil and then wipe the pan with paper towel. The pan is now ready to use. If it’s well seasoned, you will need very little butter for greasing the pan when making crepes. If a crepe sticks, rub the pan with a little salt on paper towel to remove any cooked-on batter. Don’t ever wash the pan, as then you will need to season it again. Simply wipe it out with a little oil on some paper towel before storing. Non-stick crepe pans are also available — they don’t need seasoning and can be washed in hot soapy water.
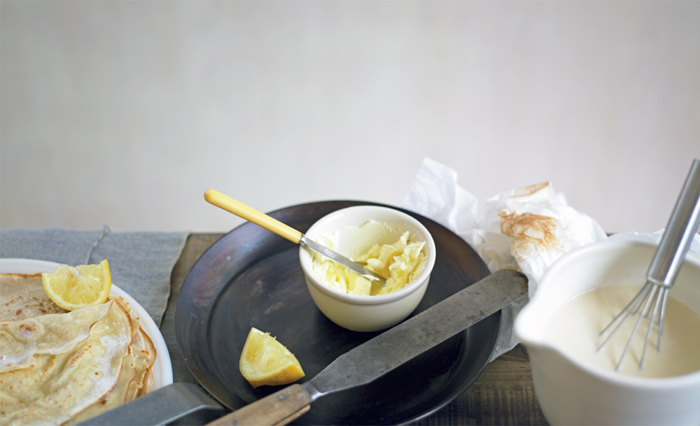
4 Always use butter for greasing the crepe pan before cooking. Oil and margarine can be used but won’t give your crepes the characteristic lacy golden pattern and rich flavour that butter will. Heat the pan over medium heat and then either brush the base of the pan evenly with a little butter, or add a knob of butter, swirl the pan to coat lightly, then tip out any excess and wipe over lightly with paper towel. Only grease the pan with more butter when it is needed (when the crepes start to stick). Using too much butter will make the crepes greasy and too dark.
5 When the pan is hot enough (a light haze will form about the pan) quickly add enough batter to just cover the base of the pan (usually about 60 ml/2 fl oz/¼ cup) — it should sizzle immediately if the pan is at the right temperature. Immediately tilt the pan using a rolling action to spread the batter evenly over the base (if there is too much batter in the pan it can be poured back into the jug or mixing bowl).
6 Only cook the crepes until small bubbles form on the surface, the underside looks lacy and the edges begin to curl up slightly.
7 To turn the crepe, loosen the edge with a palette knife and then use your fingers to lift the edge of the crepe and flip it over. Alternatively, use an egg flip to turn the crepe or give a quick flip of the wrist to toss it. Cook the crepe until the other side is cooked — the second side will take less time than the first.
8 Slide the crepe onto a plate and repeat with the remaining batter, stirring the batter and greasing the pan if necessary. To keep the crepes warm, stack them on top of each other as they are cooked (this will keep them moist) with non-stick baking paper between each if you wish, then cover with foil and place in an oven preheated to 120°C (235°F/Gas ½).