
Are you ready to design your own shawl? Let’s walk through the process I use so you can see the steps and the points at which I make design choices. You can either design your own doily or start with one in your pattern library.
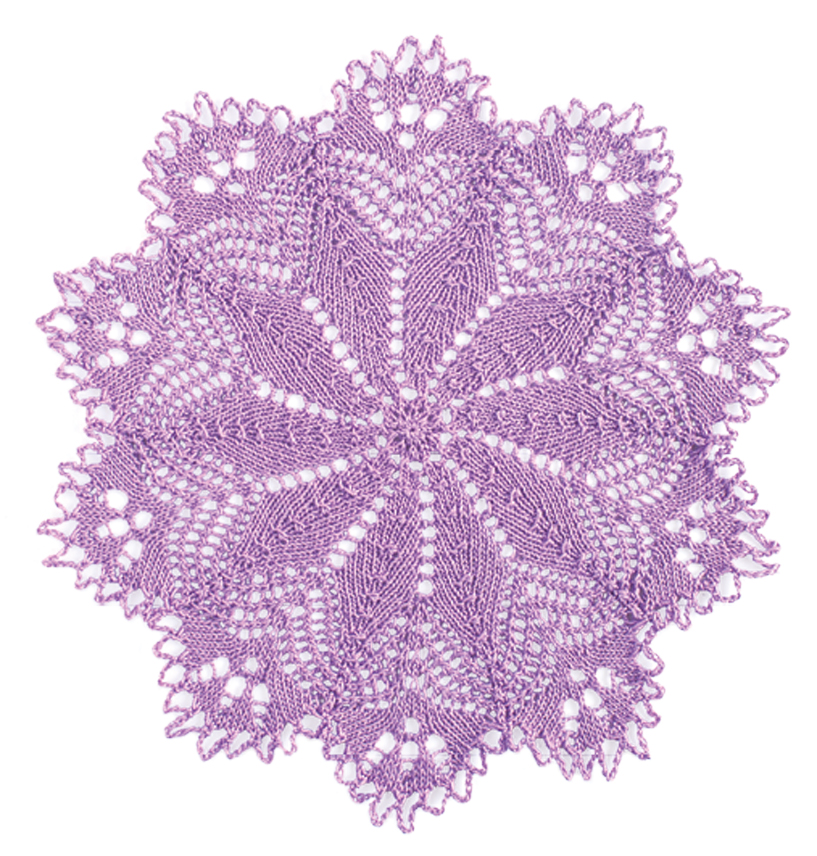
For the shawlette shown above, I began with a small doily from a DMC publication from around 1922 that I found online and in the public domain (see Bibliography). The original pattern was for a ten-wedge doily, and the instructions were written out line by line.
My first step was to translate the instructions into a chart. I prefer charts because they let me see how yarnovers and decreases are arranged across a row and how they’re aligned from one row to the next. Any errors in stitch counts or alignment—which are quite common in vintage patterns—are much easier to see in a chart than in row-by-row instructions. Once the pattern has been charted (and corrected), I can modify separate elements of the design as necessary.
The original chart for the DMC doily shown below reveals that the lace patterning (yarnovers and decreases) is worked on both even- and odd-numbered rows, and that increases within each wedge are worked every third row. This type of pattern is quite easy to work in rounds, in which every row of the chart is essentially a right-side row and is read from right to left. But it’s much more difficult to translate for working back and forth in rows for a shawl, in which you must alternate between right- and wrong-side rows and for which you must read the chart from right to left on right-side rows and from left to right on wrong-side rows.
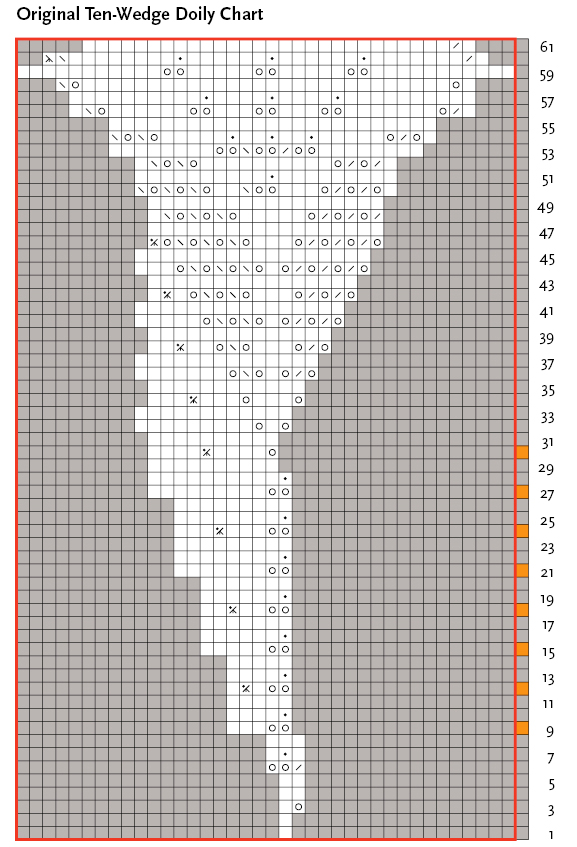
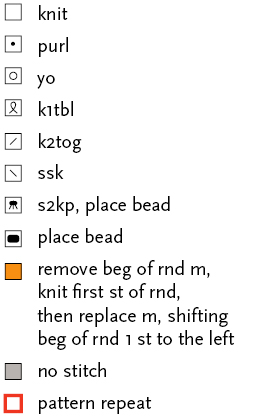
Yarnovers and decreases are worked on both right- and wrong-side rows in the original ten-wedge chart. Note: These charts are for illustration purposes only and are not meant to be knit from.

The next step, therefore, was to modify the chart so that all the manipulations (other than yarnovers, which are equally easy to work on both even- and odd-numbered rows) would be worked on just even-numbered, or right-side rows so that wrong-side rows could be worked “plain.” The modified chart is shown below.

In this modified chart, all decreases have been moved to right-side (even-numbered) rows. Note: These charts are for illustration purposes only and are not meant to be knit from.

At this point, I removed “extra” rows so that increases were worked about every four rows, as shown on the final doily chart below.

Because the increases in the final doily chart are worked every four rows instead of every six rows, the resulting doily has eight wedges instead of the original ten. This is based on the geometric principles used to generate the table at right. According to this table, increases that are worked every second or fourth round will form an eight-wedge octagon or circle.
Increases Required for Various Doily Configurations

View a text version of this table
Based on experience, I knew that because I’d condensed the design into fewer rows, the center flower would appear too shallow. Because I wanted to maintain the proportions of the original pattern as much as possible, I made some other minor modifications to enhance the visual impact of that center motif.
The sequence of changes is shown in the three flower motif charts below (note that these charts are for illustration only and not meant to be used for knitting).

Increases and decreases are worked on both even- and odd-numbered rows in the original chart.

Moving all the increases and decreases to odd-numbered rows condensed the flower motif into too few rows, so I added extra rows and some twisted stitches for emphasis.

To balance the pattern in the shawl, I placed a leaf and half a flower motif on each side of the expanded pattern repeat.

The Original Ten-Wedge Flower Motif chart illustrates the original flower motif with stitch manipulations occurring on both right- and wrong-side rows. The Modified Eight-Wedge Flower Motif chart illustrates my modifications to put all of the stitch manipulations on right-side rows, which condensed the motif into fewer rows. I therefore added rows and detail to better resemble the original motif. I followed the second chart for the modified eight-wedge doily shown below.
I enjoyed seeing both the differences and similarities between the two doily patterns. At first glance, it looks as though the eight-wedge doily is just a smaller version of the ten-wedge one, but, in fact, they’re quite different!
Original ten-wedge doily in which decreases are worked on even- and odd-numbered rounds.

Modified eight-wedge doily with decreases worked on even-numbered rounds.
Although the doily wedges aren’t symmetrical, I wanted my shawl to be balanced. To balance the chart, I placed a leaf and half a flower on each side of the repeat section. This required some creative decisions and a careful attention to stitch count. If you continue an increase line close to each edge, the shawl will curve in a crescent and wrap well around your shoulders. If you know what your increase rate is, you can consider it in your creative choices when balancing. A bit more than half a circle makes a perfect small shawl. For this project, I worked six of the eight wedges flat, which wraps around shoulders very well.

When you consider how deep you want your shawl to be, knit a swatch to determine your row gauge. Then, it’s just a matter of some simple math to determine the length of the finished shawl.
number of charted rows ÷ row gauge = total length
For example, if your row gauge is 5 rows/inch (2.5 cm) and there are 40 rows in the chart, your shawl will be 8" (20.5 cm) deep.
40 rows ÷ 5 rows/inch = 8"
Conversely, you can multiply the desired length by the row gauge to determine the number of rows you’ll need to chart.
For example, if you want your shawl to be 18" (45.5 cm) deep and your row gauge is 5 rows/inch (2.5 cm), you’ll need to chart 90 rows.
18" × 5 rows/inch = 90 rows
Because I wanted a longer finished length, I extended the leaves over more rows, as illustrated in the three charts below (note that these charts are for illustration purposes only and are not meant to be used for knitting). To begin, I focused on the leaf motif in the original chart. Then I redrew the chart to isolate the leaf from the flower. Finally, I added more increase rows in the first half of the leaves and more decrease rows in the second half. This added more rows to the flower motif as well, which I elaborated slightly to keep the look as true to the original as possible. To mimic the texture of the purl-three-together decreases along the center of the leaves in the original doily, I added beads to each of the double vertical decreases in the shawl. I often use beads or nupps to replace the texture of purl stitches.
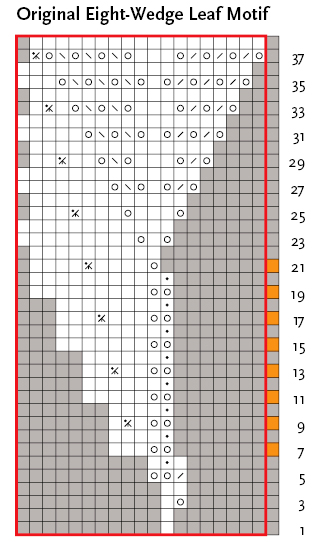
The leaf motif is connected to the flower motif in the original chart.
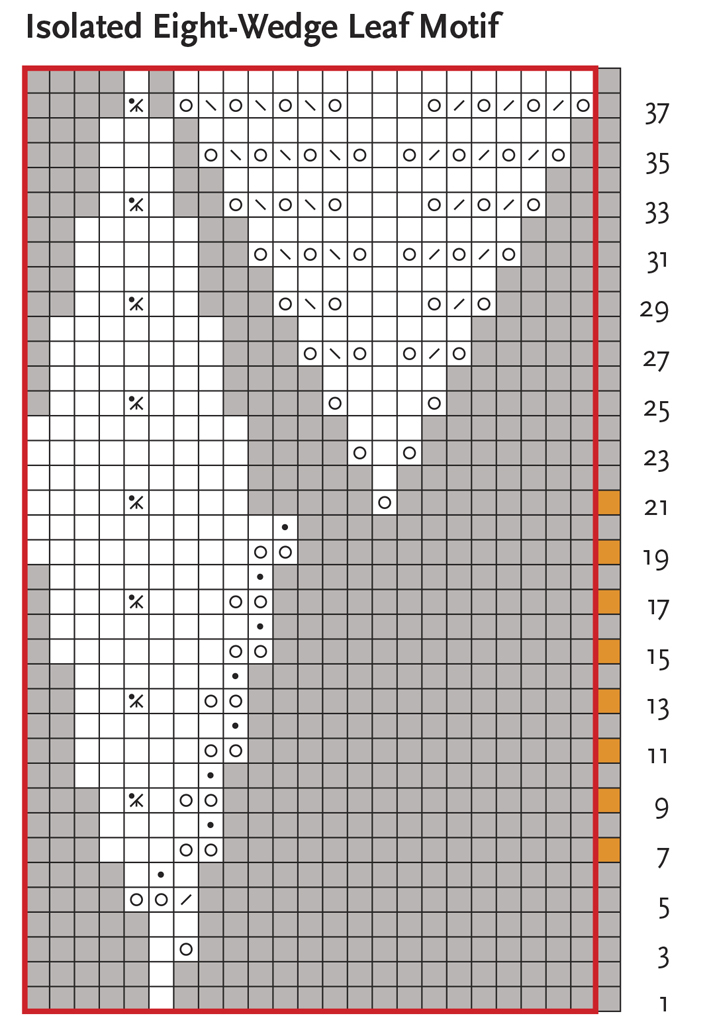
I redrew the chart using “no stitch” symbols to isolate the leaf motif.

Finally, I added rows to the leaf motif to extend its overall length and, therefore, the length of the shawl.
The results of my experiment are the two small projects that follow. You can use these guidelines for your own experiments!