Ragdolls
Mix-and-match biscuits
- fondant (cream, turquoise, black, light pink, dark pink, yellow, blue)
- silver and coloured sugar pearls
- sugar paste flowers
- Tennis biscuits
- white butter icing (page 8)
- water
- non-toxic marker pen
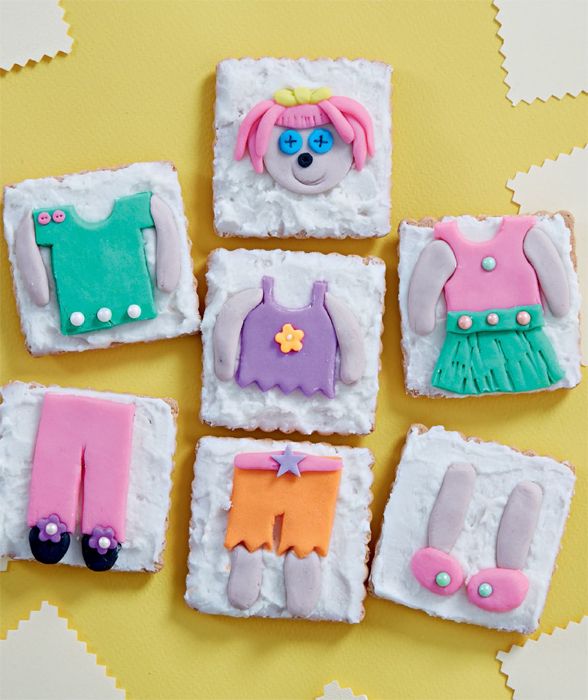
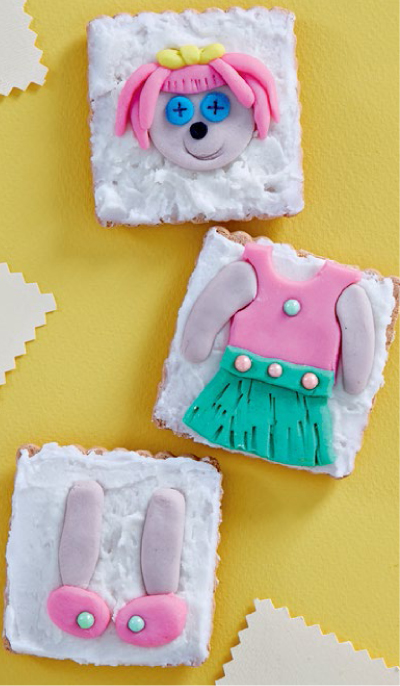
- To make the face, roll out the cream-coloured fondant and cut a circle. Use a partially unfolded paperclip to make the mark for the mouth. Roll two small balls of turquoise fondant, flatten them and attach to the face for the eyes. Roll a small ball of black fondant for the nose. Mark an X on the nose and attach it to the face. Roll out the light pink fondant and cut a strip for the fringe. Use the point of a knife to make marks that resemble hair. Attach across the top of the head. Roll thin ropes of light pink fondant and attach them to the sides of the fringe, for the hair. Shape a bow out of yellow fondant and attach it to the top of the head. Use a little water if necessary to get the different elements to stick. Use a non-toxic marker pen to draw an X on each eye. Set aside until the fondant hardens.
- Roll out the dark pink and blue fondant and cut out various items of clothing (tops, bottoms, shoes etc.). Decorate with silver balls or coloured sugar pearls and sugar paste flowers. Set aside until the fondant hardens.
- Spread the Tennis biscuits with white butter icing. Place the ragdoll heads and the various items of fondant clothing on individual biscuits. Shape arms and legs from cream-coloured fondant and attach where needed. Mix and match the biscuits to create a variety of ragdoll characters.
Needlework cones
- different colours of fondant
- 10 ice-cream cones
- variety of small sweets
- butter icing (page 8)
- 10 Marie biscuits
- coloured sugar pearls (dragées)
- ruler
- non-toxic marker pen
- royal icing (page 8)
- edible silver paint
- plastic button moulds
- To make the buttons, roll out different colours of fondant and cut out a variety of shapes (circles, hearts, flowers, etc.), or use plastic button moulds. Use a cocktail stick or the end of a skewer to pierce two or four holes in the centre of the buttons. Set aside until the fondant hardens.
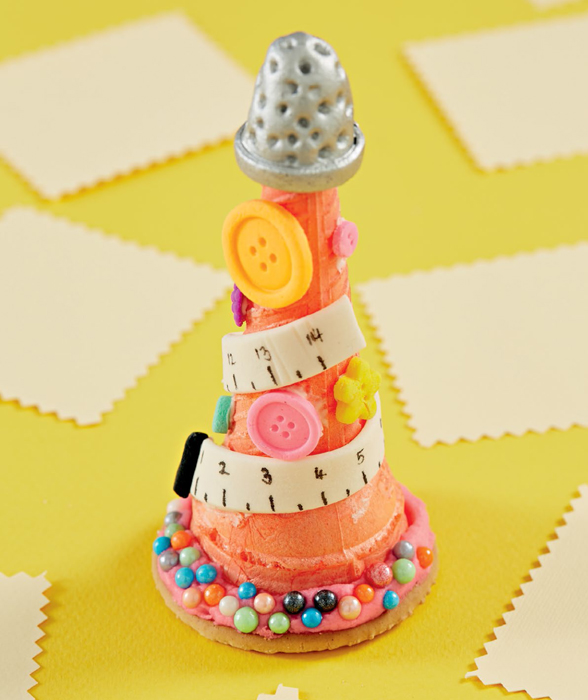
- Fill an ice-cream cone with sweets. Fill a piping bag with butter icing and use a star nozzle to pipe a strip of icing around the rim of the cone. Place a Marie biscuit over the open end of the cone to seal the sweets inside. Press sugar pearls into the butter icing around the rim while the icing is still soft. Set aside until the icing hardens.
- To make the measuring tape, roll out white fondant and cut a 2 cm-wide strip. Use a ruler and a non-toxic marker pen to mark each centimetre and half-centimetre measurement; write the numbers above the marks. Roll out some black fondant, cut a half-circle and attach it to one end of the measuring tape. For the thimble, cut a circle from the white fondant and shape it into a cup shape around the tip of the cone. Use a toothpick to make the indentations. Cut a thin strip of fondant and wrap it around the rim of the thimble.
- Attach the measuring tape and a variety of buttons to the cone using royal icing. Brush the thimble with edible silver paint. Set the finished cone aside until the paint is dry and the icing hardens.
MAKES 10
Button biscuits
- different coloured fondant
- plastic button moulds
- edible pearl glitter
- 10 Marie biscuits
- white butter icing (page 8)
- large coloured sugar pearls (dragées)
- small white sugar pearls (dragées)
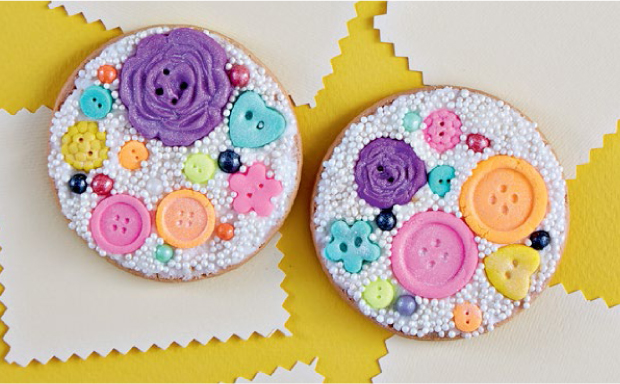
- To make the buttons, roll out different coloured fondant and cut a selection of shapes (hearts, flowers, circles etc.), or press the fondant into button moulds. Use a cocktail stick or skewer to pierce two or four holes in the centre of the buttons. Leave until the fondant hardens, then unmould the buttons and brush with edible pearl glitter.
- Spread a Marie biscuit with white butter icing. Press a selection of buttons into the icing. Place the sugar pearls (dragées) in a shallow bowl and press the decorated biscuits face-down into the bowl, to coat the surface with dragées. Allow any excess balls to fall back into the bowl.
- Set aside until the icing hardens.
MAKES 10
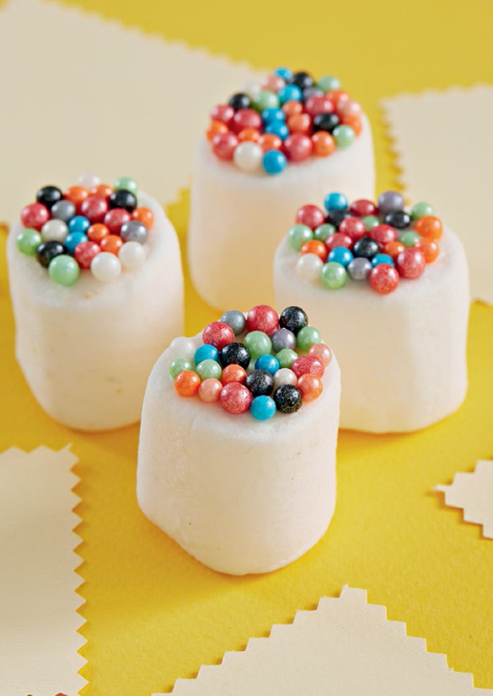
Marshmallow pincushions
- 10 marshmallows
- white royal icing (page 8)
- large coloured sugar pearls (dragées)
- Spread royal icing on one end of a marshmallow and place the coloured sugar pearls (dragées) on top.
- Set aside until the icing hardens.
MAKES 10
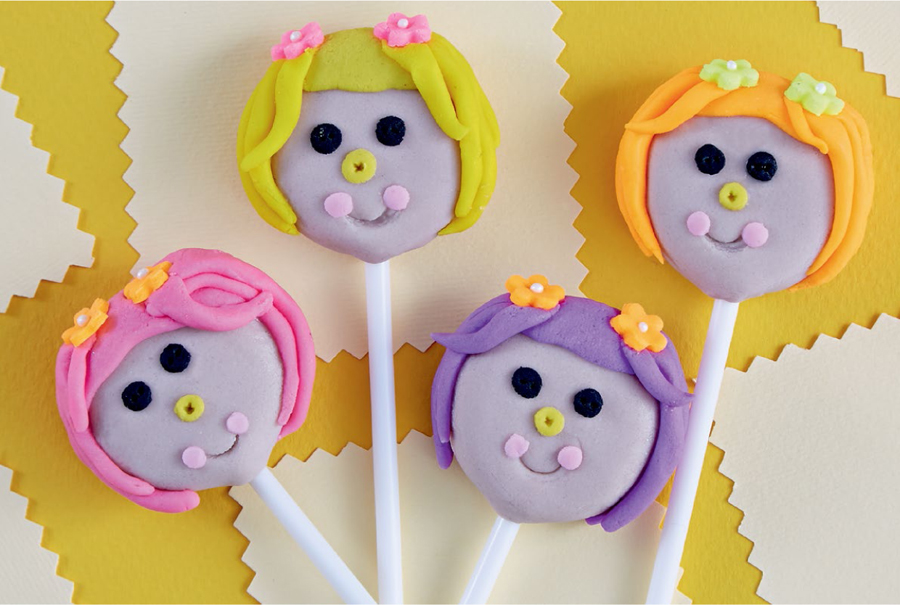
Ragdoll lollipops
- fondant (cream, light pink, black, yellow, dark pink)
- 10 flat lollipops
- small sugar paste flowers
- water
- Roll out the cream-coloured fondant and cut 20 circles the same size as the lollipops. Use two circles per lollipop and attach one to each side, pressing the edges together so the the lollipop is enclosed in fondant. Use a partially unfolded paperclip to make a smiley mark for the mouth.
- Roll out the light pink fondant and cut small circles. Place one on each end of the mouth, to make the cheeks. Roll out the black fondant and cut small circles for the eyes. Roll a small ball of yellow fondant and place in the centre of the face, for the nose. Press X marks into the eyes and nose. Roll out the dark pink fondant and cut short strips. Place a strip across the top of the head to make the fringe. Use the point of a knife to make marks that resemble hair. Roll thin ropes of dark pink fondant and attach to the sides of the head to make the hair. Attach two sugar paste flowers on top of the hair. Use a little water if necessary to get the different elements to stick. Set aside until the fondant hardens.
MAKES 10
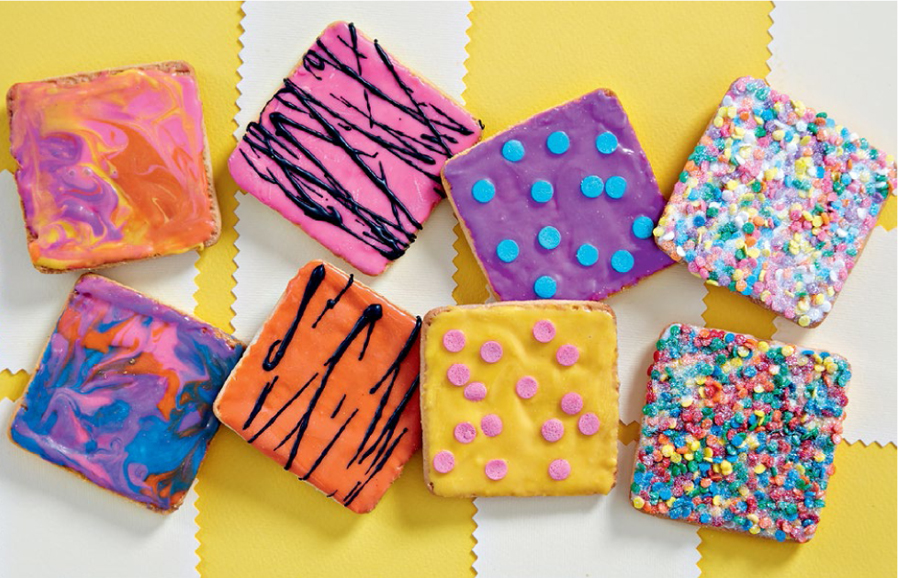
Fabric squares
- Tennis biscuits
- royal icing (page 8)
- cake confetti or small sweets
- edible glitter
- different coloured chocolate (page 8)
- water
GLITTER FABRIC
- Spread a Tennis biscuit with royal icing and sprinkle over cake confetti. Set aside until the icing hardens, then shake off the excess confetti. Brush the confetti very lightly with water and dust with edible glitter. Set aside until dry.
TIE-DYED FABRIC
- Melt different coloured chocolate in the microwave. Spoon small blobs of all the colours on the Tennis biscuit and use a wooden skewer to swirl the colours together while still wet. Set aside until the chocolate hardens.
POLKA-DOT FABRIC
- Melt coloured chocolate in the microwave and spread it over a Tennis biscuit. Press round cake confetti or flat round sweets into the chocolate while it is still wet. Set aside until the chocolate hardens.
ZEBRA-STRIPE FABRIC
- Melt coloured chocolate in the microwave and spread it over a Tennis biscuit. Melt black chocolate and use a fork to drizzle it over the biscuits to get a striped effect. Set aside until the chocolate hardens.
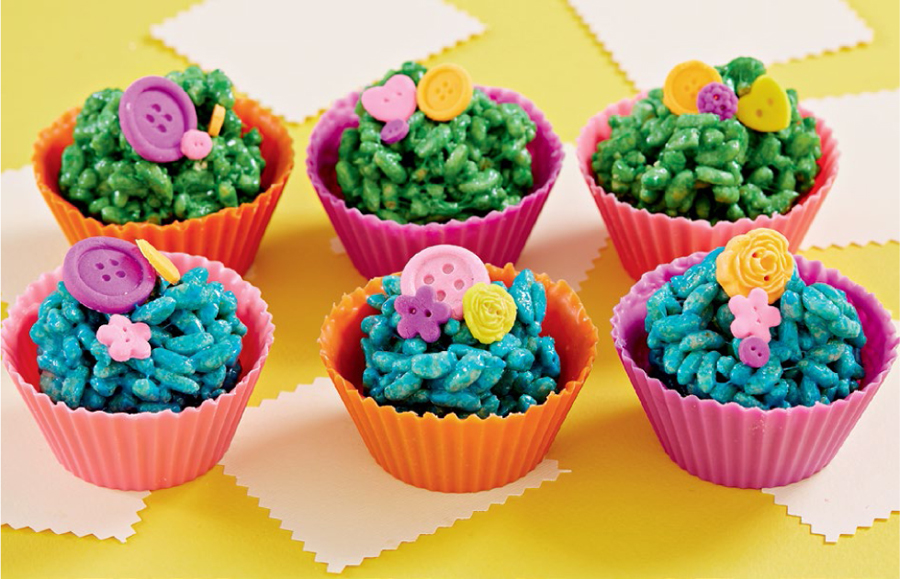
Rice Krispies button cups
- different coloured fondant
- plastic button moulds
- edible pearl glitter
- different coloured chocolate (page 8)
- silicone cupcake baking tray
- 1⁄2 quantity green and blue Rice Krispies squares mixture (page 8)
- To make the buttons, roll out different coloured fondant and cut a selection of shapes (hearts, flowers, circles etc.), or press the fondant into button moulds. Use a cocktail stick or skewer to pierce two or four holes in the centre of the buttons. Leave until the fondant hardens, then unmould the buttons and brush with edible pearl glitter.
- To make the chocolate cups, melt the coloured chocolate in the microwave. Brush a thin layer of melted chocolate into the cups of a silicone cupcake baking tray. Place the tray in the fridge until the chocolate sets. Repeat the process until the chocolate layer is about 3 mm thick.
- Unmould the chocolate cups carefully and set aside. (Keep them in the fridge on very hot days.)
- Prepare the Rice Krispies squares mixture according to the recipe, using blue and green colouring. Place spoonfuls of the mixture into the chocolate cups. Make sure the Rice Krispies mixture isn’t warm or it will melt the chocolate.
- Decorate the Rice Krispies cups with the fondant buttons.
MAKES 10
Sweetie boxes
- glue
- 10 clear plastic containers with lids
- small plastic buttons
- variety of small hard sweets
- edible pearl glitter
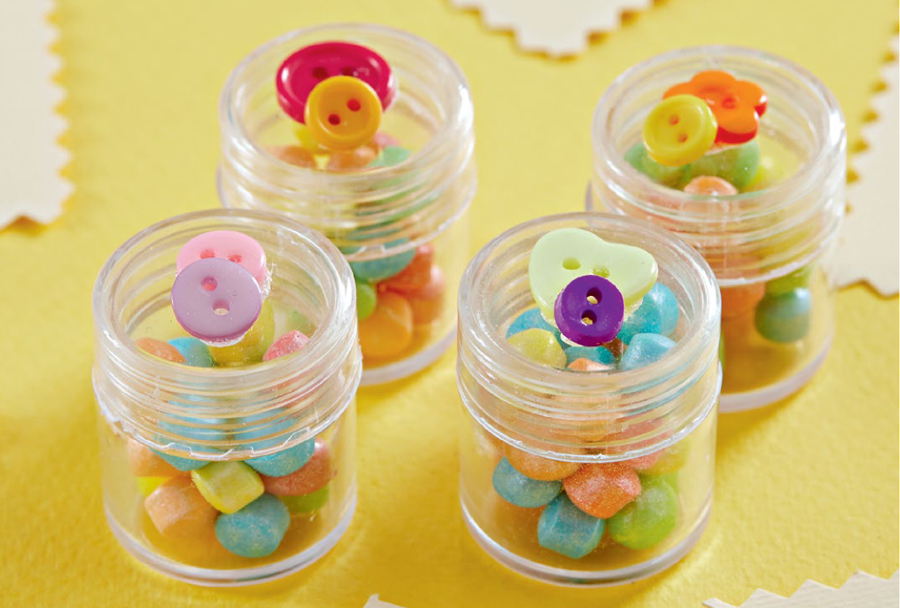
- Place small blobs of glue on the lid of the container and press the plastic buttons on top. Set aside until the glue is dry.
- Place the sweets in a mixing bowl and add some edible pearl glitter. Use a brush to stir everything together so the sweets are completely covered with glitter.
- Fill the clear plastic container with the glittering sweets and seal with the lid.
MAKES 10
Measuring tape
- bubblegum roll
- plastic ruler
- non-toxic marker pen
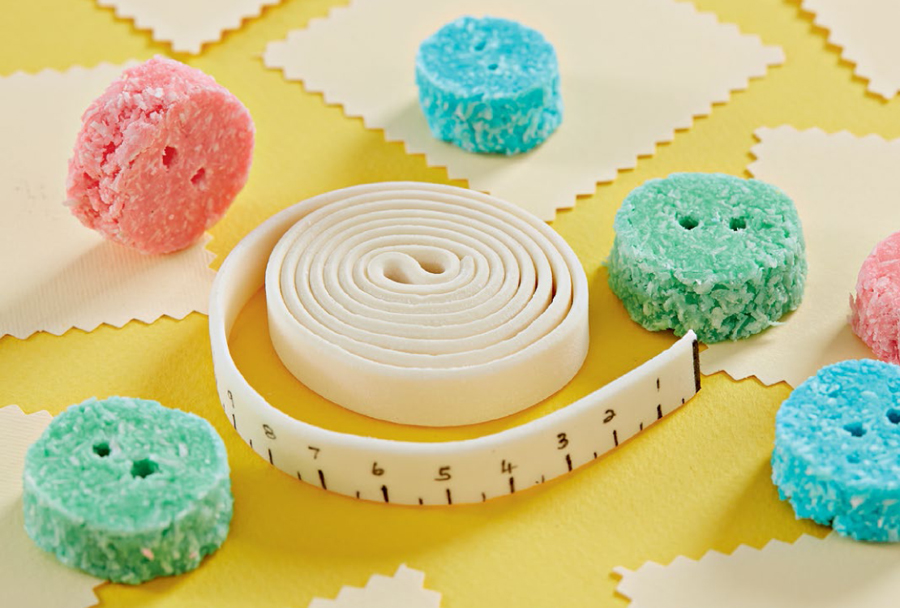
- Carefully unroll the bubblegum strip without tearing it. Using a clean plastic ruler and non-toxic marker pen, mark off the centimetre and half-centimetre measurements. Write the numbers above the marks and make the starting point black. Set aside until the ink is dry and then carefully roll up again.
MAKES 1 TAPE
Coconut ice buttons
- 1⁄2 quantity coconut ice (page 8)
- Prepare the coconut ice as per the recipe, colouring it in three pastel shades. Cut circles from the set coconut ice. Use a wooden cocktail stick or skewer to pierce two holes in the centre of each button. Set aside until needed. (The number of buttons that can be made will depend on their size. Allow two to three coconut ice buttons per child.)
MAKES 10–30
