Let's review the design for the section header:

Note that we have a + Location button that will display our locations. Let's add that modal now:
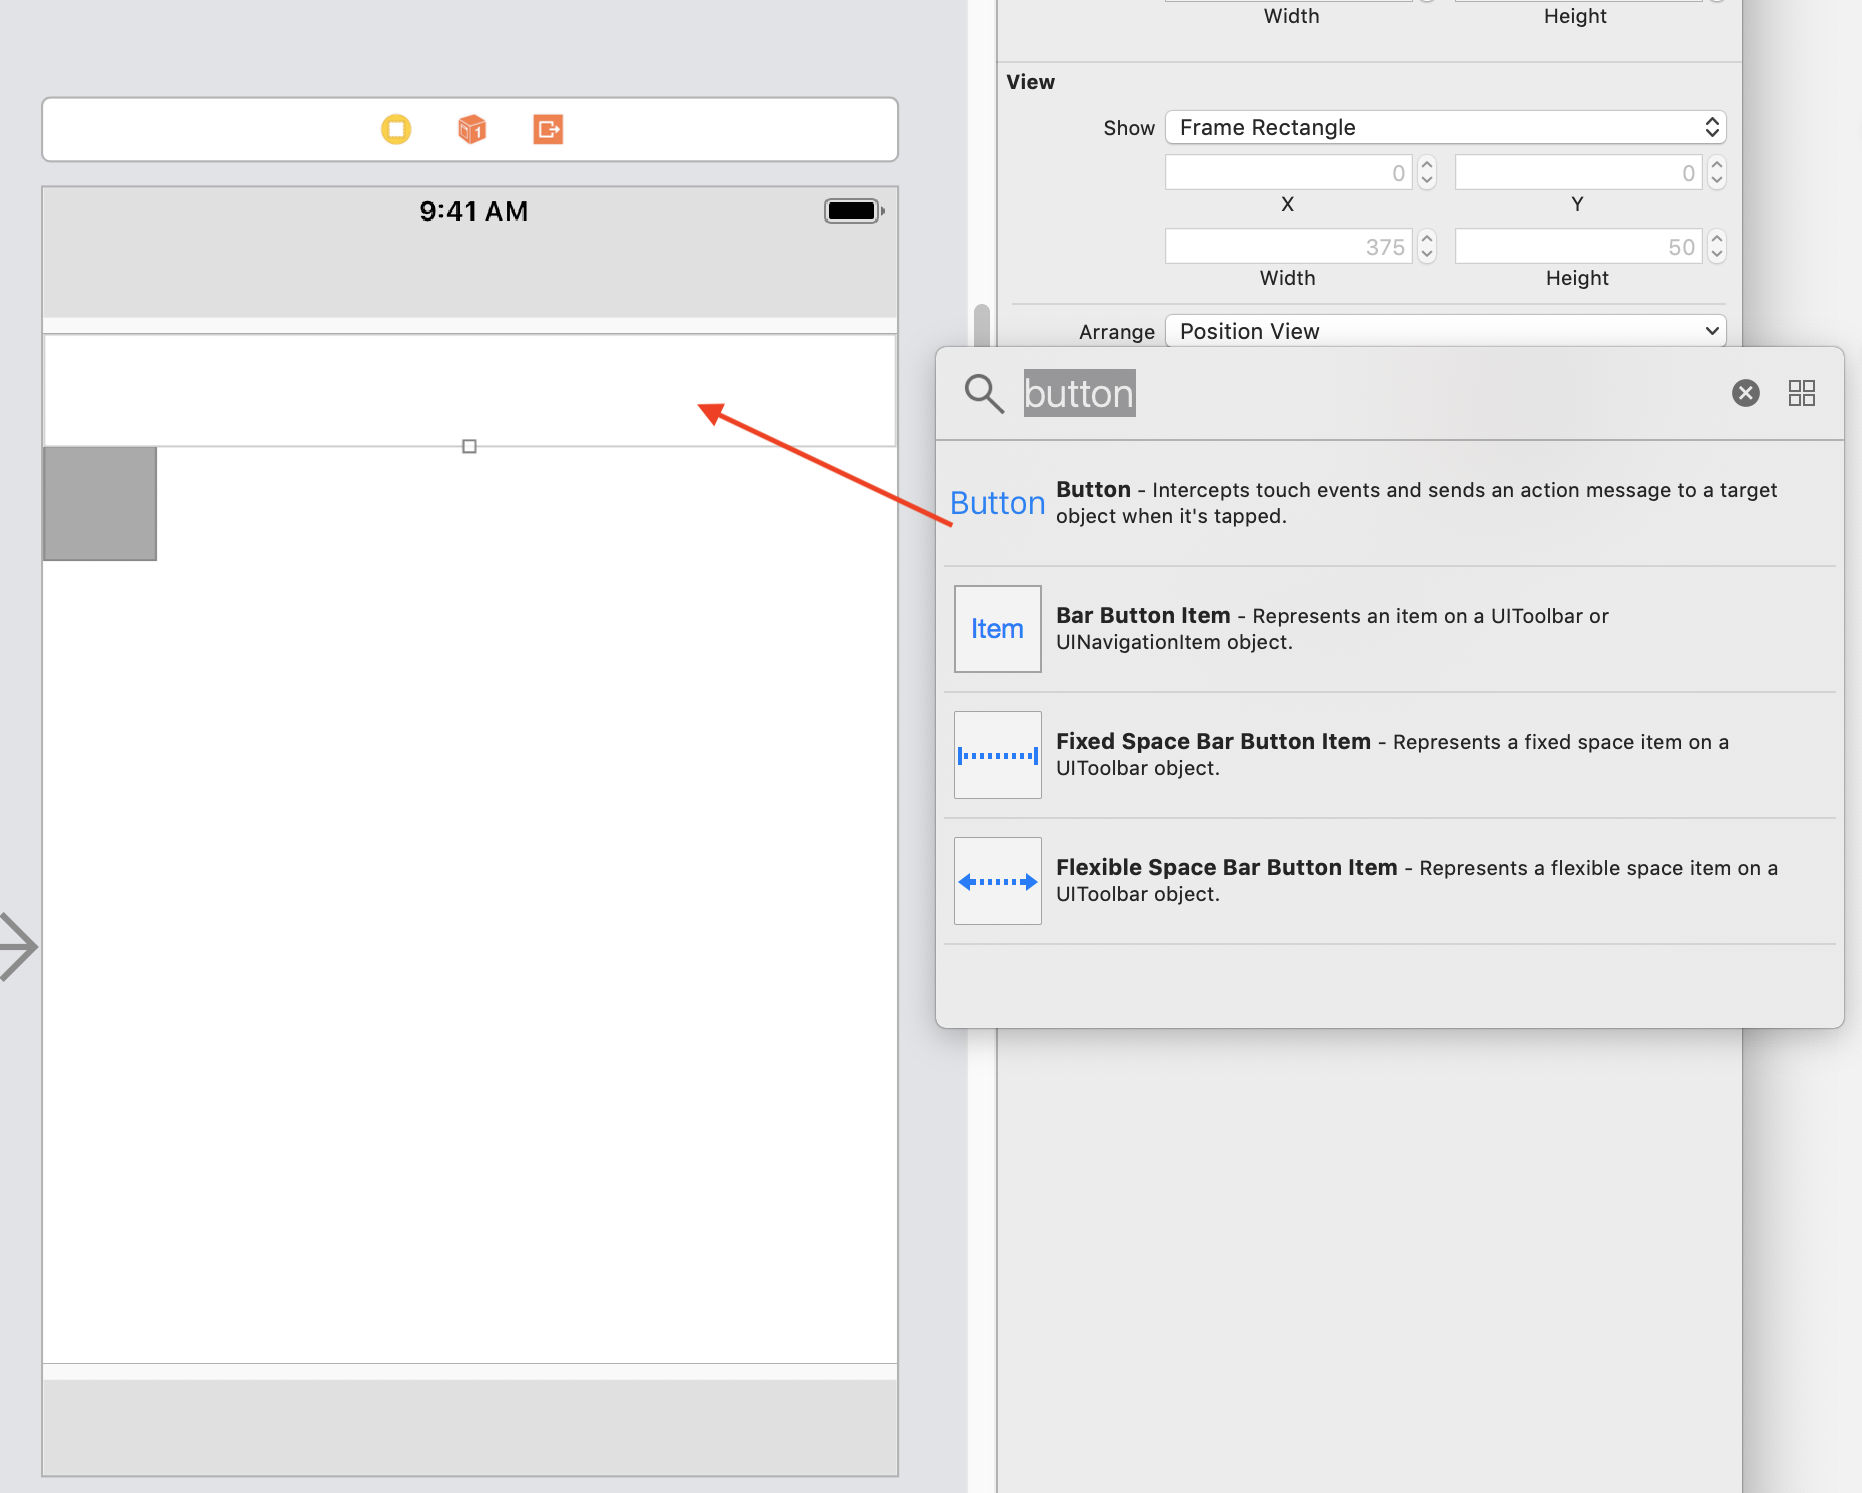
- While in the Main.storyboard file, select the object library and, in the filter field at the bottom of the Library pane, type button.
- Drag and drop the Button component into the section header we created in our Explore View Controller:

Ignore the layout warning. We will format the button later regarding location and size, and that will get rid of the warning.
Next, we need to add another View Controller to our storyboard:
- In the filter, type viewcontroller, and drag and drop the ViewController component above the Explore View Controller in Main.storyboard.
- With the View Controller selected, navigate to Editor | EmbedIn | NavigationController.
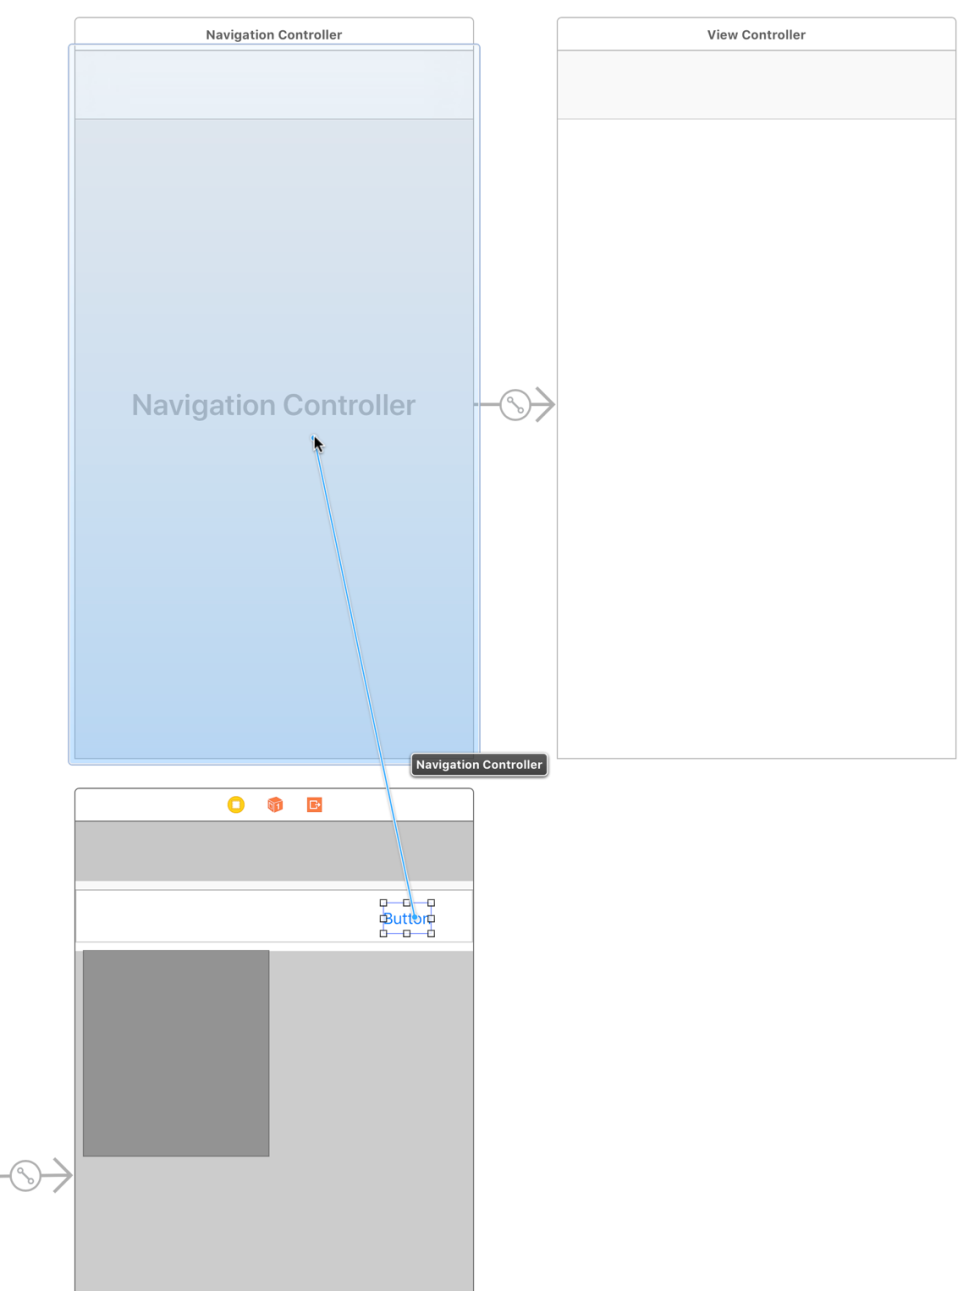
- Control + drag from where it says Button in the View Controller, under the Explore tab, to the Navigation Controller that was just created (you can also do this within Outline view, by Control + dragging from the button to the new Navigation Controller you just created):

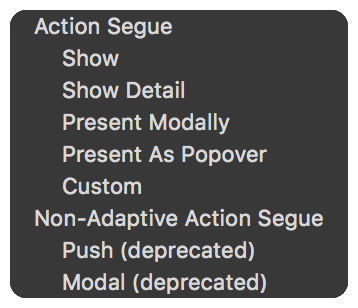
- When you let go, you will be presented with the following menu, and you should select Present Modally:

Now, let's run the project by hitting the Play button (or use command + R). You will see that our button now launches a modal. In the next chapter, we will make this button match our design:

Currently, as you can see in the preceding screenshot, we cannot dismiss this modal. Therefore, we need a cancel button and a done button to dismiss the view. Let's fix this:
- Open Main.storyboard and then go to your View Controller (not the Navigation Controller) of your modal:

- Open the object library (command + Shift + L) and type bar button into the filter area of the objects library in the Utilities Panel.
- Drag and drop a Bar Button Item into the right-hand side of the Navigation Bar of your View Controller Scene:

- Drag another Bar Button Item into the left-hand side of the Navigation Bar.
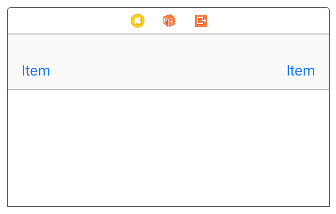
- You should have two Bar Button Items that both say Item:
