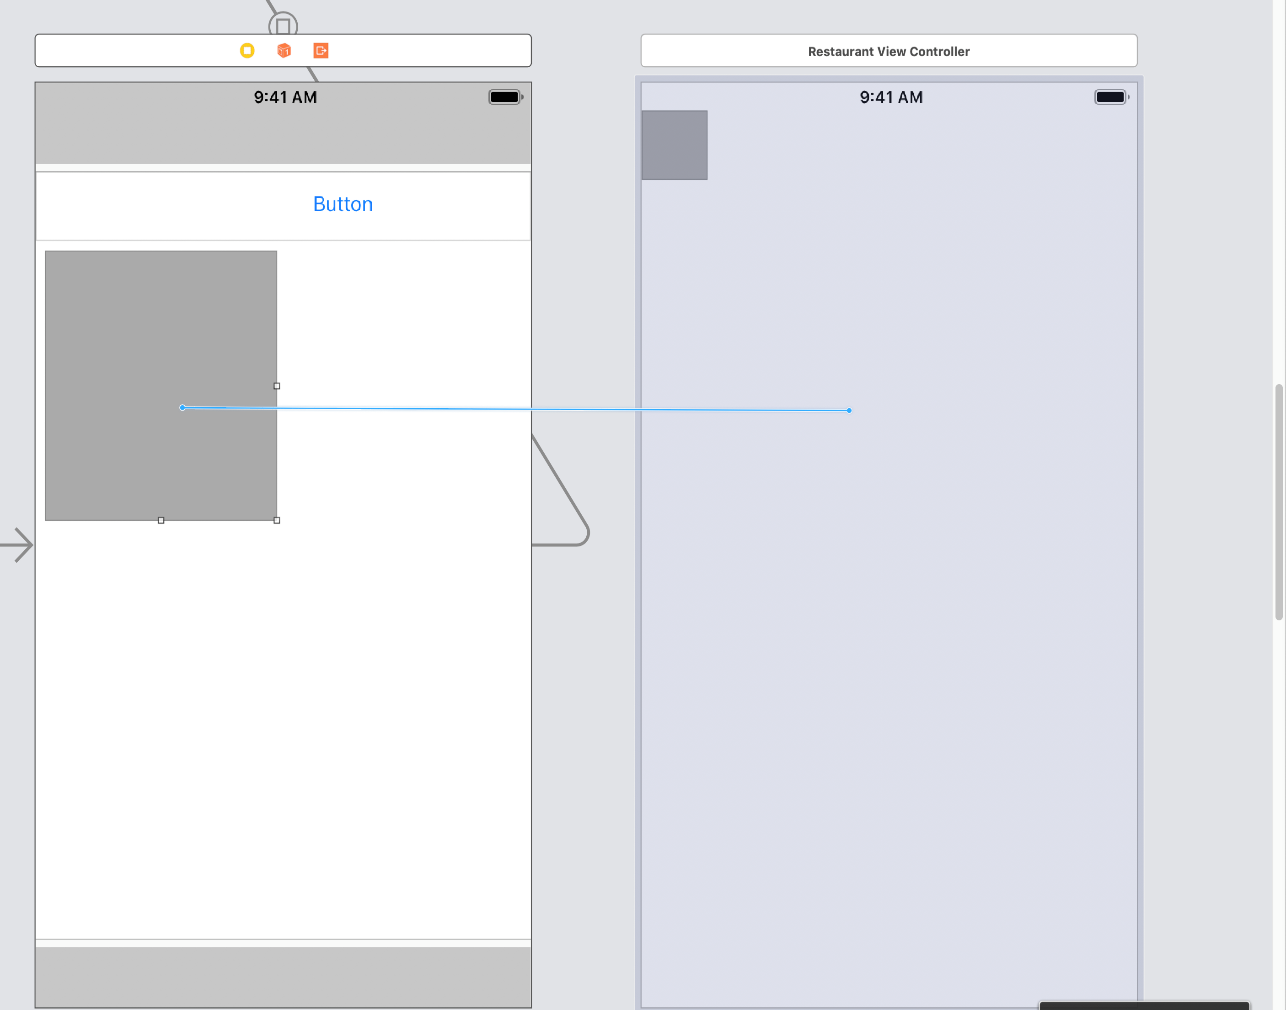
In Main.storyboard, select the small box inside of your Collection View. The small box is your Collection View prototype cell:
- Open the Attributes inspector in the Utilities Panel.
- Update the following:
-
- Identifier: restaurantCell
- Background: Demo Grey
- Control + drag from the explore cell to Restaurant View Controller:

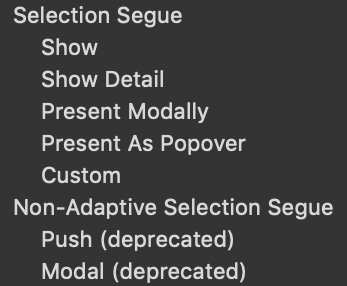
- When you let go, you are presented with the following menu—select Show:

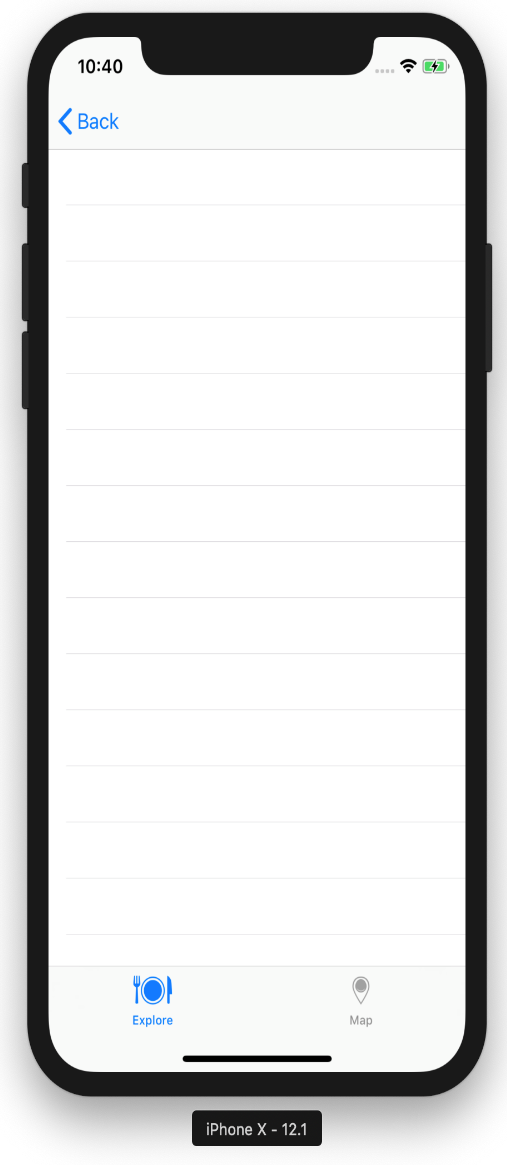
Now, let's run the project by hitting the Play button (or using Command + R). You will now be able to tap on an explore cell and see the following:

Next, we want the user to be presented with the restaurant's details when they touch a restaurant. We will use a static Table View Controller to do our detail. Using a static Table View allows us to create content without code. We will still have to hook up our data but, in the upcoming chapters, you will see how static Table Views come in handy. Let's set up the restaurant details:
- Select the Main.storyboard file, making sure that you are zoomed out and can see all of your scenes (depending on your screen resolution). In the Utilities Panel, ensure that you have the object library tab selected.
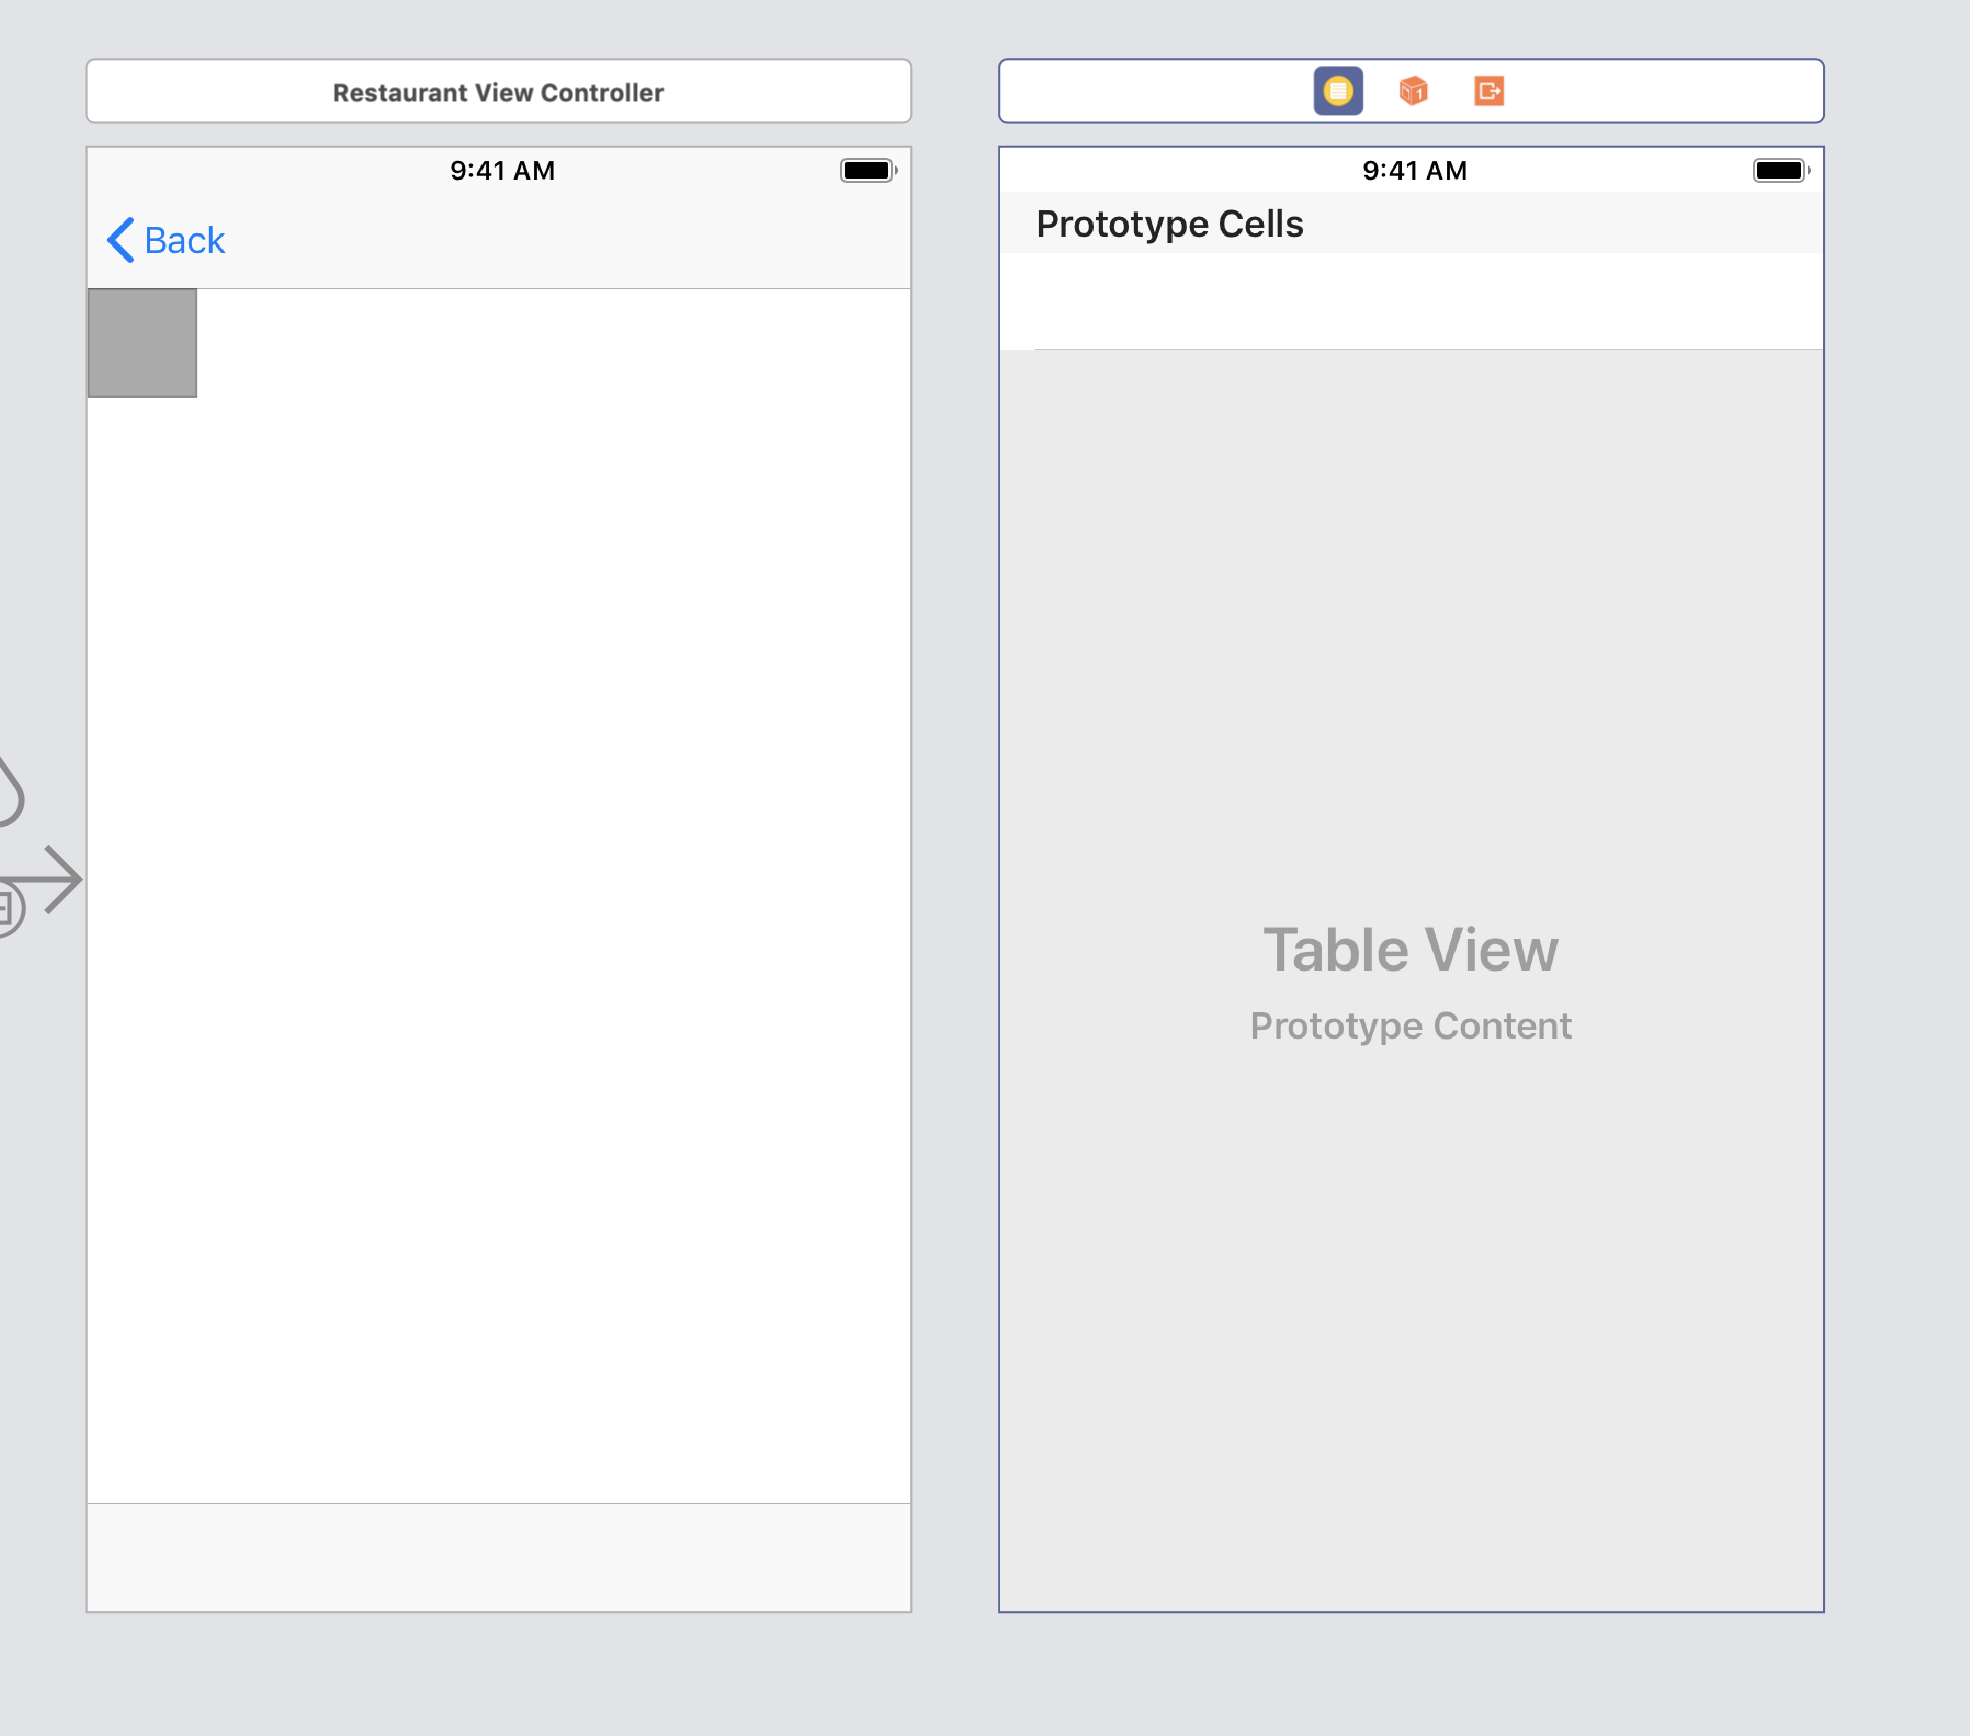
- In the filter field, type tableviewcontroller (make sure it's the controller—it will have a yellow icon). Drag this Table View Controller and put it next to Restaurant View Controller:

- Control-drag from the restaurant cell button to the Restaurant Detail Table View Controller. When you let go, you are presented with the following menu, and you should select Show:

- Click on the Table View inside of the Outline:

- Make sure that you have the Attributes inspector opened in the Utilities Panel, then change the Table View content from Dynamic Prototypes to Static Cells:

Now, let's run the project by hitting the Play button (or using Command + R). You will now be able to tap on a restaurant cell and see the following:
