RxAndroid
,
RxBinding
, and
RxLifecycle
provide RxJava bindings for Android. This makes using RxJava in an Android application much easier.
Since the release of
Android Studio 2.4
, it has supported using Java 8’s lambda syntax which we can make heavy use of in our RxJava-related code.
RxBinding is an open source library of Java binding APIs for Android UI widgets from the platform and support libraries.
For this chapter we’ll build a simple example application with RxAndroid, RxBinding, RxLifecycle, and RxJava using Android Studio. The code is available on
GitHub
.
Getting Started
If you have not already, go download the latest
Android Studio
for your operating system and install and run it. Once Android
Studio has started, perform the following steps to get started:
- 1.
Create a new project by selecting File ➤ New Project from the menu and give it a name (such as RxAndroidTest).
- 2.
Select 8.0 (Oreo) as the target version.
- 3.
When prompted, select “Login Activity” when it says “Add an Activity to Mobile”.
- 4.
Then, click the module name on the left-hand side (such as “app”), press F4, and then make sure your Java version is set to at least 8 (allow lambdas).
After your project is started, add the required dependencies to your build file (app/build.gradle):
implementation
'io.reactivex.rxjava2:rxandroid:2.1.0'
implementation
'io.reactivex.rxjava2:rxjava:2.2.2'
implementation
'com.jakewharton.rxbinding2:rxbinding:2.1.1'
Because RxAndroid
releases are few and far between, it is recommended you also explicitly depend on RxJava’s latest version for bug fixes and new features (see the
RxJava GitHub
for the latest 2.x version).
Also, to enable Java 8 code style, you may need to add the following under the “android” block of build.gradle:
compileOptions {
sourceCompatibility '1.8'
targetCompatibility '1.8'
}
Android SDK
Before your project can be compiled, you need to have one or more versions of Android Software Development Kit (SDK)
installed.
To do this, choose the “File” menu then “Settings...” and then type in “SDK” in the search box and select “Android SDK”. Make sure to install at least one Android SDK and accept the license.
Android Schedulers
RxAndroid provides
AndroidSchedulers which enables you to run on Android-specific threads such as the main thread. For example:
Observable.just("one", "two", "three", "four")
.observeOn(AndroidSchedulers.mainThread())
.subscribe(each ->
System.out.println(each.toUpperCase()));
This would run the actions of this Observable on Android’s main thread. This is useful since updates to the UI should occur on the main thread.
To find out what thread your code is executing on, just use Thread.currentThread().getName(). For example, we could replace the last line in the preceding code with the following to print out the name of the current thread:
System.out.println(
Thread.currentThread().getName())
You can also use
AndroidSchedulers to create a Scheduler around any arbitrary Looper. For example:
Looper looper = Looper.myLooper();
RxView.clicks(button)
.observeOn(AndroidSchedulers.from(looper))
.subscribe();
RxBinding
Using
RxBinding, you can easily turn Android UI events into RxJava Observables. To start, add the following imports to LoginActivity.java:
import com.jakewharton.rxbinding2.view.*;
import com.jakewharton.rxbinding2.widget.*;
import io.reactivex.Observable;
For example, let’s take a button and subscribe to click events. Open “LoginActivity.java” and find the line that starts with “Button mEmailSignInButton”.
Find and comment out the following code:
Button mEmailSignInButton = (Button)
findViewById(R.id.email_sign_in_button);
mEmailSignInButton.setOnClickListener(
new OnClickListener() {
@Override
public void onClick(View view) {
attemptLogin();
}
});
This can be replaced using
RxAndroid
with the following:
Button button = (Button) findViewById(R.id.email_sign_in_button);
RxView.clicks(button).subscribe(event -> {
attemptLogin();
});
We can also observe text changes on an EditText, for example:
RxTextView.textChangeEvents(editText)
.subscribe(e -> log(e.text().toString()));
Using these bindings, we can combine the Observables together in different ways to achieve our final goal. For example, add the following code:
Observable<TextViewTextChangeEvent>
emailChangeObservable =
RxTextView.textChangeEvents(mEmailView);
Observable<TextViewTextChangeEvent>
passwordChangeObservable =
RxTextView.textChangeEvents(mPasswordView);
// force-disable the button
button.setEnabled(false);
Disposable d = Observable.combineLatest(
emailChangeObservable, passwordChangeObservable,
(emailObservable, passwordObservable) -> {
boolean emailCheck =
emailObservable.text().length() >= 3;
boolean passwordCheck =
passwordObservable.text().length() >= 3;
return emailCheck && passwordCheck;
}).subscribe(
enabled -> button.setEnabled(enabled));
In this example, the submit button will only be clickable if both forms have more than three characters each.
The Disposable instance above (d) holds a reference to the view, so we must unsubscribe from the stream or cause it to terminate to prevent memory leaks. This can be achieved in a consistent way using the RxLifecycle library.
RxLifecycle
RxLifecycle
is an open source library for binding to lifecycle events of Android components. This can be useful for dropping subscriptions and avoiding memory leaks on destroy/pause events for example.
To get started with
RxLifecycle, add the following dependencies to your “build.gradle” file:
implementation 'com.trello.rxlifecycle2:rxlifecycle:2.2.2'
implementation
'com.trello.rxlifecycle2:rxlifecycle-android:2.2.2'
implementation
'com.trello.rxlifecycle2:rxlifecycle-components:2.2.2'
Next, add the following imports to your Activity:
import com.trello.rxlifecycle2.components.support\
.RxAppCompatActivity;
Then change the LoginActivity to extend the “Rx” equivalent (RxAppCompatActivity in this case):
public class LoginActivity extends RxAppCompatActivity implements LoaderCallbacks<Cursor> {
Finally, you can now use “compose” and RxLifecycle to bind a sequence to the lifecycle events. For example:
@Override
public void onResume() {
super.onResume();
Observable<Long> mySequence = Observable.interval(200, TimeUnit.MILLISECONDS);
mySequence
.doOnNext(x -> System.out.println(
"poll the server"))
.observeOn(AndroidSchedulers.mainThread())
.compose(bindToLifecycle())
.subscribe();
}
Here “mySequence” could be any RxJava type such as Observable, Flowable, Single, or Maybe. In this case, “Observable.interval” will emit a value every 200 milliseconds.
RxLifecycle determines the appropriate time to end the sequence, for example: if subscribing during START, it will terminate on STOP; if you subscribe after PAUSE, it will terminate at the next destruction event.
RxLifecycle will then terminate the sequence when appropriate with the following consequences depending on the type of the original sequence:
Observable, Flowable, and Maybe: Emits onCompleted()
Single and Completable: Emits onError(CancellationException)
In the preceding example, by putting the code in “onResume”, this would cause our polling to take place after resume and stop upon a pause event.
Putting It Together
Let’s use
RxLifecycle and
RxAndroid to improve our code from earlier:
Observable.combineLatest(
emailChangeObservable,
passwordChangeObservable,
(emailObservable, passwordObservable) -> {
boolean emailCheck =
emailObservable.text().length() >= 3;
boolean passwordCheck =
passwordObservable.text().length() >= 3;
return emailCheck && passwordCheck; //1
})
.compose(bindToLifecycle()) //2
.observeOn(AndroidSchedulers.mainThread()) //3
.subscribe(
enabled -> button.setEnabled(enabled)); //4
- 1.
We have the same “combineLatest” as before to ensure both inputs have at least three characters.
- 2.
We use our RxActivity instance to bind to the lifecycle so that our Observable will stop when appropriate.
- 3.
We observe on the Android main thread.
- 4.
Finally, we subscribe to do what we want with the stream, which is enable or disable to the “login” button in this case.
Since we called “bindToLifecycle” within the “onCreate” method, RxLifecycle will cause the sequence to terminate on the “opposite” action, “onDestroy” in this case. This will release our reference to the email and password view, preventing memory leaks.
Using RxJava
Using basic RxJava operations, we can improve “noisy” data inputs to prevent things like accidental double-clicks causing an action to occur twice.
Using the “debounce” operator, we can delay an event action until a stream is silent for a specified amount of time. For example, on the button click, we can set a debounce of 500 milliseconds (half a second). This would run the operation after the button is clicked and then not clicked for half a second:
RxView.clicks(button).debounce(500,
TimeUnit.MILLISECONDS)
Unlike debounce which delays the action, the “throttleFirst” operator is used to prevent repeating events within a certain time interval after the first event emitted. ThrottleFirst is useful when it comes to preventing doubling actions when a button is repeatedly clicked, but still applying the action on the first click. For example, use throttleFirst like the following:
RxView.clicks(button).throttleFirst(1,
TimeUnit.SECONDS)
The preceding code would allow click events through filtering out any clicks that happen within a second of the first one.
Testing
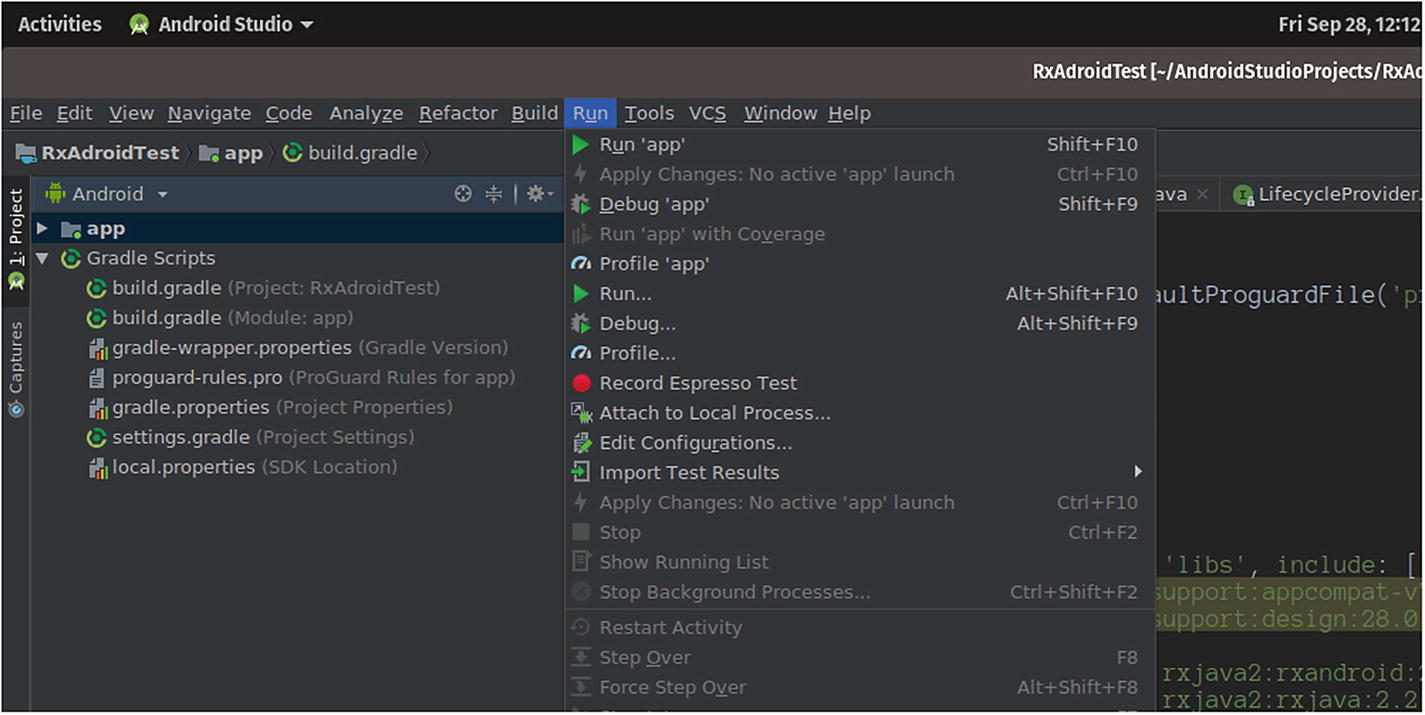
To fully test our application, we should run a virtual system. Press “Shift+F10” or click the “Run ➤ Run...” menu and select a phone type. You will need to download a system image if you have not already by clicking the “Create New Virtual Device” button and following the wizard. Select a system image and click “Finish”.
There is much more involved in creating Android applications that is out of the scope of this book.
To learn more, check out a good book or read the online
documentation from Google
.