6 Time to Create a View Model
Creating the View Model
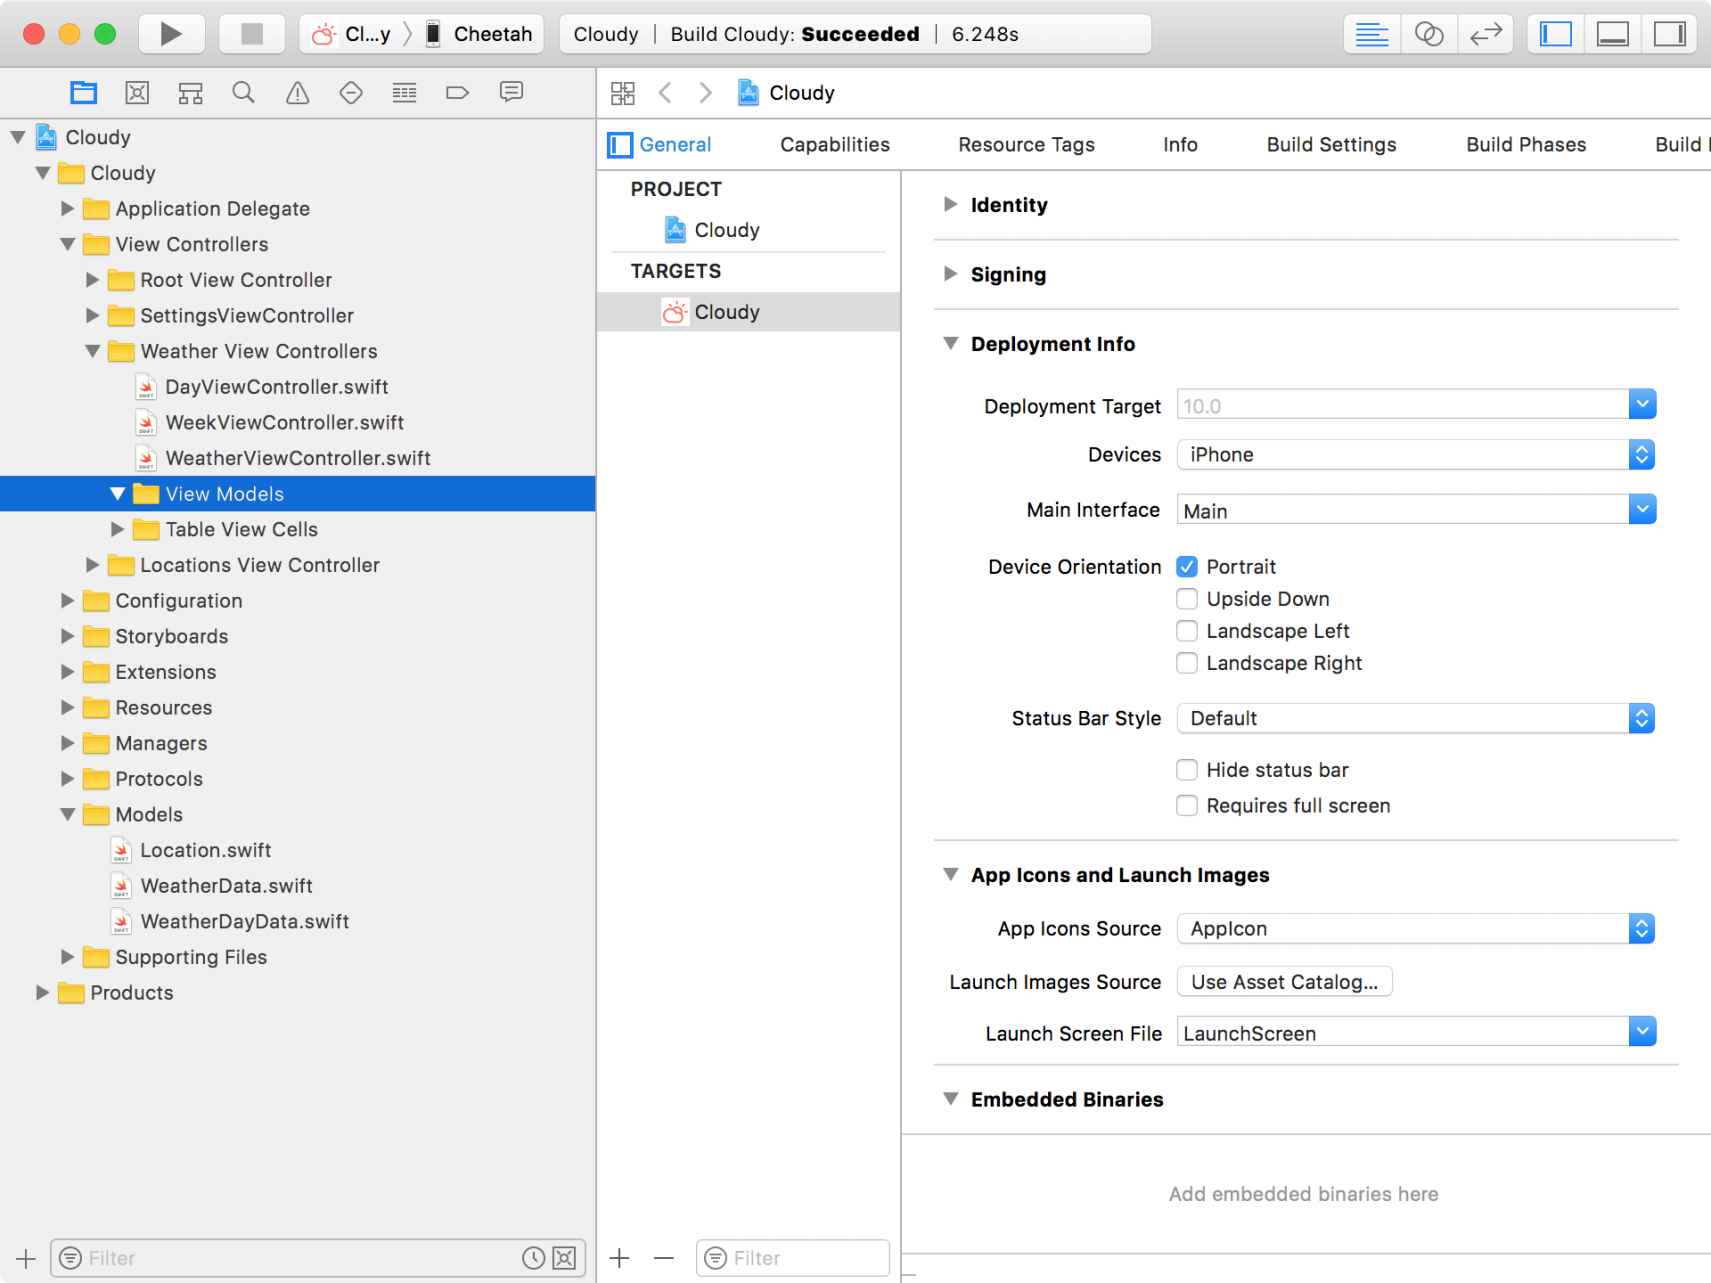
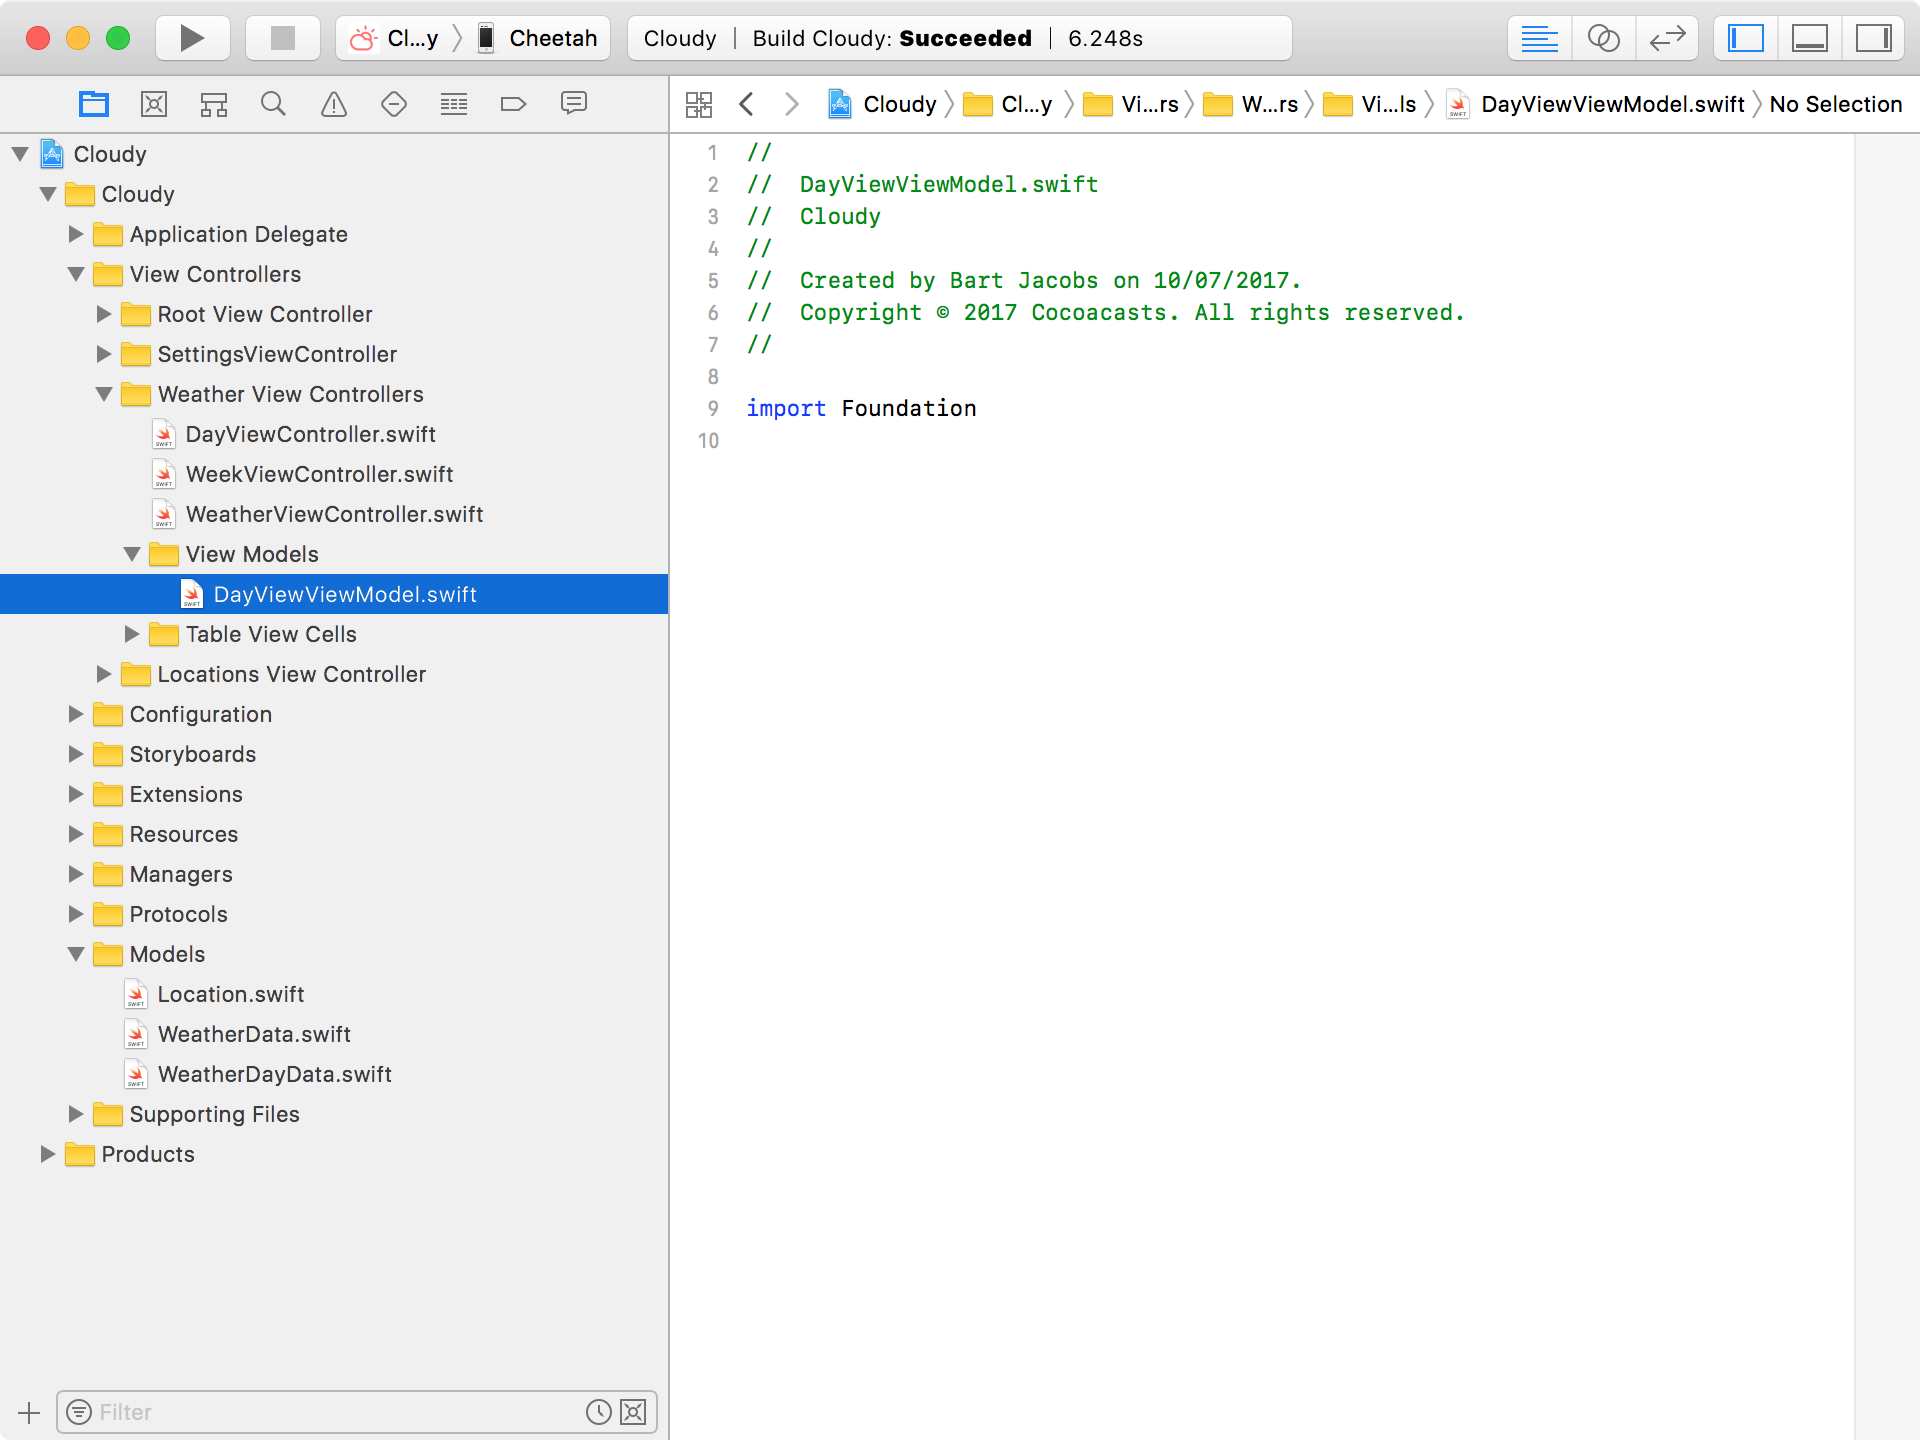
In this chapter, we create a view model for the day view controller. Open Cloudy in Xcode and create a new group, View Models, in the Weather View Controllers group. I prefer to keep the view models close to the view controllers in which they’re used.

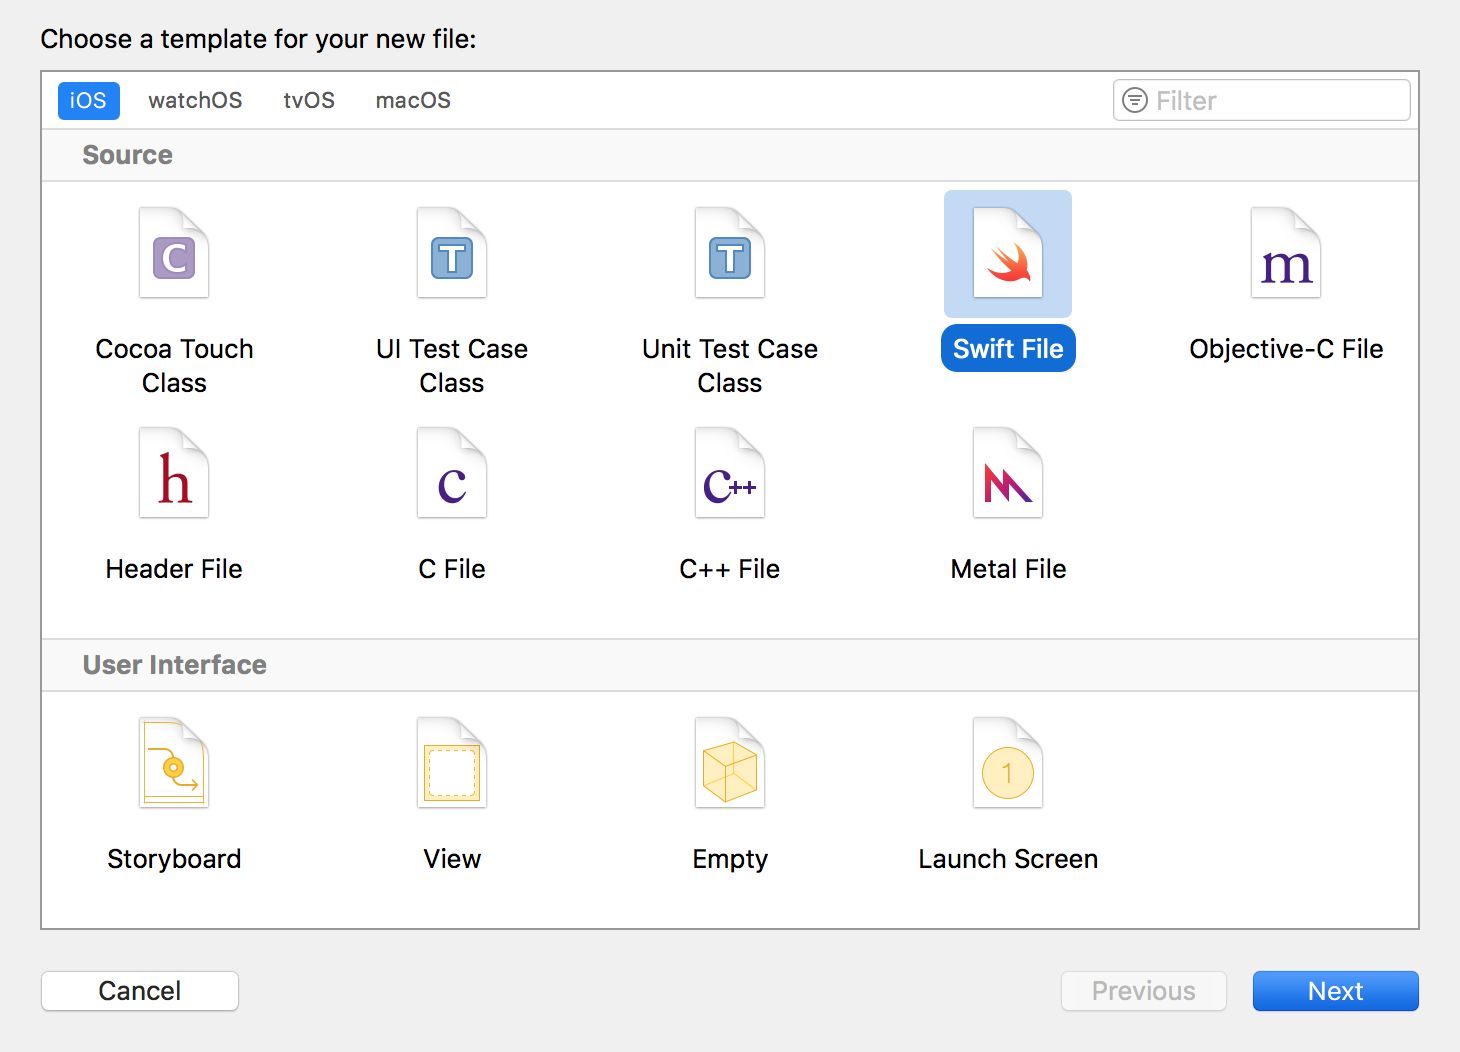
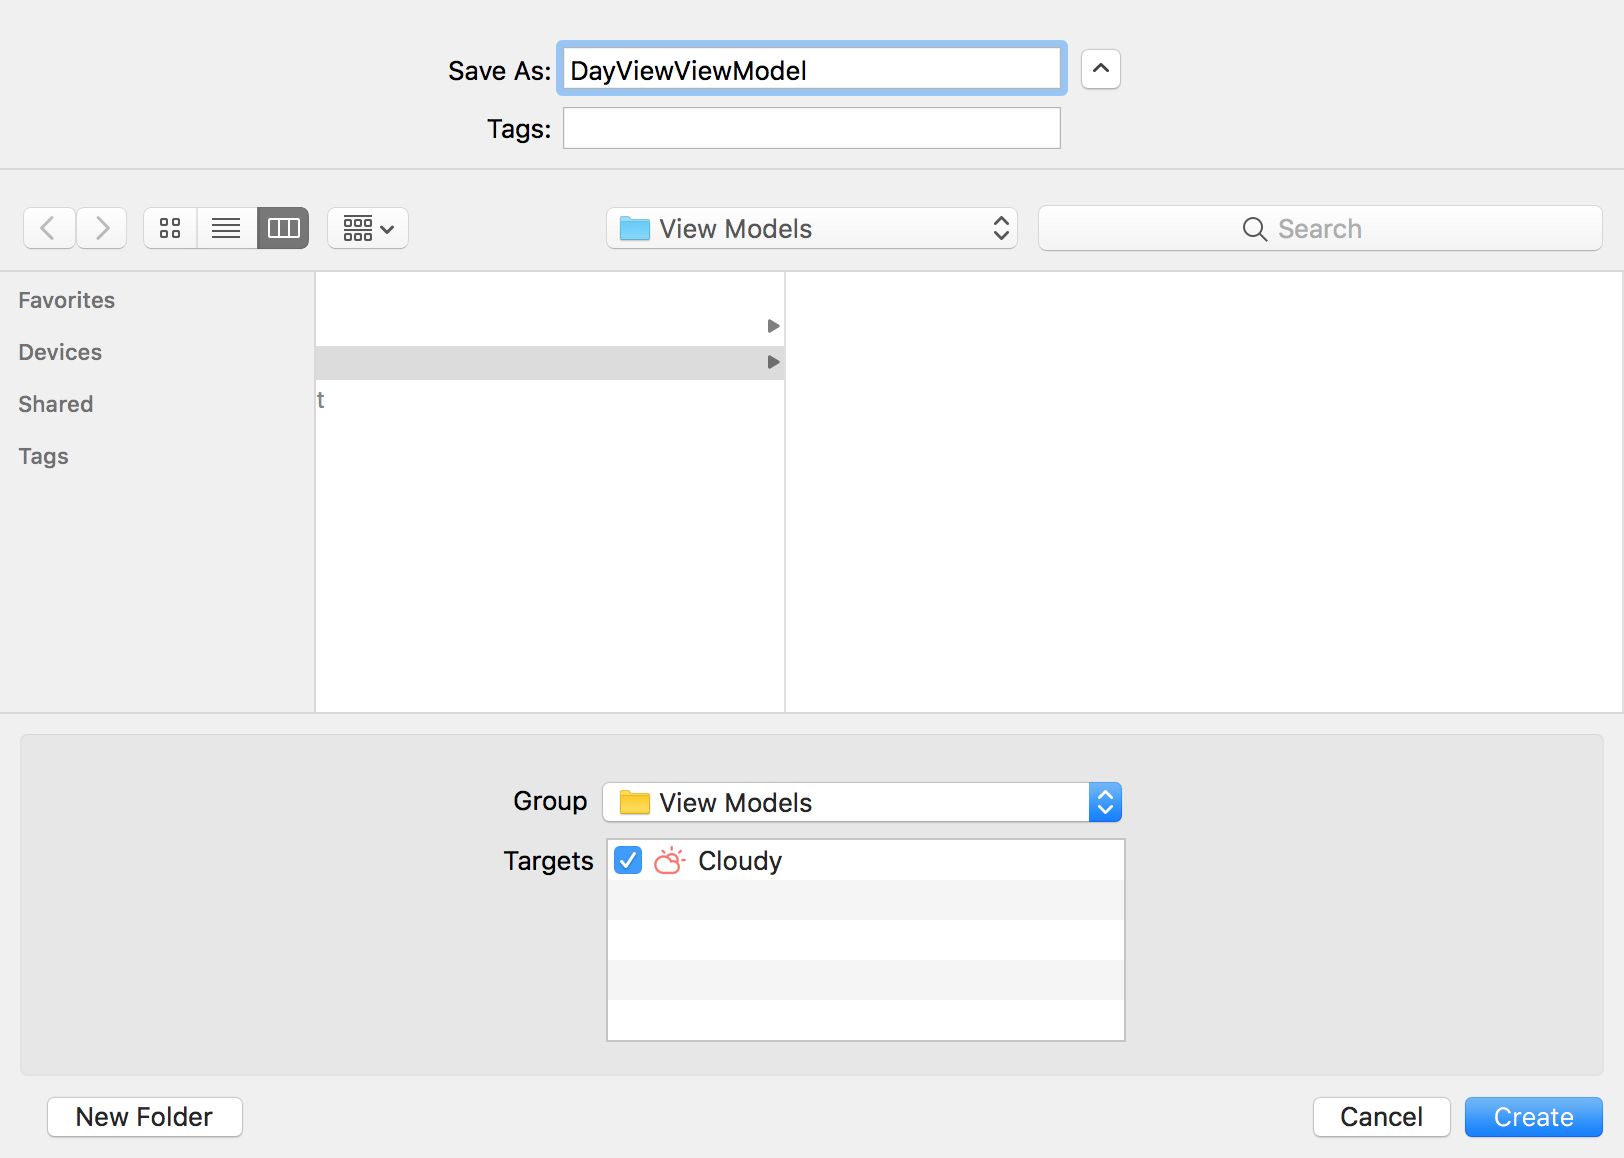
Create a new Swift file in the View Models group and name it DayViewViewModel.


DayViewViewModel is a struct, a value type. Remember that the view model should keep a reference to the model, which means we need to create a property for it. That’s all we need to do to create our first view model.
DayViewViewModel.swift
1 import Foundation
2
3 struct DayViewViewModel {
4
5     // MARK: - Properties
6
7     let weatherData: WeatherData
8
9 }
Creating the Public Interface
The next step is moving the code located in the updateWeatherDataContainer(withWeatherData:) method of the DayViewController class to the view model. What we need to focus on are the values we use to populate the user interface.
Date Label
Let’s start with the date label. The date label expects a formatted date and it needs to be of type String. It’s the responsibility of the view model to ask the model for the value of its time property and transform that value to the format the date label expects.
Let’s start by creating a computed property in the view model. We name it date and it should be of type String.
DayViewViewModel.swift
1 var date: String {
2
3 }
We initialize a DateFormatter to convert the date to a formatted string and set the date formatter’s dateFormat property. We invoke the date formatter’s string(from:) method and return the result. That’s it for the date label. This is what the date computed property looks like.
DayViewViewModel.swift
1 var date: String {
2     // Initialize Date Formatter
3     let dateFormatter = DateFormatter()
4
5     // Configure Date Formatter
6     dateFormatter.dateFormat = "EEE, MMMM d"
7
8     return dateFormatter.string(from: weatherData.time)
9 }
Time Label
We can repeat this for the time label. We first create a time computed property of type String. The implementation is similar. We create a DateFormatter instance, set its dateFormat property, and return a formatted string.
DayViewViewModel.swift
1 var time: String {
2     // Initialize Date Formatter
3     let dateFormatter = DateFormatter()
4
5     // Configure Date Formatter
6     dateFormatter.dateFormat = ""
7
8     return dateFormatter.string(from: weatherData.time)
9 }
There’s one complication, though. The format of the time depends on the user’s settings in the application. This is easy to solve, though. Navigate to UserDefaults.swift in the Extensions group. We add a computed property, timeFormat, to the TimeNotation enum at the top. The timeFormat computed property returns the correct date format based on the user’s preferences. This is what that looks like.
UserDefaults.swift
 1 enum TimeNotation: Int {
 2     case twelveHour
 3     case twentyFourHour
 4
 5     var timeFormat: String {
 6         switch self {
 7         case .twelveHour: return "hh:mm a"
 8         case .twentyFourHour: return "HH:mm"
 9         }
10     }
11 }
We can now update the implementation of the time computed property like this.
DayViewViewModel.swift
1 var time: String {
2     // Initialize Date Formatter
3     let dateFormatter = DateFormatter()
4
5     // Configure Date Formatter
6     dateFormatter.dateFormat = UserDefaults.timeNotation().timeFormat
7
8     return dateFormatter.string(from: weatherData.time)
9 }
Confused? The timeNotation method is a static method of the UserDefaults class. You can find its implementation in UserDefaults.swift. It returns a TimeNotation instance. Take a look at the implementation.
UserDefaults.swift
1 static func timeNotation() -> TimeNotation {
2     let storedValue = UserDefaults.standard.integer(forKey: UserDefa\
3 ultsKeys.timeNotation)
4     return TimeNotation(rawValue: storedValue) ?? TimeNotation.twelv\
5 eHour
6 }
We load the user’s preference from the user defaults database and use the value to create an instance of the TimeNotation enum. We use the same technique for the user’s other preferences.
Description Label
Populating the description label is easy. We define a computed property in the view model, summary, of type String and we return the value of the summary property of the model.
DayViewViewModel.swift
1 var summary: String {
2     return weatherData.summary
3 }
Temperature Label
The value for the temperature label is a bit more complicated because we need to take the user’s preferences into account. We start simple. We create another computed property in which we store the temperature in a constant, temperature.
DayViewViewModel.swift
1 var temperature: String {
2     let temperature = weatherData.temperature
3 }
We fetch the user’s preference and format the value stored in the temperature constant based on the user’s preference. Notice that we need to convert the temperature if the user’s preference is set to degrees Celcius.
DayViewViewModel.swift
 1 var temperature: String {
 2     let temperature = weatherData.temperature
 3
 4     switch UserDefaults.temperatureNotation() {
 5     case .fahrenheit:
 6         return String(format: "%.1f 째F", temperature)
 7     case .celsius:
 8         return String(format: "%.1f 째C", temperature.toCelcius())
 9     }
10 }
The implementation of the temperatureNotation() static method is very similar to the timeNotation() static method we looked at earlier.
UserDefaults.swift
1 static func temperatureNotation() -> TemperatureNotation {
2     let storedValue = UserDefaults.standard.integer(forKey: UserDefa\
3 ultsKeys.temperatureNotation)
4     return TemperatureNotation(rawValue: storedValue) ?? Temperature\
5 Notation.fahrenheit
6 }
Wind Speed Label
Populating the wind speed label is very similar. Because the wind speed label expects a string, we create a windSpeed computed property of type String. We ask the model for the the value of its windSpeed property and format that value based on the user’s preference.
DayViewViewModel.swift
 1 var windSpeed: String {
 2     let windSpeed = weatherData.windSpeed
 3
 4     switch UserDefaults.unitsNotation() {
 5     case .imperial:
 6         return String(format: "%.f MPH", windSpeed)
 7     case .metric:
 8         return String(format: "%.f KPH", windSpeed.toKPH())
 9     }
10 }
The implementation of the unitsNotation() static method is very similar to the timeNotation() and temperatureNotation() static methods we looked at earlier.
UserDefaults.swift
1 static func unitsNotation() -> UnitsNotation {
2     let storedValue = UserDefaults.standard.integer(forKey: UserDefa\
3 ultsKeys.unitsNotation)
4     return UnitsNotation(rawValue: storedValue) ?? UnitsNotation.imp\
5 erial
6 }
Icon Image View
For the icon image view, we need an image. We could put this logic in the view model. However, because we need the same logic later, in the view model of the week view controller, it’s better to create an extension for UIImage in which we put that logic.
Create a new file in the Extensions group and name it UIImage.swift. Create an extension for the UIImage class and define a class method imageForIcon(withName:).
UIImage.swift
1 import UIKit
2
3 extension UIImage {
4
5     class func imageForIcon(withName name: String) -> UIImage? {
6
7     }
8
9 }
We simplify the current implementation of the weather view controller. We use the value of the name argument to instantiate the UIImage instance in most cases of the switch statement. I really like how flexible the switch statement is in Swift.
UIImage.swift
 1 import UIKit
 2
 3 extension UIImage {
 4
 5     class func imageForIcon(withName name: String) -> UIImage? {
 6         switch name {
 7         case "clear-day", "clear-night", "rain", "snow", "sleet": re\
 8 turn UIImage(named: name)
 9         case "wind", "cloudy", "partly-cloudy-day", "partly-cloudy-n\
10 ight": return UIImage(named: "cloudy")
11         default: return UIImage(named: "clear-day")
12         }
13     }
14
15 }
Notice that we also return a UIImage instance in the default case of the switch statement.
With this method in place, it’s very easy to populate the icon image view. We create a computed property of type UIImage? in the view model and name it image. In the body of the computed property, we invoke the class method we just created, passing in the value of the model’s icon property.
DayViewViewModel.swift
1 var image: UIImage? {
2     return UIImage.imageForIcon(withName: weatherData.icon)
3 }
Because UIImage is defined in the UIKit framework, we need to replace the import statement for Foundation with an import statement for UIKit.
DayViewViewModel.swift
1 import UIKit
2
3 struct DayViewViewModel {
4
5     ...
6
7 }
This is a code smell. Whenever you import UIKit in a view model, a warning bell should go off. The view model shouldn’t need to know anything about views or the user interface. In this example, however, we have no other option. Since we want to return a UIImage instance, we need to import UIKit. If you don’t like this, you can also return the name of the image and have the view controller be in charge of creating the UIImage instance. That’s up to you.
We’re almost done. I want to make two small improvements. The DateFormatter instance shouldn’t be created in the computed properties in my opinion. We can create private properties for those.
DayViewViewModel.swift
 1 import UIKit
 2
 3 struct DayViewViewModel {
 4
 5     // MARK: - Properties
 6
 7     let weatherData: WeatherData
 8
 9     // MARK: -
10
11     private let dateFormatter = DateFormatter()
12     private let timeFormatter = DateFormatter()
13
14     // MARK: -
15
16     var date: String {
17         // Configure Date Formatter
18         dateFormatter.dateFormat = "EEE, MMMM d"
19
20         return dateFormatter.string(from: weatherData.time)
21     }
22
23     var time: String {
24         // Configure Date Formatter
25         timeFormatter.dateFormat = UserDefaults.timeNotation().timeF\
26 ormat
27
28         return timeFormatter.string(from: weatherData.time)
29     }
30
31     ...
32
33 }
I’ve chosen to create a separate date formatter for the date and time properties. You could use the same date formatter for both properties and only update the date formatter’s dateFormat property. It’s up to you to decide which option you like most.
Great. We’ve created our first view model. In the next chapter, we put it to use in the day view controller.