9 Using MVVM In the Settings View
The Model-View-ViewModel pattern isn’t only useful for populating data-driven user interfaces. In this chapter, I want to show you how you can apply the Model-View-ViewModel pattern in the settings view controller.
Remember that we want to extract logic from the view controller that doesn’t belong there. In this chapter, I’d like to target the tableView(_:cellForRowAt:) method of the settings view controller. Instead of figuring out what the view controller should display, we’re going to create three view models the view controller can use to populate the table view.
This example also illustrates that view models are sometimes short-lived objects. The view controller doesn’t necessarily need to keep a reference to the view model. That’s something we haven’t covered yet in this book.
Creating the Settings View Time View Model
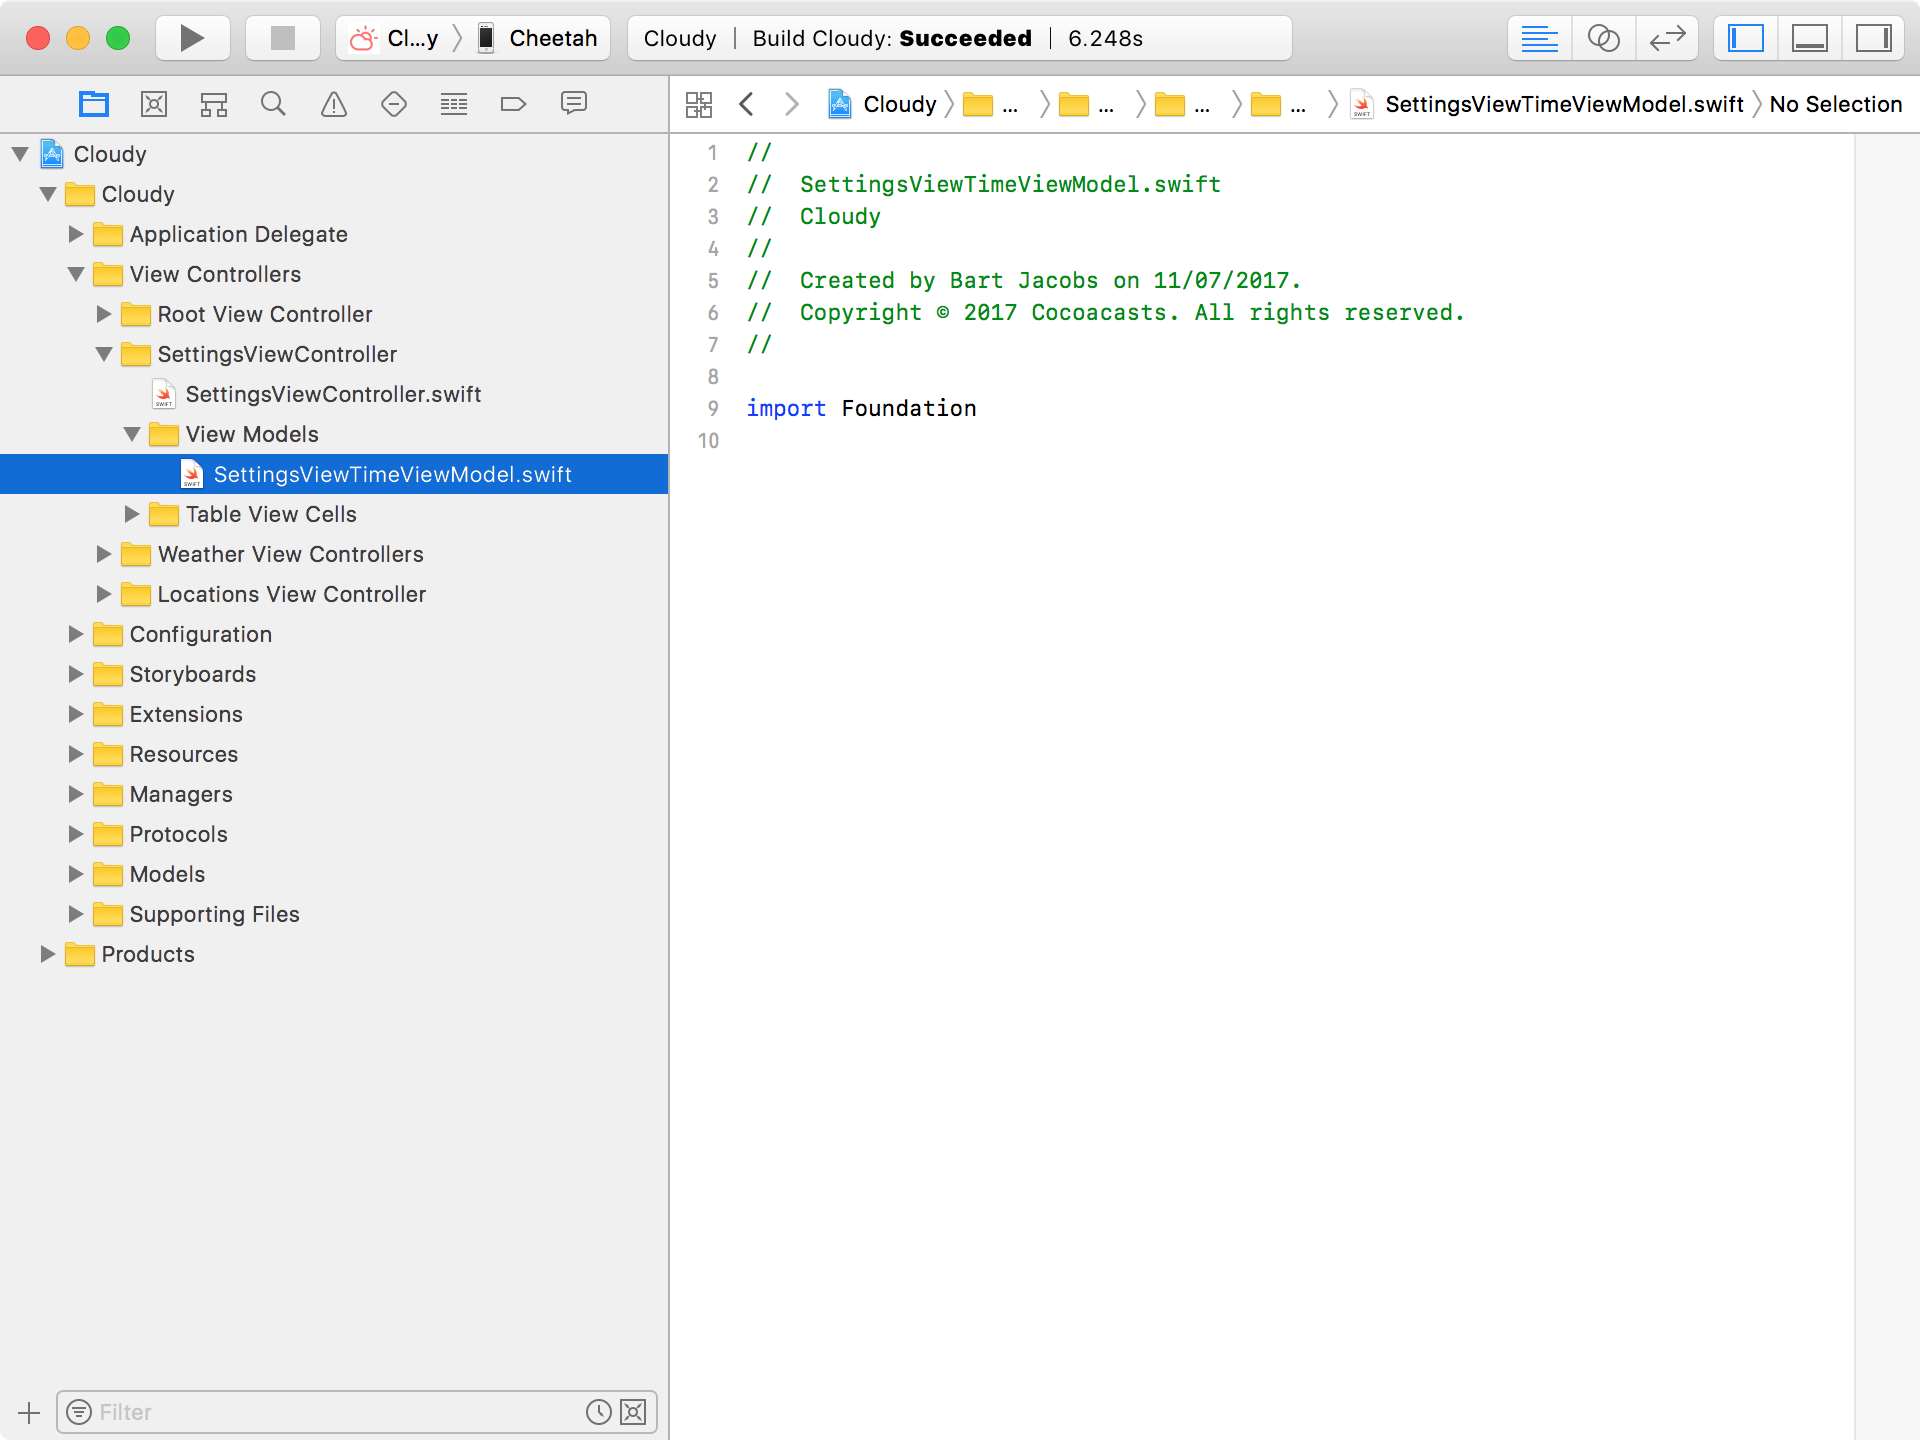
We start by creating a new group for the view models.

The first view model we create is a view model for populating the table view cells of the first section of the table view, the time section. This section is used for switching between 12 hour and 24 hour time notation. We create a new file and name it SettingsViewTimeViewModel.swift.
We replace the import statement for Foundation with an import statement for UIKit and define the SettingsViewTimeViewModel struct.
SettingsViewTimeViewModel.swift
1 import UIKit
2
3 struct SettingsViewTimeViewModel {
4
5 }
The model of the struct should be of type TimeNotation. We define a new property, timeNotation, of type TimeNotation.
SettingsViewTimeViewModel.swift
1 import UIKit
2
3 struct SettingsViewTimeViewModel {
4
5     // MARK: - Properties
6
7     let timeNotation: TimeNotation
8
9 }
If we jump back to the implementation of tableView(_:cellForRowAt:) in the SettingsViewController class, we can see which values the view model should provide the view controller with. The view controller needs a value for the main label of the table view cell and it also needs to set the accessoryType property of the table view cell.
SettingsViewController.swift
 1 func tableView(_ tableView: UITableView, cellForRowAt indexPath: Ind\
 2 exPath) -> UITableViewCell {
 3     guard let section = Section(rawValue: indexPath.section) else { \
 4 fatalError("Unexpected Section") }
 5     guard let cell = tableView.dequeueReusableCell(withIdentifier: S\
 6 ettingsTableViewCell.reuseIdentifier, for: indexPath) as? SettingsTa\
 7 bleViewCell else { fatalError("Unexpected Table View Cell") }
 8
 9     switch section {
10     case .time:
11         cell.mainLabel.text = (indexPath.row == 0) ? "12 Hour" : "24\
12  Hour"
13
14         let timeNotation = UserDefaults.timeNotation()
15         if indexPath.row == timeNotation.rawValue {
16             cell.accessoryType = .checkmark
17         } else {
18             cell.accessoryType = .none
19         }
20     case .units:
21         ...
22     case .temperature:
23         ...
24     }
25
26     return cell
27 }
This means we need to implement two computed properties. The first computed property is named text and it’s of type String. We use a simple switch statement to return a string based on the value of the timeNotation property. This should look familiar by now.
SettingsViewTimeViewModel.swift
1 var text: String {
2     switch timeNotation {
3     case .twelveHour: return "12 Hour"
4     case .twentyFourHour: return "24 Hour"
5     }
6 }
We create another computed property, accessoryType, of type UITableViewCellAccessoryType. We fetch the user’s preference from the user defaults database and compare it with the value of the timeNotation property. The result of this comparison determines the accessory type we return.
SettingsViewTimeViewModel.swift
1 var accessoryType: UITableViewCellAccessoryType {
2     if UserDefaults.timeNotation() == timeNotation {
3         return .checkmark
4     } else {
5         return .none
6     }
7 }
That’s all we need to do to implement the SettingsViewTimeViewModel struct.
Importing UIKit
Earlier in this book, I mentioned that importing the UIKit framework in a view model is a code smell. It’s not necessarily wrong, but you need to be careful.
What we’re doing in the SettingsViewTimeViewModel struct is open for discussion. Some developers will argue that this is wrong because we reference a trait of a view, a table view cell. I can understand and appreciate that argument.
No matter how you feel about the implementation of the SettingsViewTimeViewModel struct, what’s most important is that you’re aware of what we’re doing. I have a clear philosophy about this subject. It’s fine to break a rule as long as you know what the rule stands for and you understand the consequences.
That’s enough philosophy for now. It’s time to put the SettingsViewTimeViewModel struct to work in the SettingsViewController class.
Refactoring the Settings View Controller
We can now use the SettingsViewTimeViewModel struct in the SettingsViewController class. Open SettingsViewController.swift and navigate to the tableView(_:cellForRowAt:) method. In the switch statement, we initialize an instance of the TimeNotation enum using the value of the indexPath argument.
SettingsViewController.swift
1 case .time:
2     guard let timeNotation = TimeNotation(rawValue: indexPath.row) e\
3 lse {
4         fatalError("Unexpected Index Path")
5     }
We use the timeNotation instance to create the view model.
SettingsViewController.swift
1 // Initialize View Model
2 let viewModel = SettingsViewTimeViewModel(timeNotation: timeNotation)
We use the view model to configure the table view cell.
SettingsViewController.swift
1 // Configure Cell
2 cell.mainLabel.text = viewModel.text
3 cell.accessoryType = viewModel.accessoryType
Your Turn
You should now be able to create the view models for the remaining two sections. Put the book aside for a moment and give it a try.
This is what the SettingsViewUnitsViewModel struct should look like. The most important difference with the SettingsViewTimeViewModel struct is the name and type of the model the view model manages.
SettingsViewUnitsViewModel.swift
 1 import UIKit
 2
 3 struct SettingsViewUnitsViewModel {
 4
 5     // MARK: - Properties
 6
 7     let unitsNotation: UnitsNotation
 8
 9     // MARK: - Public Interface
10
11     var text: String {
12         switch unitsNotation {
13         case .imperial: return "Imperial"
14         case .metric: return "Metric"
15         }
16     }
17
18     var accessoryType: UITableViewCellAccessoryType {
19         if UserDefaults.unitsNotation() == unitsNotation {
20             return .checkmark
21         } else {
22             return .none
23         }
24     }
25
26 }
The implementation of the SettingsViewTemperatureViewModel struct looks very similar as you can see below.
SettingsViewTemperatureViewModel.swift
 1 import UIKit
 2
 3 struct SettingsViewTemperatureViewModel {
 4
 5     // MARK: - Properties
 6
 7     let temperatureNotation: TemperatureNotation
 8
 9     // MARK: - Public Interface
10
11     var text: String {
12         switch temperatureNotation {
13         case .fahrenheit: return "Fahrenheit"
14         case .celsius: return "Celsius"
15         }
16     }
17
18     var accessoryType: UITableViewCellAccessoryType {
19         if UserDefaults.temperatureNotation() == temperatureNotation\
20  {
21             return .checkmark
22         } else {
23             return .none
24         }
25     }
26
27 }
The implementation of the tableView(_:cellForRowAt:) method isn’t difficult to update either. In the units section, we create an instance of the UnitsNotation enum, use it to instantiate the view model, and configure the table view cell.
SettingsViewController.swift
 1 case .units:
 2     guard let unitsNotation = UnitsNotation(rawValue: indexPath.row)\
 3  else { fatalError("Unexpected Index Path") }
 4
 5     // Initialize View Model
 6     let viewModel = SettingsViewUnitsViewModel(unitsNotation: unitsN\
 7 otation)
 8
 9     // Configure Cell
10     cell.mainLabel.text = viewModel.text
11     cell.accessoryType = viewModel.accessoryType
In the temperature section, we create an instance of the TemperatureNotation enum, use it to instantiate the view model, and configure the table view cell.
SettingsViewController.swift
 1 case .temperature:
 2     guard let temperatureNotation = TemperatureNotation(rawValue: in\
 3 dexPath.row) else { fatalError("Unexpected Index Path") }
 4
 5     // Initialize View Model
 6     let viewModel = SettingsViewTemperatureViewModel(temperatureNota\
 7 tion: temperatureNotation)
 8
 9     // Configure Cell
10     cell.mainLabel.text = viewModel.text
11     cell.accessoryType = viewModel.accessoryType
Even though we simplified the tableView(_:cellForRowAt:) method of the SettingsViewController class, there’s room for improvement. You may have noticed that we have duplications in the tableView(_:cellForRowAt:) method. We resolve these issues later in the book using protocol-oriented programming.
I’m sure you agree that the view models we created are lightweight objects. Creating and discarding them doesn’t impact performance because they’re inexpensive to create.
Have you noticed that the view models are short-lived objects? The settings view controller doesn’t keep a reference to the view models. They’re created in the tableView(_:cellForRowAt:) method of the settings view controller and discarded soon after the method returns a table view cell. This is fine, though. It’s a lightweight flavor of the Model-View-ViewModel pattern.