13 Ready, Set, Test
Because we moved a fair bit of logic from the view controllers of the project into the view models, we gained an important advantage, improved testability. As I mentioned earlier, unit testing view controllers is known to be difficult. View models, however, are easy to test. And that’s what I’ll show you in the next few chapters.
Adding a Unit Test Target
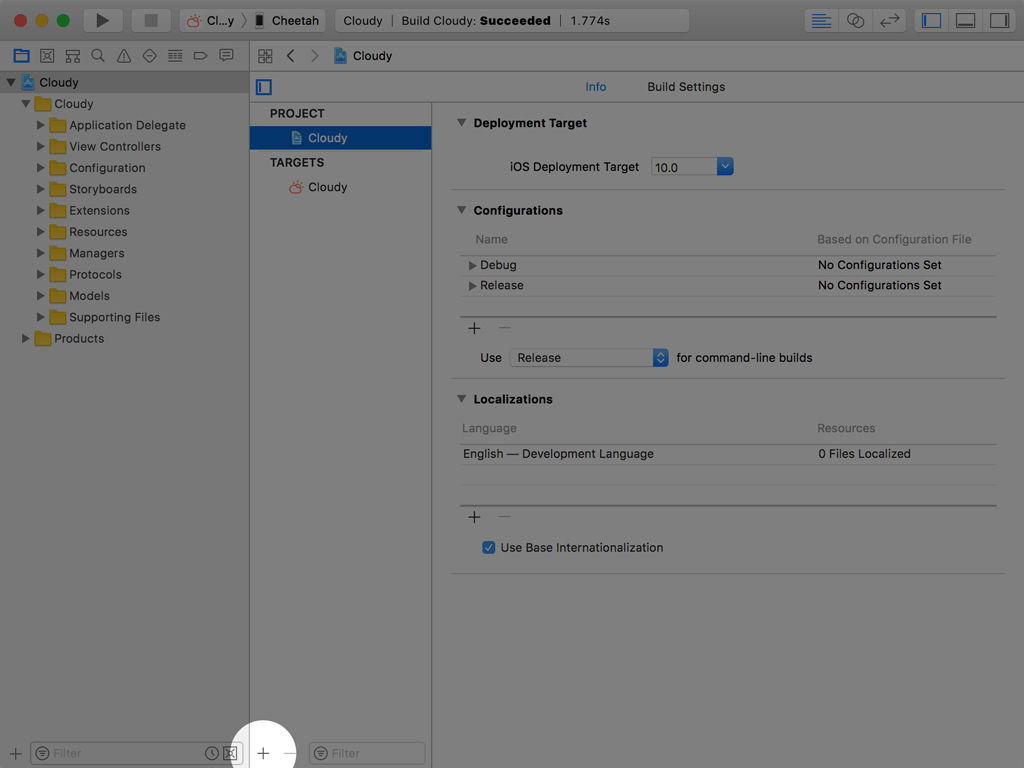
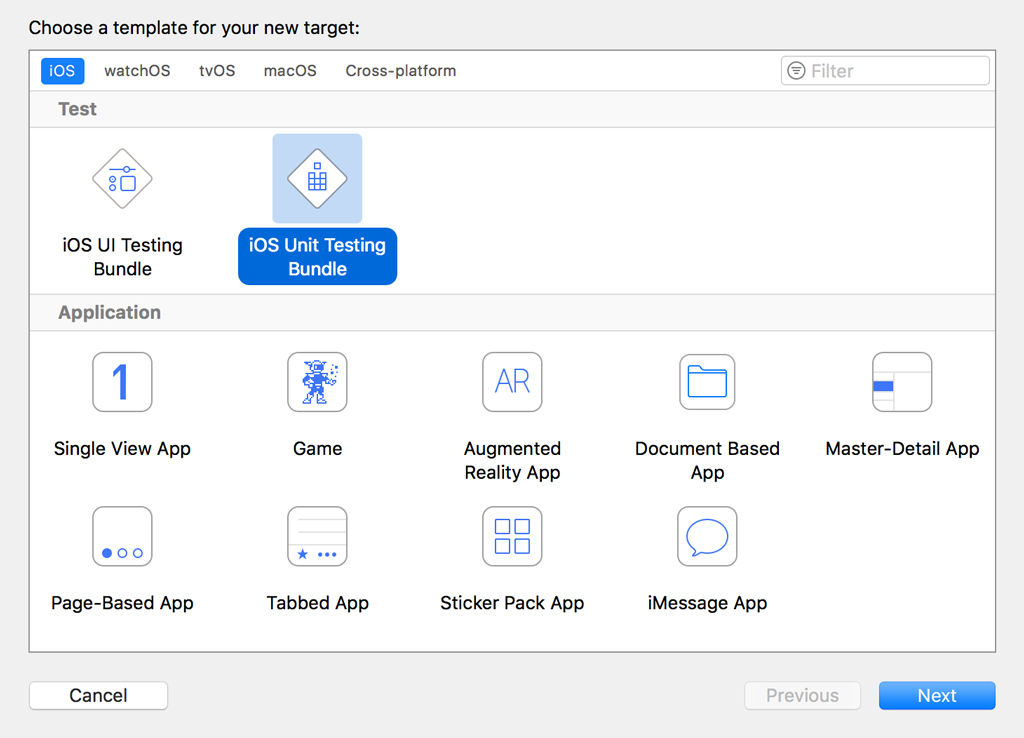
Before we can start testing the view models, we need to add a target for the unit tests. Select the project in the Project Navigator, click the plus button at the bottom, and choose iOS Unit Testing Bundle.
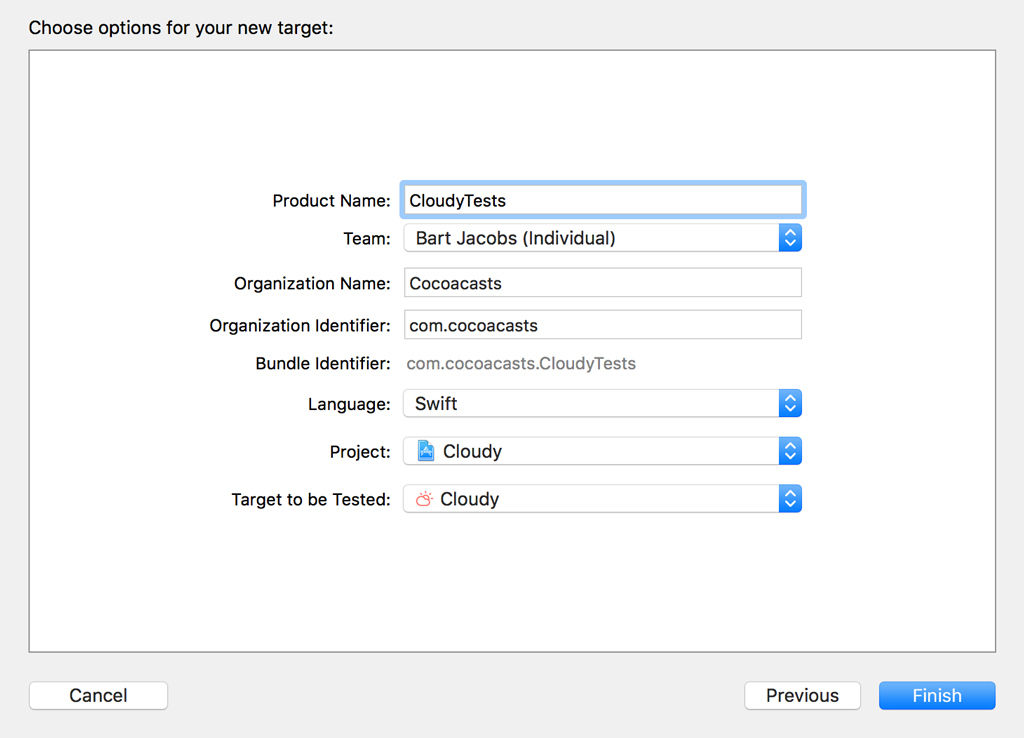
The defaults are just fine. Make sure Language is set to Swift and Target to be Tested is set to Cloudy.
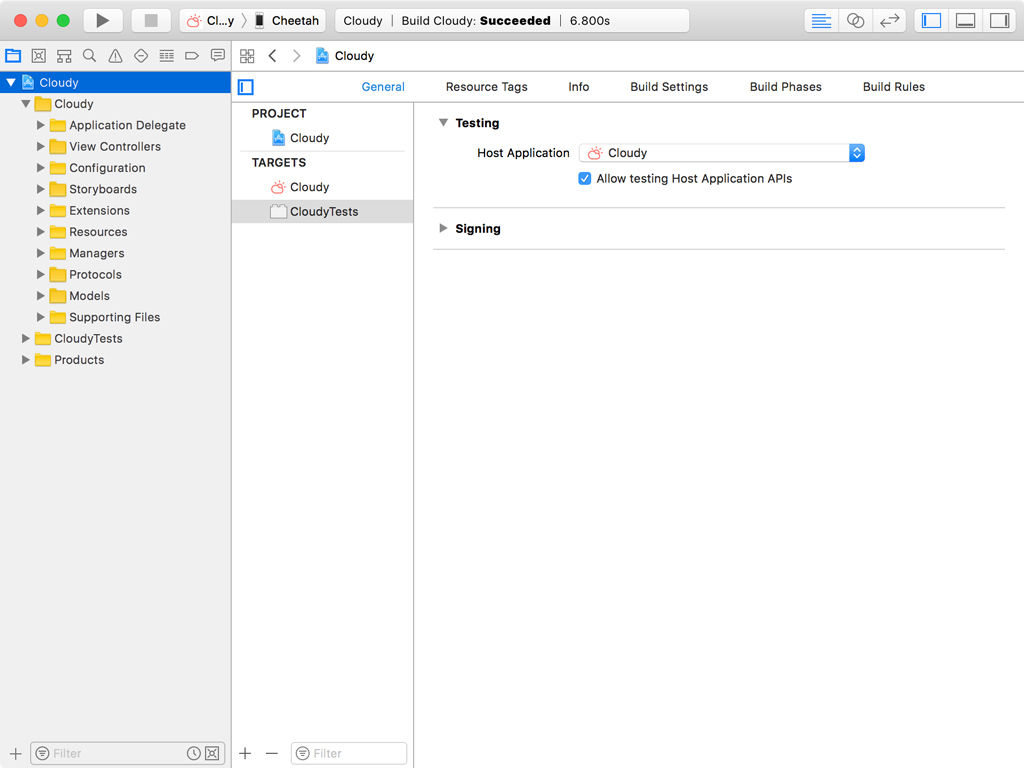
The Cloudy project should now have two targets, Cloudy and CloudyTests.
Organizing the Unit Test Target
I usually create several groups in the unit testing bundle to keep files and folders organized. I create a group named Supporting Files for the Info.plist file, a group for stubs, a group for extensions, and a group for the test cases. This is what you should end up with. I also removed the test case Xcode created for us, CloudyTests.swift. We’re going to start from scratch.
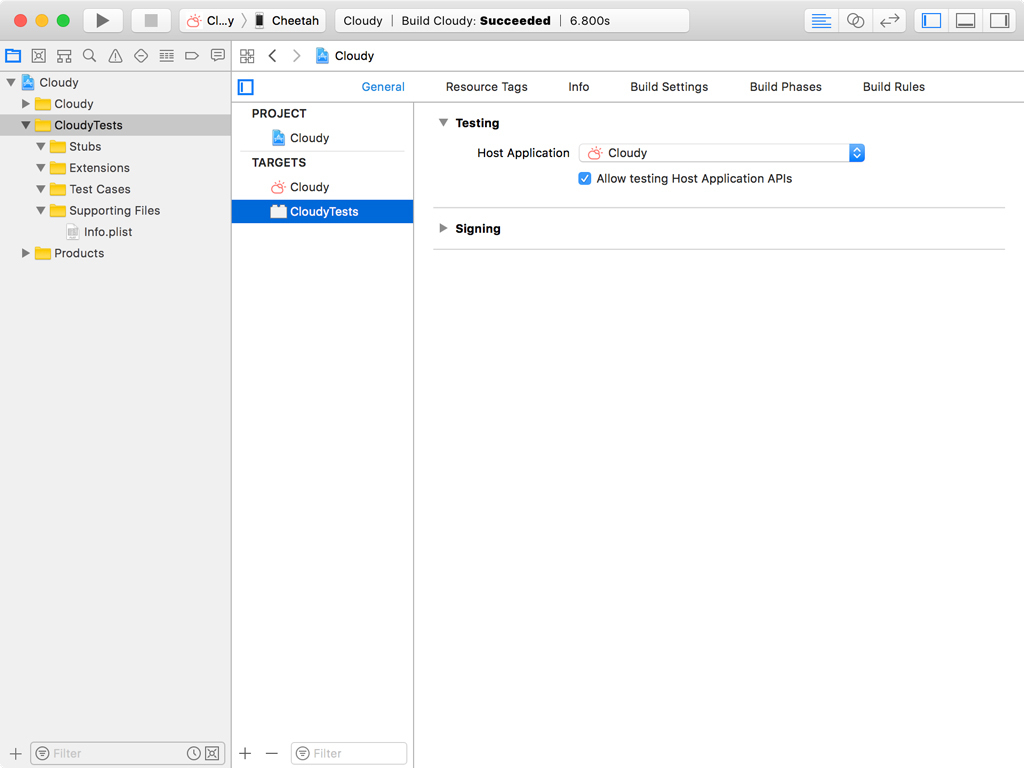
If you take this approach and move the Info.plist file in the Supporting Files group, make sure you update the file reference in Xcode. The Info.plist file shouldn’t appear red in the Project Navigator.
We also need to update the path to the Info.plist file in the build settings of the CloudyTests target. Choose the CloudyTests target from the list of targets, select Build Settings at the top, and search for the Info.plist File build setting in the Packaging section. Change the path from CloudyTests/Info.plist to CloudyTests/Supporting Files/Info.plist.
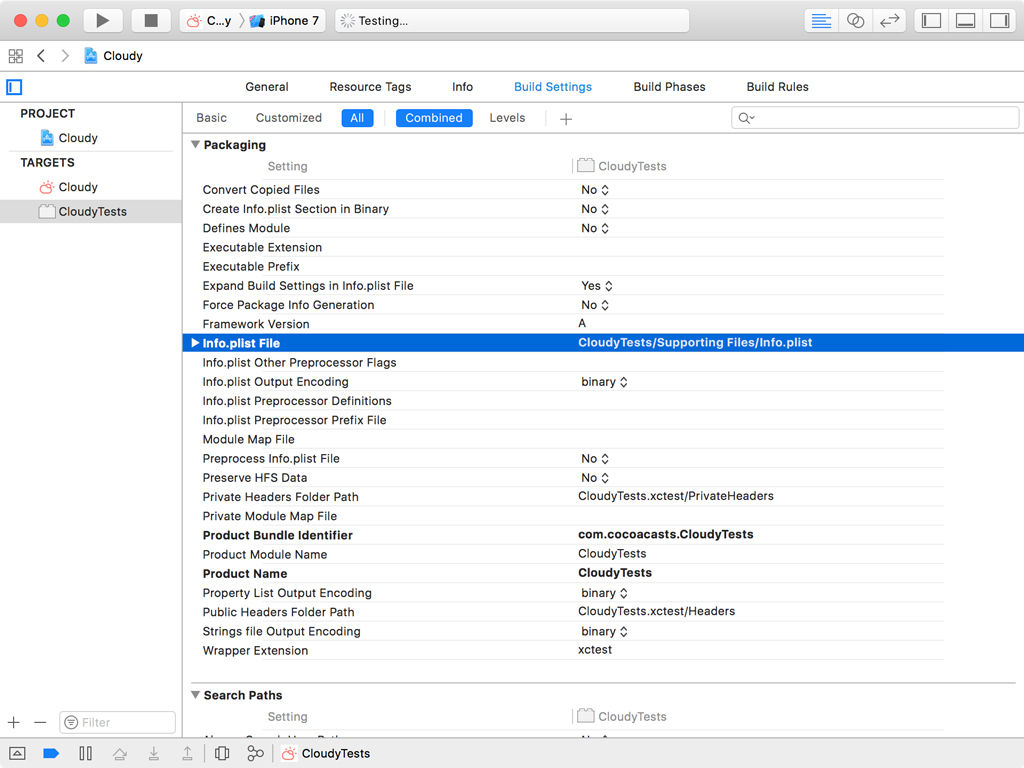
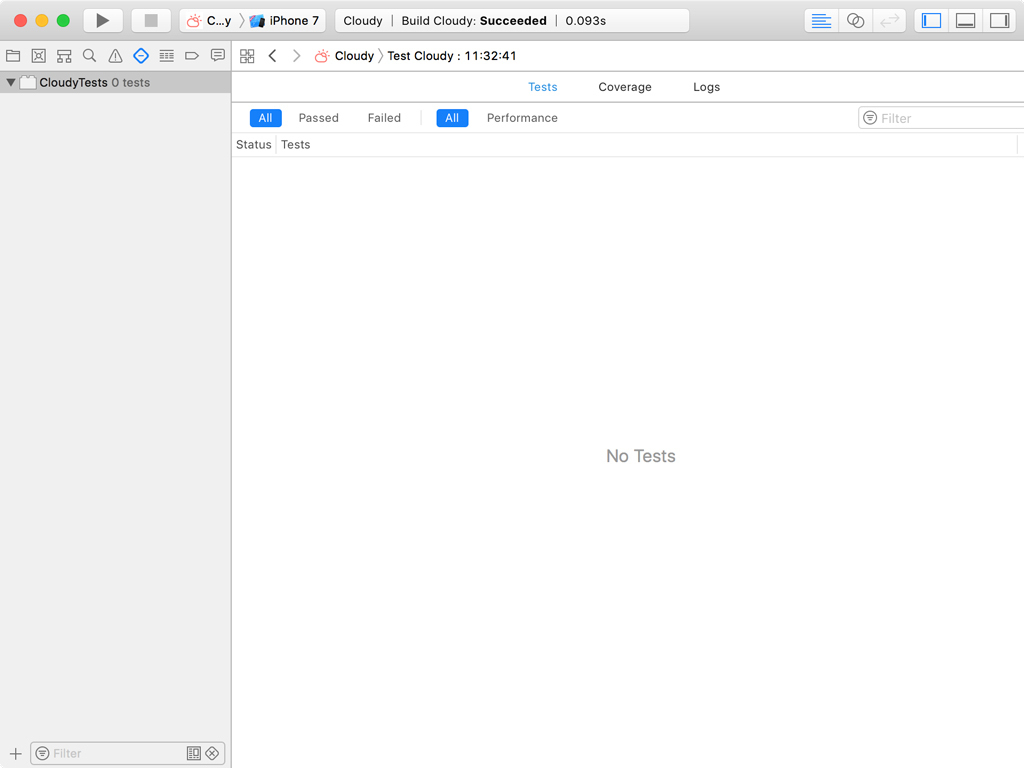
To make sure the unit test target is correctly configured, we need to run the test suite. We don’t have any unit tests yet, but that’s not a problem. We only verify that the unit test target is ready and properly configured.
Choose a simulator from the list of devices and run the test suite by choosing Test from Xcode’s Product menu. The application is installed in the simulator and the test suite is run. No errors or warnings should be visible.
In the next chapter, we write unit tests for the view models of the settings view controller.