No. 60
Measure accurately
Pro tips for perfect precision
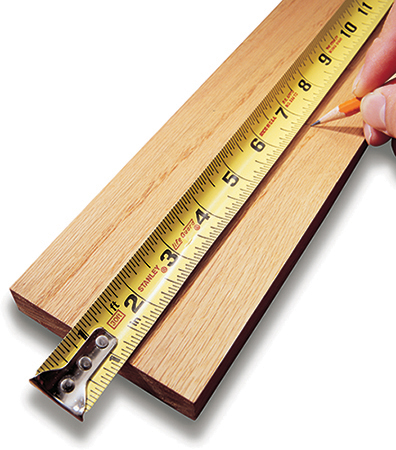
Burn an inch
The hook at the end of a tape measure is designed to slip in and out a little. That movement compensates for the thickness of the hook, depending on whether you’re taking inside or outside measurements. But a bent hook or worn rivets can lead to inaccuracy. So when you need precision, bypass hook-related errors by holding the tape at the 1-in. mark and making your mark exactly 1 in. beyond the desired measurement.
A tape measure can hurt you—really
Sounds crazy, but any carpenter will agree: When a tape retracts from several feet out, it can pick up speed and slam into your finger with painful force. Slow it down by holding your finger against the underside of the blade.
Longer is better
A 20-ft. tape measure is better than a 10-footer, even if you don’t need to measure that far. Longer tapes generally have a wider, stiffer blade that will extend farther without bending and falling to the floor. That means you can measure longer distances without a helper holding one end.
Measure twice for long stretches
When you need to measure a long span and don’t have a helper to hold the tape, take two measurements and add them up. This is also a super-accurate way to measure a space that’s enclosed on both ends—inside a drawer, for example.
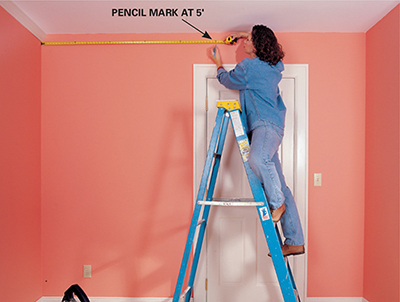
1. Measure halfway
Measure to a spot near the center and make a mark exactly at the nearest foot.
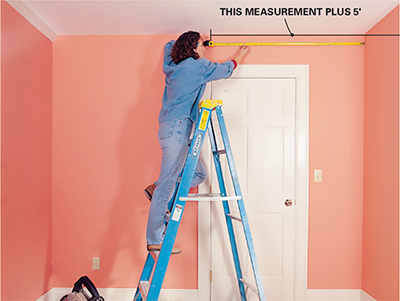
2. Measure again
Measure from the other side and tally up the two measurements
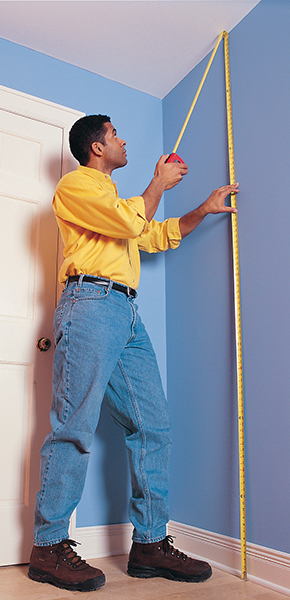
Measure up, not down
When measuring something tall, work with gravity, not against it. To measure ceiling height, for example, butt the tape against the floor and extend it to the ceiling. Bend the tape at the ceiling and “eyeball” the measurement. You’ll be able to get within 1/4 in. of the exact height.
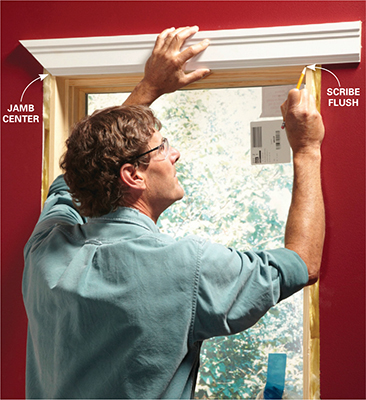
Mark, don’t measure
Whenever possible, pro carpenters leave their tape measures in their tool belts. Holding an item in place and marking it is often faster, easier and more accurate. Most importantly, it eliminates errors.
Voice of experience
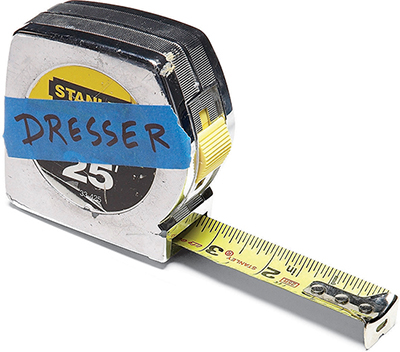
When precision matters
Two tapes may give you slightly different measurements. And sometimes, even a 1/16-in. variation spells trouble. So when I’m building furniture, I pick one tape, label it and use it throughout the job.

Stephen Evans, furniture maker and The Family Handyman Field Editor


