chapter 2
Kitchen &
Dining
Room
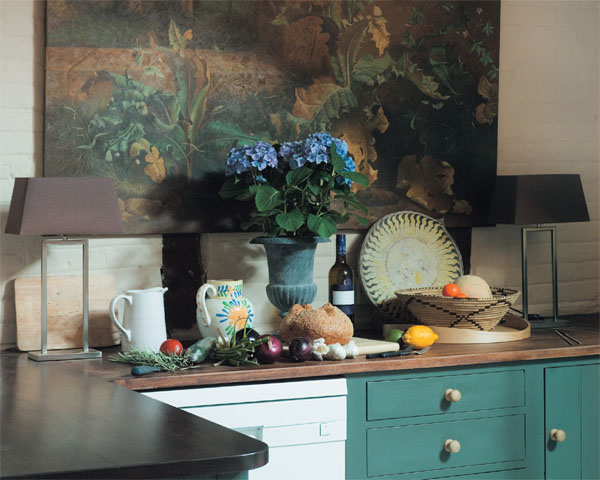
The kitchen of the true French château is likely to have been a large, basic affair with spacious cupboards for all the china and silverware, copper pans, and a large cooking range. In style it would have been based on the kitchen of a country house. Nowadays, a big kitchen has become the room where the whole family spends time and, as its use has changed, so has its look. A country kitchen is not always appropriate in urban areas, so the ever-popular château style has been reintroduced into the kitchen with chandeliers, gold-colored fittings, marble, and comfort.
Gilding in the kitchen is a new idea, but if the room is used daily for entertainment and relaxation, why not give it a touch of glamour? Find paintings for the walls, too. Kitchens nowadays are clean and not steam filled or full of frying fat, so having relatively delicate items, such as paintings, is not out of the question any more. Go for gold!
GLITTERING SOPHISTICATION
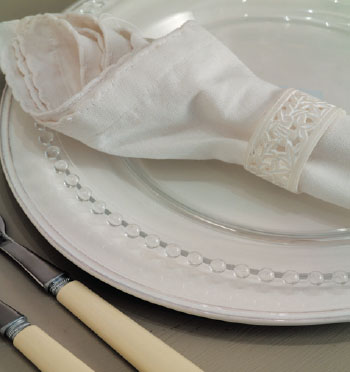
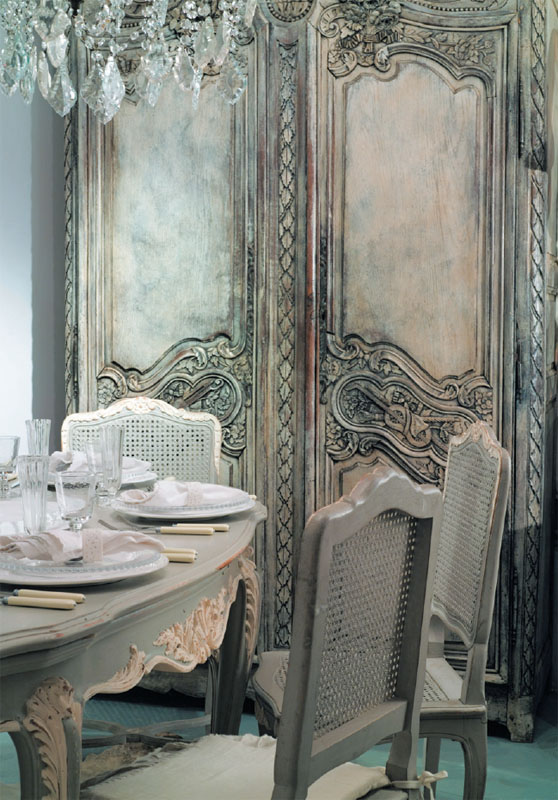
The elegance and sophistication of the château dining room has always been a style to aspire to. Its classic image is that of a sumptuous dining table laid with a crisp white linen tablecloth and napkins, silverware, goblets, and wine glasses, all set out under a central, sparkling chandelier.
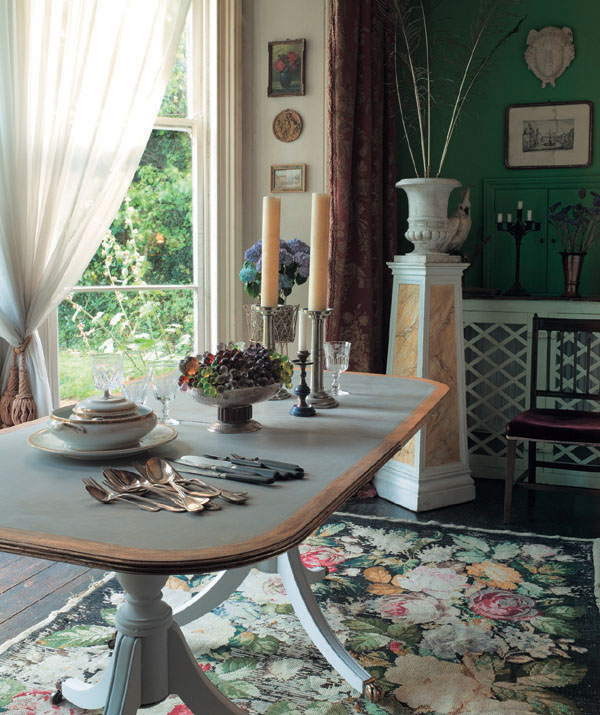
This look is not so hard to achieve. Instead of a tablecloth an old table can be painted, transforming a dark object into something light and bright and, of course, very French looking. Remember the French are not afraid to paint wood unless the wood is very special indeed. If you use the right paint, no primers are needed, so painting a large object such as a table need not take days. Start after breakfast and you should be able to eat on it in time for dinner that night.
The country kitchen and dining room are, of course, much less grand than the château’s, but some elements are the same. The style of the French country kitchen is much sought after these days because it is a symbol of everything we hold dear, and the opposite of our usual everyday environment—there is no plastic, no shiny metal, no harsh lighting. The kitchen has a preponderance of wood, and is usually painted. It has baskets for storage, stone or wood flooring and the lighting is task orientated. It is essentially a combination of kitchen and living room where everything is done from preparing, cooking, and eating food, to gathering around the table at the end of the day. We do not all live in houses that can accommodate this but the basic principles of the French country kitchen are still desirable.
UBIQUITOUS ARMOIRE
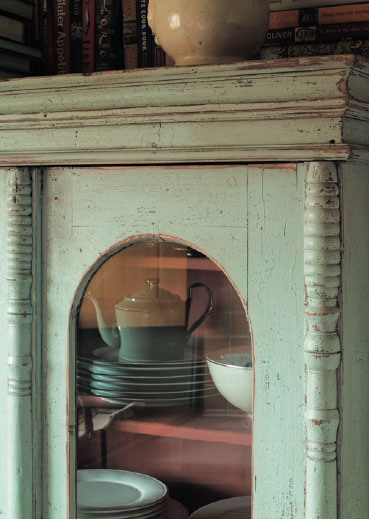
Every country manor house had at least one armoire and more often two, one in the kitchen and one in the dining room. The kitchen armoire would hold everyday, practical utensils while the one in the dining room would be used for the prettier pieces, kept for special occasions, holidays, and Sundays.
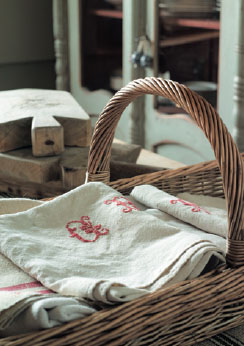
Although simply the French version of a cupboard, the armoire is not only elegant but also very practical. Many armoires are entirely portable, coming apart into several pieces—the back, sides, doors, base, and decorative chapeau, which is always the last piece to be put on as it keeps everything in place. A clever, serrated fixing system allows there to be as many shelves as are needed and for changes to be made easily. Sometimes called marriage armoires, they were part of the bride’s dowry and were taken by her to her new home, often filled with linen.
Armoires were made by local carpenters in the local style, which varied tremendously from region to region, but the owner of a country manor house might well aspire to having armoires like those in the château. There the design had a direct link to furniture originally made for the great châteaux, such as Versailles.
RUSTIC STYLE
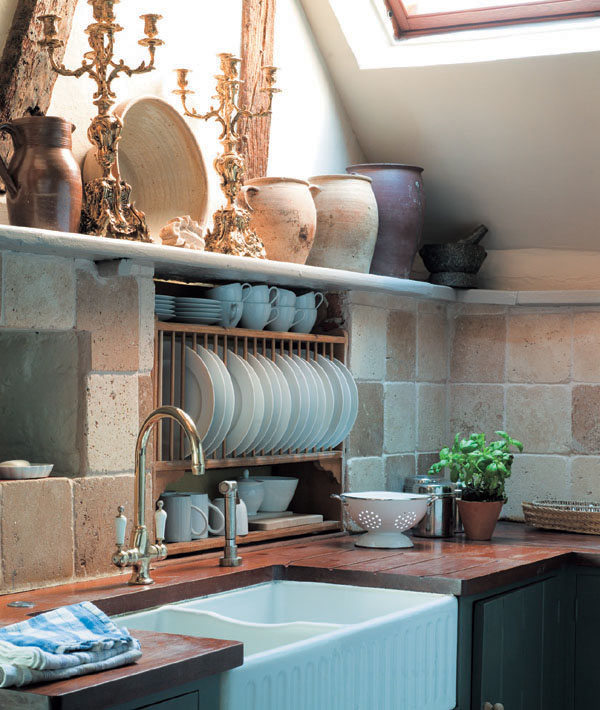
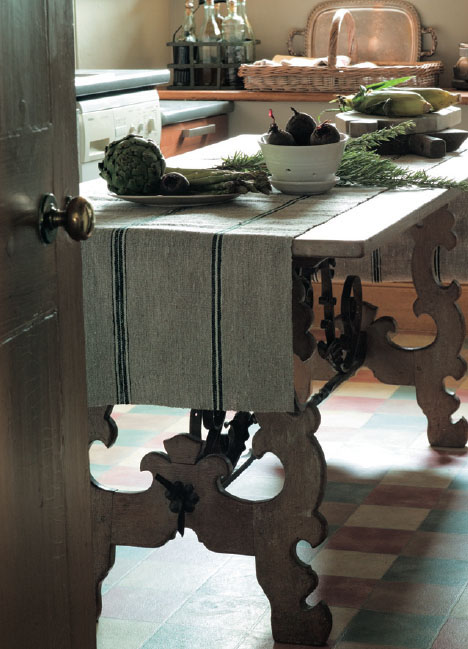
As the hub of the house, the rustic kitchen feels very comfortable and welcoming. This is not the look of the fitted kitchen with neat lines and uniformity. Avoid using conventional wall cabinets unless they can be painted—a row of fitted cabinets will destroy the look of an old-fashioned kitchen immediately. A kitchen range with a number of freestanding cupboards fit the style much better. Have an armoire for china and even food, a porcelain sink and wooden work surfaces. Use baskets for storage and have open shelves, or hide unsightly pots and pans with a gingham curtain. If you have room, find a good solid shapely old table. Paint its legs and leave the top bare so that it can be scrubbed clean. A large table is usually the focal point of the French country kitchen, where food is prepared and eaten, with no recourse to a formal dining room.
MIXING OLD AND NEW
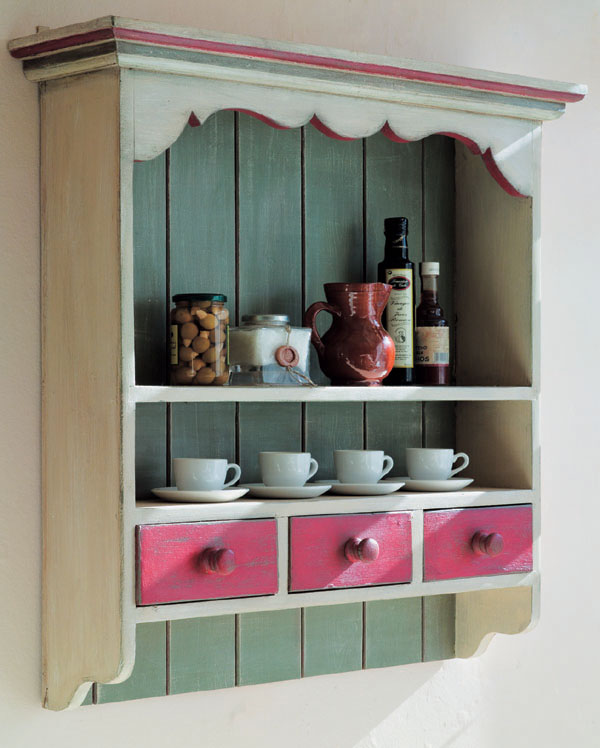
The trick is to unify your old and new furniture by painting the pieces. Paint them all slightly differently but make sure they work well together. Use whites, creams, and perhaps a muddy blue, and you can paint the back of open shelves in a shade picked out from, say, red gingham curtains. Display white and cream pitchers and bowls on open shelves.
In the rustic kitchen pride of place is reserved for a locally made armoire. Those from Brittany are usually heavily carved with abstract patterns and lozenge shapes while in the south the design tends to be curvier and lightly carved. An original armoire will be very expensive but a reproduction in pine will look excellent when painted.
The seating around the table is more likely to be made up of benches than individual chairs because in this way more people could be accommodated for large family meals. If you prefer individual chairs, find ones with rush seats if possible, and paint them. Floors in the country style kitchen are likely to be of stone or terra cotta tiles but wooden floors are also common. Walls should be uneven so, if yours are rather too perfect, give them an uneven wash of slightly thinned-down matt paint. Tile around the sink area only. The main point to remember when creating a rustic kitchen is to keep things simple.
In a true Provençal kitchen the textures are rough, natural, and earthy, much white is used and there is an even greater emphasis on simplicity than in the rest of France.
The French understand simplicity. In many hands “simple” can mean plain, dull or uncomfortable. A simple French country interior, however, has the same approach as the best of French food—few but good ingredients. Each ingredient of the Provençal kitchen is carefully chosen so it is not only practical but fits well in the space. The shapes in the room are made up of the turn of a chair back or the chapeau on the armoire.
The basic canvas is made up of chalky ocher or whitewashed walls and stone or terra cotta tiled floors. In the south, tiles are plentiful, perhaps influenced by the Mediterranean and the closeness of Spain and Morocco. On the floor you might also find red and yellow ocher stone but on the walls and work surfaces you will certainly find color—yellow ochers, earthy green and strong blue are favored. On the Riviera, Italian marble is often used for splashbacks and floors.
SOFTNESS AND COLOR
Look for softly painted furniture with curves, stone or porcelain sinks, light curtaining, and old-fashioned cooking pots to enhance the look. In a Provençal kitchen, earthenware pottery in the shape of large platters, pitchers, bowls, and marmites—a cooking pot with lid and handles—are all displayed. The furniture is likely to be freestanding, as in all country kitchens, and all painted.
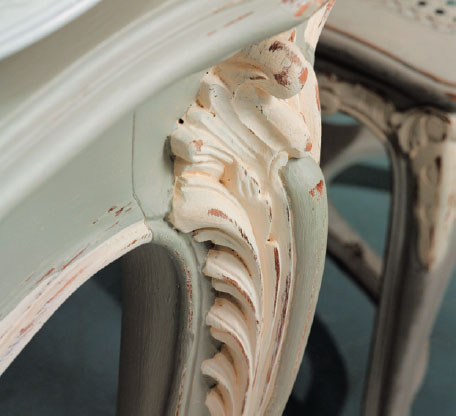
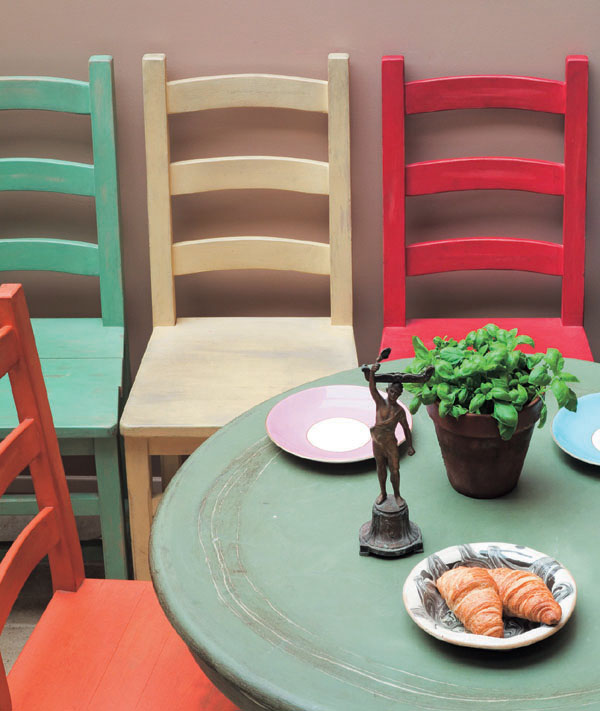
Provençal dining chairs are particularly lovely. They have curvy ladder backs with rush seating and many are painted in two colors to display the carving. Green the color of basil, a dusky blue, and yellow ocher are the colors that work best for the paintwork. The motif of a basket of flowers is common on the backs of chairs. Tables often have painted legs but, in the kitchen, the top is left as plain wood. In the dining room, if a tablecloth isn’t being used, the table looks best painted.
Along the coast the bright sunshine of the long summer months demands stronger colors. Tomato red, bright sea blue, light olive green, and sunflower yellow all look good. Colorful striped fabrics look great for curtains and pillows in kitchens and dining areas. This is a more contemporary French look but it works well combined with old painted pieces.
The Parisian dining room may be incorporated in the kitchen or separate, and may emulate the understated elegance of the château or show bohemian flair. In any case, it is definitely chic, and needs to be a little outrageous to entertain the eye.
ECLECTIC TRADITIONS
Although Parisians feel at liberty to take ideas from all parts of France and from any period of history, the Parisian dining room or kitchen is unlikely to be country style. The look will show discernment, mixing old fleamarket finds with swish new pieces. The discreet charm of French retro is particularly appealing. The photographs of Paris by Henri Cartier-Bresson and especially Robert Doisneau—his “Kiss by the Hotel de Ville” is iconic—evoke the style and magic of Paris in the 1950s. Old black and white photography from this period gives a special contrast and makes a great statement for a dining room.
Use witty, perhaps even ironic, touches by adding red gingham, the archetypal French fabric. The look of the slightly dark French bistro with white lace at the window and red gingham tablecloths could be a lovely way to decorate a Parisian dining room, recalling the traditional look.
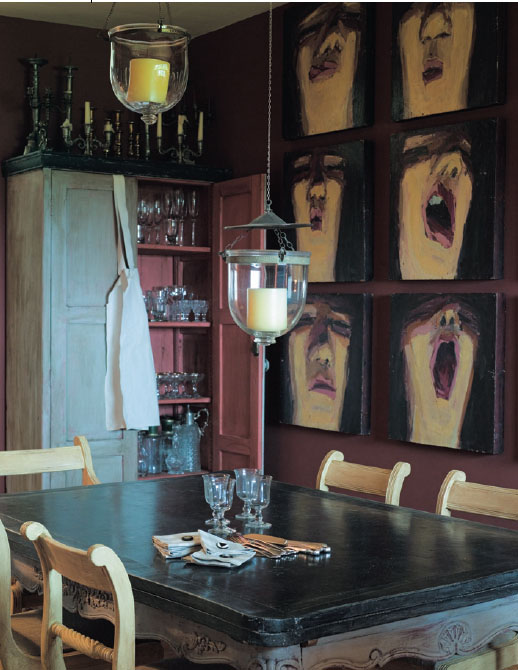
A strong color on the walls, a black table top and a mass of pictures are all ways to help develop the drama inherent in this style. Lighting is also vital in the dining area because it creates such atmosphere. Characteristic French lighting could vary from an ornate glass chandelier or a smaller brass one. Paint brass if it seems too shiny and bright.
ruffled slip-over
pillow cover
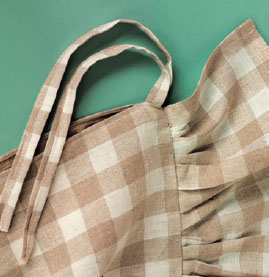
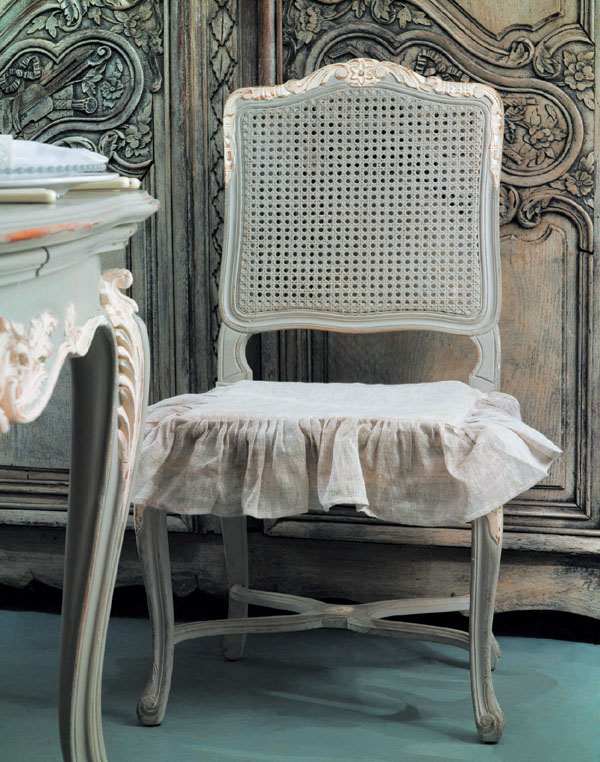
Using a soft fabric to make a loosely hanging ruffle, create a stylish pillow cover to enclose a simple foam pillow form. Ruffled pillow covers, made from simple fabrics such as light and bright checked cottons, are a great way to bring style and comfort to a kitchen.
YOU WILL NEED
2 fabric squares
Foam square
Length of fabric for the ruffle
Scissors
Sewing machine
Needle and cotton/pins
Zipper
1 Cut two squares of fabric to make the pillow cover, each the size of the pillow form plus 4 in. Fold 2 in. over and tack in place.
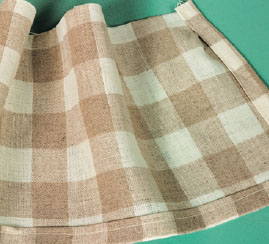
2 To make the ruffle, or skirt, cut a piece of fabric measuring double the length of three sides of the seat (the back of the chair has no ruffle) by the desired drop from the chair seat plus 1 in. Fold over 1 in. and iron the fabric along one length and both edges. Machine sew the hem and the sides of the skirt.
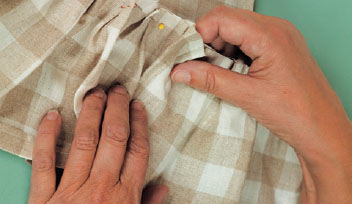
3 Pleat the skirt, pinning and tacking it in place around three sides of one fabric square, wrong sides facing. Machine stitch it in place.
4 Sew a zipper along the fourth side of the fabric square, then sew its other side on to the second square of fabric. Turn the right sides of the fabric together and machine stitch the pillow together, adding ribbon ties on the back before turning right sides out.
neo-classical
gilded table
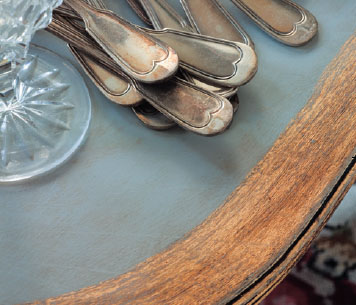
I have been able to use an unfashionable, highly polished reproduction table because all the dark and shiny wood will be hidden by paint and brass gilding. Although the table is in English Regency style, its new look ensures it can work well in an individualistic interior as long as complete authenticity is not required. The look is distressed gold but the effect is achieved with brass leaf, and the technique is finished with wax, which is soft, mellow, and very strong.
YOU WILL NEED
1 liter Paris Grey
Chalk Paint
2 large paintbrushes
Pencil
100 ml gold size
Book of brass leaf
500 ml clear wax
Fine sandpaper
250 ml dark wax
Cotton cloth
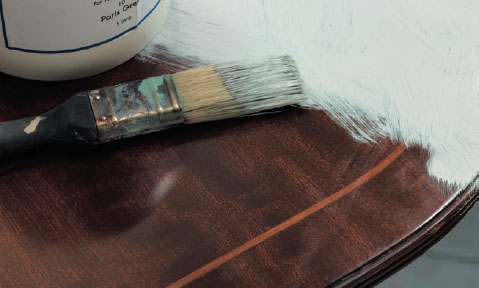
1 Cover the table with Chalk Paint because this adheres to anything and so the surface does not need to be prepared and primed. I chose an elegant Paris Grey that contrasts well with gold. Paint the whole table using smooth all-direction strokes. Apply two coats for a good finish.
neo-classical
gilded table
2 For a rim of gold around the edge of the table, first mark out the band to be gilded. I used a pencil for this, steadying my hand with my little and next fingers along the table’s edge. Don’t work too quickly and try to draw a continuous line.
3 Apply gold size (water based adhesive for metallic leaf ) to the outlined area and to the raised molded edge of the table. The size dries quickly so don’t let it get sticky and thick. At first the adhesive is white but, as it dries, it becomes quite transparent. This takes several minutes, especially when it is applied to an absorbent surface.
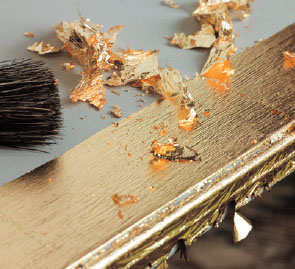
4 The size is ready for the brass leaf when it is transparent. It will remain sticky for several months, so you do not need to hurry. Each sheet of leaf is 5 in. square. Holding the sheet in one hand and a soft brush in the other, partly allow it to drop and partly guide it on to the size with the brush.
5 Brush the excess away. The leaf will not fix anywhere there is no size. I deliberately left the recessed part of the molded edges unsized so the brass would remain on the raised areas only.
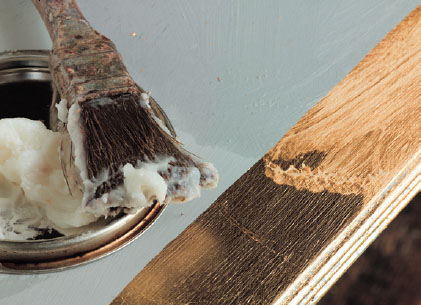
6 Brass leaf needs to be sealed so that it will not tarnish. Clear wax is a good sealer because it helps to dull the brass and allows it to be distressed. Apply a soft clear wax with a brush.
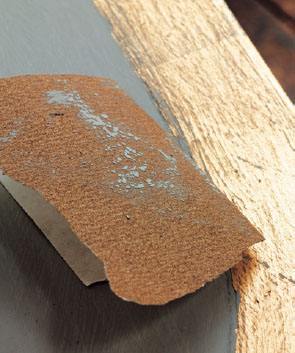
7 To distress the leaf, use very fine sandpaper. Rub gently all over the leaf so that some of the gray background shows through. Don’t rub it evenly but leave some areas free from distressing.
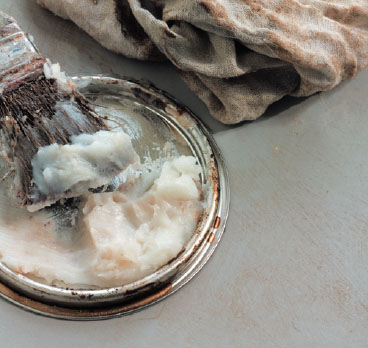
8 To give the final antiquing, use a dark wax all over. At first this looks very dark. Apply with a brush and remove the excess with a cloth. Work in small areas rather than all over the table.
9 Finish off with a layer of clear wax, which will remove more of the dark wax, but leave it where you want the table to be darker. The molding should be filled with wax. The next day, polish the table to give it a sheen.
alternative
All sorts of variations are possible with a table such as this. For instance, make a central oval or more than one band around the outside. To make it even more unusual, you could stencil a laurel border around the outside of the table in place of the gilding.
armoire with
stenciled doors
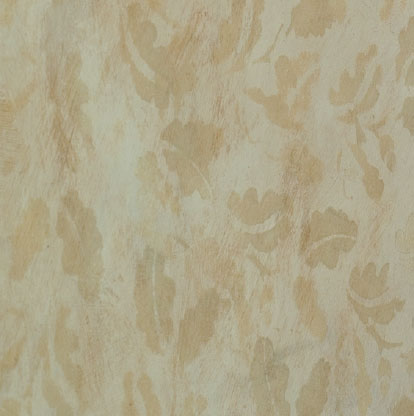
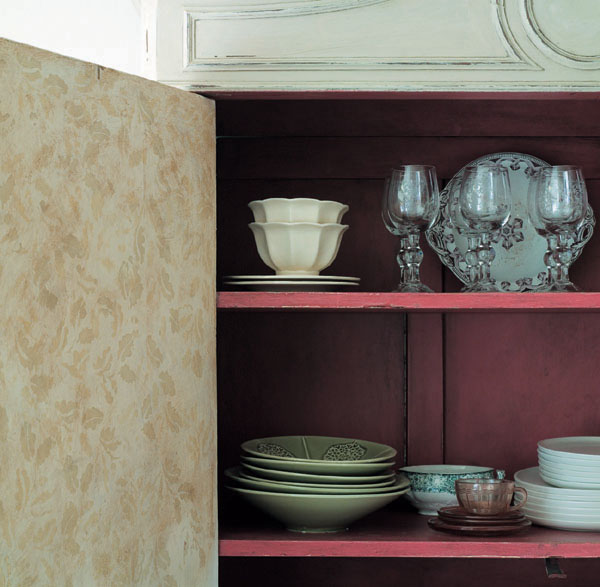
The idea of the stencil is to make a random all-over pattern that resembles damask, or the type of fabric that used to be pinned inside the door as decoration in the old days. The armoire should be painted in neutral colors on the outside so that when it is opened it reveals a gloriously colored interior, set off by the stenciled door. The idea of painting armoires is an old one, particularly favored in the châteaux of Provence and mountain areas. Many reproduction and vintage pieces can be given a new lease of life with colored interiors and stenciled doors. Large and small flowers, as well as damask patterns, are ideal stencil designs.
YOU WILL NEED
Old White Chalk Paint (optional)
Large paintbrush
100 ml of two shades of paint—
Old Ochre and Country Grey
Roller tray and roller
Stencil (acetate)
100 ml clear wax
50 ml dark wax
Cotton cloth
armoire with
stenciled doors
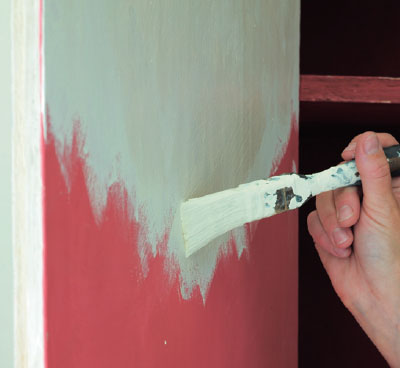
1 The interior of many armoires, including the doors, will have been painted already and possibly waxed. If this is the case with yours, the first thing to do is to give them two coats of white paint—the idea is to keep the inside of the doors light and patterned. Keep the paint a little dry and brush in all directions rather than just up and down. This ensures that the surface is textured with obvious brush marks.
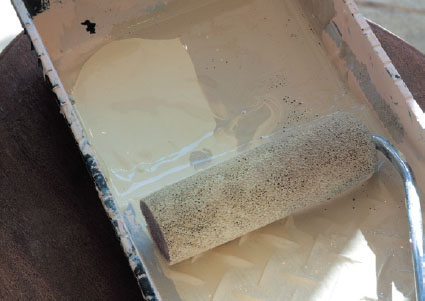
2 Pour your two chosen colors into a roller tray, keeping them separate. They should be either different tones of similar colors or different colors of similar tones. Roll the sponge roller in the tray, so that it takes up the two colors, but try not to overload it so that it is sodden through. A little paint goes a long way.
3 Hold the stencil to the door and push the roller over it. The whole trick about this stenciling method is not to have an obvious repeat pattern. So change direction, overlap the patterns and take care not to make it too even. Move the stencil randomly.
4 When the paint is dry, brush clear wax all over, making certain everything is covered.
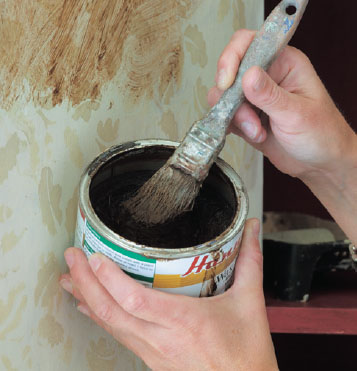
5 The next step is rather alarming as you will feel you are almost obliterating all your careful work by covering it in dark wax. Don’t panic and take heart. Brush the wax into all the crevices of the paintwork.
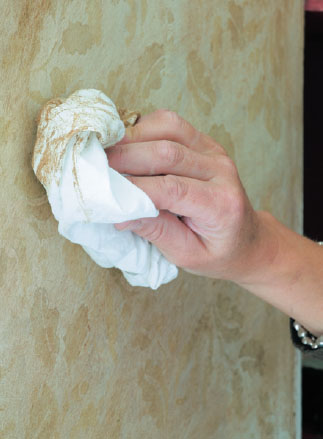
6 Take a cotton cloth and wipe off as much of the excess wax as you can, working it into the paintwork as you go. This will allow you to see more of the stencil design again.
7 Now brush clear wax quite lightly over the surface to remove the dark wax, while keeping traces of it in the grooves of the brush marks, so the surface looks clean but the brush marks are pronounced. Clean off some areas more than others to achieve the varied patina effect that gives a piece of furniture depth. Use a cloth to wipe off the excess and then polish the surface.
three-color
printed floor
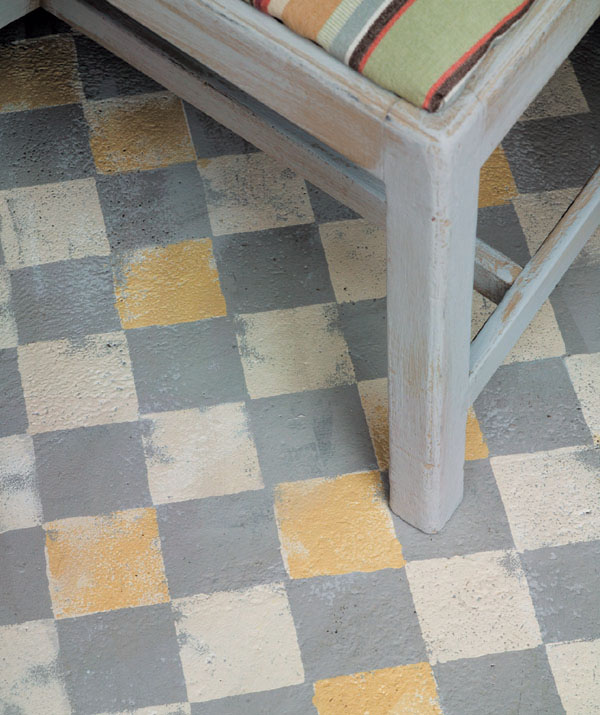
The pattern of an old tiled floor may be re-created in any number of colors, giving a concrete floor an unusual and interesting look. I have chosen a rustic feel, using gray and buttery yellow with white. Painted and then varnished the floor is very strong and will withstand a lot of wear.
YOU WILL NEED
Roller tray and roller
Masking tape and string
1 liter Paris Grey Chalk Paint for base
250 ml each of two other colored paints—Old
White and Cream
Sponge, square-shaped
Large paintbrush
1 liter clear, extra strong
varnish
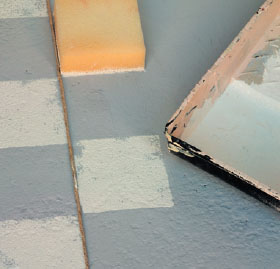
1 Use a roller to cover the floor with the base gray color. Starting in the center of the room, tape a piece of string to the floor from one side of the room to the other. Spread white paint evenly in the roller tray, dip the square sponge into it, making sure it is wholly covered, and press onto the floor at regular intervals, using the string as a guide. Repeat on the other side of the string. When you have done two lines of squares, move the string for the next two lines and continue until the whole room is done.
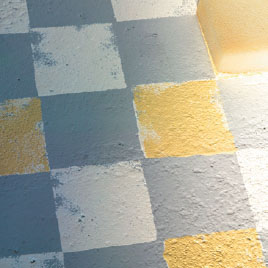
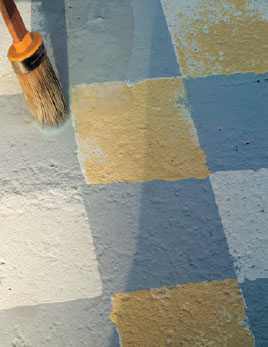
2 Go over some of the squares you have already done with a third color. Do some next to each other and leave gaps in other areas. The sponge will cover the squares unevenly so some of the white will show but it is this randomness that looks so appealing.
3 Give the floor two coats of extra strong varnish, using a brush at the edges and a roller over the rest.
stained and
varnished furniture
This technique is best for new wood so the paint is absorbed completely, leaving the grain visible. Choose a wood that can be enhanced by the paint color—tulip wood, with its interesting grain, is ideal. Here, neither the ladder-backed chairs nor the pine cupboard have knots on the outside, so no sap will bleed through.
YOU WILL NEED
Unsealed wooden furniture
100 ml Chalk Paint
Large paintbrush
Sponge and water
100 ml clear water based varnish
1 Apply a soft, water soluble paint to the surface in a loose way, taking care not to cover the whole surface. When using the very chalkiest toned paints, allow the paint to dry, but if the color is strong you may need to start the second stage while it is still wet. In this case, tackle one side at a time.
2 With a sponge and some water start wiping off the paint, wringing out the excess in clean water. Take off as much paint as you need to achieve the color you want but try not to get the wood too soaked because this opens up the grain and can make it “fray,” especially if the furniture is pine.
3 Allow the paint to dry completely. Then, using a brush, apply water based varnish evenly all over.
stylish buttoned
napkins
Napkins in personalized designs are popular in French homes. I have made these sharp and showy napkins in the same fabric, then given each a distinctive button. Napkins are easy to make and are good to give as gifts. Make yours stylish and original, using scraps of left-over cotton or linen.
YOU WILL NEED
Fabric squares
Pins and scissors
Needle and cotton
Sewing maching
Decorative buttons
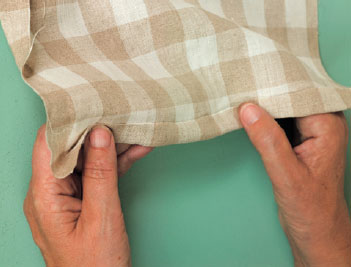
1 Cut out a square of fabric the size you want your napkin to be, allowing 2 in. all round for the hem. Fold over the edges twice, as shown, and iron flat.
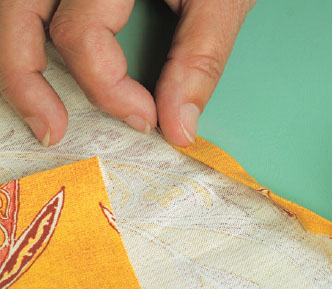
2 When you get to a corner, fold in the two edges as before and secure with a pin. Using a pair of sharp scissors, cut off the excess fabric to avoid the corner being too bulky.
3 Turn in the corners, tack all around the edges and then sew with a machine.
4 Fold the napkin into quarters to find the center and sew on a decorative button.
