Using items that you already have, such as photographs, plus clear plastic packaging, you can create a surprisingly easy project. The packaging that jewelry findings are sold in tends to make great temporary molds. It is readily available as you purchase jewelry-making supplies—you probably already have some! So before you throw away anything clear and plastic, take a look at it and try to envision it as a mold.
 Skill level: Easy
 Time: 30 minutes plus curing time
Supplies
♦ Disposable gloves
♦ 1 oz. (30ml) plastic measuring cup
♦ Disposable wooden stir stick
♦ Marker
♦ Two-part clear resin
♦ Protected work surface
♦ Wet wipes
♦ Clear plastic packaging
♦ Printed images (standard printer paper is fine)
♦ Cellophane (optional)
♦ Scissors or a craft knife
♦ Mold release (optional)
♦ Ruler
♦ Small drill bit (3/32"/2.4mm) and drill or heavy-duty craft adhesive (such as E6000)
♦ Jump rings
♦ Lobster claw clasp

Gay Isber
1. Not all plastic packaging is the right shape to use as a mold, but this square pack of jump rings was perfect. Trim off any extra plastic and store in a zip bag for future use. Clear plastic packaging is slick enough that your resin will come out super glossy and glass-like.

Gay Isber
2. For this project, I didn’t use precious original photos, but instead made copies. I also used a “pop art” filter from an app on my phone to make the photos zing—here is the before and after. Make your photos work for you.

Mike Mihalo
TIP
You can treat the packaging as a one-time-use item (you might have to cut the cured resin out of the packaging), or you can use a mold release agent so that the project pops out easily—but it won’t always work, so don’t count on it. Sometimes it’s easiest to just slice one corner open with a craft knife to get the cured resin out.

Gay Isber
3. Measure the packaging and reduce the size of your image to fit your packaging. Print it on regular printer paper. While you’re measuring, check the depth of the mold to make sure it’s deep enough for whatever you are putting into it (if you’re putting in anything other than a flat photo). The deeper the packaging, the more you can control the exact size of your resin item.

Gay Isber
4. Gather your supplies and protect your work area, including the floor.

Gay Isber
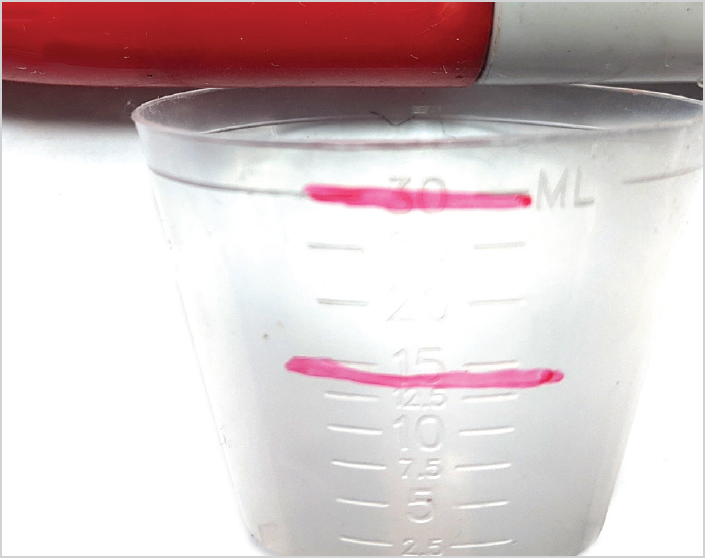
5. Estimate how much resin you will need. I mixed the full 1 oz. (30ml), so I marked the cup with a marker to allow me to easily see the two lines for mixing equal parts of A and B.

Gay Isber
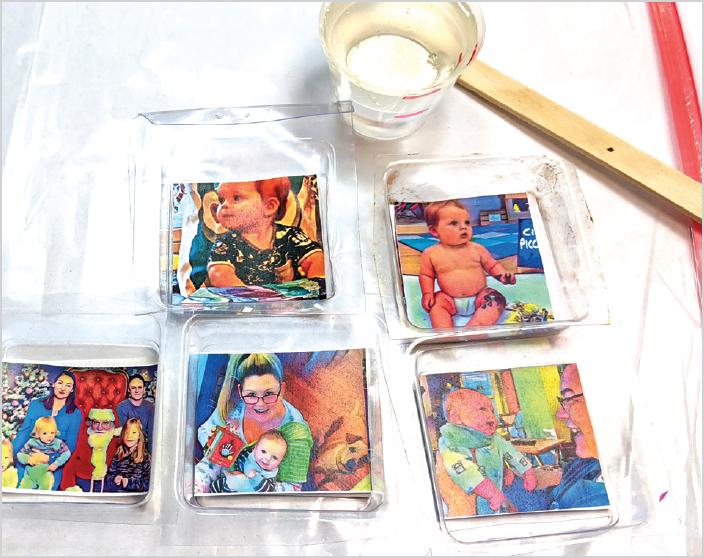
6. Double-check that the paper images fit into the molds, trimming as needed. They should not touch the sides or be crammed in. Remove them before proceeding. You can use black and white photos on one side and colorful photos on the flip side—that way, you get two necklaces in one. I added a bit of cellophane between the layers for a hint of sparkle.

Gay Isber
7. Mix the resin. Pour a small amount into the mold before you put the first paper in, face down. You want the resin to cover the entire surface of the paper. Then pour more resin, add the second piece of paper face up, and pour a little more resin. Complete each mold the same way.

Gay Isber
8. After 24 hours, the pieces will be cured and ready to pop or cut out of the packaging. If you have to cut them out, just slit the corner of the packaging with a craft knife.

Gay Isber
9. Drill a hole in the corners or use glue on the back to add jump rings that will allow you to connect the finished pieces into a necklace. String together several jump rings to add chain length, then add a lobster claw clasp at the end for the closure. Here is the finished back (black and white) side.
VARIATIONS

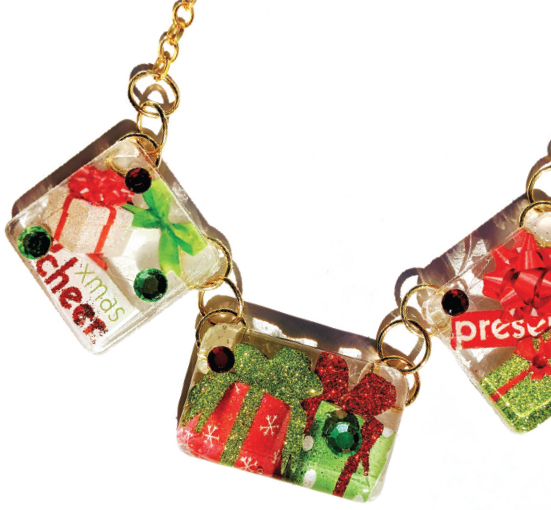
I used Christmas-themed stickers in clear packaging molds to make a small holiday necklace, gluing on a few extra rhinestones for good measure.
Gay Isber

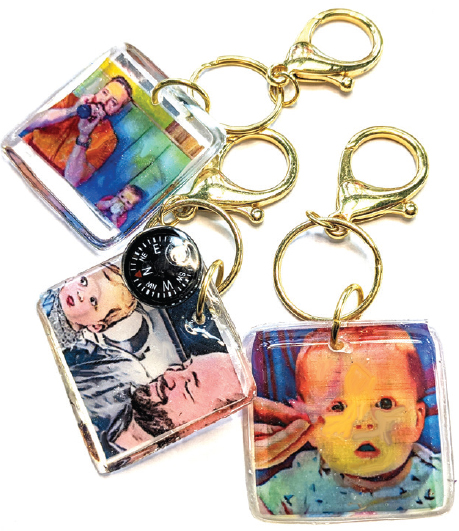
These also make great key chains. I added a compass to my new key ring using some glue.
Gay Isber