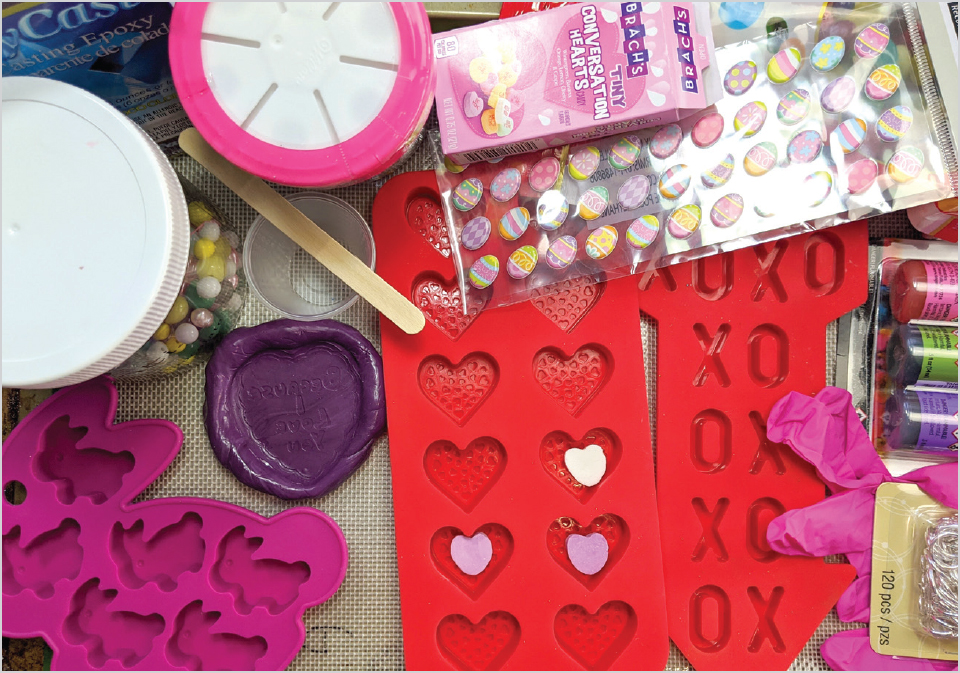
Have fun with store-bought molds, candy, and clear resin! There are so many molds available. Almost any kind of mold can be used for projects, even molds from the kitchen department. Just make sure that once they have been used for jewelry making, they aren’t used for food ever again—mark them clearly with a permanent marker. Buy clear molds, if possible, so you can see inside the mold as you work. Check out the texture of the mold, too: if it’s slick silicone, the finished resin will be slick and shiny. New, slick silicone molds do not usually need mold release.
 Skill level: Easy
 Time: 20 minutes plus curing time
Supplies
♦ Disposable gloves
♦ 1 oz. (30ml) plastic measuring cup
♦ Disposable wooden stir stick
♦ Marker
♦ Two-part clear resin
♦ Protected work surface
♦ Wet wipes
♦ Molds
♦ Candy, stickers, and glitter
♦ Heavy-duty craft adhesive (such as E6000)
♦ Large jump rings
♦ Lobster claw clasp
Gay Isber
1. Gather your supplies and molds and mix your resin. If you have a lot of bubbles, allow the resin to sit for five minutes to help remove them. You can poke them with a toothpick or blow on the bubbles to pop them.

Mike Mihalo
TIP
When you’re done pouring resin, hold the disposable measuring cup and then remove your glove so the cup is inside the glove, tie off the glove, and then put it in the trash.

Gay Isber
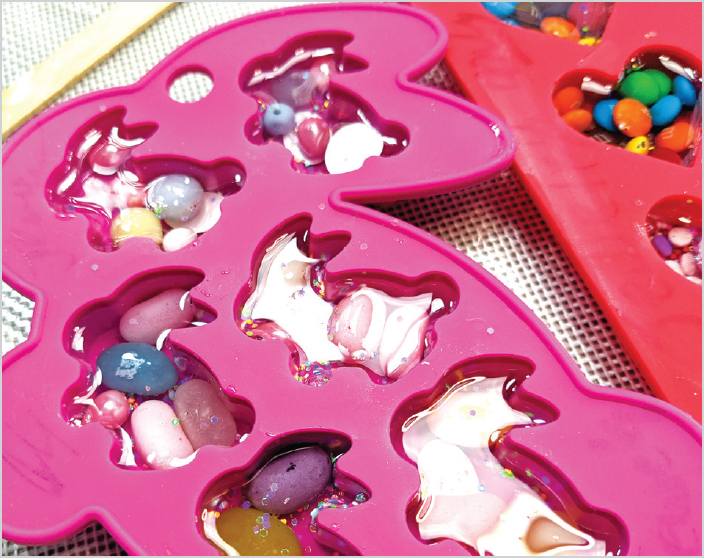
2. Fill the molds with candy, glitter, and stickers, and then, once you’re happy with the result, add resin. Slowly pour or scoop out and drop it in bit by bit, using the stir stick to help the resin into all the mold cavities. If some resin overflows, allow the mess to cure and trim it off.
Gay Isber
3. Poke the bubbles that rise to the top using a toothpick or the stir stick. Even your breath will pop most bubbles. Make sure the resin covers all the bits contained within your molds so they are locked into place.
Gay Isber
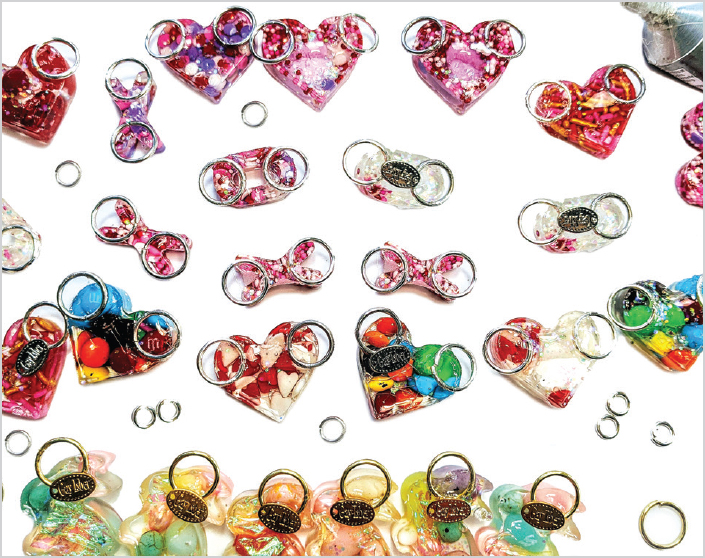
4. Once the resin has cured, pop the pieces out and add jump rings using glue. Then link these jump rings up with more jump rings and a lobster claw clasp to create the final necklace.
Gay Isber
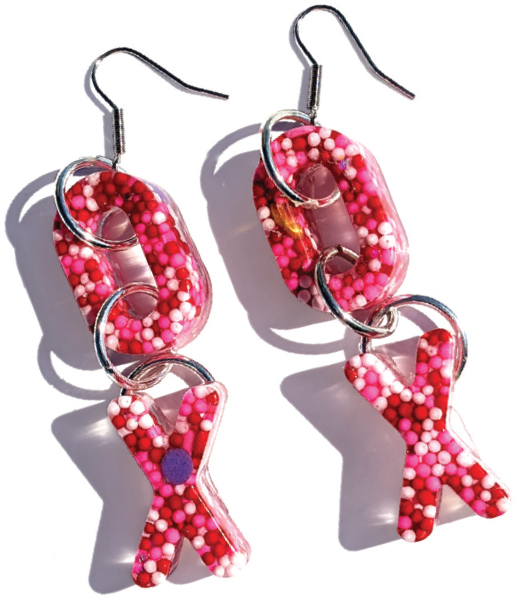
These matching earrings only require six jump rings and two earring hooks!
VARIATIONS
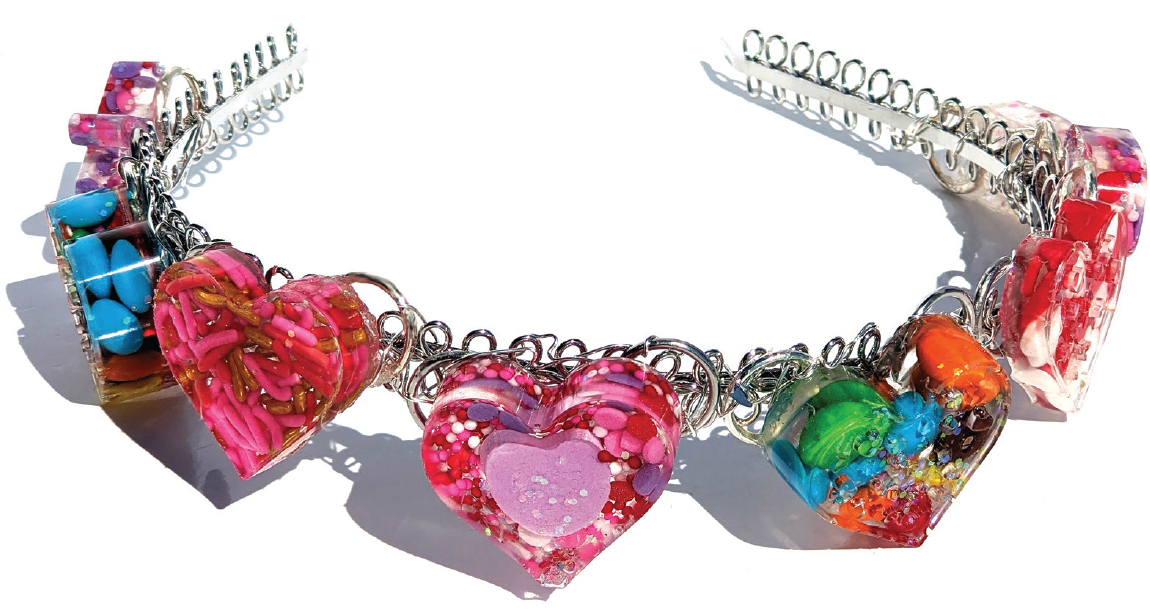
Use 20-gauge wire to sew resin hearts onto a headband. Twist the wire with your pliers to tighten the wire once you have finished. Make sure that the wire ends are folded and tucked away so they can’t scratch the wearer.
Gay Isber
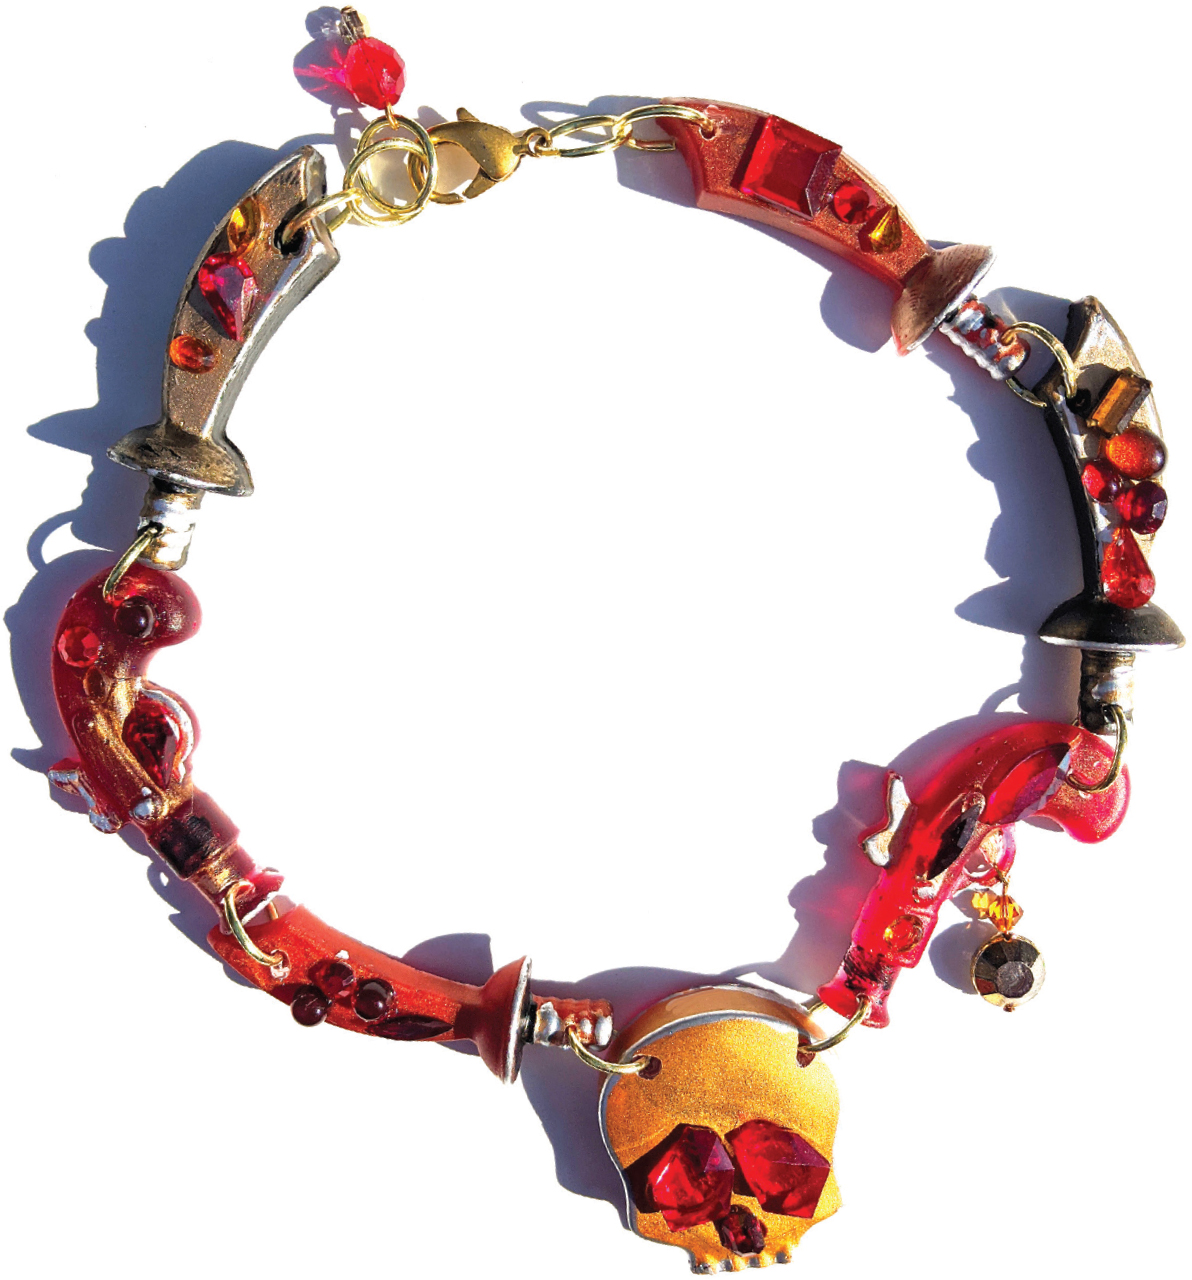
This necklace was created with store-bought pirate-themed molds. I added red dye and gold powder to the resin, then used a gold paint marker to outline the cured resin pieces to make them look more cartoonish. Finally, I glued rhinestones to the finished piece. It’s now a work of art any pirate would be glad to have in her bounty chest.
Gay Isber