Clear resin is perfect to bind, secure, and showcase small treasures inside a jewelry finding. These then make the best earrings. The samples in this collection of projects feature crystal beads, shark’s teeth fossils, stamps, fabric, and brass pressings.
 Skill level: Easy
 Time: 20 minutes plus curing time
Supplies
♦ Disposable gloves
♦ 1 oz. (30ml) plastic measuring cup
♦ Disposable wooden stir stick
♦ Marker
♦ Two-part clear resin
♦ Protected work surface
♦ Wet wipes
♦ Jewelry findings in frame shapes
♦ Beads, paper, brass pressings, fabric, etc.
♦ Nail polish, acrylic paint, or colored paper
♦ Scissors
♦ Glue or Mod Podge® (optional)
♦ Hair dryer (optional)
♦ Jump rings
♦ Earring hooks
Gay Isber
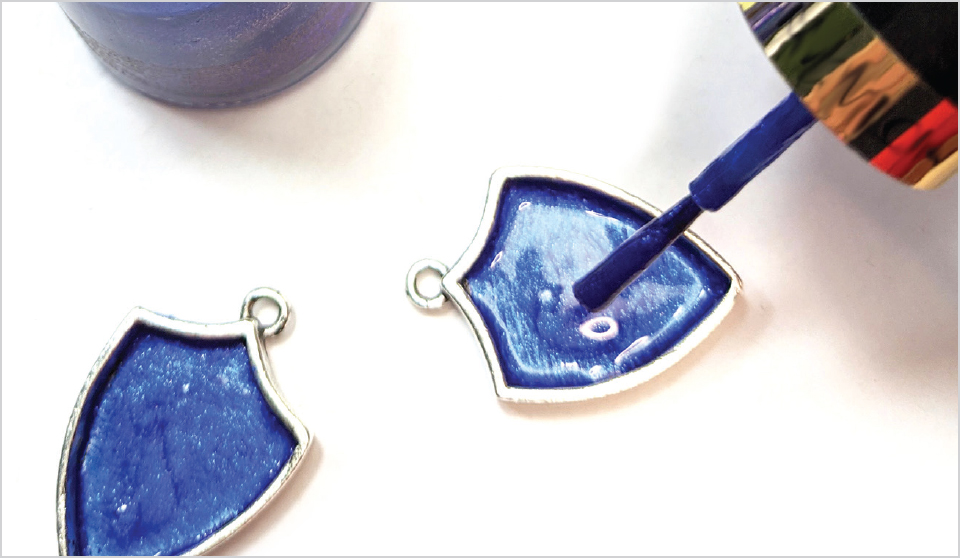
1. You can colorize the inside of the finding frame using nail polish, paper, or acrylic paint. If you are afraid the item you want to insert into the frame might shift, you can glue it down, let it dry, and then add the resin. Just make sure the glue is dry first! Use a hair dryer if you are in a hurry to dry the glue.
TIP: If you are using fragile organic materials, like small dried flowers, they are best sealed with white glue or a decoupage medium, such as Mod Podge, and allowed to dry before you add the resin. It will keep their tenderness from working against you. Hardier items, like dried leaves, aren’t usually a problem, but much weaker items, like flowers, sometime become so translucent they almost disappear if they aren’t sealed. Do a small resin test until you like your results.

Mike Mihalo
Gay Isber
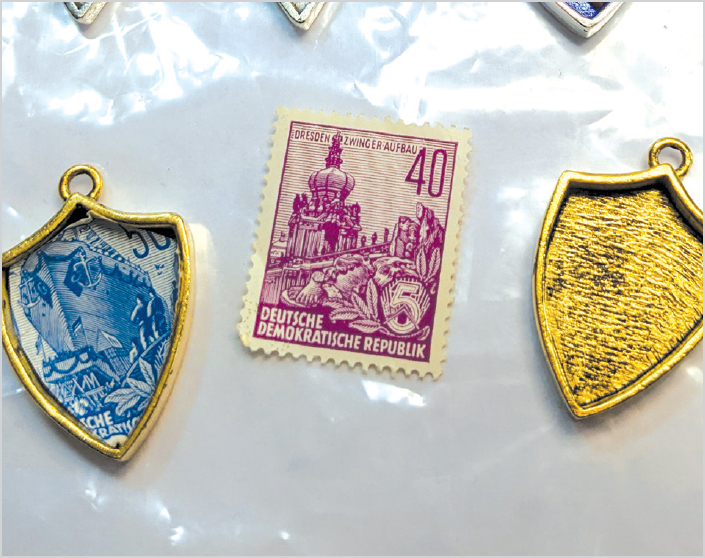
2. To use paper or stamps (like these), cut the paper to fit inside the finding. Slowly pour the resin into the finding up to the top. You don’t have to pre-treat paper or fabric with glue or any kind of sealant.
Gay Isber
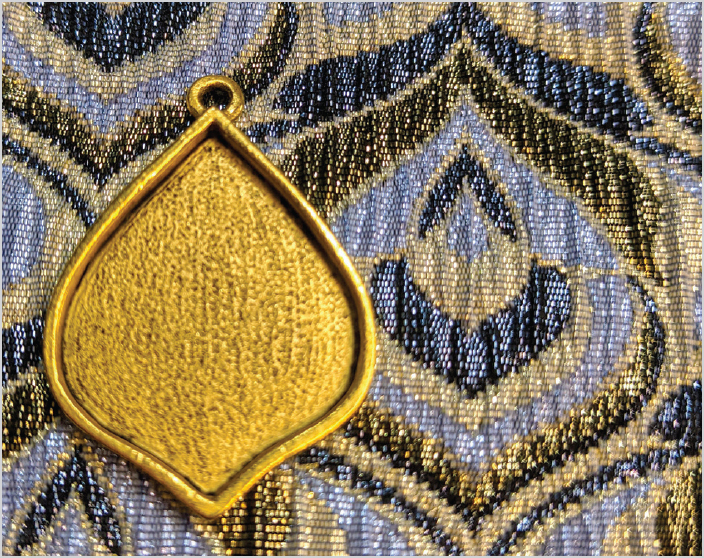
3. For fabric, make sure the motif you want to showcase will fit the frame you have. Then cut the fabric to fit inside the finding and glue it into place if you need to.
Gay Isber
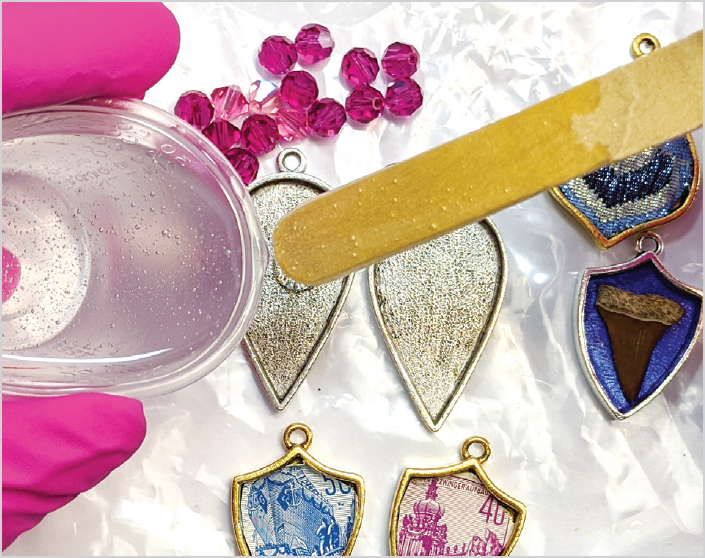
4. Once you have assembled your pieces, it’s time to add resin! If you are filling a finding with loose beads, pour a thin layer of resin into the finding first and then add the beads so that they do not get coated with resin and lose their sparkle. Make sure that each bead is touching the resin to lock it into place.
Gay Isber
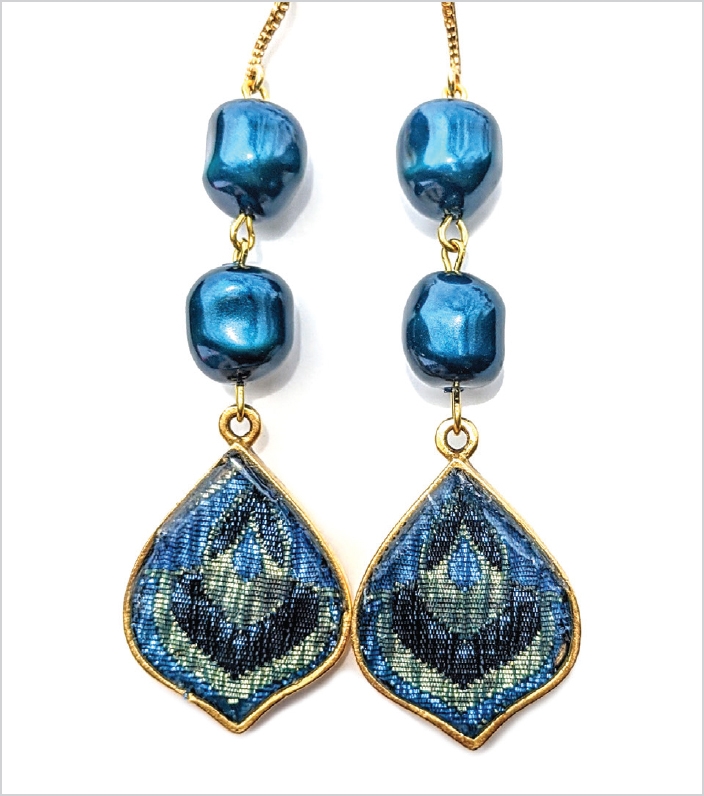
5. Add a few matching pearls or beads to complete these peacock-inspired fabric earrings.
Gay Isber
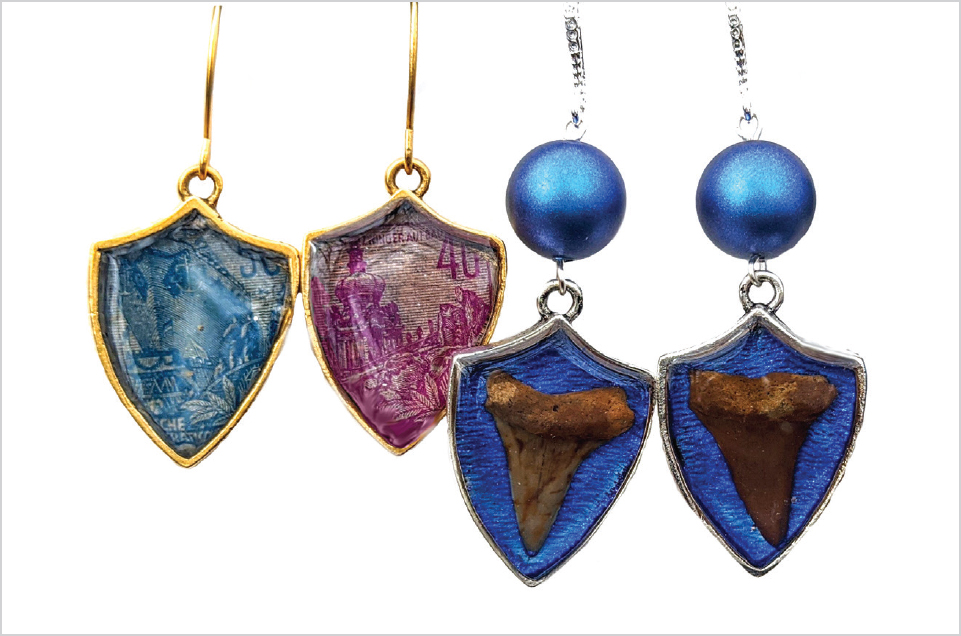
6. You can make small, subtle earrings by simply attaching the earring hook directly to the framed item (as with the stamp earrings) or by adding a single bead to accent the colorization of the frame (as with the shark tooth earrings).
VARIATIONS

Don’t be afraid to get creative with many different bead shapes and sizes!
Gay Isber

These various metal pressings are resting in a bit of resin. It’s the same technique, just in more elaborate frames.
Gay Isber