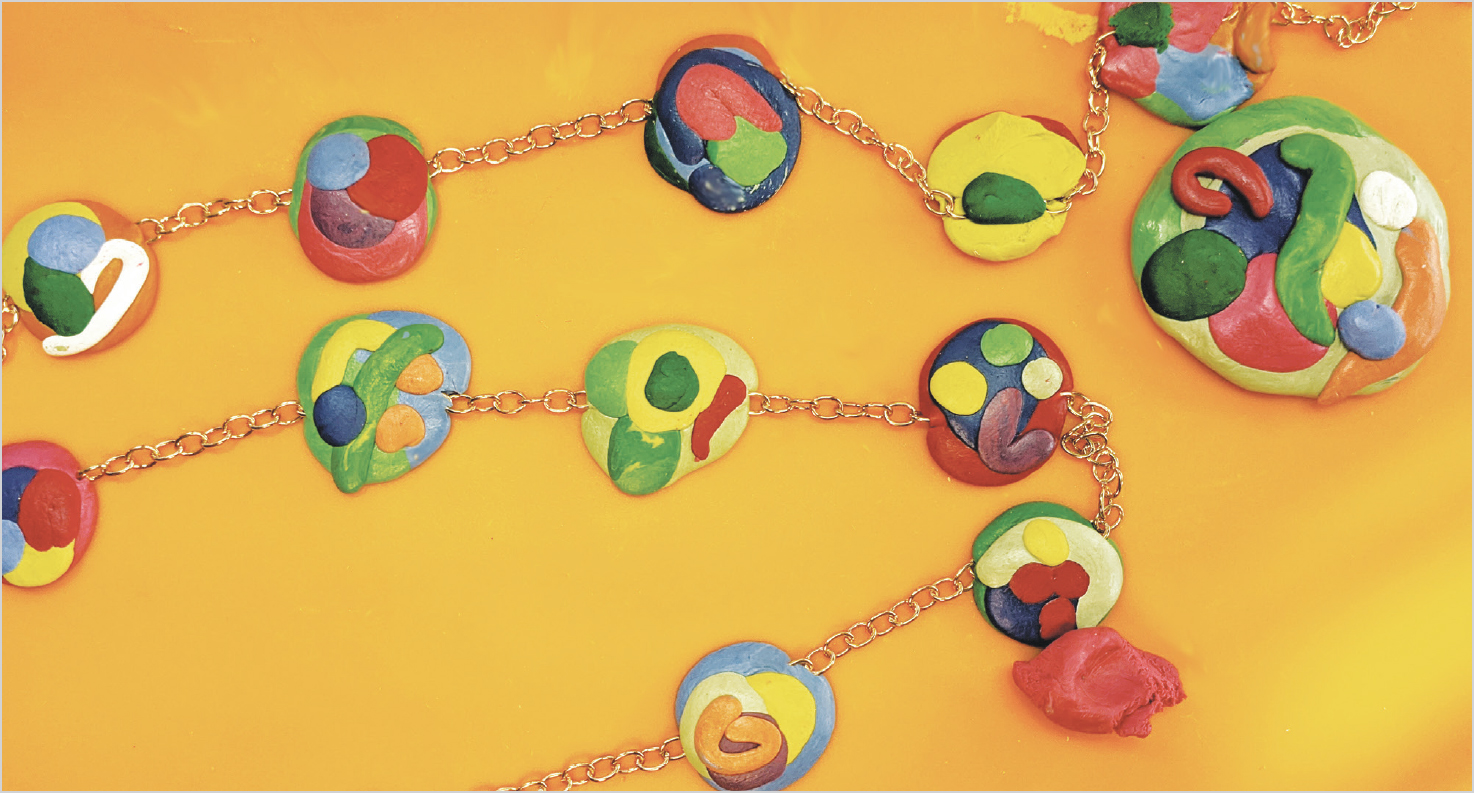
It’s such a joy to create with colored epoxy clays! For this necklace, the chain is embedded into the clay, so you don’t need to drill any holes. This technique is perfect for long necklaces and can be made in any color scheme. Try school colors, bridal white with pearls and crystals, or gold or silver foil to cover the clay. So many possibilities!
 Skill level: Easy
 Time: 1 hour plus curing time
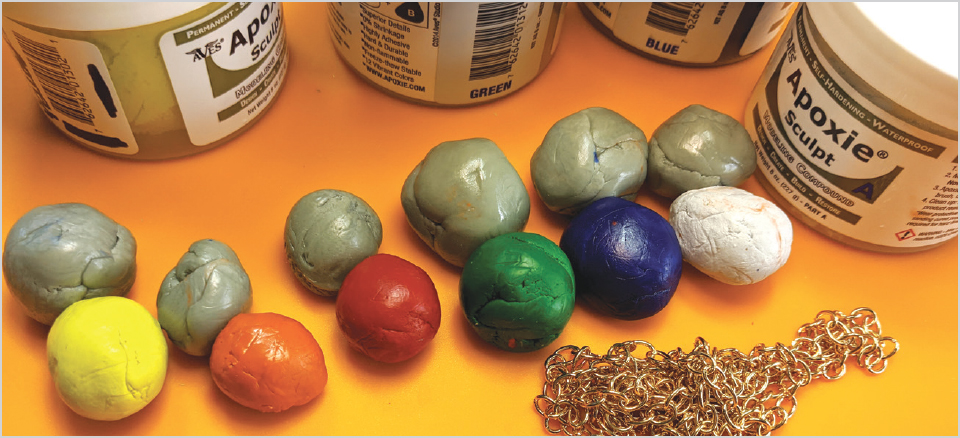
Supplies
♦ Disposable gloves
♦ Two-part epoxy clay (any colors)
♦ Protected work surface
♦ Wet wipes
♦ Pigment powders
♦ Chain
♦ Jump ring
♦ Lobster claw clasp
Gay Isber
1. Select some epoxy clay in different colors that you like and separate everything into small balls.
Gay Isber
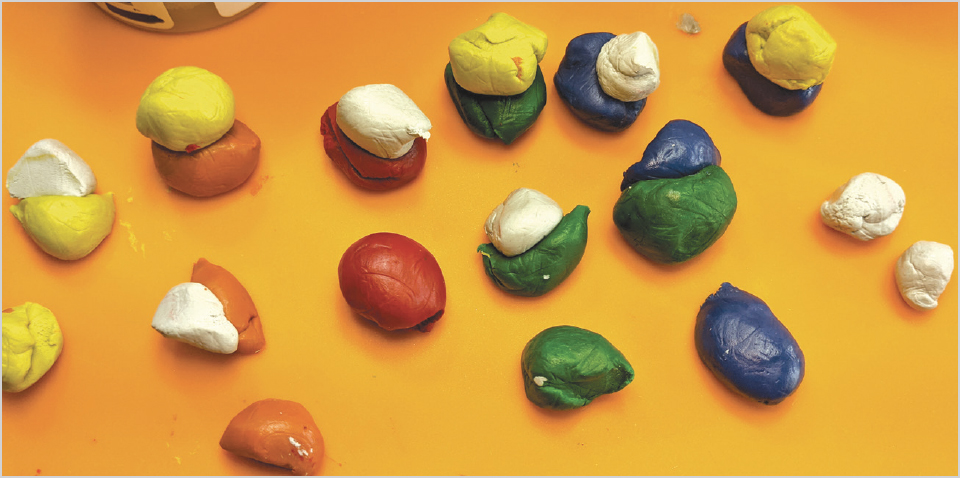
2. Once you mix the two parts of the clay to activate it, separate the balls into smaller balls and mix some of them with others to add to the color range. For example, mix part of a dark blue with part of a white to produce a soft blue. Have fun combining the main colors into other hues!

Mike Mihalo
Gay Isber
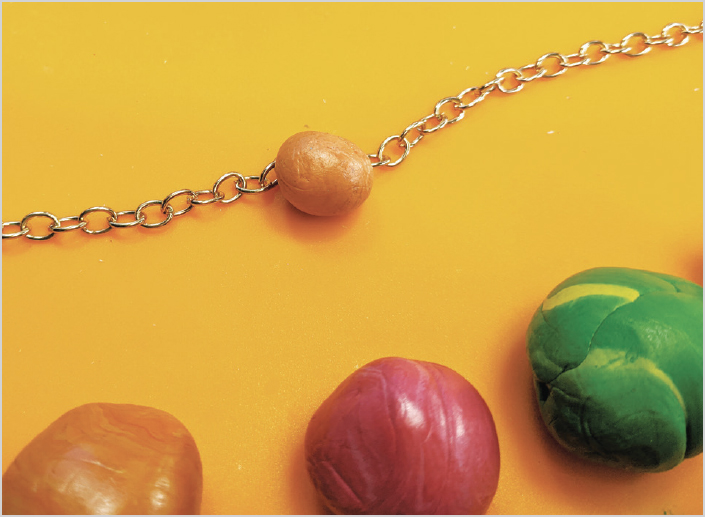
3. Press the balls of clay to flatten them into disks directly on top of the chain, spacing them out evenly. Add more colors on top of existing flattened balls until the chain is full of vibrant, multicolored circles.
Gay Isber
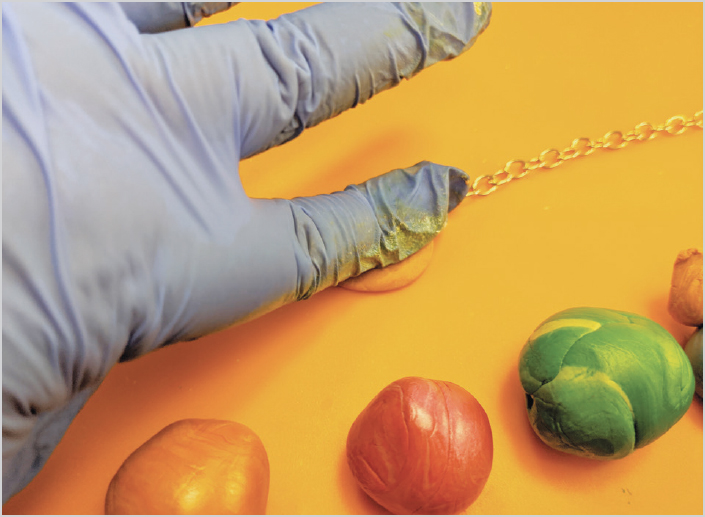
4. As you work, pick up the disks every once in a while to check the chain on the back of the disks. Add more clay to the disk backs to cover the chain if needed. When you’re done, remember to clean up all excess clay (such as any bits on exposed parts of the chain) using wet wipes.
Gay Isber
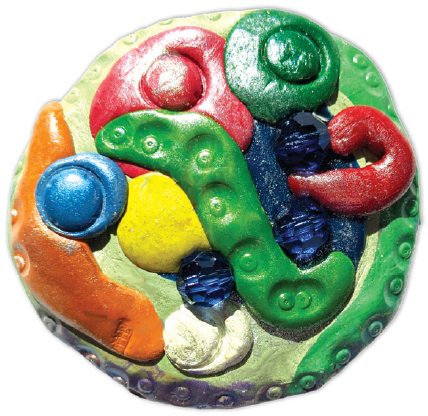
5. Before considering the necklace complete, add some pigment powders on top of the clay disks, or use miscellaneous objects such as pens caps to add additional patterns to the disks. Carefully pull up the disks from your work surface once cured.
VARIATIONS
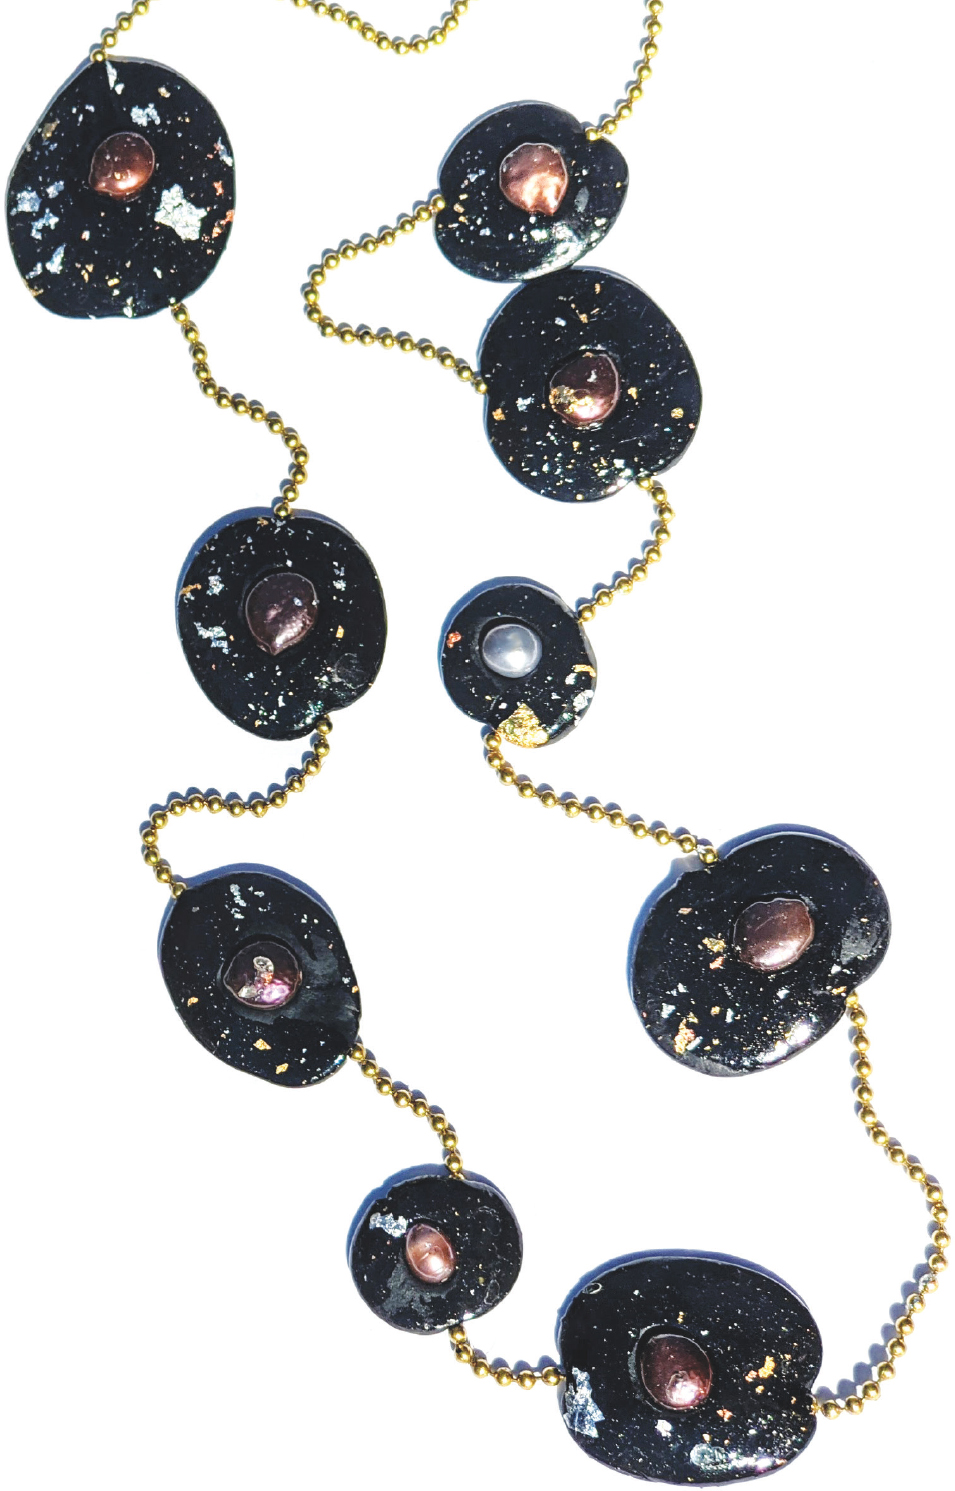
This is a dark version of the necklace using pearls, bits of gold leaf, and a ball chain.
Gay Isber

Roll together any leftover clay and cut it into small pieces. Form each piece into a bead and insert some wire to turn the beads into earrings.
Gay Isber
Use any leftover clay to create more projects, like covering a tin button.
Gay Isber