I’m a super rock hound and have been since childhood. Do you have rocks or shells that you picked up on vacation, or crystals you purchased because you just couldn’t resist? Now you can make them into jewelry using just your imagination and epoxy clay!
 Skill level: Easy
 Time: 20 minutes plus curing time
Supplies
♦ Disposable gloves
♦ Two-part epoxy clay (any colors)
♦ Protected work surface
♦ Wet wipes
♦ Rocks, gems, or crystals that are light enough to wear as pendants
♦ Large jump rings
♦ Beads and rhinestones
♦ Gold foil
♦ Small brush or dry wipe
♦ Clear nail polish
♦ Chain
♦ Lobster claw clasp
Gay Isber
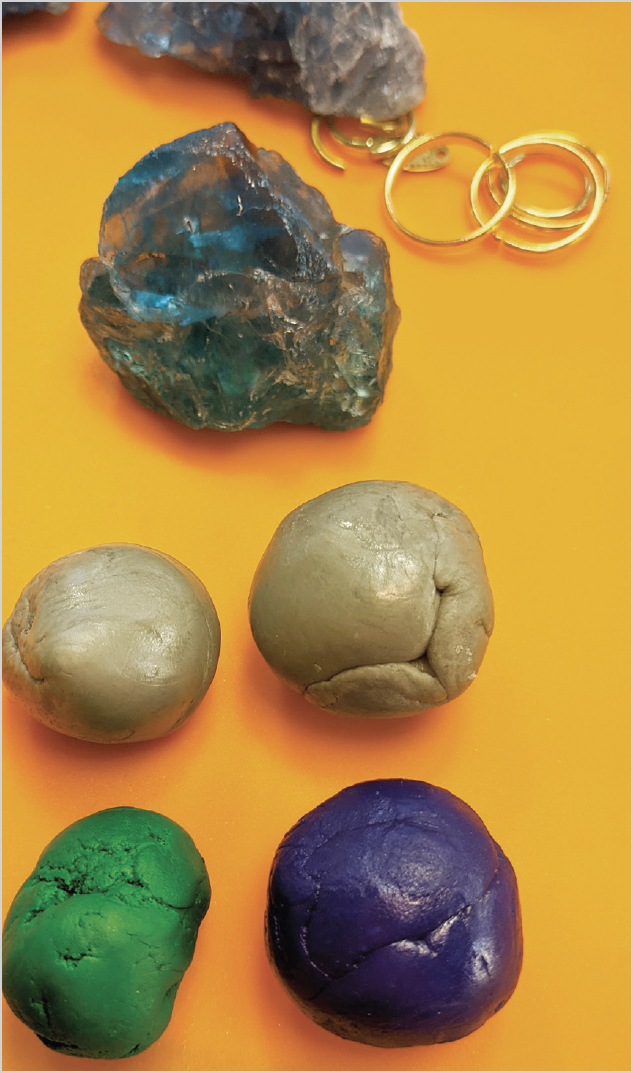
1. Mix the clay. This mineral is a fluorite specimen that I found in a teal blue. I decided to match this color with the clay, so I mixed blue and green clay. Once you are happy with your clay shade, roll it into small balls and then coils so you can easily apply the clay to each mineral specimen as desired.
Mike Mihalo
TIP:
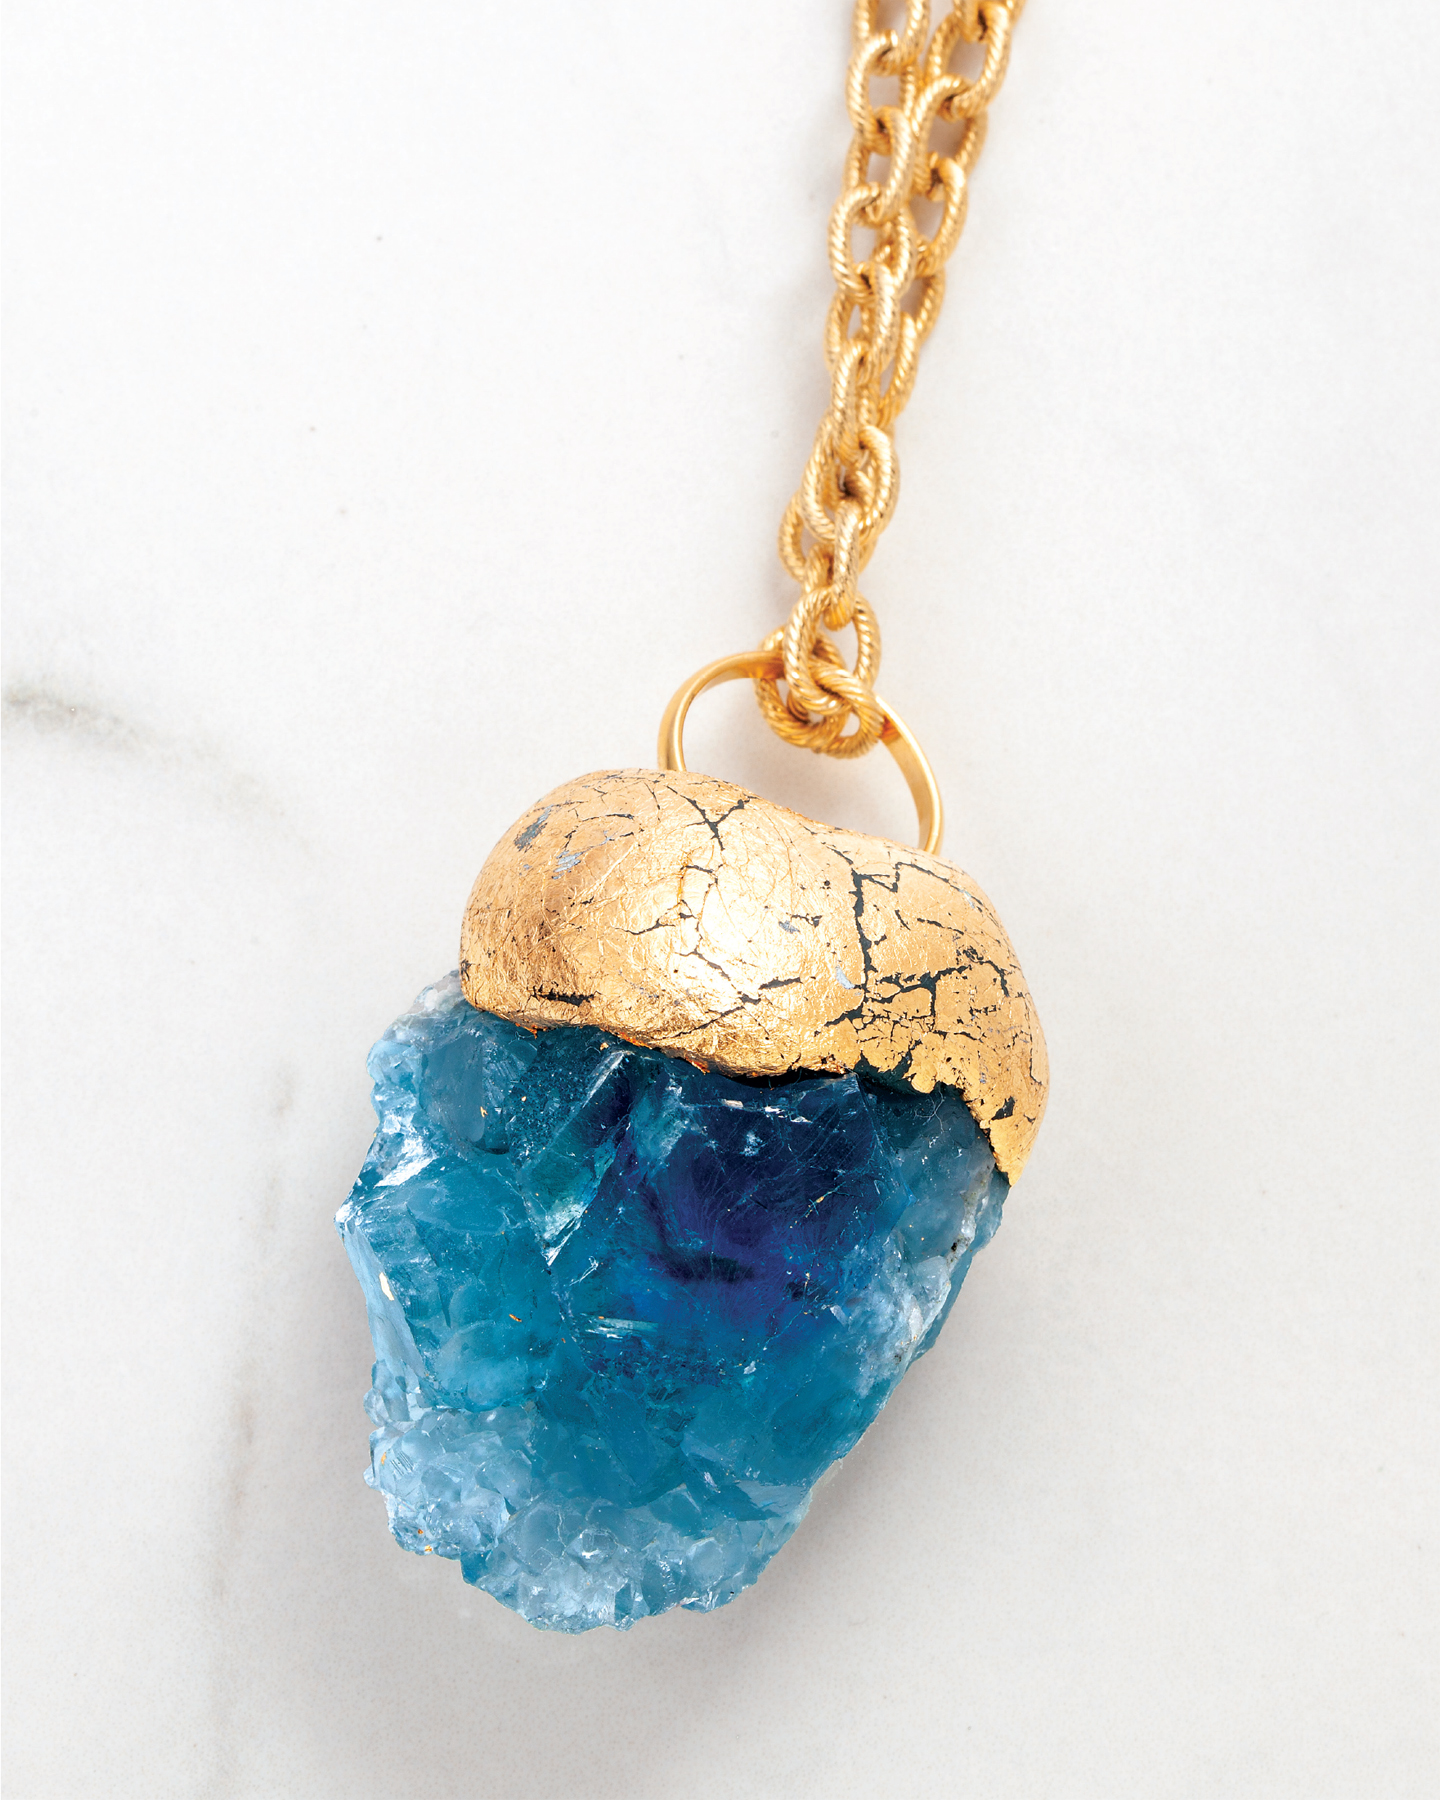
Minerals that are rough on one side can be covered up with clay on that side so that they don’t scratch you when you wear them.
Gay Isber
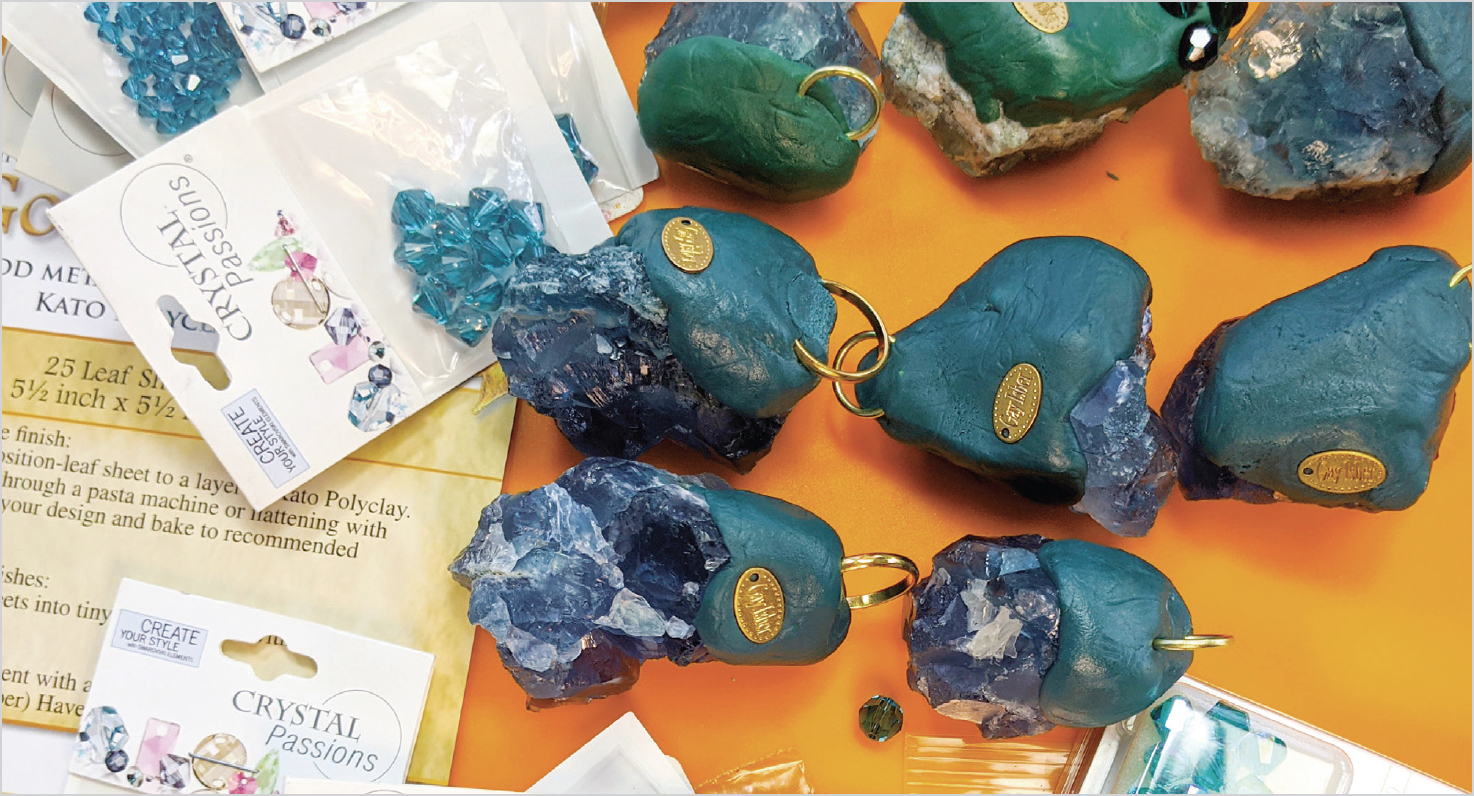
2. Push a large jump ring into the clay at the top so the pendant will hang neatly on a chain later.

Gay Isber
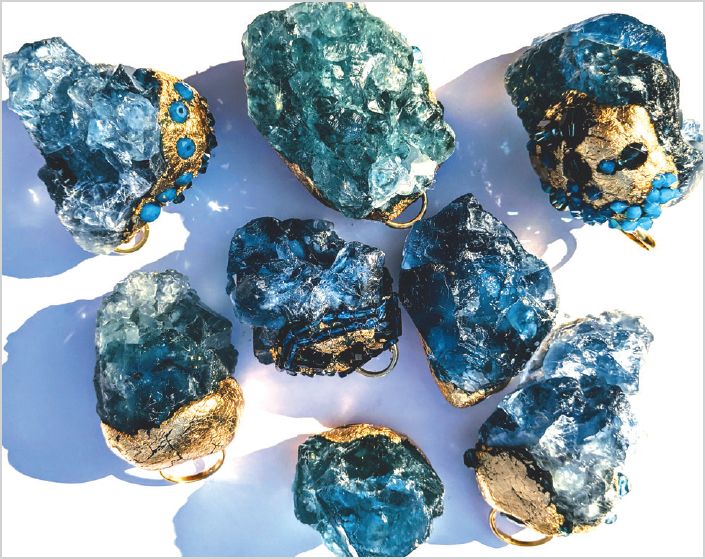
3. Add beads and rhinestones, pressing them into the clay, and then add gold foil around them; it will easily cling to the clay. Remove gold crumbs with a small brush or a dry wipe. If you remove all of these bits, your finished piece will be very smooth. If you later seal the crumbs into place, it will be rough. So take a few minutes to get the little gold bits off.
Gay Isber
4. Make sure that the jump rings are in the correct position. Laying the pieces on their sides might make the jump rings tilt; instead, prop them up so they are straight. Allow to cure overnight. Seal the gold foil with clear nail polish to protect the shine and for longevity. Add to a chain with a lobster claw clasp.
VARIATIONS
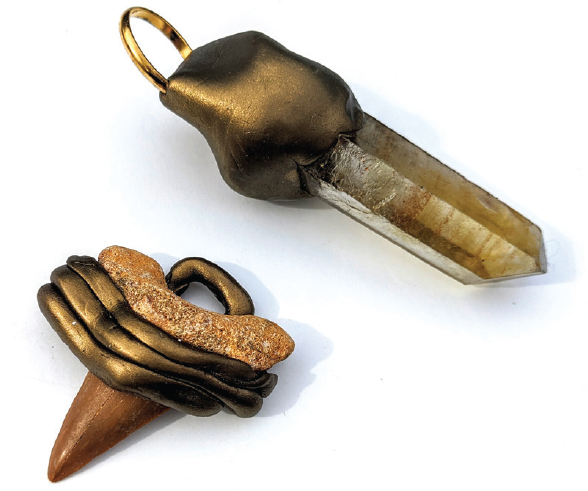
Bronze clay matches this earthy shark tooth and crystal.
Gay Isber
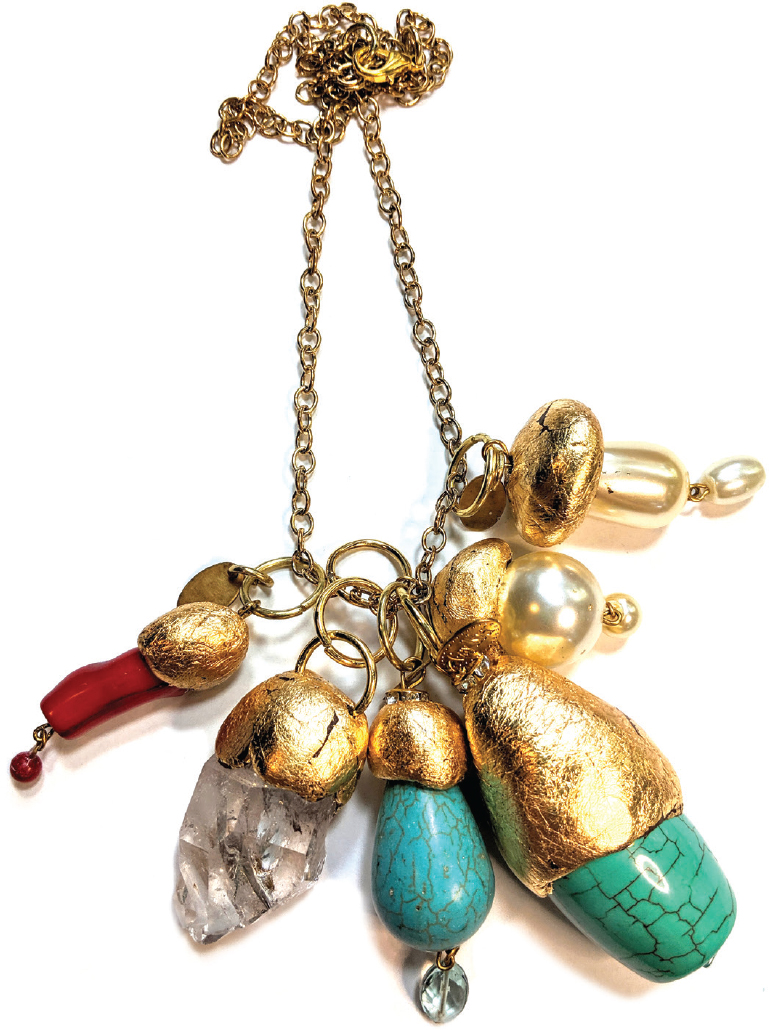
Combine several different gems and crystals with matching gold foil caps for a varied yet cohesive effect.
Gay Isber
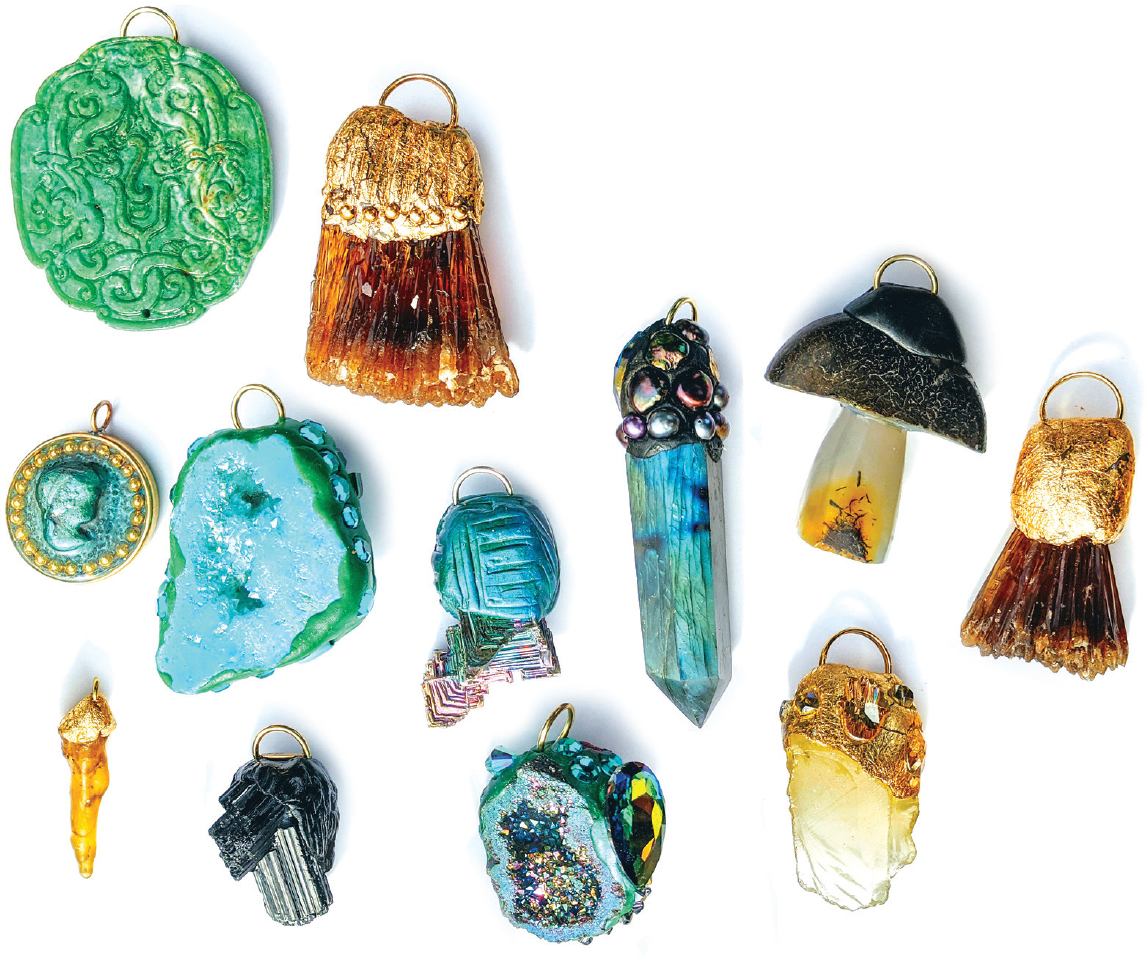
There are endless possibilities!
Gay Isber