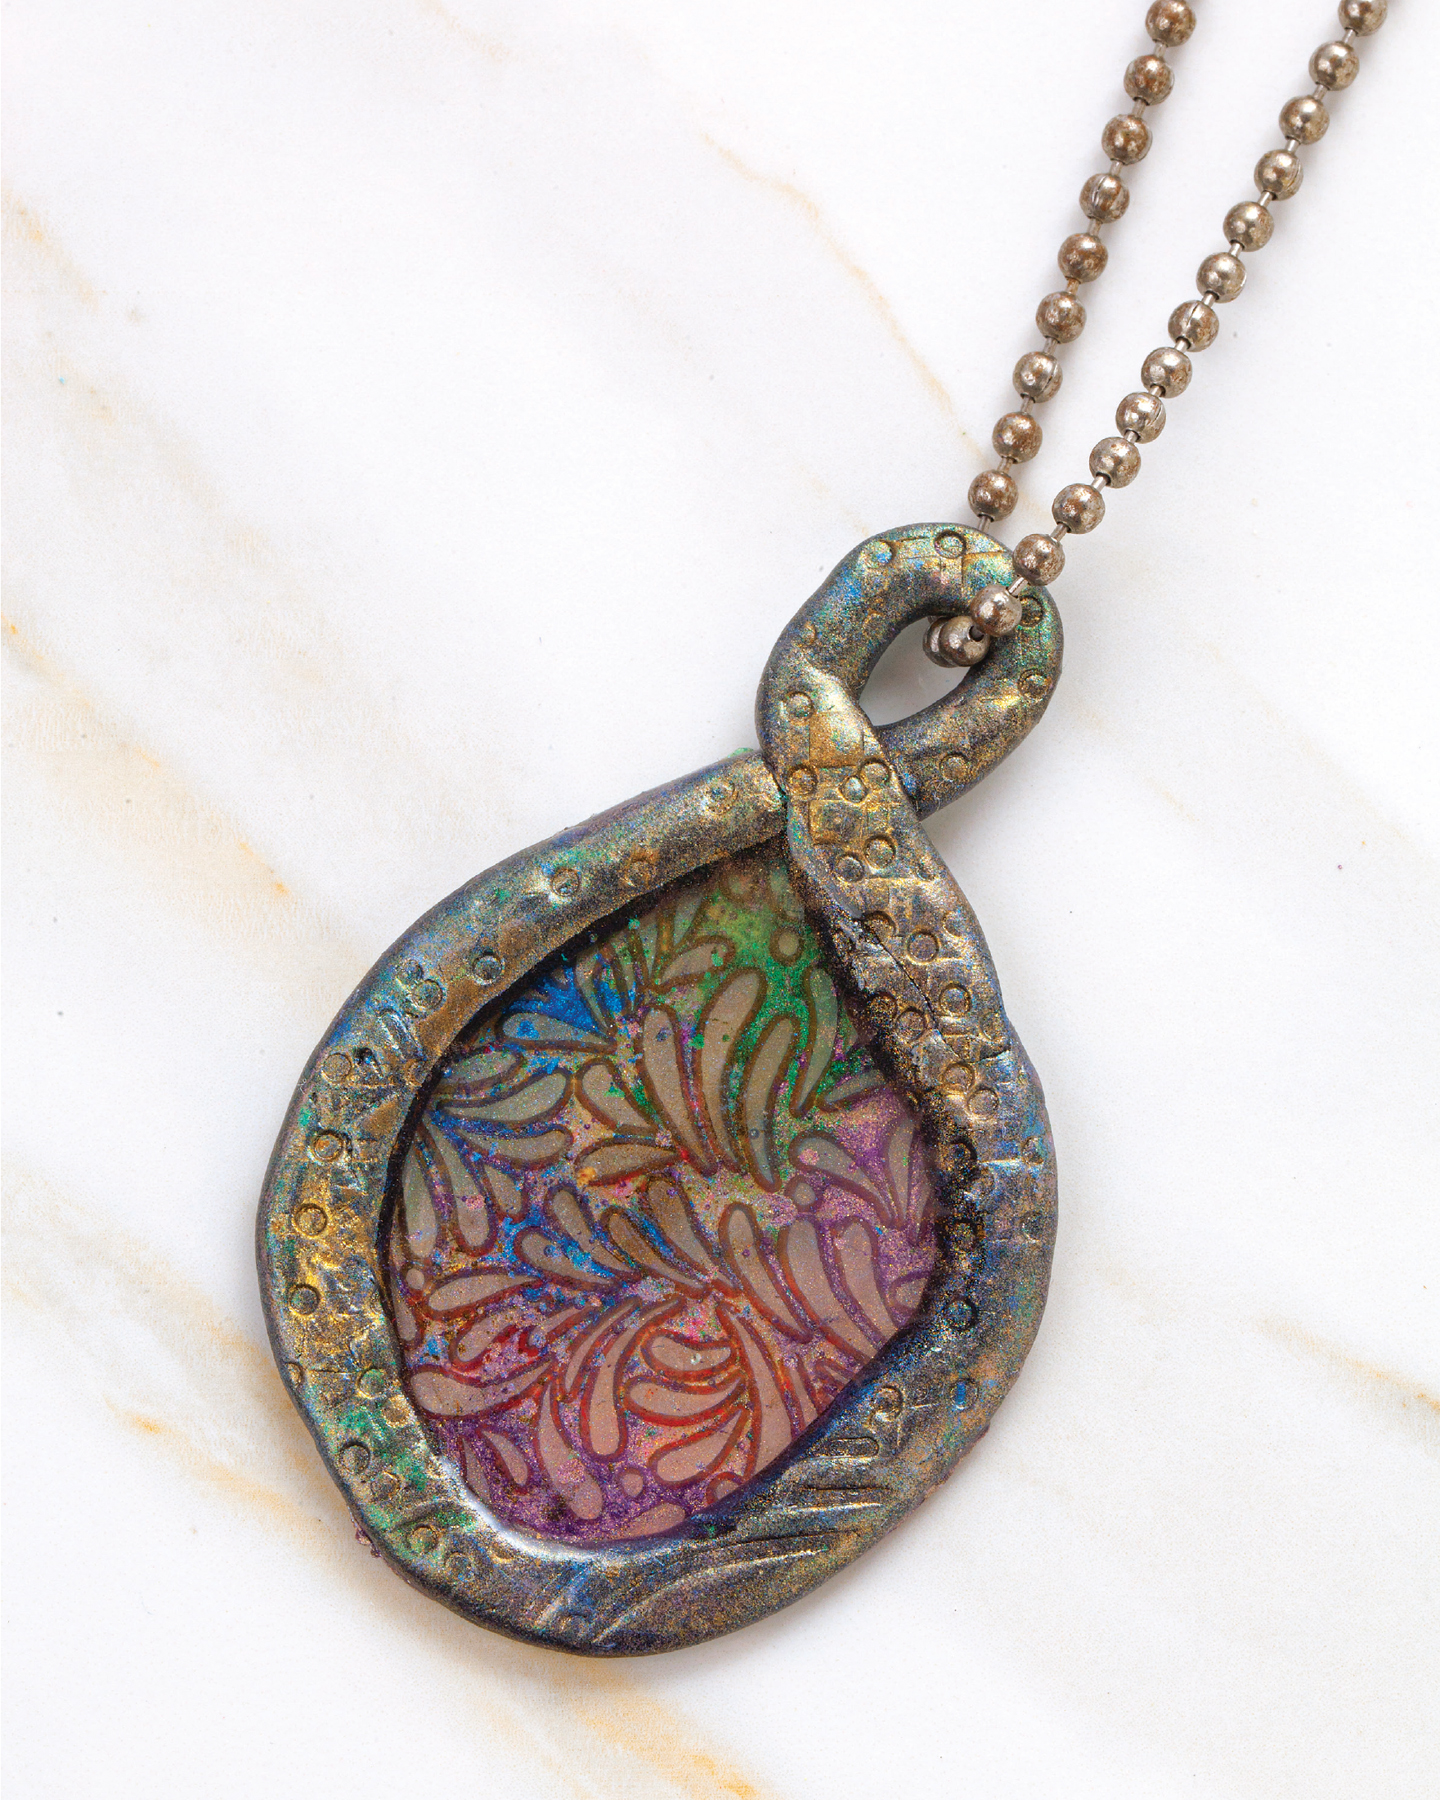
I love this necklace because it looks like old glass. This is a similar concept to the project on page 80, but it uses both epoxy clay and resin. Make sure your coils of clay are about ⅛" (0.3cm) thick; if they are too thin, you will not be able to add enough resin, because it might overflow as you pour it into the shape.
 Skill level: Easy
 Time: 10 minutes plus curing time
Supplies
♦ Disposable gloves
♦ 1 oz. (30ml) plastic measuring cup
♦ Disposable wooden stir stick
♦ Marker
♦ Two-part clear resin
♦ Two-part epoxy clay (any color)
♦ Protected work surface
♦ Wet wipes
♦ Textured sheet
♦ Small brush (optional)
♦ Pigment powder
♦ Mold release
♦ Chain

Gay Isber
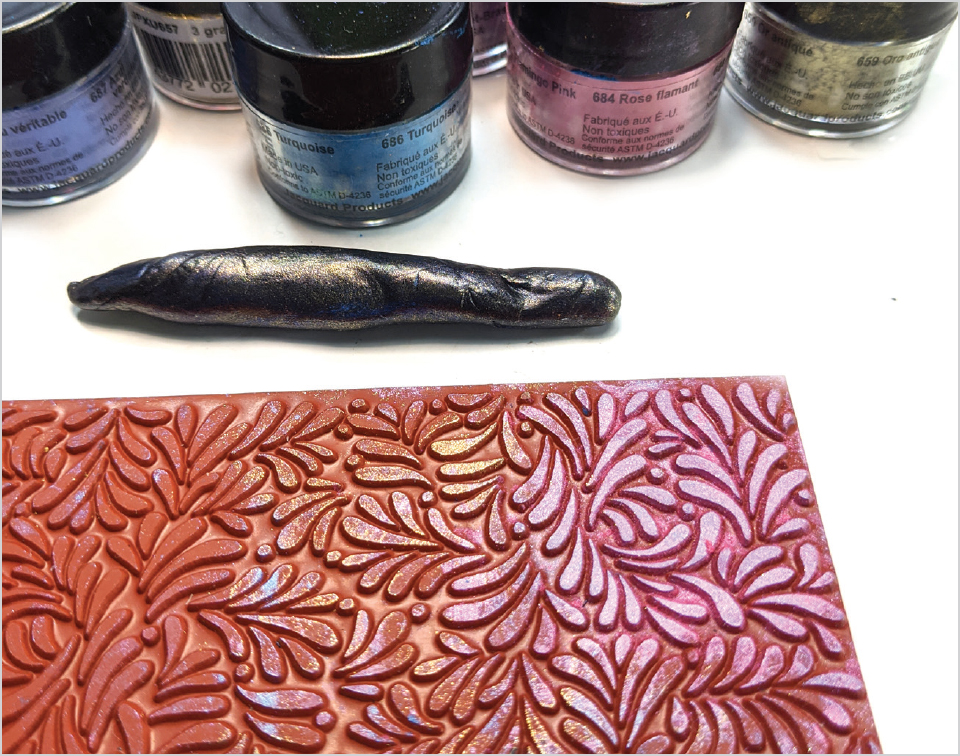
1. Lay the textured sheet flat. Spray mold release onto the sheet and allow it to dry. Add pigment powders directly onto the sheet using a small brush or your fingertips. Then mix some epoxy clay.

Mike Mihalo

Gay Isber
2. Make a closed design with a loop at the top directly on top of the sheet using the epoxy clay. Make sure your design is firmly pressed down on the sheet, or the resin will flow out. Add a little more pigment powder. Now, mix the clear resin (you don’t need to wait for the clay to dry). Pour the resin directly onto the sheet, inside the main closed area of the design.

Gay Isber
3. Allow the resin and clay to cure for 24 hours. Carefully peel the piece off the sheet. See how lovely the window effect is?

Gay Isber
4. Attach a chain through the loop at the top. You can decide which side of the piece you prefer, but they both look very cool!
VARIATION

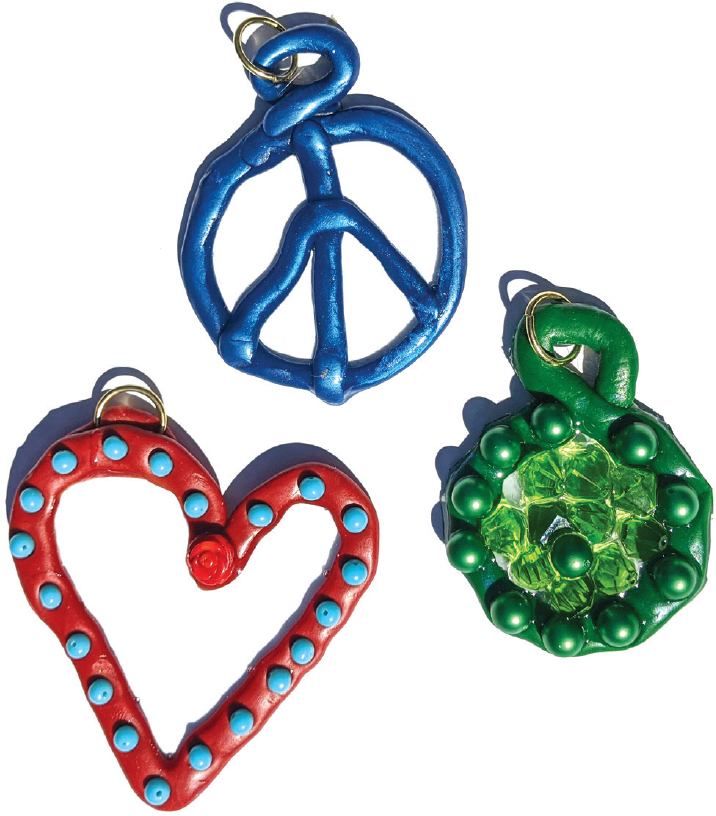
You can make all kinds of cool shapes using this technique. Make small versions for earrings and necklaces. Bigger versions are perfect for tree ornaments, window suncatchers, and key chains.
Gay Isber