Brown epoxy clay can be very similar in color to chocolate, so it makes it fun to make Easter and Valentine’s jewelry with zero calories! Check the cooking section of your local craft store or online to find a bunny or heart mold. The frame mold I used here for the bunny portrait charms is another store-bought mold, or you could create your own. Just a little UV resin will finish off these framed elements.
 Skill level: Intermediate
 Time: 1 hour plus curing time
Supplies
♦ Disposable gloves
♦ Two-part epoxy clay (bronze or brown)
♦ Protected work surface
♦ Wet wipes
♦ Bunny mold
♦ Pigment powders or fine glitter
♦ Clear nail polish
♦ Printed photos of rabbits
♦ UV resin
♦ Large and medium jump rings
♦ Variety of beads
♦ Wire
♦ Chain
♦ Lobster claw clasp
Gay Isber
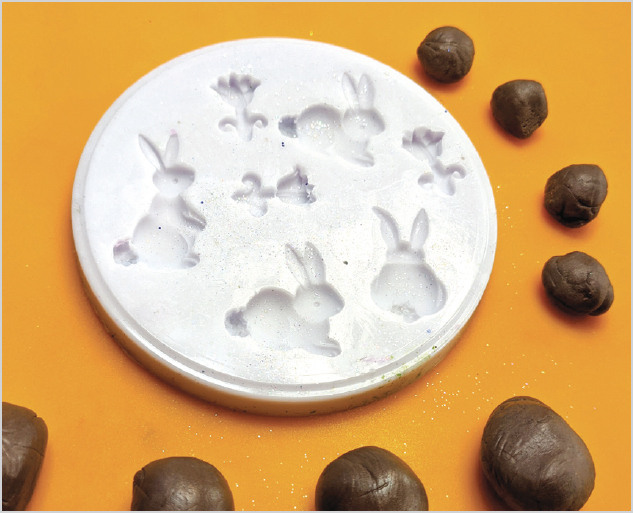
1. Mix the epoxy clay. Sprinkle a bit of pigment powder or fine glitter into the mold. Roll the clay into small balls and press the balls firmly into the mold.

Gay Isber
2. Trim the clay so that none of the pieces touch each other, or they will stick together permanently as they cure. Smooth the exposed clay and sprinkle with more glitter or pigment powder. Allow to cure.
Mike Mihalo
Gay Isber
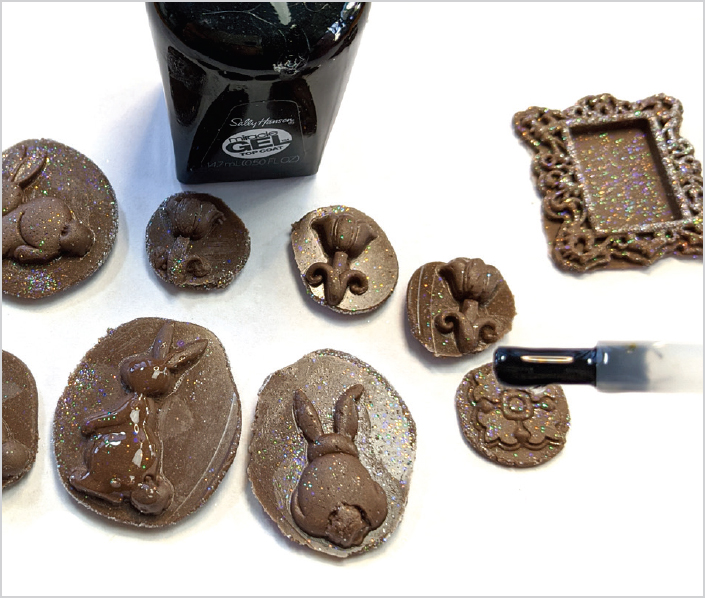
3. Chocolate looks yummier when it is shiny, so add a bit of shine to each finished chocolate bunny with clear nail polish.
Gay Isber
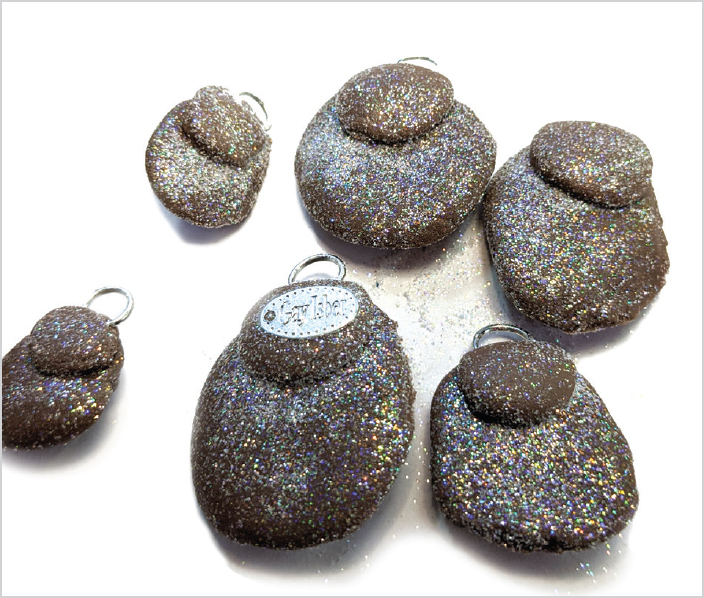
4. Mix a small amount of clay and use it to stick a jump ring to the back of each charm, adding a bit more glitter. Allow to cure.
Gay Isber
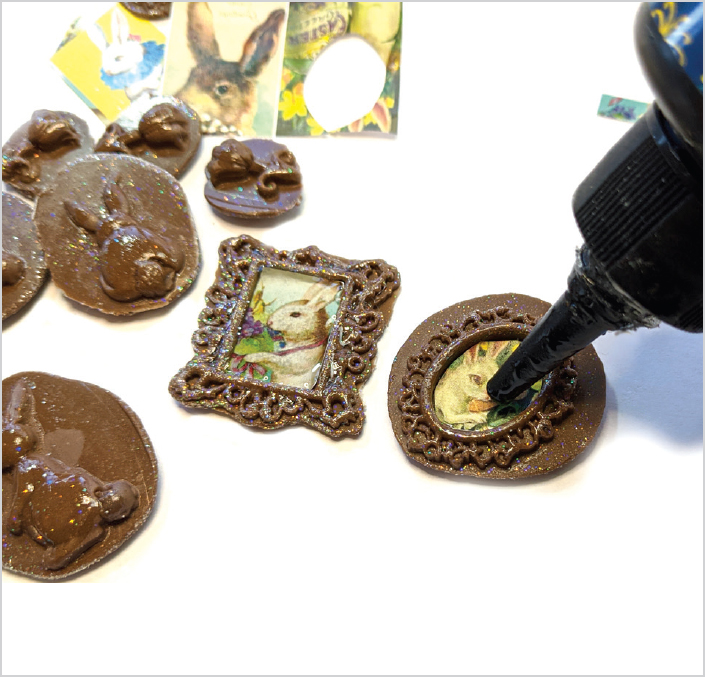
5. For the framed pieces, insert printed paper bunnies into the cured frames, trimming as needed. Use a small amount of UV resin to cover the portraits, sealing them into the frames. Allow to cure in the sun as directed.
Gay Isber
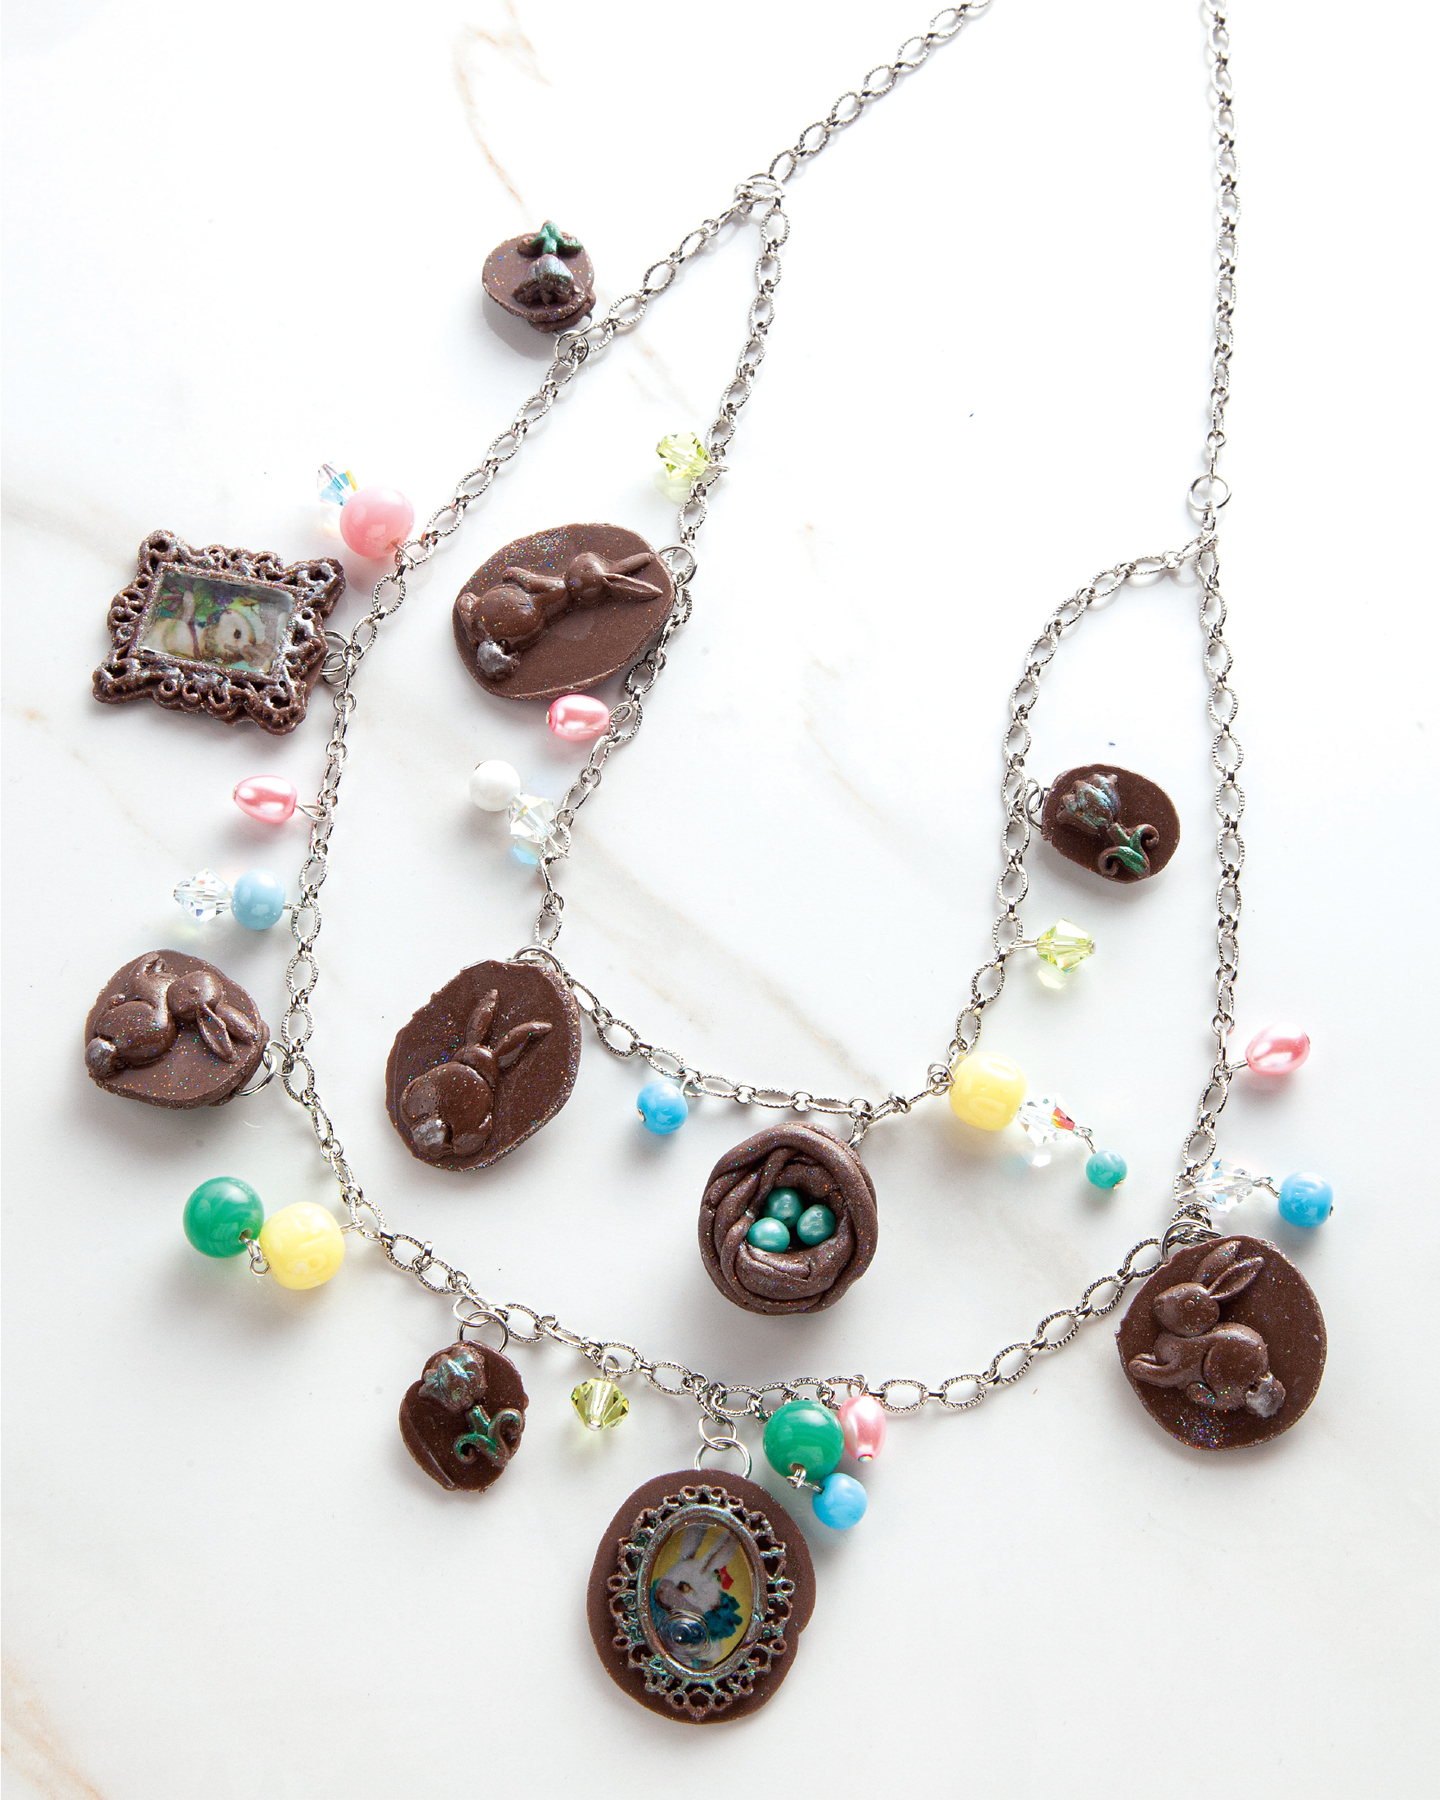
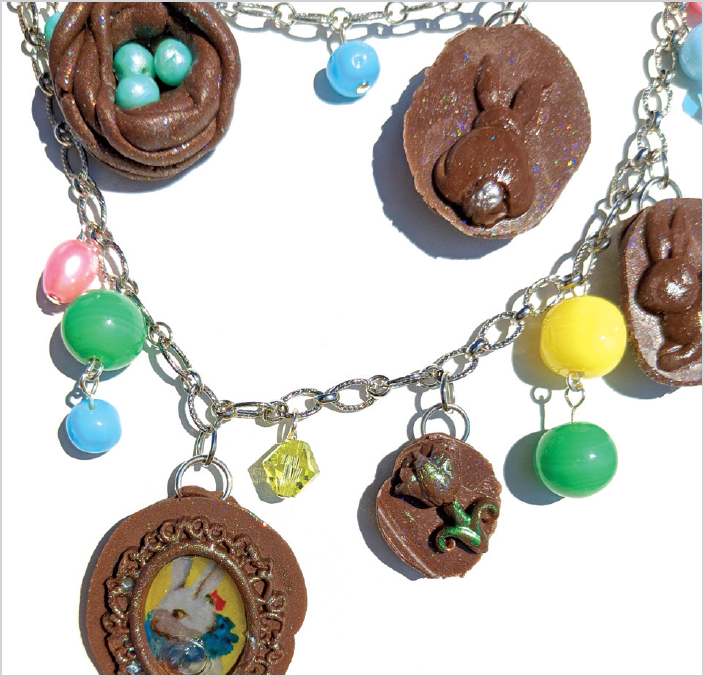
6. Attach all the chocolate charms, along with a variety of beads and bead links, onto necklace chains using jump rings. Create two separate strands of different lengths, connected together at the clasp, for a layered effect.
VARIATIONS
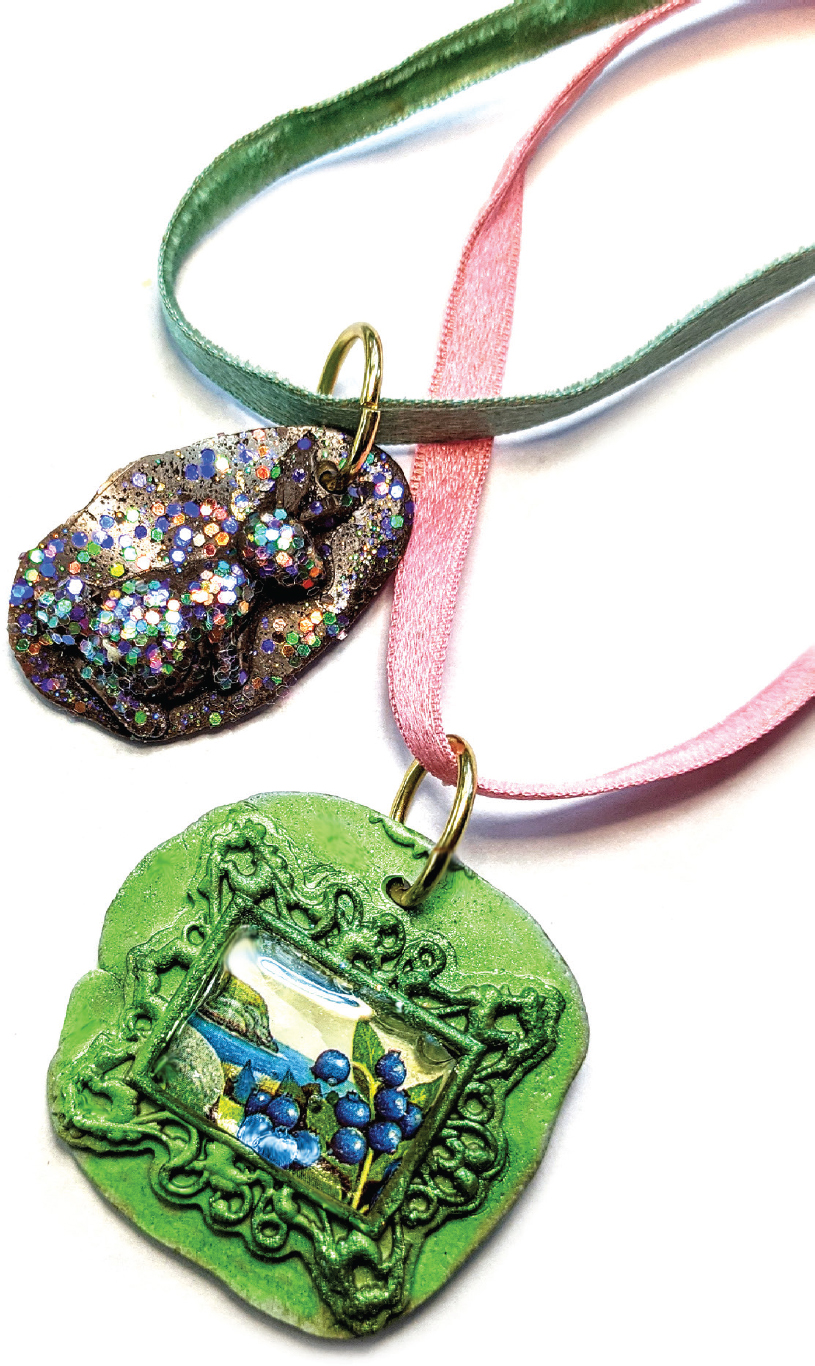
Green pigment powder can completely change the look of the brown clay. Put powder into the mold and then press the clay in to achieve this effect. Add a jump ring and string onto a ribbon. Make another ribbon necklace by adding chunky glitter to a normal brown clay pendant.
Gay Isber
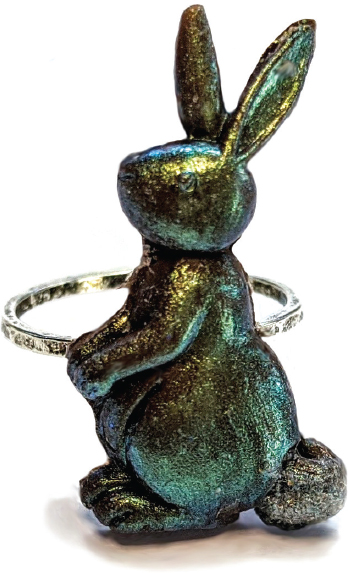
Glue a bunny onto a ring base. I added a little glossy nail polish to brighten up his finish.
Gay Isber