
By Brian Earnest
Chris Arendt of Fast Freddie’s Rod Shop in Eau Claire, Wis., never pictured himself sewing for a living. Not in a million years. “I thought sewing was for girls,” he jokes. “The last thing I sewed was a pillow case in junior high [home ec class].”
Nevertheless, when his shop needed someone to step forward and learn the auto upholstery business, Arendt went out and bought an industrial-strength sewing machine and turned his attention from metal to fabric. In less than a year, he has become Fast Freddie’s one-man upholstery shop, putting together everything from full-blown custom interiors to boat covers.
“We needed it. It was the one thing we couldn’t keep in house,” says Arendt. “You have to book a car [with an upholsterer], and you are at their mercy. You have to load it, you have to transport it. It’s out of your care, typically. Things can happen. You can get elbow dents, or paint chips. You hate to have something happen to it.”
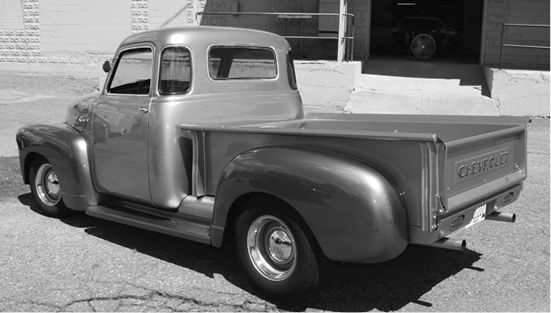
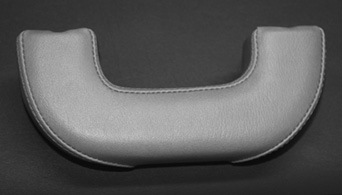
Recently, he began work on a new interior for a customer’s 1949 Chevrolet custom pickup, which is almost done, but needs some upholstery. One of the first steps in the the project is taking a pair of new replacement armrests and recovering them with the correct darker gray vinyl that will match the rest of the pickup’s interior.

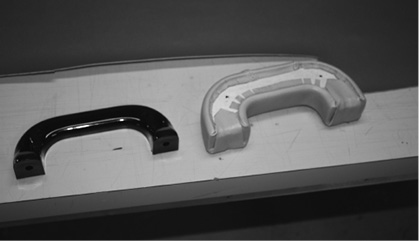
This armrest is a new piece that has not been on the truck. It has a light-gray vinyl covering on top and a metal bracket for stability on the bottom. The bracket is held in place with a pair of screws.
Compared to some of the start-from-scratch custom interior projects that upholsterers often face, fabricating new armrest covers for this truck is a fairly straightforward proposition that uses some basic techniques and the existing material as a pattern.
“We’re going to remove the material, steam it out to make it lay flat, make a simple template, cut it out and stitch it back together,” Arendt said. “This will be a simple project. Just essential template making. You basically use these simple steps throughout a whole upholstery job. It’s nice when you have an existing piece so you can make an accurate template.”
The armrest will be put together using a simple flat felled seem, which ties together multiple layers of fabric with a strong bond while leaving two visible stitch lines. Along with the fancier French seem, the flat felled seem is one of the basic stitching techniques used by upholsterers.
Following is a step-by-step look at the techniques and tools Arendt used for this armrest upholstery project.
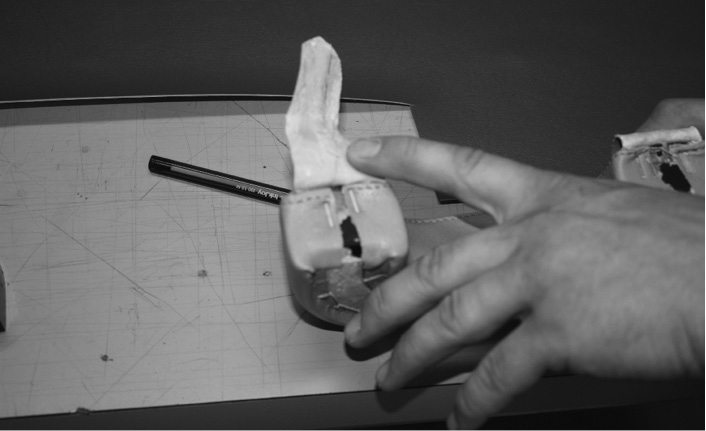
The vinyl is held in place with a pair of staples on each end of the armrest. These are pulled with a staple puller. Glue is used everywhere else on the vinyl to keep it in place.

A hand-held steaming machine similar to an iron is used to flatten out the old vinyl. “Give it a little heat and a little steam, and it will flatten itself right out… and that makes the template making job much easier,” Arendt noted.
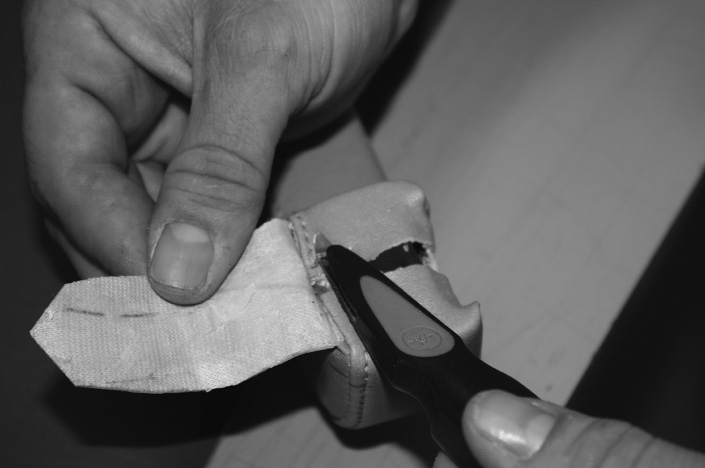
All stitches are cut and pulled out, resulting in four separate pieces of vinyl. These four pieces will be laid out and used as a template for new armrest coverings.
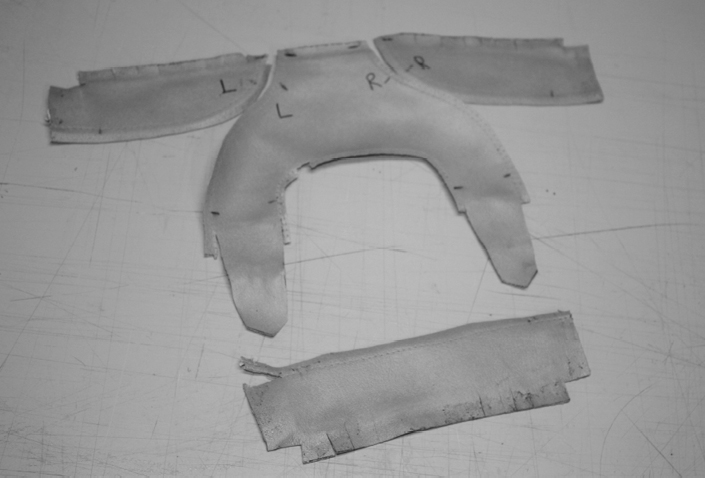
When all the stitches are cut and pulled, the four pieces of vinyl are labeled with witness marks to show how they originally went together.


The pieces of original vinyl from the armrests are traced onto template paper and them cut out with a pizza cutter-type tool and a single-edge razor blade. These templates are then transferred to the new material and cut out, leaving four pieces the exact size and shape of the old pieces.
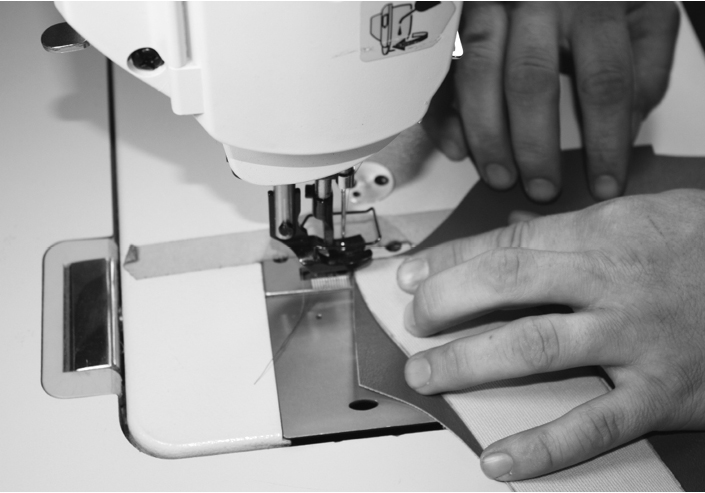

The flat felled seem starts with two pieces of fabric matched face-to-face. When the first stitch line is done, the seem allowance is folded over to one side and a second stitch line is made. “I go as slow as I can make the machine go,” Arendt says. “I want to go as slow as I can... You start them face-to-face, gray-on-gray. That holds it together. Then you flip it over and the second seem flattens it out.”

Using the same flat felled seem, the four pieces of vinyl are carefully stitched together. For this project, a matching gray thread was used, but contrasting thread colors are also frequently used.
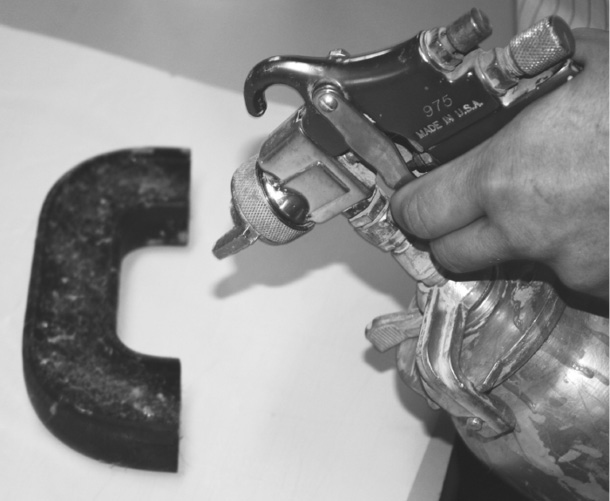
An older-style, syphon-feed automotive paint gun with a larger tip is used to spray the adhesive on the armrest. Paper is used underneath to keep the overspray off the work table.
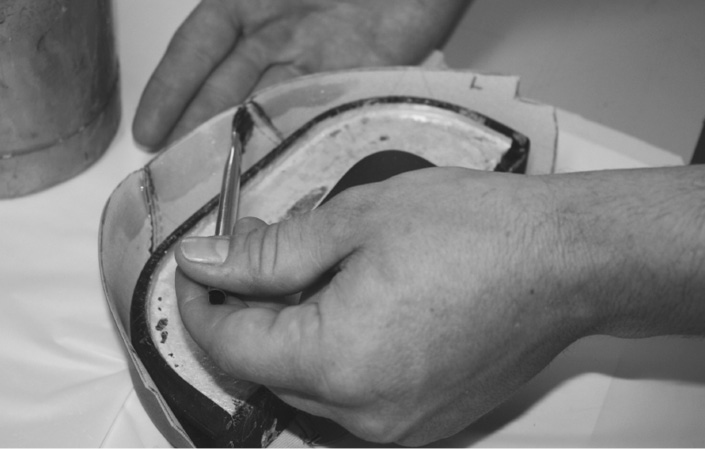
A second layer of adhesive is applied to the edges of the vinyl using a small brush. “When the glue begins to set up, it becomes a really nice contact cement,” Arendt notes.
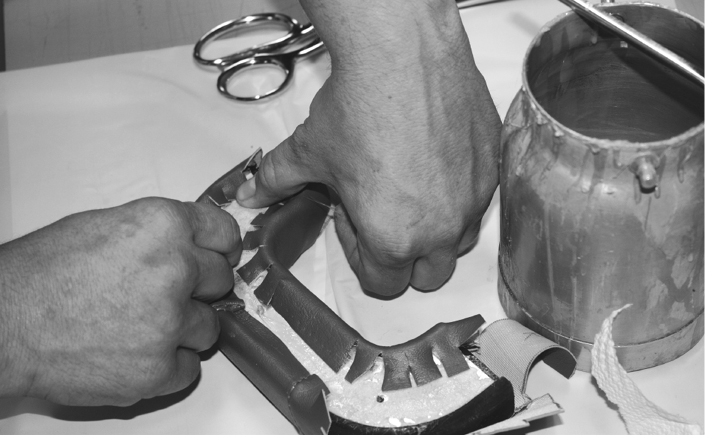
Small relief cuts are made around curves and corners to allow the vinyl to be glued down flat. The individual tabs are each held down in place for a few seconds until the adhesive bonds enough to hold them in place.
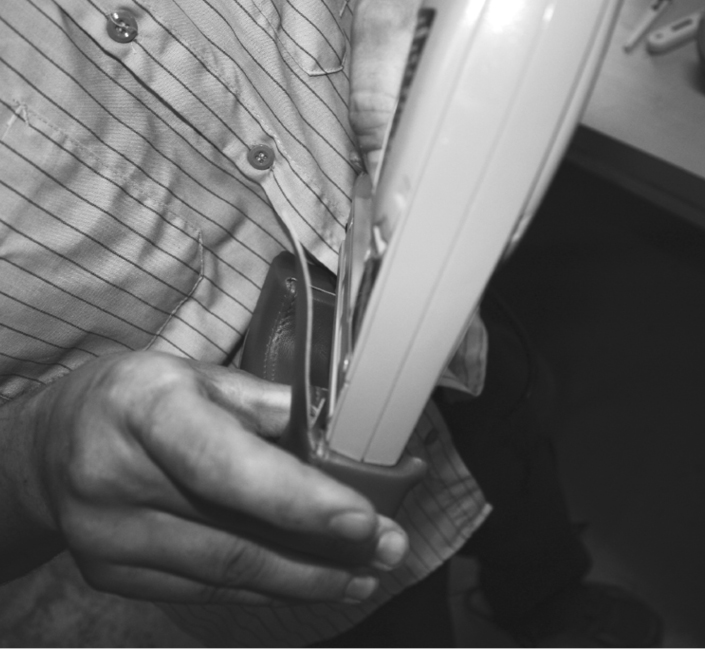

Staples aren’t always necessary, but since the original armrests used staples to hold down the end flaps, Arendt does the same with a staple gun. It is the final step in the process that results in an armrest that is almost identical to the original, but in a color that will match the rest of the ‘49 Chevy truck’s interior.