Once you are done deploying the endpoint Node.js service to the Microsoft Azure App Service, you will need to set it up in the Alexa Cooking skill:
- Using your Chrome browser, log in to the Alexa console.
- Go to the Cooking skill.
- Go to the Endpoint screen by clicking on the menu on the left.
- Choose HTTPS. Then, enter https://myhenrytestapp.azurewebsites.net/alexa/cookingApi in the Default Region textbox and choose My development endpoint is a sub-domain of a domain that has wildcard certificate from a certificate authority from the dropdown found below the Default Region textbox.
The following screenshot shows configuring the endpoint for the skill so that the request can be custom handled by the Node.js cooking service you created:

The text in this screenshot is not important. It shows you how to enable Endpoint for Alexa
- Click on the Save Endpoints button.
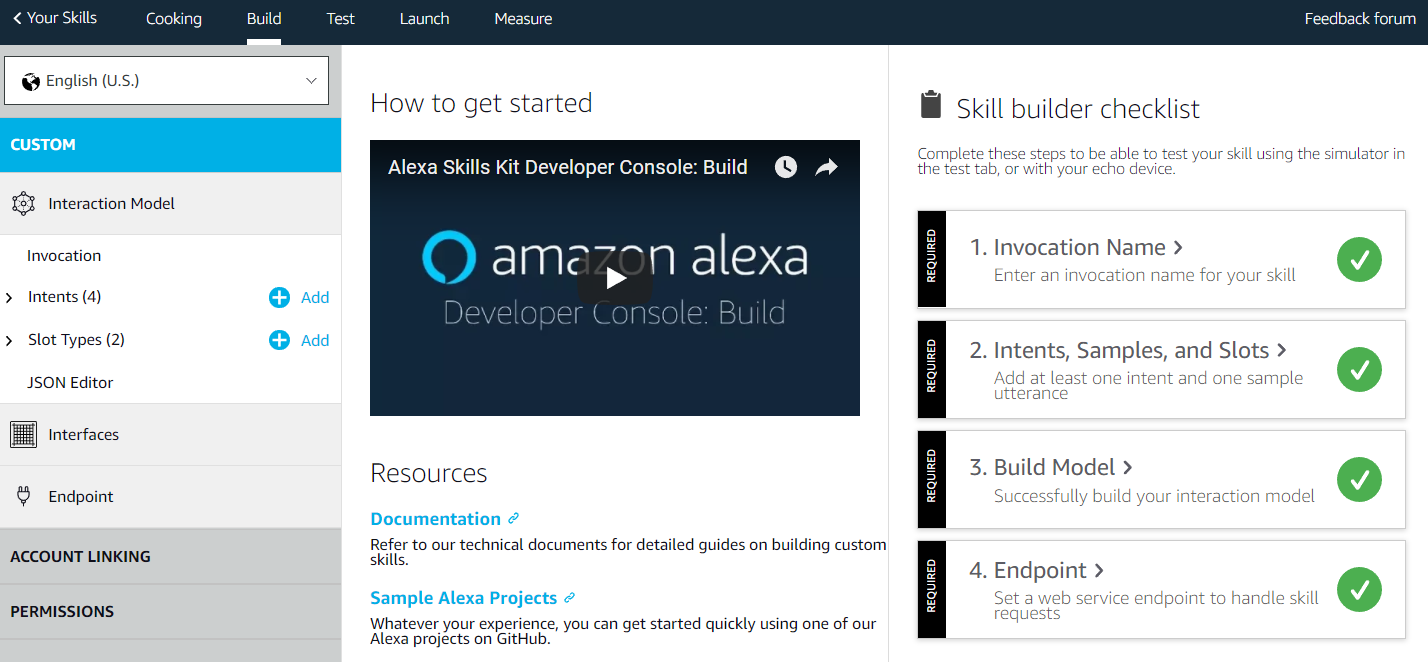
- Click Build from the top menu and you will notice that the skill builder checklist is totally green:
- You have created an invocation name: henry's kitchen
- You have created GetCookingIntent, Foods, and DietTypes slots.
- You have built a model.
- You have configured the endpoint.
The following screenshot features the Alexa Build screen, showing a successfully built skill that is ready to be tested:

Alexa console Build screen
- Click on the Test menu at the top. Enable the Test is enabled for this skill radio button at the top.
- In the Alexa Simulator textbox, enter one of your utterances: alexa ask henry's kitchen I want to cook burger. Notice here that you must start with the wake up words alexa ask and then use the cooking skill's invocation name henry's kitchen, before adding the utterance I want to cook burger to trigger the intent.
The following screenshot shows the Alexa Simulator:

The text in this screenshot is not important. It shows how to enable the debugging mode in Alexa Simulator
- Notice in the preceding screenshot that the simulator has output the response. On the right-hand side, you will see the JSON input and the output. The JSON input is necessary for you to debug locally in the following section. Copy the JSON input and save it somewhere else so that you can use it later.