Chapter 14
Laboratory
Laboratory procedures make up a relatively small part of the test. Among the things you should know are how to ensure accuracy, how to calculate significant figures, some basic methods of separation, and some of the more common experimental apparatuses and set-ups.
SAFETY RULES
• Always wear safety goggles in the laboratory.
• Always work with good ventilation; many common chemicals are toxic.
• Take extra care when working with an open flame.
• When diluting an acid, always add the acid to the water to avoid spattering the acid solution.
• When heating substances, do it slowly. When you heat things too quickly, they can spatter, burn, or explode.
ACCURACY
• When titrating, rinse the buret not with water but with the solution to be used in the titration. If you rinse the buret with water, you might dilute the solution, which will cause the volume added from the buret to be too large.
• Allow hot objects to return to room temperature before weighing them. Hot objects on a scale create convection currents that may make the object seem lighter than it is.
• Don’t weigh reagents directly on a scale. Use a glass or porcelain container to prevent corrosion of the balance pan.
• Don’t contaminate your chemicals. Never insert another piece of equipment into a bottle containing a chemical. Instead you should always pour the chemical into another clean container. Also, don’t let the inside of the stopper for a bottle containing a chemical touch another surface.
• When mixing chemicals, stir slowly to ensure even distribution.
• Be conscious of significant figures when you record your results. The number of significant figures that you use should indicate the accuracy of your results.
SIGNIFICANT FIGURES
When you do calculations based on measurements that you take in the lab, your answers can be only as precise as the measurements that you took. The way to make sure all your calculations reflect the precision of your measurements is to be aware of significant figures (or significant digits). The more significant figures in the numbers you use, the more precise your answer will be. The number of significant figures you use will be determined by the precision of your measuring device.
The following are rules for recognizing and calculating with significant figures.
• Nonzero digits and zeros between nonzero digits are significant.
| 362 | 3 significant figures |
| 4.609 | 4 significant figures |
| 103.06 | 5 significant figures |
• Zeros to the left of the first nonzero digit in a number are not significant.
| 0.004 | 1 significant figure |
| 0.0802 | 3 significant figures |
• Zeros at the end of a number to the right of the decimal point are significant.
| 67.000 | 5 significant figures |
| 0.030 | 2 significant figures |
| 2.0 | 2 significant figures |
• Zeros at the end of a number greater than 1 are not significant, unless their significance is indicated by the presence of a decimal point.
| 2,600 | 2 significant figures |
| 2,600. | 4 significant figures |
| 50 | 1 significant figure |
| 50. | 2 significant figures |
• The coefficients of a balanced equation and numbers obtained by counting objects are infinitely significant. So if a balanced equation calls for 3 moles of carbon, we can think of it as 3.00 moles of carbon.
When multiplying and dividing, the result should have the same number of significant figures as the number in the calculation that has the smallest number of significant figures.
0.352 × 0.90876 = 0.320
864 × 12 = 1.0 × 10⁴
7.0 × 0.567 = 12
When adding and subtracting, the result should have the same number of decimal places as the number in the calculation that has the smallest number of decimal places.
26 + 45.88 + 0.09534 = 72
780 + 35 + 4 = 819
Remember: The result of a calculation cannot be more accurate than the least accurate number in the calculation.
And one more thing to remember for test day. Accurate and precise do NOT mean the same thing! Accuracy is a measure of how correct a measurement is, compared to some standard, while precision is a measure of how exact a measurement is, compared to the real value of the measurement.
LAB PROCEDURES
Methods of Separation
Filtration—In filtration, solids are separated from liquids as the mixture is passed through a filter. Typically, porous paper is used as the filter. To find the amount of solid that is filtered out of a mixture, the filter paper containing the solid is allowed to dry and is then weighed. The initial weight of the clean, dry filter is then subtracted from the weight of the dried filter paper and solid.
Distillation—In distillation, the differences in the boiling points of liquids can be used to separate them. The temperature of the mixture is raised to a temperature that is greater than the boiling point of the more volatile substance and lower than the boiling point of the less volatile substance. The more volatile substance will vaporize, leaving the less volatile substance as a liquid.
Chromatography—In chromatography, substances are separated by the differences in the degree to which they are adsorbed onto a surface. The substances are passed over the adsorbing surface, and the ones that stick to the surface with greater attraction will move more slowly than the substances that are less attracted to the surface. This difference in speeds is what separates the substances.
How much a substance moves depends on the similarity of their intermolecular forces to those of the adsorbing surface. The more similar the IMFs are between the substance and surface, the slower they will move. This is the “like dissolves like” concept all over again. If a polar substance is passed over a polar adsorbing surface, it won’t move far, as it will be very attracted to the surface. However, a nonpolar substance would travel much further over a polar adsorbing surface, due to the lack of attraction between the substance and the surface.
Titration
Titration is one of the most important laboratory procedures. In titration, an acid-base neutralization reaction is used to find the concentration of an unknown acid or base. It takes exactly 1 mole of hydroxide ions (base) to neutralize 1 mole of hydrogen ions (acid), so the concentration of an unknown acid solution can be found by finding out how much of a known basic solution is required to neutralize a sample of given volume. The most important formula in titration experiments is derived from the definition of molarity.
At the equivalence point,
moles(acid) = moles(base)
which means that
molarity(acid) × volume(acid) = molarity(base) × volume(base)
The moment when exactly enough base has been added to the sample to neutralize the acid present is called the equivalence point. In the lab, an indicator is used to tell when the equivalence point has been reached. An indicator is a substance that is one color in acid solution and a different color in basic solution. Two popular indicators are phenolphthalein, which is clear in acidic solution and pink in basic solution; and litmus, which is pink in acidic solution and blue in basic solution.
Identifying Chemicals
Precipitation—Unknown ions in solution can be identified by precipitation. If you know which salts are soluble and which are insoluble, you can use POE to identify unknown ions in solution. For instance, nearly all salts containing chlorine are soluble, but silver chloride is not; if you put chloride ions into a solution and a precipitate is formed, silver ions were probably present in the solution.
Conduction—You can tell whether a solution contains ions or not by checking to see if the solution conducts electricity. Ionic solutes conduct electricity in solution; nonionic solutes do not.
Flame Tests—Certain chemicals burn with distinctly colored flames. This is especially true of the alkali metals and the alkaline earth metals. It’s a good idea to know which colors salts of certain metals burn.
| Red | Lithium, Strontium |
| Orange | Calcium |
| Yellow | Sodium |
| Green | Barium |
| Violet | Potassium |
Colored Solutions—The color of a solution will sometimes indicate which chemicals are present. For instance, the colors of solutions containing transition metals will vary depending on the element present. Some common solution colors for transition metal ions that may be useful to know are:
| Copper (Cu2+) | Blue |
| Nickel (Ni2+) | Green |
| Cobalt (Co2+) | Pink |
| Iron (Fe3+) | Yellow |
| Chromate (CrO4–) | Yellow |
| Dichromate (Cr2O72–) | Orange |
| Permanganate (MnO4–) | Deep Purple |
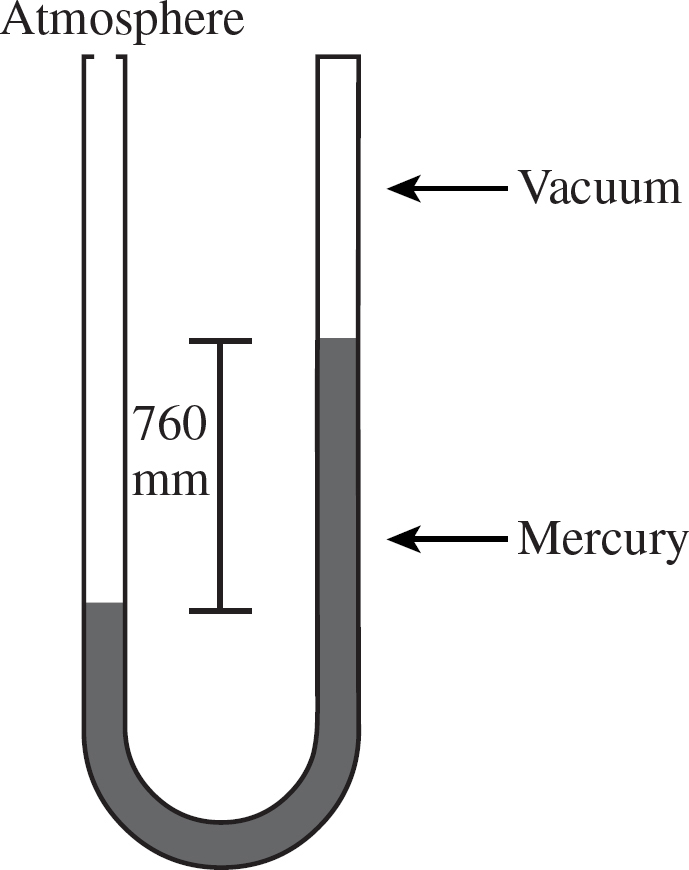
Gas Evolution—When we want to measure the amount of gas that is evolved in a reaction, we use a device called a manometer. The reaction takes place in an Erlenmeyer flask, which is hooked up to a U-shaped tube filled partially with mercury. As the reaction proceeds and the gas is produced, the pressure increases. This causes the mercury in the tube to rise. We can tell what the change in pressure inside the flask is by how much the mercury in the tube rises. In the diagram of the manometer below, you can see the difference between the mercury level in each end of the tube is 760 mm. Thus, the pressure would be read as 760 mmHg. Note that the use of mercury in manometers has become considerably more rare over time due to mercury’s toxicity. However, even if another liquid is used to fill the tube, the concept remains the same.
Another way to test for the evolution of flammable gases in particular is through the splint test. If you light the end of a wooden splint and place it over the end of a test tube where a flammable gas is being produced, the splint will combust and make a popping sound. This type of test is particularly useful for determining the presence of hydrogen or oxygen gas, as both are flammable.
Calorimetry—This is how we determine how much heat is produced by or absorbed by a reaction, i.e., ΔH. A calorimeter consists of a very well insulated container in which the reaction of known amounts of reactants occurs. A thermometer measures the temperature change of either the compounds involved in the reaction, or some other substance, which absorbs/provides the heat for the reaction. The temperature change of this substance, along with its mass and specific heat, allows us to calculate the amount of heat produced or absorbed by the reaction:
Q = mc∆T
See this page for examples.
LABORATORY EQUIPMENT
The pictures below show some standard chemistry lab equipment.
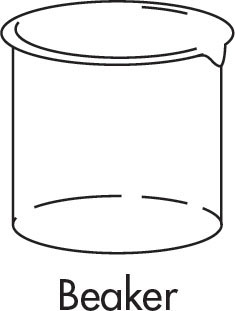
|
Used to hold and pour liquids—also your favorite muppet. |
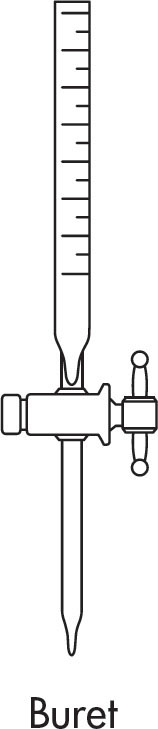
|
Used to add small but precisely measured volumes of liquid to a solution, used frequently in titration experiments. |
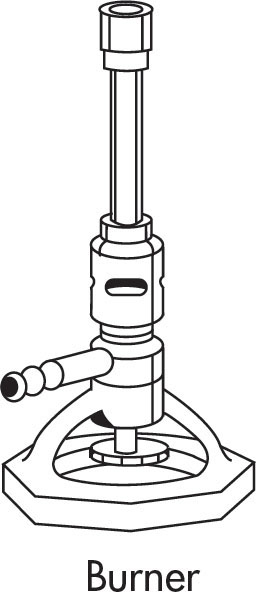
|
Used to apply heat and to wake up sleeping AP Chemistry students. |

|
Used to handle objects that are too hot to touch (careful though, they can break test tubes!). |
|
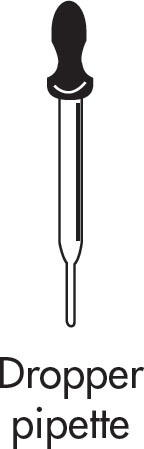
Used to add small amounts of liquid to a solution, but only when a precise volume is not needed because the drops themselves should be consistent only for one particular dropper (i.e., adding an indicator, comparing the amount of drops of strong acid or base needed for a pH change in different solutions). |
|
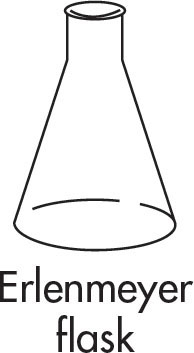
A flask used for heating liquids. The conic shape allows stirring. |
|
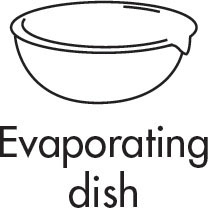
Used to hold liquids for evaporation. The wide mouth allows vapor to escape. |
|
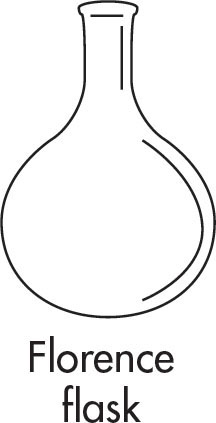
Used for boiling liquids. The small neck prevents excessive evaporation and splashing. |

|
A fancy name for tweezers. |
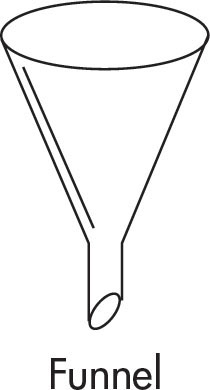
|
Used to get liquids into a smaller container. Doubles as a cute hat when inverted. |
|
Used for precisely measuring a volume of liquid to be poured all at once (rather than dripped from a buret). |
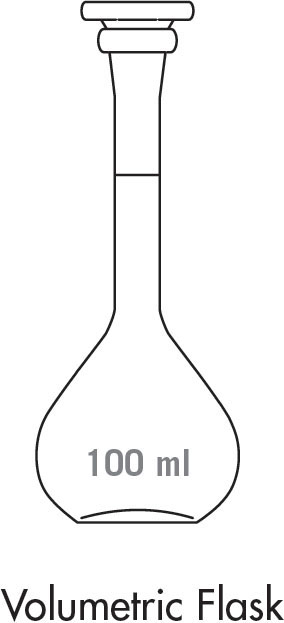
|
This is a flask that is used to measure an exact volume of liquid. They generally come in sizes that are very round numbers—100 mL, 250 mL, 500 mL, etc. |
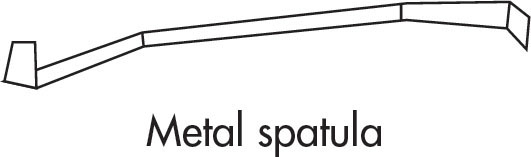
|
Used to scoop and transport powders. |
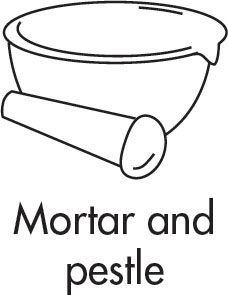
|
Used to grind solids into powders suitable for dissolving or mixing. |
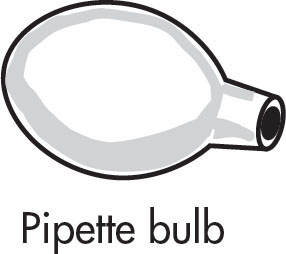
|
Rubber bulb used to draw liquid into pipette. In a pinch could be used as a miniature clown nose. |
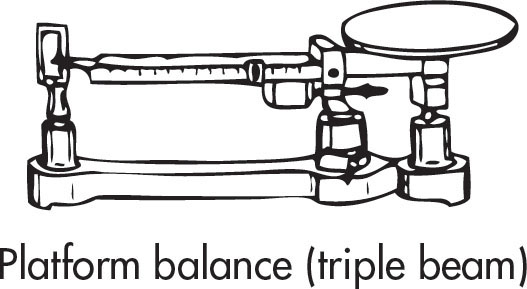
|
A very precise scale operated by moving a set of three weights (typically corresponding to 100, 10, and 1 gram increments). A measurement will proceed like this: Rear weight is in the notch reading 30 g Middle weight is in the notch reading 200 g Front beam weight reads 3.86 g The sample weighs 200 + 30 + 3.86 = 233.86 g |

|
Used to hold funnels or other vessels in conjunction with a stand. |

|
A hard-tipped rubber scraper used to transfer precipitate. |

|
Used by chemists worldwide to protect their eyes during all laboratory experiments. |
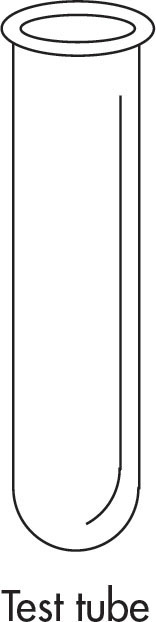
|
Used to contain samples, especially when heating. Sometimes babies come out of them. |
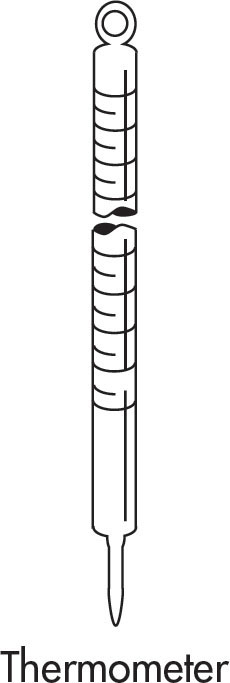
|
Measures temperature of a solution (don’t use these to measure your body temperature, you don’t know where they’ve been). |
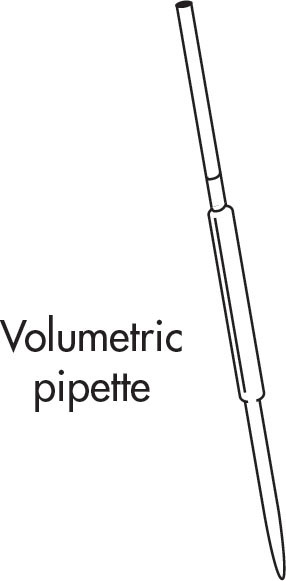
|
A volumetric pipette, like a volumetric flask, is used to measure out an exact volume of liquid. The primary difference between the pipette and the flask is the pipette is usually used to measure out smaller volumes (such as 10 mL or 25 mL). |
Measuring Liquids
As you can see from the table above, there are a lot of different types of glassware that can be used to read fluid volumes, and it’s important to know when to use each type.
For measuring an exact volume (25 mL, 50 mL, 100 mL, etc.) of a solution, it’s best to use either a volumetric pipet or a volumetric flask. Both of these pieces of glassware are considered to be infinitely accurate when it comes to measuring out the volume they are calibrated to. The downside is that they can only measure out one specific volume.
For an accurate reading of a volume that is not a common volumetric flask or pipet size (say, 11.7 mL), you would use a buret. These are not as accurate as volumetric glassware, but are still considered to be the most accurate way to measure non-specific volumes.
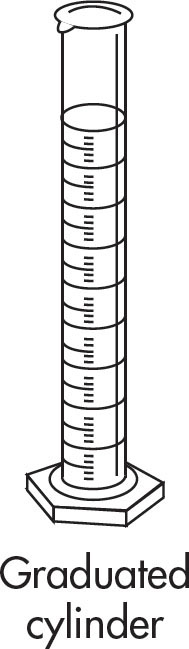
For a fairly accurate reading of a volume, a graduated cylinder is also a good choice. While graduated cylinders are not as accurate as burets, they are much easier and faster to use. They also cost quite a bit less than a typical buret!
Finally, normal (non-volumetric) flasks and beakers should never be used to measure volumes. If you have a 250 mL beaker and there appears to be 50 mL of liquid in there, that reading can be as off by as much as 10 mL. Beakers and flasks are great for storing solutions, but their graduations should never be trusted to give accurate volume readings.
YOU’RE READY!
If you’ve gone through this whole book, answered our questions (don’t forget the ones at the end of this chapter!), and read our explanations along the way, you’re going to do well on the SAT Subject Test in Chemistry. Next, take our practice tests. If you like, you can also take assorted practice questions from actual SAT Subject Tests in Chemistry that the College Board has released.
Will there be some questions you can’t answer? Of course—but that’s okay. Use our elimination strategies and guess from among the choices that remain, and there will be so many questions that you can answer, you won’t be bothered by the few that you have to guess. We’ve taught you all the chemistry you need, so go to it, and good luck! Now here’s your final quiz before the practice tests.
DRILL 1
Question Type A
Questions 1-4 refer to the following:
(A) Ethanol
(B) Phenolphthalein
(C) Ba(NO3)2
(D) Litmus
(E) U-tube manometer
1. Will glow green when flamed
2. Commonly isolated by distillation
3. Can be used to demonstrate that gasses pressurize when heated
4. Blue in basic solution
Question Type B
|
I |
II |
|
|
101. In an acidic solution being titrated with NaOH, equivalence has been passed when the phenolphthalein indicator turns slightly pink |
BECAUSE | a nearly equal volume of NaOH solution and acid has been added. |
|
||
|
I |
II |
|
|
102. When distilled, hexane will evaporate before pentane |
BECAUSE | pentane has more vapor pressure than hexane. |
|
||
Question Type C
24. To the correct number of significant figures, what is the mass of 2.5 moles deuterium gas (isotope mass = 2.014 amu)?
(A) 5.035 g
(B) 5.0 g
(C) 5.04 g
(D) 1.241 g
(E) 1.3 g
25. A NaOH solution is titrated with HCl. The resulting neutral solution is evaporated over a burner and the resulting crystalline solid is burned in a strong flame. The flame will likely be
(A) extinguished
(B) yellow
(C) orange
(D) green
(E) clear
Summary
○ Be sure to exercise proper safety procedures at all times.
○ Make sure that all measurements are made carefully, that all equipment is clean, and that all chemicals are uncontaminated.
○ When recording measurements, make sure to use the proper number of significant figures.
○ Filtration, distillation, and chromatography are common methods of separation.
○ In a titration, an indicator is used to determine when the equivalence point has been reached.
○ Precipitation reactions, conduction, flame tests, and colored solutions can all indicate what chemicals are present in a solution or reaction.
○ A manometer is used to measure gases in a gaseous reaction.
○ A calorimeter is used to measure heat produced by a reaction.
○ Different types of glassware can be used to measure volume. From most precise to least precise they are: volumetric glassware (flasks and pipets) > burets > graduated cylinders > beakers and Earlenmeyer flasks.