
The First Six Weeks
After you determine which breeds you would like to raise and know when they will arrive at your home, it’s time to make a temporary home for your chicks. For the first six weeks, before you move them to their permanent coop, they need to be in a sheltered place where you can keep a close eye on them.
Depending on when your chicks are scheduled to arrive, you need to take temperature into consideration, both indoors and out. Your chicks’ lives will depend on a warm, safe, and draft-free environment.
If you are ordering chickens in very early spring, keep them inside the house, in a bathroom or spare bedroom. If you are ordering chicks later in the spring or early summer, then it might be fine to keep them in your garage. One thing to think about is that baby chicks make a lot of dust and peep quite a bit!
We might be crazy, but we think chickens deserve something special once in a while. We make this cake for the flock every year, and we even sing “Happy Birthday.” Sometimes we have to divide the cake onto two separate plates because certain members of the flock forget their manners when they see it!


The first step in creating your chicks’ temporary housing is to make an enclosure. It should be at least a couple of feet high to keep the chicks from escaping. It must be draft-proof, as chicks can become chilled in even the slightest breeze, but have good ventilation. It needs a cover to keep predators out — your pet cat might be very interested in those chicks! Use a piece of hardware cloth, which is like chicken wire but sturdier and with smaller openings, or an old window screen, secured in place with bungee cords.
You can make a brooder out of all kinds of materials. Some people cut down a large cardboard appliance box. Some use a big plastic storage bin or an old 20-gallon aquarium (these can be heavy, but they work fine). If your family is handy, you can build one from scraps of lumber. Or you can buy one at a farm-supply store or on the Internet. A cardboard box is the cheapest and often the most convenient container, but always consider the possible risk of fire from the heat lamp.
In addition to the container, the most important item is a heat lamp to keep the chicks nice and warm. The heat lamp should have a ceramic socket and a reflective metal dome. It needs to be adjustable so you can move it closer or farther away as the chicks’ temperature needs change.
Many heat lamps use an infrared bulb that produces red light, but it becomes very hot very quickly. The red light deters the chicks’ natural tendency to peck at everything around them, including each other, by making everything appear to be red. You’ll just need to check carefully that the light isn’t close enough to the container to start a fire.

A safe alternative to a heat lamp is an EcoGlow Chick Brooder, which comes in two sizes and doubles as a perch!
The heat lamp also comes with a clamp; however, using the clamp alone is not enough. If the lamp is jarred loose, it could fall into the brooder, possibly harming the chicks and potentially starting a fire. It’s much safer to fasten the lamp with a bungee cord in addition to the clamp.
If the outside temperatures are already pretty warm, especially in late spring or early summer, you may find that the heat lamp, no matter the adjusted height, keeps the brooder too warm. If this is the case, try switching out to a regular lightbulb to keep the brooder in the proper temperature range for the chicks.
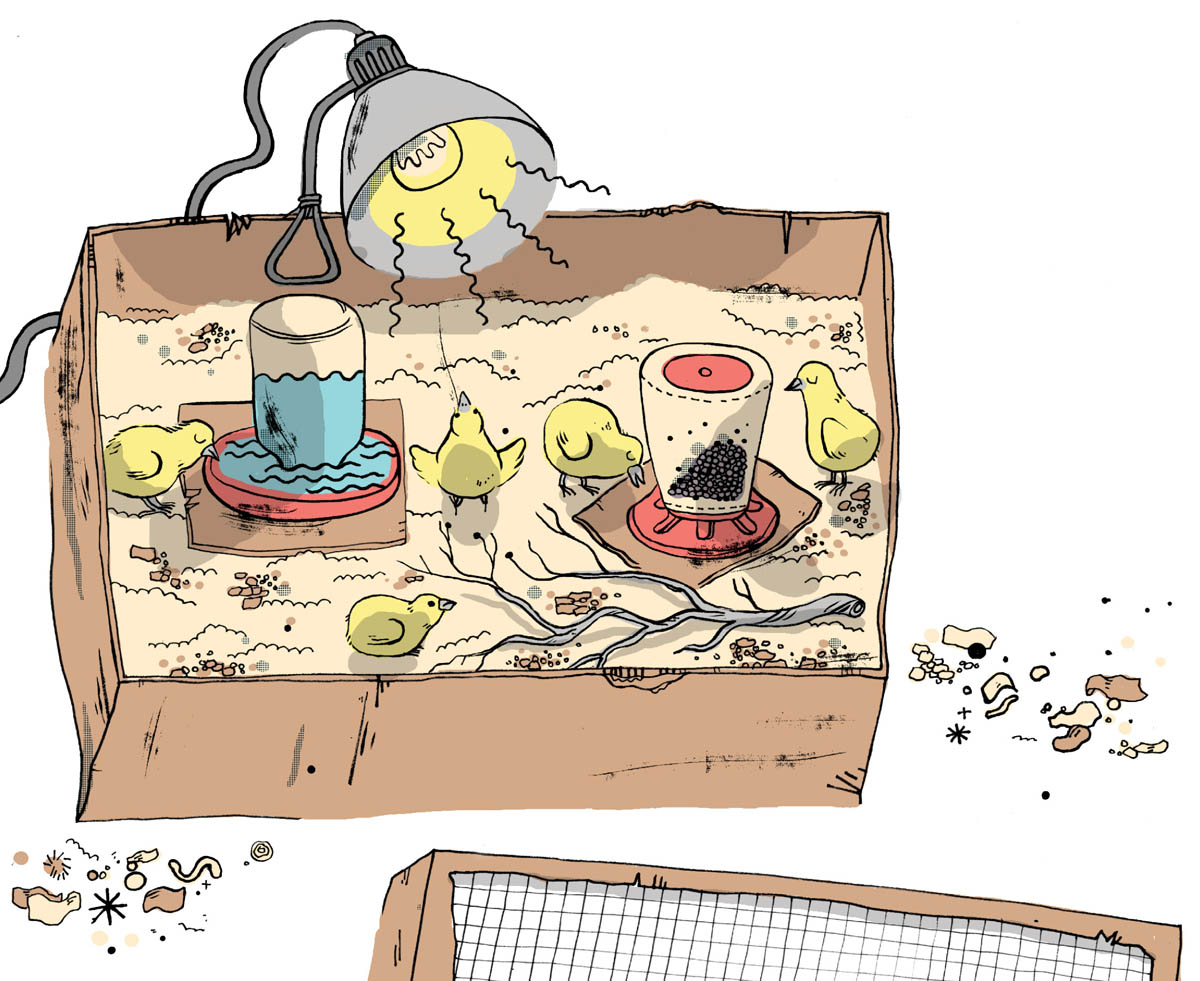
Chicks need proper bedding in the brooder. Bedding not only provides a soft place for the chicks to rest while sleeping but also serves to keep the brooder dry from droppings. I find that kiln-dried pine shavings work the best. For the first couple of weeks, line the brooder floor with cardboard and scatter about two inches of pine shavings over it. Tidy the shavings daily by scooping out the poop and any wet clumps where chicks have been having too much fun in the waterer. Replenish with some dry shavings. Keeping the brooder clean and dry is a main key to having healthy chicks.
As the babies age, they will learn how to naturally roost when they sleep. Providing branches as makeshift roosts helps them transition to sleeping off the ground.
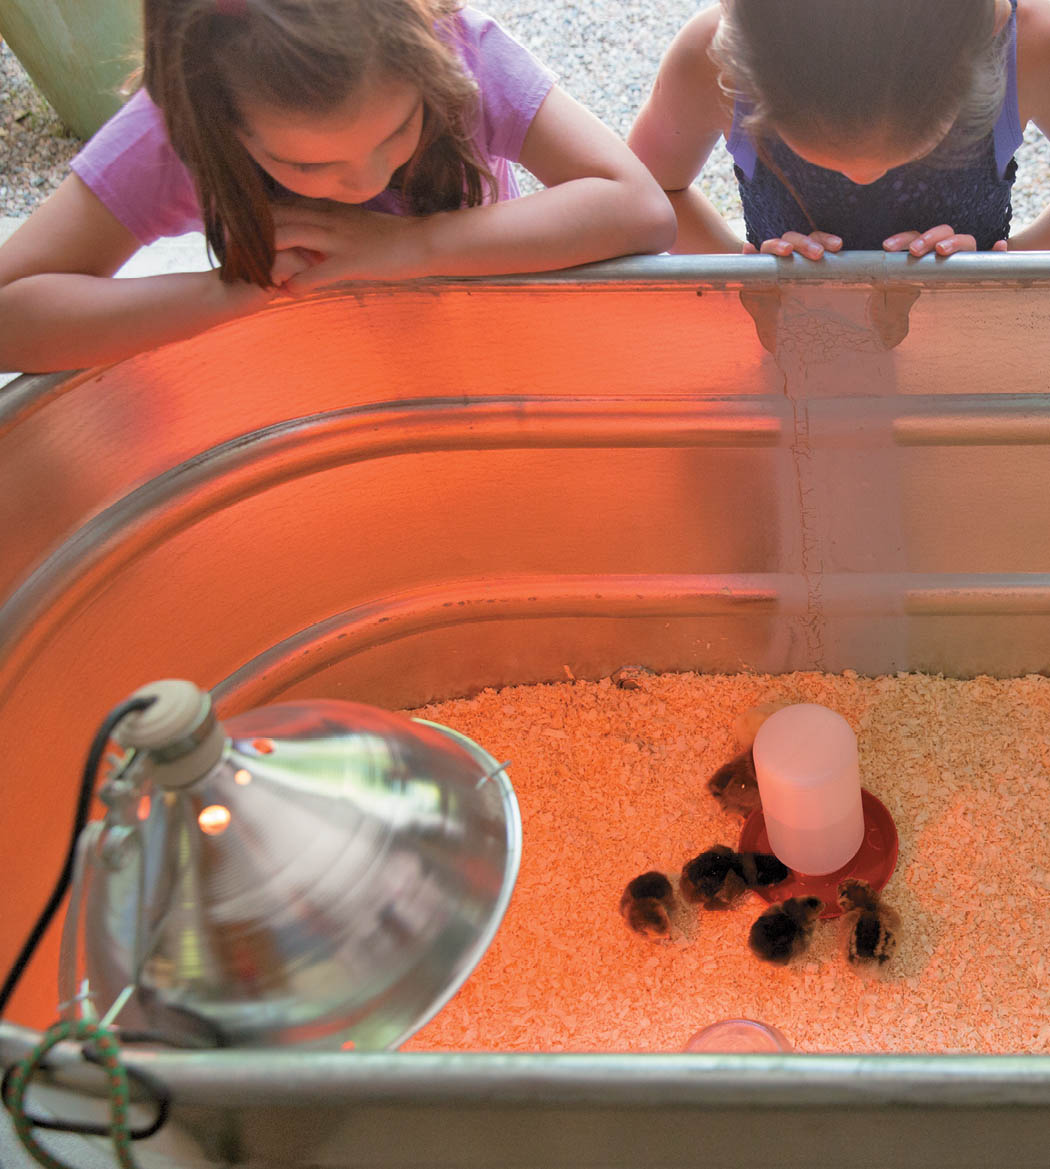
We think watching chicks is more fun than watching TV!

Here’s what your brooder temperature should be as your chicks grow:
Week 1 95°F (35°C)
Week 2 90°F (32°C)
Week 3 85°F (29.5°C)
Week 4 80°F (26.5°C)
Week 5 75°F (24°C)
Week 6 70°F (21°C)
Week 7 65°F (18°C) — chicks can move outside!
For the first few weeks of life, chicks need to stay very warm without becoming overheated. If the brooder becomes too hot or too cold, the chicks could become ill or stressed, or even die. The temperature inside the brooder during the first week should be 95°F (35°C).
To determine the temperature, place a digital thermometer in the center of the brooder floor where the heat lamp shines. As each week passes, decrease the temperature by five degrees.
You will know immediately if your chicks are happy with the temperature. If they huddle together directly underneath the heat lamp, then they are too cold. If they hug the edges of the brooder and avoid the heat lamp, then they are too hot. If they wander freely about the brooder, eating and exploring, then the temperature is just right.
At six weeks of age they will be fully feathered and should be able to stay warm on their own as long as the temperature does not dip too low below 60°F (15.5°C).
Local feed stores carry an assortment of chick-sized feeders and waterers. See chapter 6 for more information on what chicks need to eat. Chicks make a mess of any type of feeder as they scratch through the shavings and run around the brooder.
Putting the feeder on a piece of cardboard can help keep shavings out of the feed. I also recommend placing the waterer on a brick after the first week or so to minimize spillage and pine shavings in the water from rambunctious chicks.
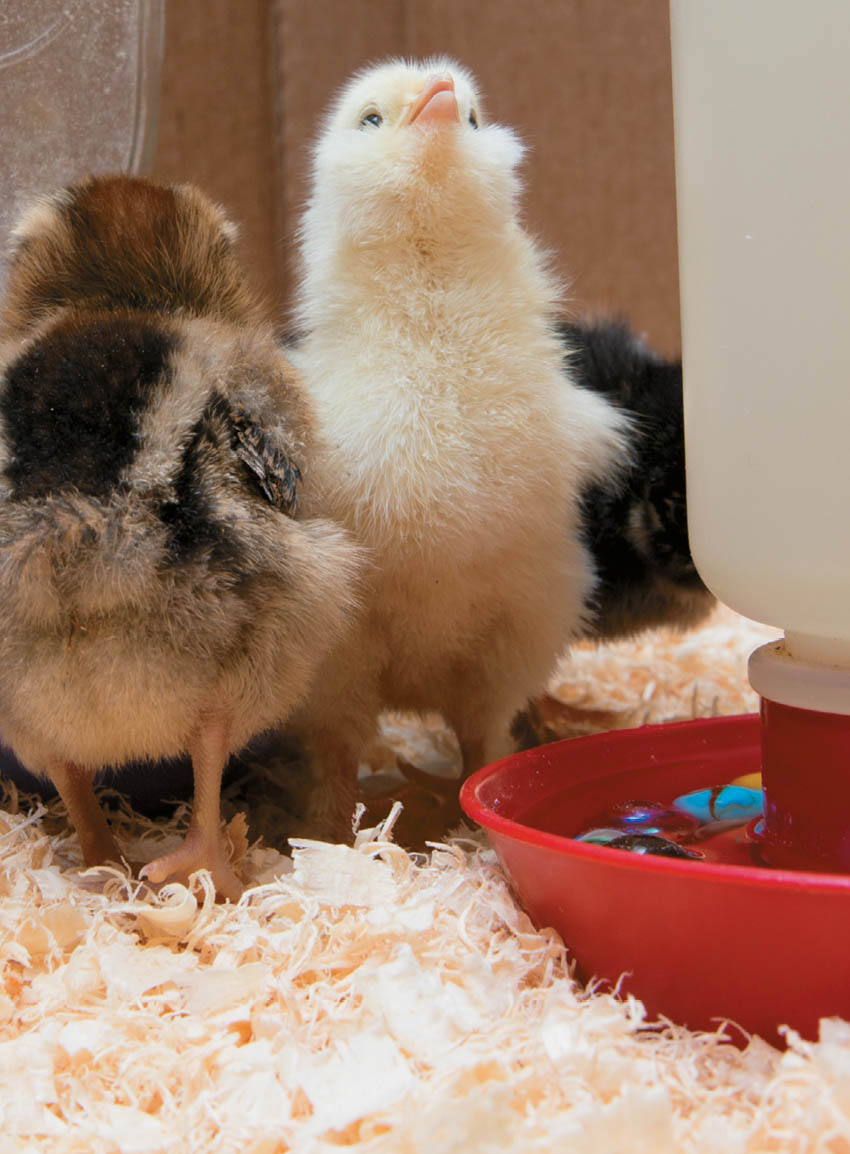
Add some marbles or rocks along the rim of the waterer to prevent drowning if a chick happens to fall asleep with its head resting on the rim.

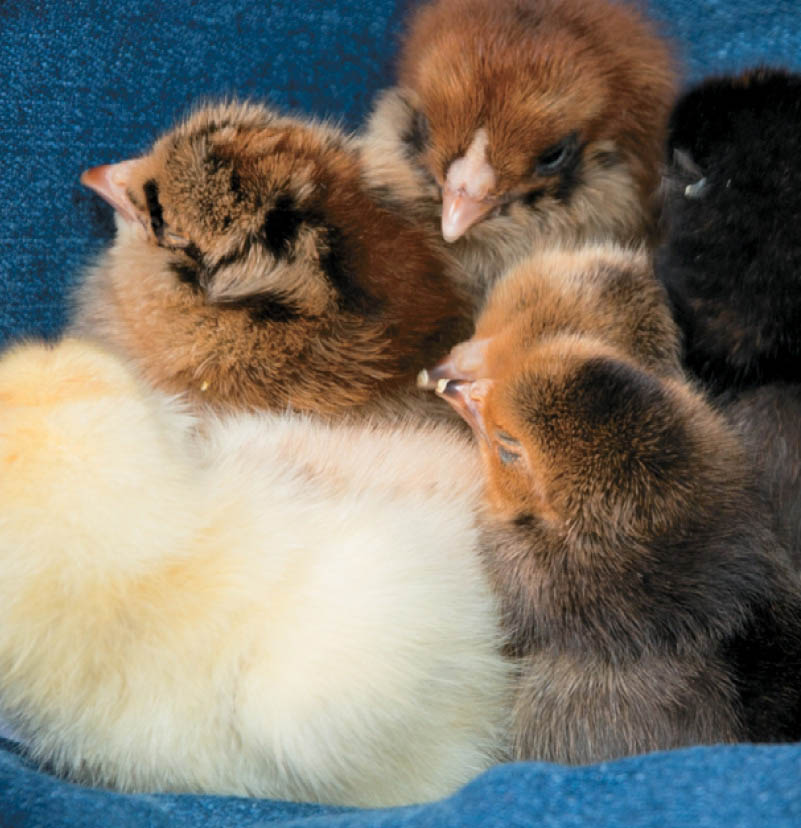
There’s nothing cuter than a bunch of fluff balls running around the brooder cheeping and hopping. After they’ve been eating and exploring for a while, you can see their little eyes getting heavier and heavier and then they just suddenly flop over, sound asleep!
Like all babies, chicks need a lot of sleep as they grow, so when they are napping, leave them alone. Save your handling time for when they are awake and active and looking for fun. Or let them take a nap in your lap — that’s fun, too!
Sometimes a chick (or even all of them!) will fall asleep while you’re holding it. You can let it take a little nap on your lap or very carefully put it back in the brooder.
Once the flock reaches six weeks of age and overnight temperatures are consistently at least 60°F (15.5°C), then your flock is ready to move outside. Make the transition first thing in the morning when you can spend an hour or two with them. You want to be certain they don’t get into any trouble that you didn’t foresee when you constructed the coop. You might prefer to allow the chicks to adjust to the inside of the coop for a few hours before allowing them access to the run.
You will need to play tour guide for your chicks. The most important thing is to show them where their food and water are. Be sure they can see and reach both. At first, you may need to scoop them up from the run in the evening and place them on the roosts, then lock them in for the night. Remember that their world just got a lot bigger, and sometimes they need a bit of tender loving care from their human family.
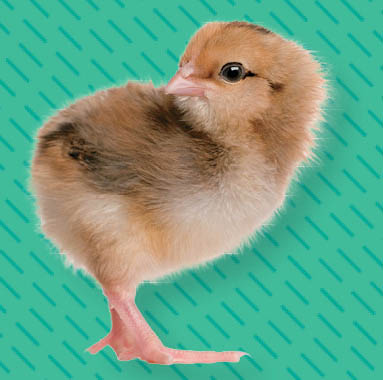
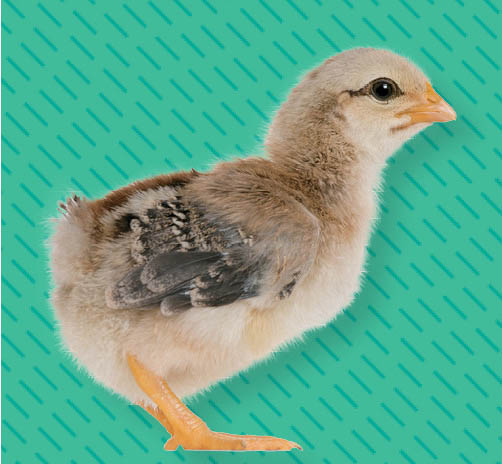
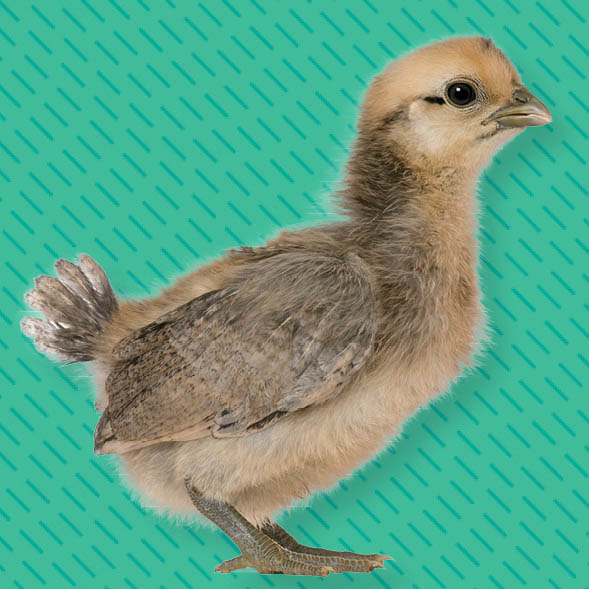
Over the course of six weeks, your fuzzy little chicks will transform from fluffy babies to awkward adolescents to mini adults. Here’s what you can expect.


Fifi, one of our Silkie bantams, is a loner. She is at the bottom of the pecking order. She is curious, but also a bit timid, and tends to keep to herself. Most evenings, she sleeps alone. She sometimes hangs out with the other Silkies, but most of the time, she explores life alone.
I used to feel badly for Fifi and would worry about how to make sure she had a good quality of life, but one morning, I thought, “Could Fifi just be brave?”
After all, she is healthy and thriving, even if she spends most of her time on her own. She isn’t being picked on, and she happily scratches in the garden. She gets plenty of treats and affection from us.
Fifi marches to her own drummer, and that seems brave to me. Being brave isn’t always easy. It can be scary. It might mean being different, or not doing what everyone else is doing.
Watching Fifi inspires my kids to be brave. They’ve learned that you just have to stretch your neck out and explore the world on your own.