MACRO MAGIC
FIND NATURE’S SECRETS IN THE WORLD OF THE VERY SMALL
When I bought my first camera in 1974, it came with a set of extension tubes for macro photography. I was living in Boulder, Colorado, while attending the University of Colorado. I lived near Boulder Creek, which flows through the middle of the town. Wide-angled views of this area along the creek would show the urban environs, such homes and businesses. Because of this and my fascination with the details of nature, I often focused on macro photography rather than the scenic landscape.
My enthusiasm for macro is alive and well. As in those early days, my tools are simple. I often use a pair of Canon extension tubes, in combination with my 50mm macro or 90mm tilt-shift lens. A key skill any macro photographer needs to learn is how to manage depth of field. These two lenses plus tubes offer me flexible options for a range of creative use of depth of field. Using a wide aperture and high magnification can give a beautiful soft-focus effect, especially by simplifying the background.
Just as often in my macro photographs, I’ll want total sharpness to reveal the details of my subject, such as all of the tiny hairs and water droplets on a wet lupine leaf. For this situation, I will often use a small aperture for maximum depth of field. Although these aren’t the optimum apertures for resolution, I find that optimum focus is often more important than perfect resolution.
Besides the obvious need for great light and composition, camera position is especially important with macro imagery. The angle at which one is photographing a subject can determine the degree of sharpness. For example, if you are aiming obliquely at a flat ice pattern at ground level, even a small aperture may not pull the whole pattern into sharpness if the focus range is beyond the focal length/aperture combination. The more parallel the camera back is to the main plane of the subject, the better.
The hardest part of making the photograph of lupine leaves was setting up the tripod so that the camera back was as parallel as possible to the group of leaves, without knocking the droplets off. I use Gitzo tripods with no center column and with legs that release to be opened wider, which allows for very low camera placement.
Finding this group of lupine leaves was a highly selective process. I searched diligently for a group that was close together and of similar height to minimize the distance between the furthest and closest leaf. Even though all of the leaves in the area were beautiful, not all were equal in photogenic terms. The selection of lighting, form, and compositional aspects such as density of leaves and depth of field must all work together to make a great image.
When using the wide-aperture, soft-focus effect, your camera angle is just as important. Besides focusing on the main object, such as a flower, it is vital to look for potential distractions around it. Bright areas in front of or behind the flower can draw the viewer’s eye away from what you are trying to show them. Whether handholding my camera or using a tripod, I maneuver around the object while watching carefully to see how the graphic elements fill the frame. As I framed the plum blossom in the opening image, I moved my position so the branch arched gracefully through the frame without conflicting with the flower’s shape. Once I found the best angle, I focused by moving the camera rather than trying to focus while handholding at high magnifications and/or long focal lengths.
In terms of processing the blossom photograph, I added a second background layer, which I blurred in Photoshop to heighten the soft-focus, glowing effect. I have rarely used this technique, known as the Orton Effect, but found it to be a useful tool in this case.
With either the soft- or sharp-focus approach, your choice of aperture is critical. It is often the case that no one aperture is perfect, and you must balance the need for sharpness throughout the main subject against the need for a soft, out-of-focus background. Because of this, I almost always bracket my captures with a range of aperture settings.
For the plum blossom photograph, I used the lens’s widest aperture, which was f/2.8 to give the softest possible effect. Had I wanted more sharpness in the flower, I would have tried exposures at smaller openings. By bracketing while in the field, I could later find the optimum balance of focus on the flower without too much sharpness in the background. I am able to see the subtle variations much more easily on my computer monitor. For this specific image, I was after a very soft, impressionistic effect, so I used my 90mm TS lens plus the 25mm tube. The tube allowed for macro focus, and I actually tilted the lens to increase the softness, much like using a Lens Baby.
Whether you use a macro lens, extension tubes, or other macro options, learning the basics of close-up photography can add depth to your portfolio and open new excitement and exploration of the wondrous details of nature all around you.
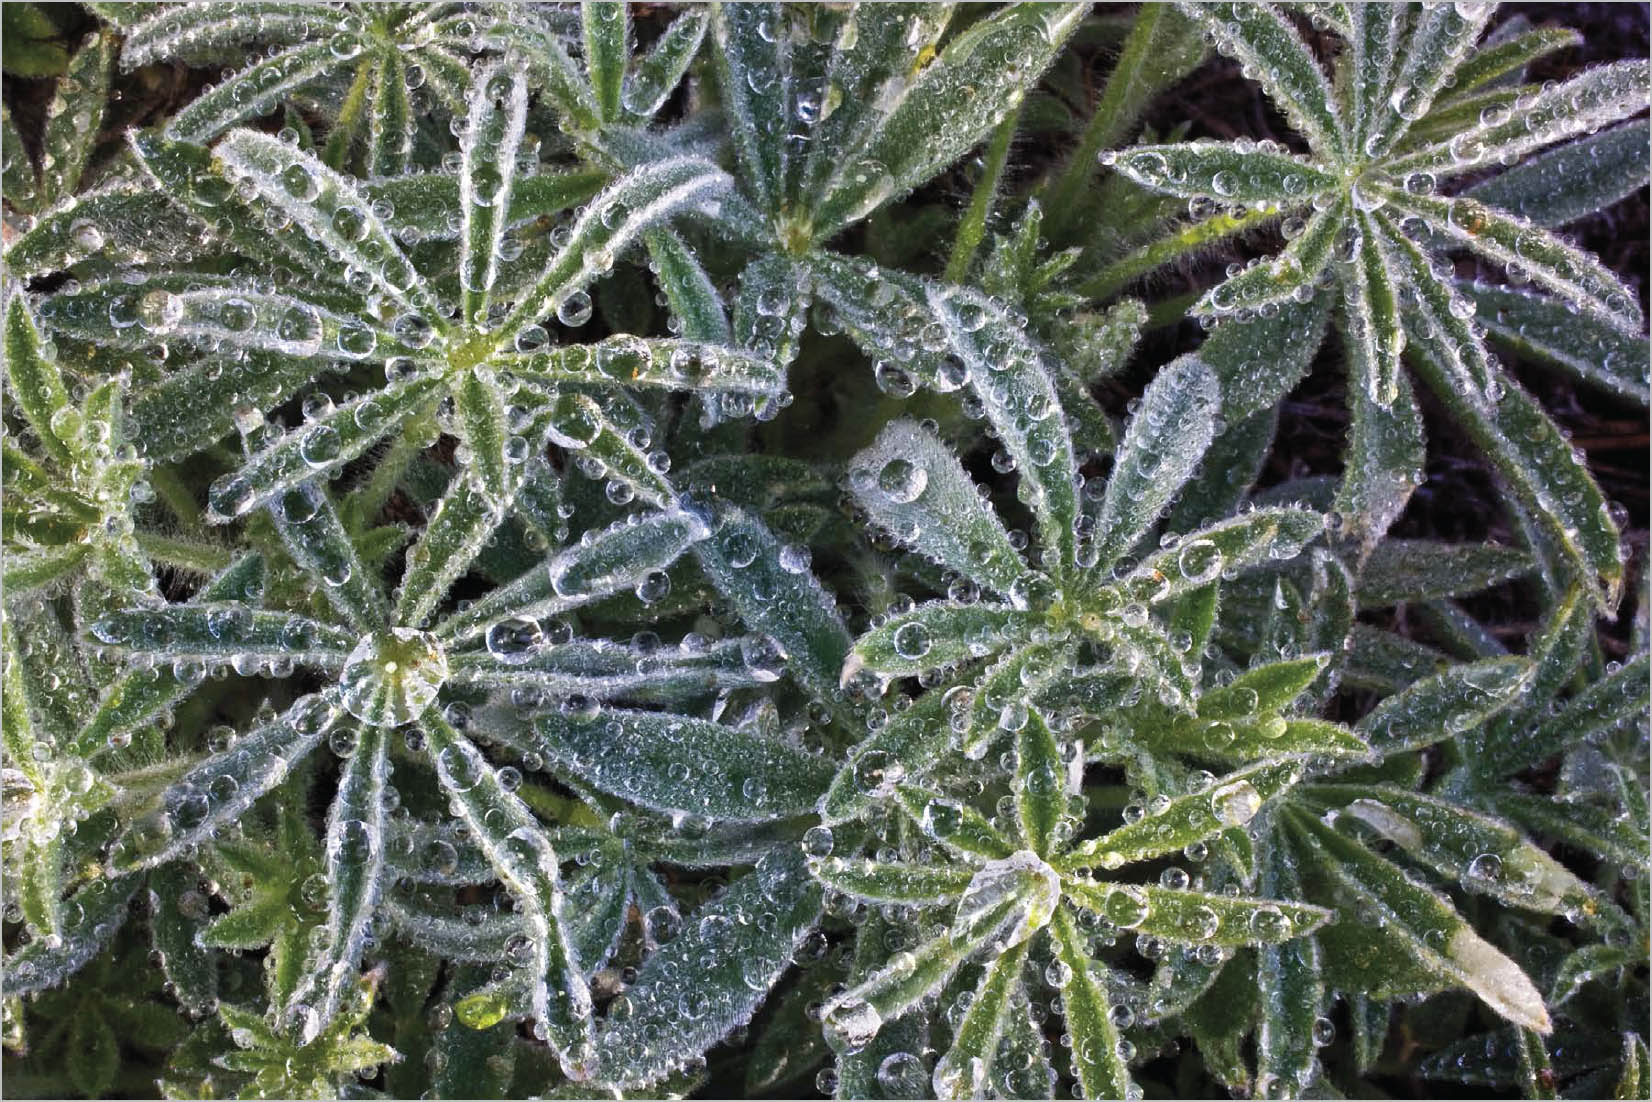
Lupine Leaves | Ahwahnee, Sierra Nevada Foothills, California | 2008
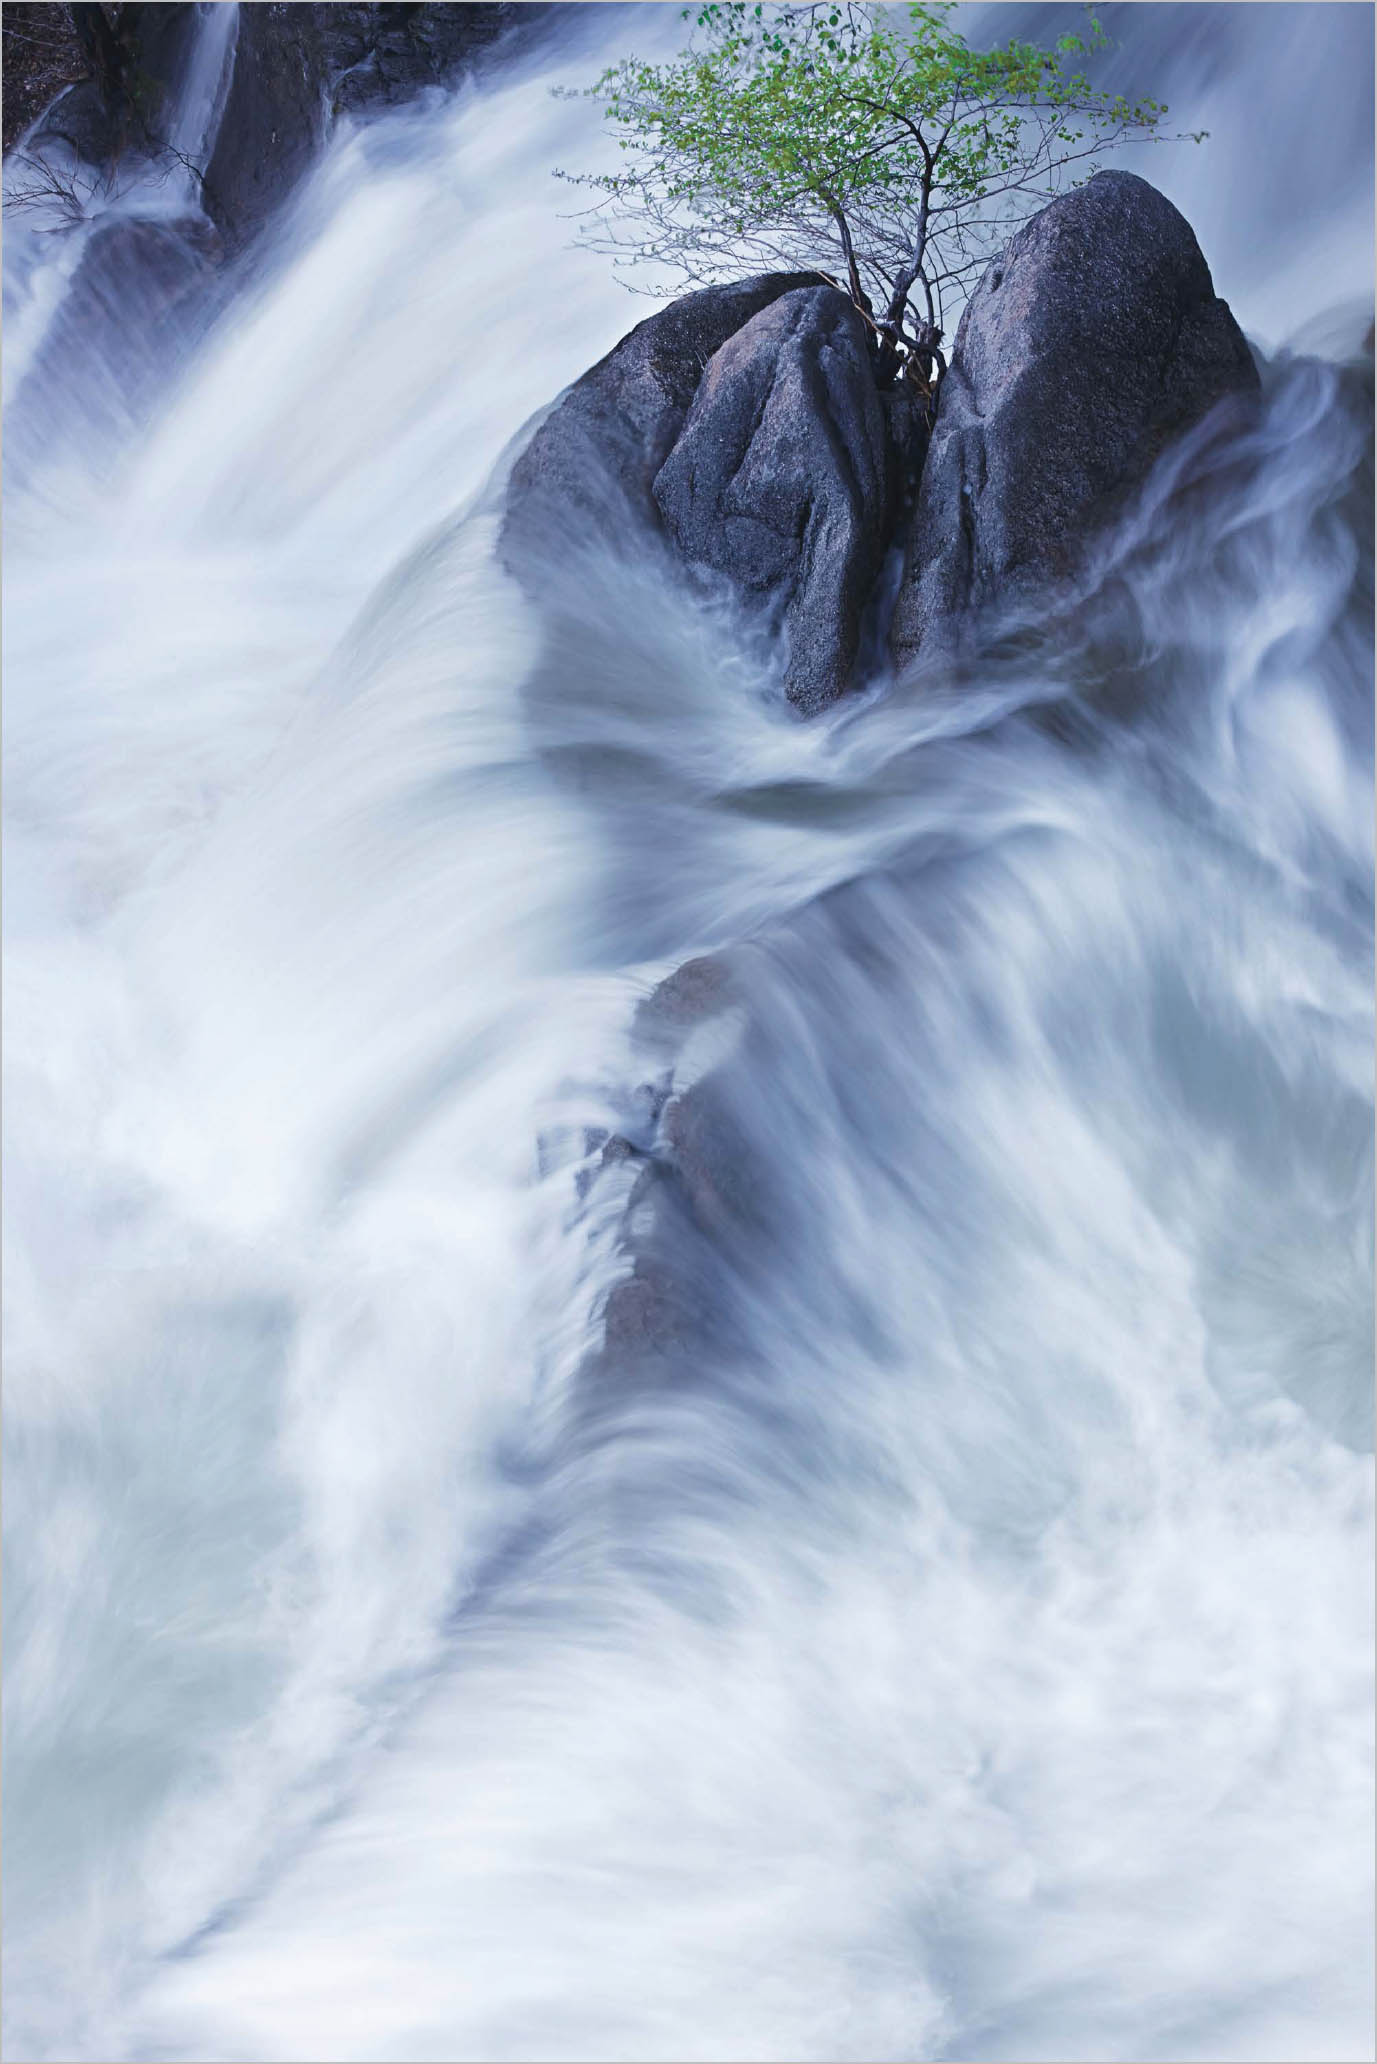
Rock, Water, and Tree | Cascade Falls, Yosemite National Park, California | 2011