There are several definitions for spoofing on the Internet:
- Email spoofing: This is the most common definition related to masquerading as a different person by using a fake email address. This works well when attempting a phishing attack, where the victim is sent an email that purports to be from their bank or a retail store.
- Domain spoofing: It is possible to spoof a domain, and this is where you poison the route table on their network or individual workstation. How that works is that the domain the user types into the address bar is misaligned to point at a false IP address. When the victim goes to http://bankarmenia.com/, they end up at a phishing site that looks exactly like the Bank of Armenia site, but it is not. This is used to collect credentials from users for purposes of theft.
- Domain error spoofing: Hackers buy domains that are common errors for popular sites, such as
Yaahoo.com. They build a site that looks like www.yahoo.com and benefit from all the misspellings. - IP spoofing: The creation of crafted packets for the purpose of masquerading as a different machine or for the purpose of hiding the origin of the packets.
One of our favorite spoofing tools is Ettercap. Among its charms is an ability to run spoofs through firewalls and from segment to segment:

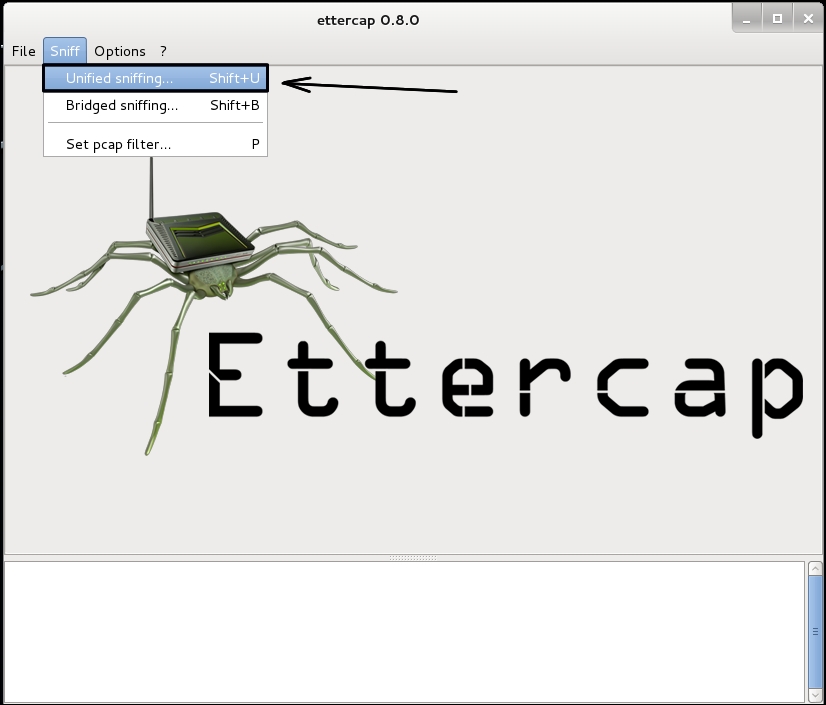
Cute logo and very revealing! Yes, that is a wireless router on the spider's back. Ettercap has some great plugins for wireless networks. We won't be covering wireless right now but it is something to know. Ettercap can sniff and capture data just like tcpdump and Wireshark, but it also has the function to spoof network traffic, capture the interesting information, and pipe it to a file. In Kali 1.x the graphical interface can be found at Applications | Kali Linux | Sniffing/Spoofing | Network Sniffers | ettercap-graphical to fire up Ettercap:

In Kali 2.0 and Rolling release, the click-path to Ettercap's GUI is 09- Sniffing & Spoofing | ettercap GUI:

Below we have the graphical interface for Ettercap. We first start Unified Sniffing by selecting Sniff | Unified Sniffing in the menu bar:
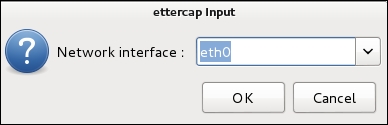
We are now asked which interface to use. Normally, it will be the default. If needed, with the drop down box you can select any interface on the system. Click on the OK button.
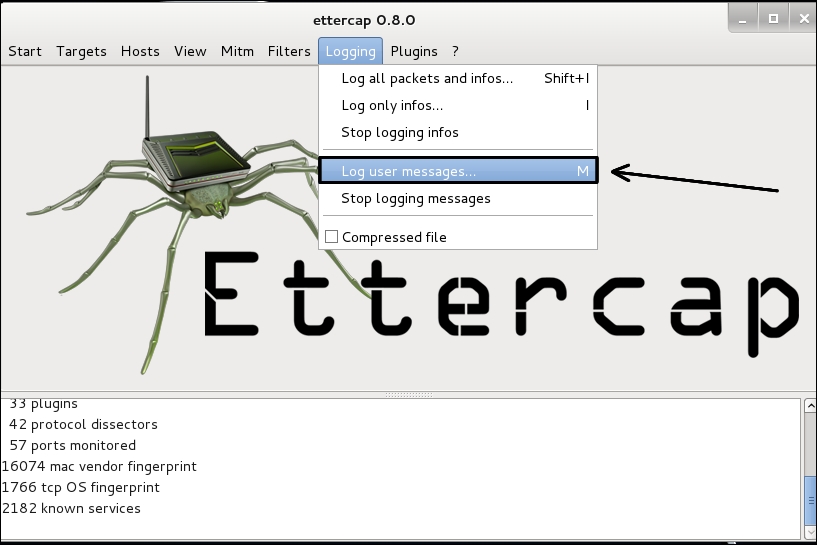
You will notice that the menu bar has changed once Unified Sniffing has been configured.
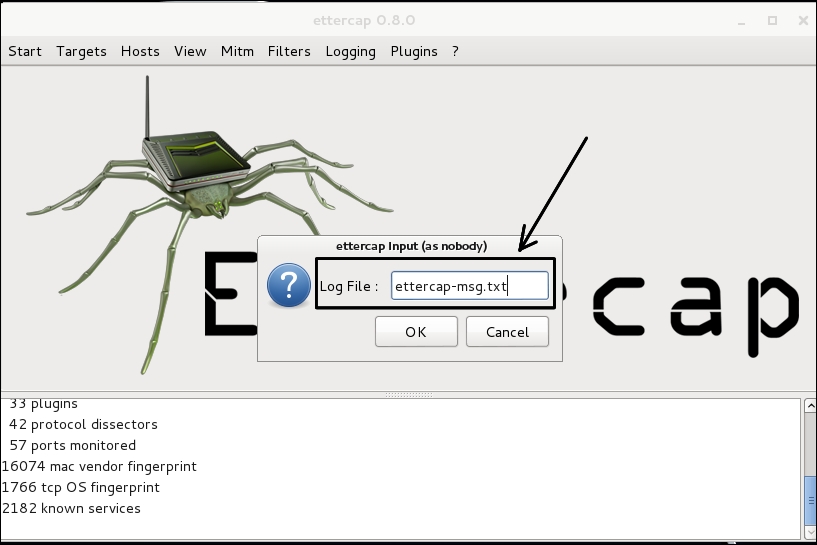
First, we need to log the messages. Go to Logging | Log user messages... in the menu bar:
You will be given a window to name the file for the message output. Give it a file name and click on the OK button:
Next, we will need to start sniffing the traffic. Go to Start | Start Sniffing. What is happening here is the same function that was performed by both tcpdump and Wireshark. Ettercap, at the moment, is just passively capturing packets. Before starting your sniff, you can set up Ettercap under the logging menu to also save all captured packets for later inspection. You just save the capture to a .pcap file, just like in tcpdump and Wireshark.
Normally just saving the output of the user messages is good enough for pen testing. When pen testing, you are mainly after the passwords and login credentials. The message log will catch these. Sometimes, for any further reconnaissance, you can throw in saving the whole capture.

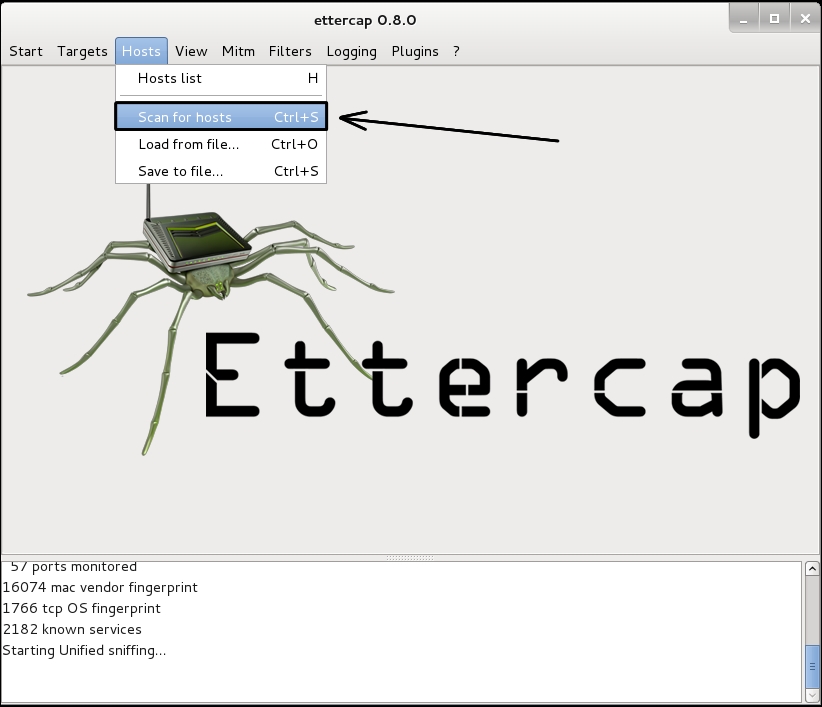
Once sniffing has started, we need to scan for hosts. Go to Hosts | Scan for hosts in the menu bar. This will scan the local network for available hosts. Note there is also an option to Load from a file.... You can pick this option and load a list of host IP addresses from a text file. This is a good option when on a large network and you only want to spoof traffic to the file servers and domain controllers, not the workstations. This will cut down on network traffic. ARP spoofing can generate a lot of traffic. This traffic, if it is a large network, can slow the network. If you are testing surreptitiously, the traffic will get you caught:
Below we see a list of hosts we picked up from our scan. Since this is a small network, we will spoof all of the hosts. We see that we have five hosts listed, complete with MAC addresses. Remember, one of these is the testing machine:

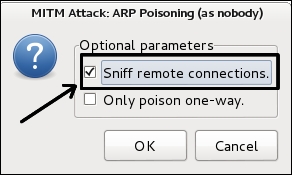
We're ready to poison the water and see what floats up. Go to Mitm and click onArp poisoning:

You will then get a window to set the type of poisoning to perform. Pick Sniff remote connections and click on the OK button:
The following screen shows a DNS-poisoning in progress.

Once the poisoning is done, there will be data sent through the Ettercap interface that shows you administrative users and their NTLM password hashes. This is enough information to start working on the password hashes with John the Ripper or Arachni.
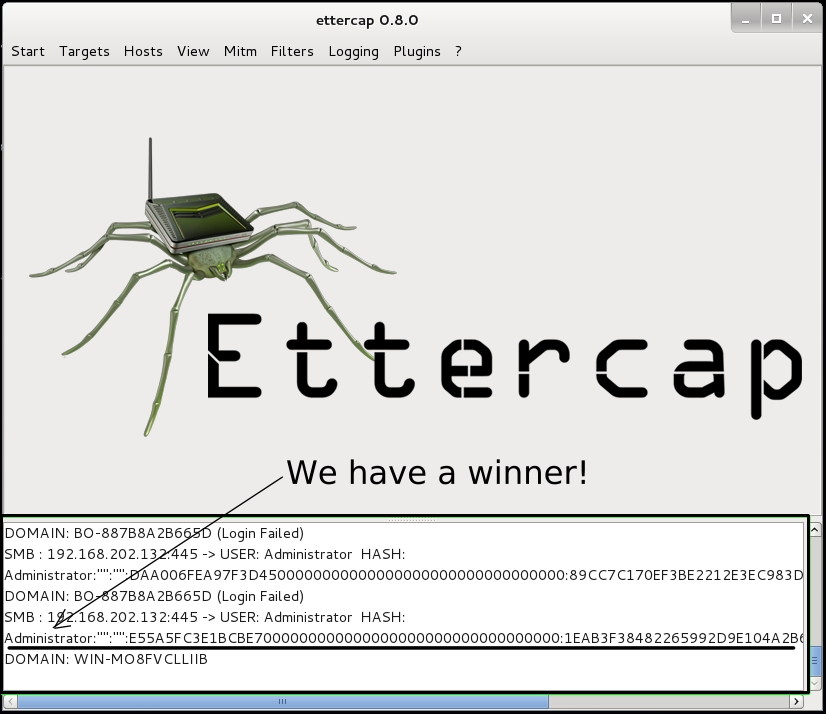
In most security policies, Windows systems are set to refuse connections after five or six attempts from a user. This policy protects user accounts from brute force password attacks or password guessing attacks. This will stop brute-forcing passwords, but as you can see, this policy has no effect on an exploit of this kind. You already have the administrator password from earlier sniffing, so you can log in the first time.
A great feature of Ettercap is that it also works under the command line using the Ncurses interface. This is great when working from a remote system using SSH. Then, press the Tab key and arrow keys to move around in the menu and the Enter key to select.
In many situations, you will not be able to use the graphical interface of Ettercap. When you are mounting an attack from a cracked Linux machine, you are likely to discover it does not have a graphical desktop at all. In such a strait, you can use the Ettercap Ncurses version or the text-only version. This is great when working from a remote system using SSH. Then, press the Tab key and arrow keys to move around in the menu and the Enter key to select:
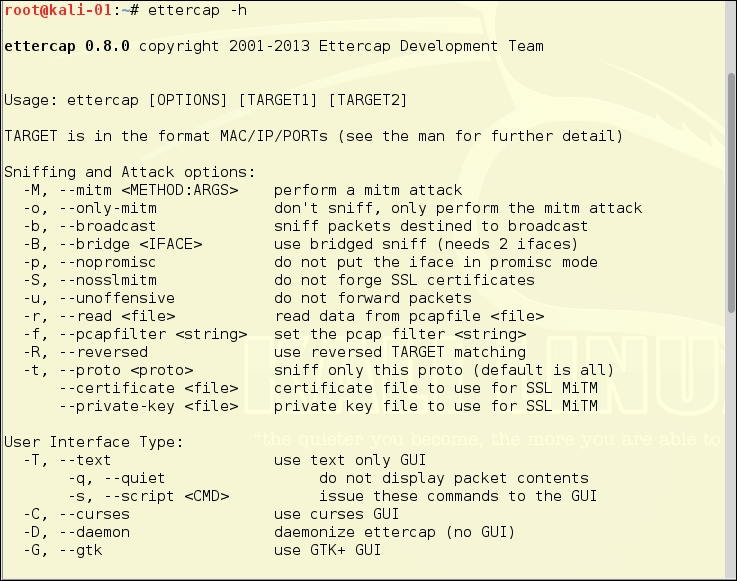
To start Ettercap from the command line, you will need to add some flags to the command. As with most Linux commands, you can use ettercap –help to get a list of the flags and their meanings. For basic use, you can use the command below:
root@kalibook :~# ettercap -C -m ettercap-msg.txt
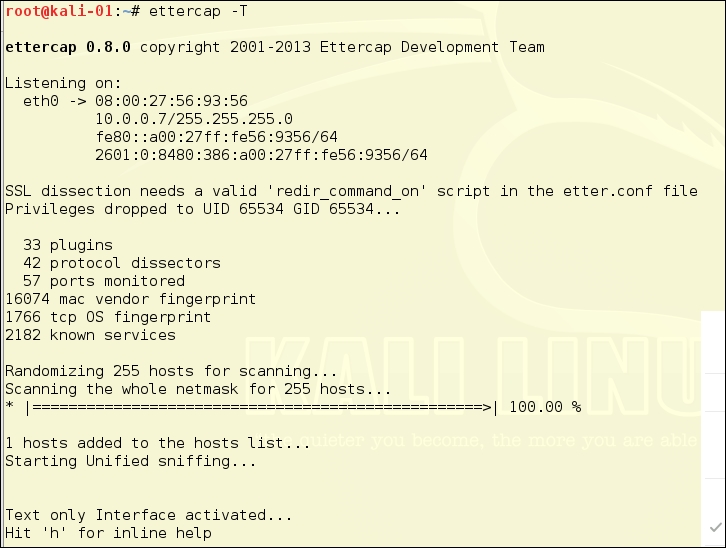
The -C flag starts Ettercap in Ncurses mode; we have included the -m ettercap-mgs.txt flag to pipe out the message output to the file ettercap-msg.txt. If you want to save the whole capture, add -w ettercap-capture.pcap. This will save the full capture so you can pull it in later into Wireshark if needed. We have found it's easier to use the command line flags for saving the outputs. The following illustrations are the CLI-based Curses Interface and the CLI-based Text-only Interface:

Now we can look at the Ettercap command-line interface. The ettercap -T command checks the Kali host IP addresses and subnet masks, and then scans all the machines in the available networks. This is a pretty noisy test and will go past very quickly. The image below is the setup detail for the scan: