In this section, we will look at the installation steps involved in installing a pretty popular Custom ROM called CyanogenMod 11 (This keeps updating with the original Google Android version):
- Download CyanogenMod from the following URL and save it in the
Phone Rootingdirectory. I have downloaded the latest GSM non-LTE versioncm-11-20151004-NIGHTLY-n7100.zipfrom https://download.cyanogenmod.org/?device=n7100. - Connect the device to the computer using a USB cable and use the
adb pushcommand to copy the file to the/sdcardand unplug the cable once done. You can also drag and drop by opening the device in Windows Explorer on your system:C:\..\Phone Rooting> adb push cm-11-20151004-NIGHTLY-n7100.zip /sdcard - Switch off your device and boot it into the recovery mode by pressing the volume up, home, and power buttons simultaneously. You will see the TWRP screen, click on Install:

- Select the Wipe option from the menu and Swipe to Factory Reset which clears the cache,data, and Dalvik VM:

- You should see the Factory Reset Complete successful message as shown in the following screenshot:

- Click the Back button and select Install. Select the
cm-11-20151004-NIGHTLY-n7100.zipfile as shown in the following screenshot:
- Once you select the ROM, the following screen will be displayed:

- Now click on Swipe to Confirm Flash to begin the flashing process of the custom ROM.
- Once the installation is complete, you will see the Zip Install Complete message as shown following screenshot. Click on Reboot System to reboot the phone:

- Once the device starts, you should see the following CyanogenMod screen:

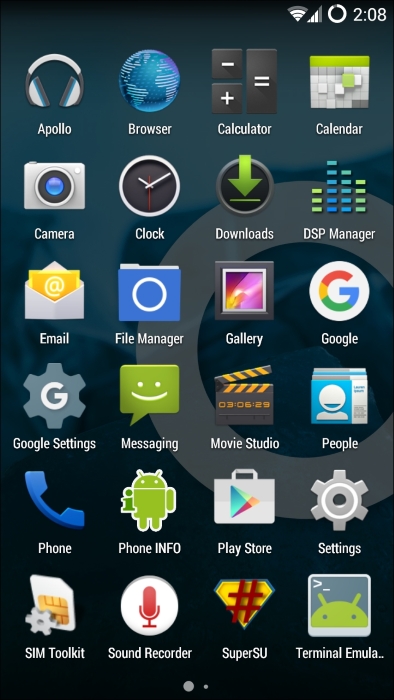
- You will then see the usual Android system, set it up according to your liking and if you like to use Google Play Store, download and install it by following the same process as we have described here, and if you install GAPPS, make sure you install the updated SuperSU again. Finally, your screen should look like the following screenshot. You can find GAPPS at the following location:
http://opengapps.org/?api=4.4&variant=nano
- Connect to the device from the system using a USB cable and check if you can login as a root user.
In this section, we have seen how to install recovery software TWRP, how we can use TWRP to root our Android device, and finally how to install a custom ROM on our smartphone.
The process is similar for other phones, however, you have to make sure you are using the right version of the CM, TWRP.