Xposed is a framework that enables developers to write custom modules for hooking into Android apps and thus modifying their flow at runtime. The Xposed framework was released by rovo89 in 2012. The Xposed framework works by placing an app_process binary in a /system/bin/ directory and thus replacing the original app_process binary. app_process is the binary responsible for starting the zygote process. Basically, when an Android phone is booted, init runs the /system/bin/app_process and gives the resulting process the name Zygote. We can hook into any process that is forked from the Zygote process using the Xposed framework.
To demonstrate the capabilities of the Xposed framework, I have developed a custom vulnerable application.
The package name of the vulnerable app is as follows:
com.androidpentesting.hackingandroidvulnapp1
The following code shows how the vulnerable application works:

The preceding code has a method, setOutput, that is called when the button is clicked. When setOutput is called, the value of i is passed to it as an argument. If you notice, the value of i is initialized to 0. Inside the setOutput
function, there is a check to see if the value of i
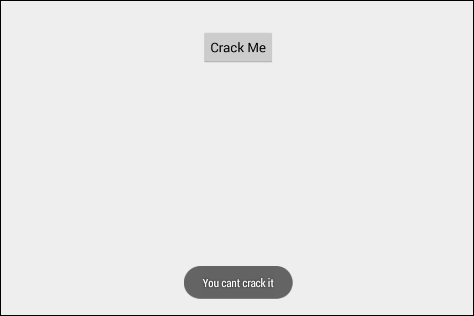
is equal to 1. If the value of i set to 1, this application will display the text Cracked. But, since the initialized value is 0, this app always displays the text You cant crack it.
Running the application in an emulator looks as shown in the following figure:
Now, our goal is to write an Xposed module to modify the functionality of this app at runtime and thus printing the text Cracked.
First download and install Xposed APK file in your emulator. Xposed can be downloaded from the following link:
http://dl-xda.xposed.info/modules/de.robv.android.xposed.installer_v32_de4f0d.apkInstall this downloaded APK file using the following command:
adb install [file name].apk
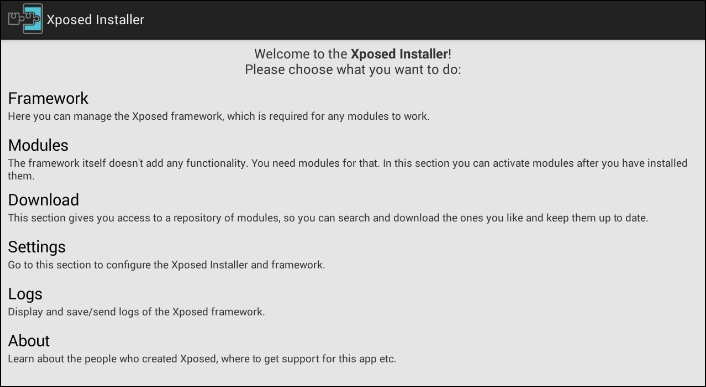
Once you install this app, launch it, and you should see the following screen:
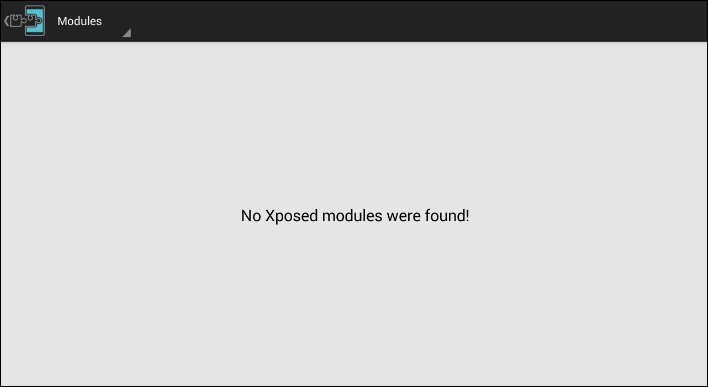
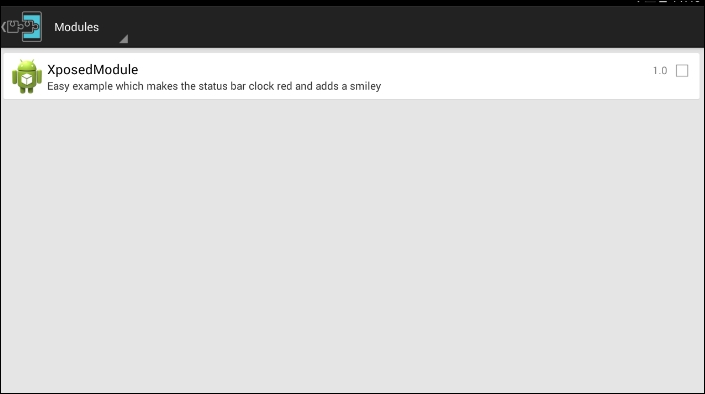
At this stage, make sure that you have everything set before you proceed. Once you are done with the setup, navigate to the Modules tab, where we can see all the installed Xposed modules. The following figure shows that currently we don't have any modules installed:
We will now create a new module to achieve the goal of printing the text Cracked in the target application shown earlier. We use Android Studio to develop this custom module.
Following is the step-by-step procedure to simplify the process:
- The first step is to create a new project in Android Studio by choosing the Add No Actvity option as shown in the following figure. I named it
XposedModule.
- The next step is to add the
XposedBridgeAPILibrary so that we can use Xposed specific methods within the module. Download the library from the following link:http://forum.xda-developers.com/attachment.php?attachmentid=2748878&d=1400342298
- Create a folder called
providedwithin theappdirectory and place this library inside theprovideddirectory. - Now, create a folder called assets inside the
app/src/main/directory and create a new file calledxposed_init.
We will add contents to this file in a later steps.
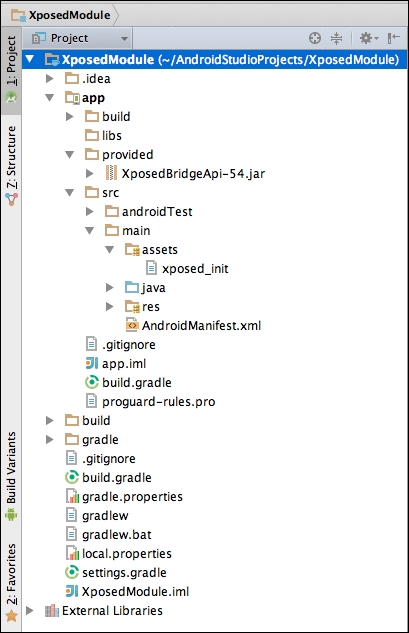
After completing the first 4 steps, our project directory structure should look as shown in the following figure:
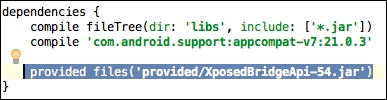
- Now, open up the
build.gradlefile in theappfolder and add the following line under thedependenciessection:provided files('provided/[file name of the Xposed library.jar]')In my case, this looks as follows:
- Create a new class and name it
XposedClass, as shown in the following figure: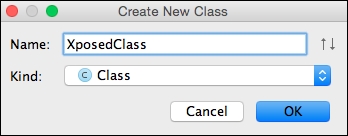
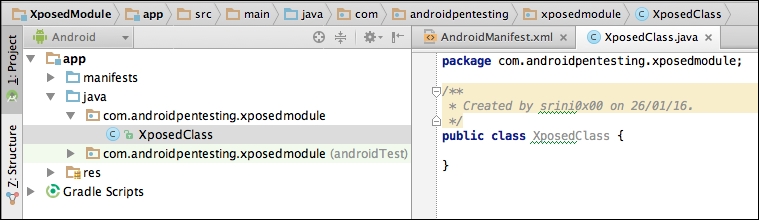
After finishing creating a new class, the project structure should look as shown in the following figure:
- Now, open up the
xposed_initfile that we created earlier and place the following content in it:com.androidpentesting.xposedmodule.XposedClass
This looks as shown in the following figure:

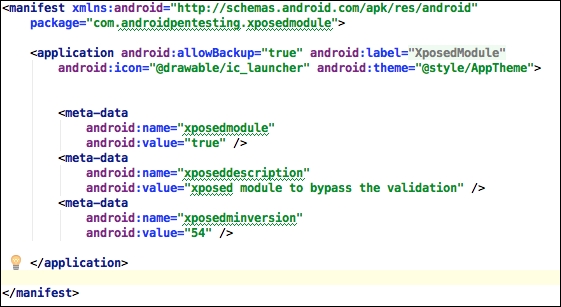
- Now let's provide some information about the module by adding the following content to
AndroidManifest.xml:<meta-data android:name="xposedmodule" android:value="true" /> <meta-data android:name="xposeddescription" android:value="xposed module to bypass the validation" /> <meta-data android:name="xposedminversion" android:value="54" />
Make sure that you add the preceding content in the application section as shown in the following screenshot:
- Finally, write the actual code within in the
XposedClassto add a hook.
Following is the piece of code that actually bypasses the validation being done in the target application:
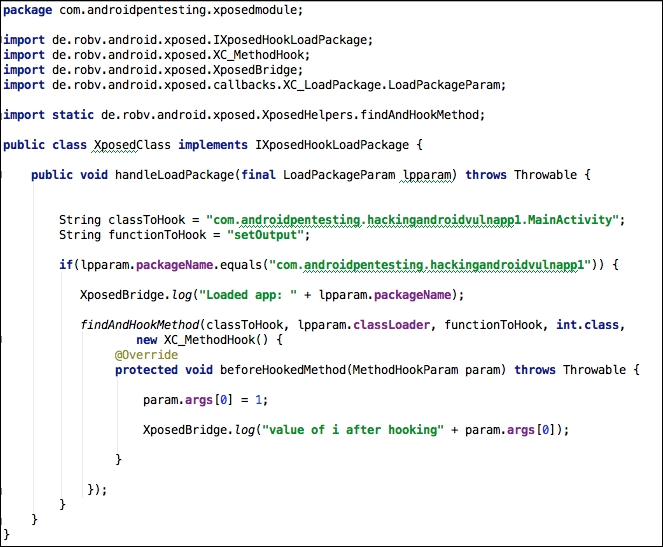
Looking at the preceding code, this is what we have done:
- First our class is implementing
IXposedHookLoadPackage - We wrote the method implementation for the method
handleLoadPackage– this is mandatory when we implementIXposedHookLoadPackage - Set up the string values for
classToHookandfunctionToHook - An
ifcondition is written to see if the package name equals the target package name - If the package name is matching, execute the custom code provided inside
beforeHookedMethod - Within the
beforeHookedMethod, we are setting the value ofito1and thus, when this button is clicked, the value ofiwill be considered as1and hence the text Cracked will be displayed as a toast message
Compile and run this application similar to any other Android app and then check the Modules section of he Xposed application. You should see a new module with the name XposedModule, as shown in the following screenshot:
Select the module shown in the preceding screenshot and reboot the emulator.
Once the emulator restarts, run the target application and click on the Crack Me button.
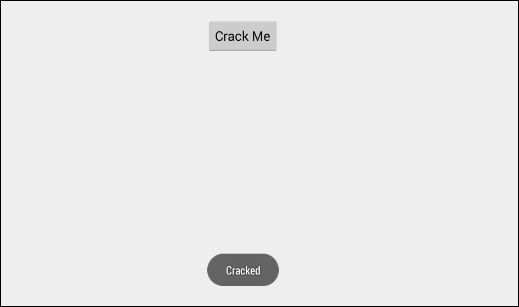
As you can see in the preceding figure, we have modified the application functionality at runtime without actually modifying its original code.
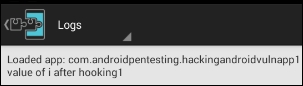
We can also see the logs by tapping on the logs section.
You can observe the XposedBridge.log method in the source code. This is the method used to log the data shown in the following screenshot: