miniature garden
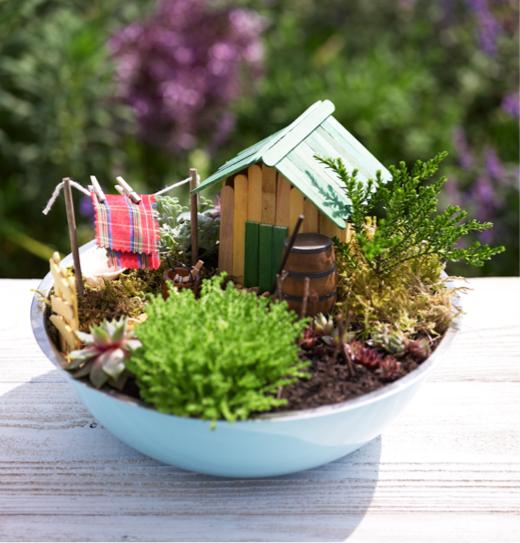
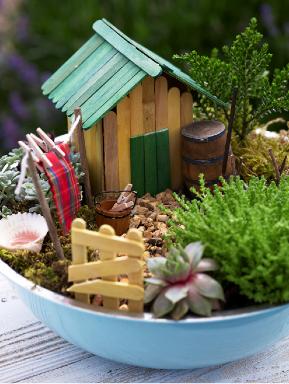
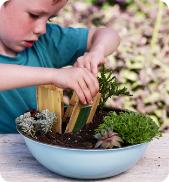
You can make a miniature garden in all sorts of containers, as long as there are some holes in the bottom and you have enough room to be creative. This garden is made in a metal mixing bowl and uses lots of alpine plants, which are naturally tiny and so make perfect trees and bushes to decorate your miniature plot.
Step 1
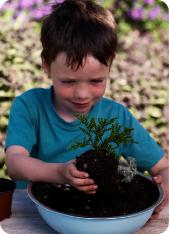
Ask a grown-up to drill or puncture 5–6 holes in the base of your mixing bowl and then put a layer of gravel or small stones in the bottom to stop the potting mix blocking the holes. Add some potting mix and then place your alpine plants where you would like them to sit, allowing space for your path, shed, vegetable garden, and washing line. Fill around the plants with potting mix and give them a good watering.
Step 2
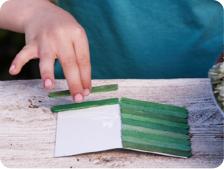
To make the sides of the shed, take the seven yellow sticks and carefully line them up. Cut another yellow stick so that it will fit across the first seven. Put a dab of glue on the two pieces of the last stick, lay them across the first seven sticks, and then place something heavy on top for about 20 minutes until they have stuck firmly. Repeat for the other side of the shed. To make the ends of the shed, repeat as for the sides but arrange the sticks so that they rise up to a point at the center.

Step 3
Shorten three of the green sticks slightly with scisors and glue them onto the front of the shed to make a door. When fully dry, push all four sections into the potting mix so that they form the shed.
Step 4
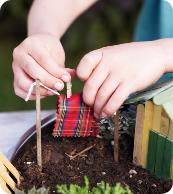
To make the roof, cut a square of card that is just larger than the top of the shed when it is bent in the middle. Cut ten green sticks so that they are slightly longer than one side of the card and stick them on using the glue. Repeat this for the other side.
Step 5
Place the card on top of the shed, making sure that it is bent enough to be in line with the ends. Finally, stick on two sections of green sticks with glue, just slightly longer than the roof, to cover the spine of the card.

Step 6
To make the gate, take another three yellow sticks and cut sections from a fourth to fit across the top and bottom, as well as diagonally across the middle. Stick these on using the glue. When it is dry, gently push the gate into position in the potting mix.

Step 7
To make the washing line, tie the piece of string to one end of two thin lengths of twig or cane. Push the twigs or canes into the potting mix so that the line is pulled taut. Cut a small piece of thin material to hang like washing on the line and attach it using the card pegs.
Try this... You can use miniature furniture and centers or small toys to add more features to your garden.
Step 8
Break small sections of twig to form the edge of the path from the gate to the shed. Fill the central section with gravel.

Step 9
Push in some thin sticks to make pretend supports for climbing beans and place the baby sempervivums in rows to look like cabbages or lettuces in the vegetable garden.
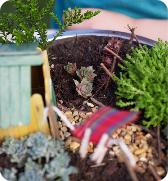
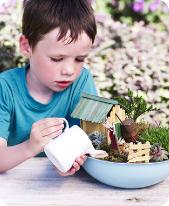
Fill around any bare areas with moss to look like grass. Add an upside-down shell to form a mini birdbath or small pond. Fill this carefully with water from a pitcher.