- Import the Computer Vision package – cv2:
import cv2
- Import the numerical Python package – numpy as np:
import numpy as np
- Read the image using the built-in imread function:
image = cv2.imread('image_4.jpg')
- Display the original image using the built-in imshow function:
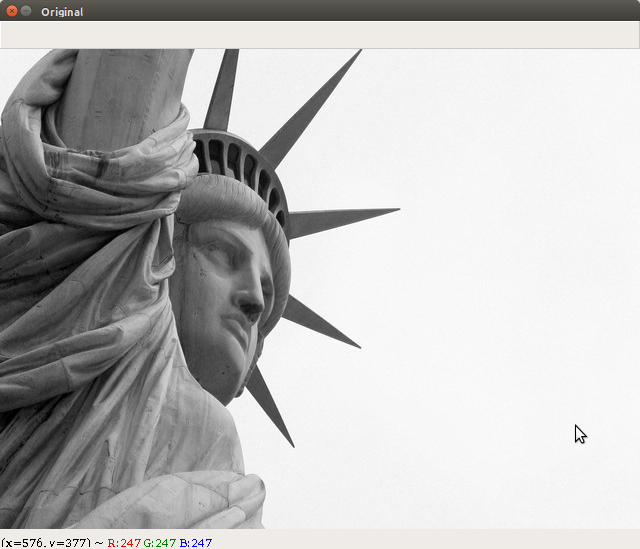
cv2.imshow("Original", image)
- Wait until any key is pressed:
cv2.waitKey(0)
- Given shape and type, fill it with ones:
# np.ones(shape, dtype)
# 5 x 5 is the dimension of the kernel, uint8: is an unsigned integer (0 to 255)
kernel = np.ones((5,5), dtype = "uint8")
- cv2.erode is the built-in function used for erosion:
# cv2.erode(image, kernel, iterations)
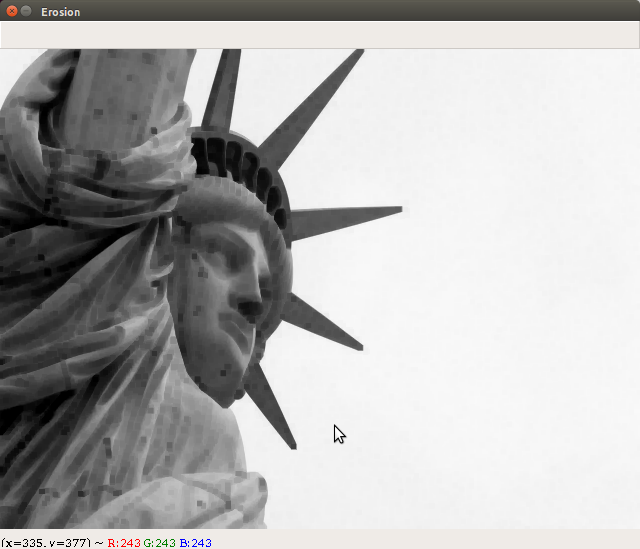
erosion = cv2.erode(image, kernel, iterations = 1)
- Display the image after erosion using the built-in imshow function:
cv2.imshow("Erosion", erosion)
- Wait until any key is pressed:
cv2.waitKey(0)
- cv2.dilate is the built-in function used for dilation:
# cv2.dilate(image, kernel, iterations)
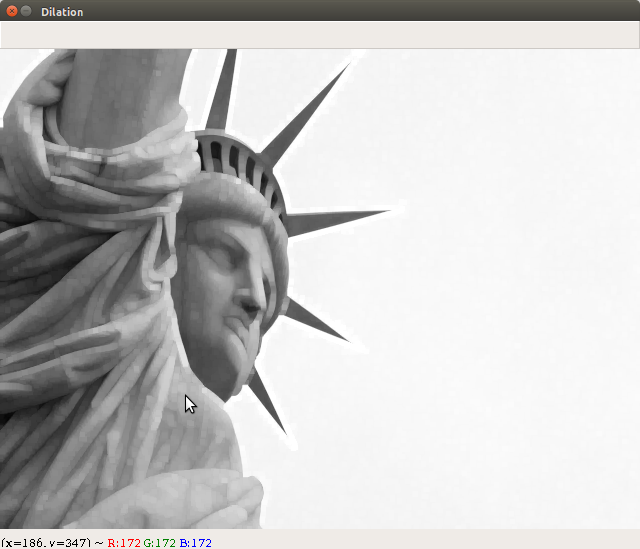
dilation = cv2.dilate(image, kernel, iterations = 1)
- Display the image after dilation using the built-in imshow function:
cv2.imshow("Dilation", dilation)
- Wait until any key is pressed:
cv2.waitKey(0)
- Close all windows:
cv2.destroyAllWindows()
- The command used to execute the Erosion_Dilation.py file is shown here:
- The input image used to execute the Erosion_Dilation.py file is shown here:
- The eroded image obtained after executing the Erosion_Dilation.py file is shown here:
- The dilated image obtained after executing the Erosion_Dilation.py file is shown here:


