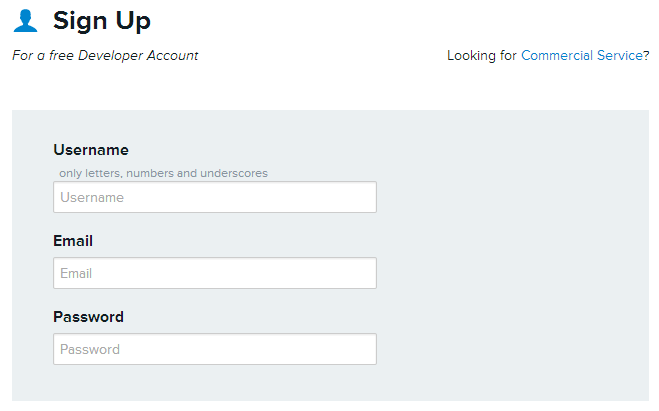
You will need to create an account at www.xively.com, which we will use to receive our data. Go to the site and sign up for a free developer account:
Once you have registered and verified your account, you can follow the instructions that will take you through a test drive example. This will demonstrate how you can link to data from your smartphone (gyroscopic data, location, and so on), which will give you a taste of what we can do with the Raspberry Pi.
When you log in, you will be taken to the Development Devices dashboard (located in the WebTools drop-down menu):

Select +Add Device and fill in the details, giving your device a name and setting Device as Private.
You will now see the control page for your remote device, which contains all the information you need to connect it and also where your data will be displayed:

Although there is a lot of information on this page, you only need two key pieces of information:
- The API key (which is the long code in the API Keys section), as follows:
API_KEY = CcRxJbP5TuHp1PiOGVrN2kTGeXVsb6QZRJU236v6PjOdtzze
- The feed number (referred to in the API Keys section and also listed at the top of the page), as follows:
FEED_ID = 399948883
Now that we have the details we need to connect with Xively, we can focus on the Raspberry Pi side of things.
We will use pip-3.2 to install Xively, as follows:
sudo pip-3.2 install xively-python
Ensure that the following is reported:
Successfully installed xively-python requests
You are now ready to send some data from your Raspberry Pi.