pgAdmin 4 is usually named just pgAdmin. The "4" at the end has a long history, but isn't that important. It is not the release level; the release level at the time of writing this book is 3.0. pgAdmin 4 replaces the earlier pgAdmin 3.
When you start pgAdmin, you will be prompted to register a new server.
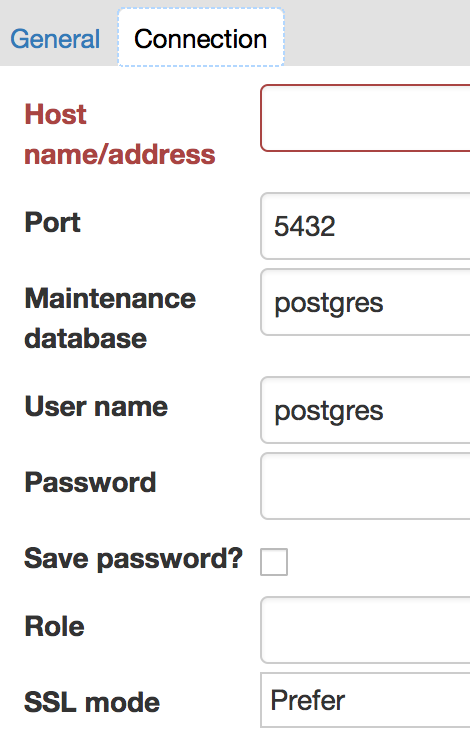
Give your server a name on the General tab, then click Connection and fill in the five basic connection parameters, as well as the other information. You should uncheck the Save password? box:
If you have many database servers, you can group them together. I suggest keeping any replicated servers together in the same Server Group. Give each server a sensible name.
Once you've added a server, you can connect to it and display information about it.
The default screen is the Dashboard, which presents a few interesting graphs based on the data it polls from the server. That's not very useful, so click on the Statistics tab.
You will then get access to the main browser screen, with the object tree view on the left and statistics on the right, as shown in the following screenshot:
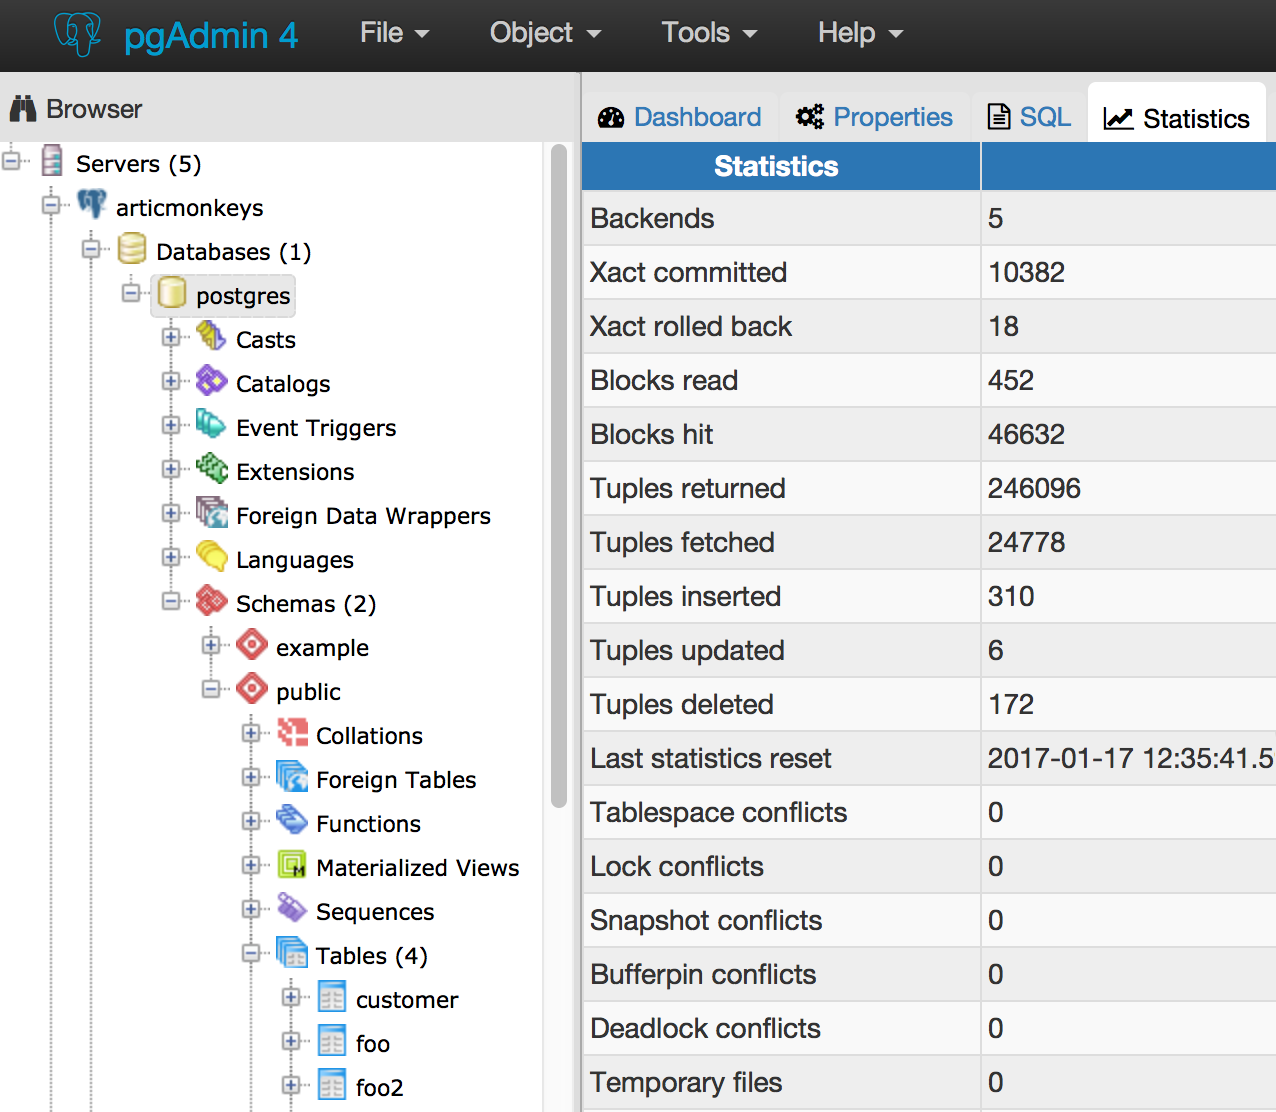
pgAdmin easily displays much of the data that is available from PostgreSQL. The information is context-sensitive, allowing you to navigate and see everything quickly and easily. The information is not dynamically updated; this will occur only when you click to refresh, so keep it in mind when using the application.
pgAdmin also provides Grant Wizard. This is useful for DBAs for review and immediate maintenance:
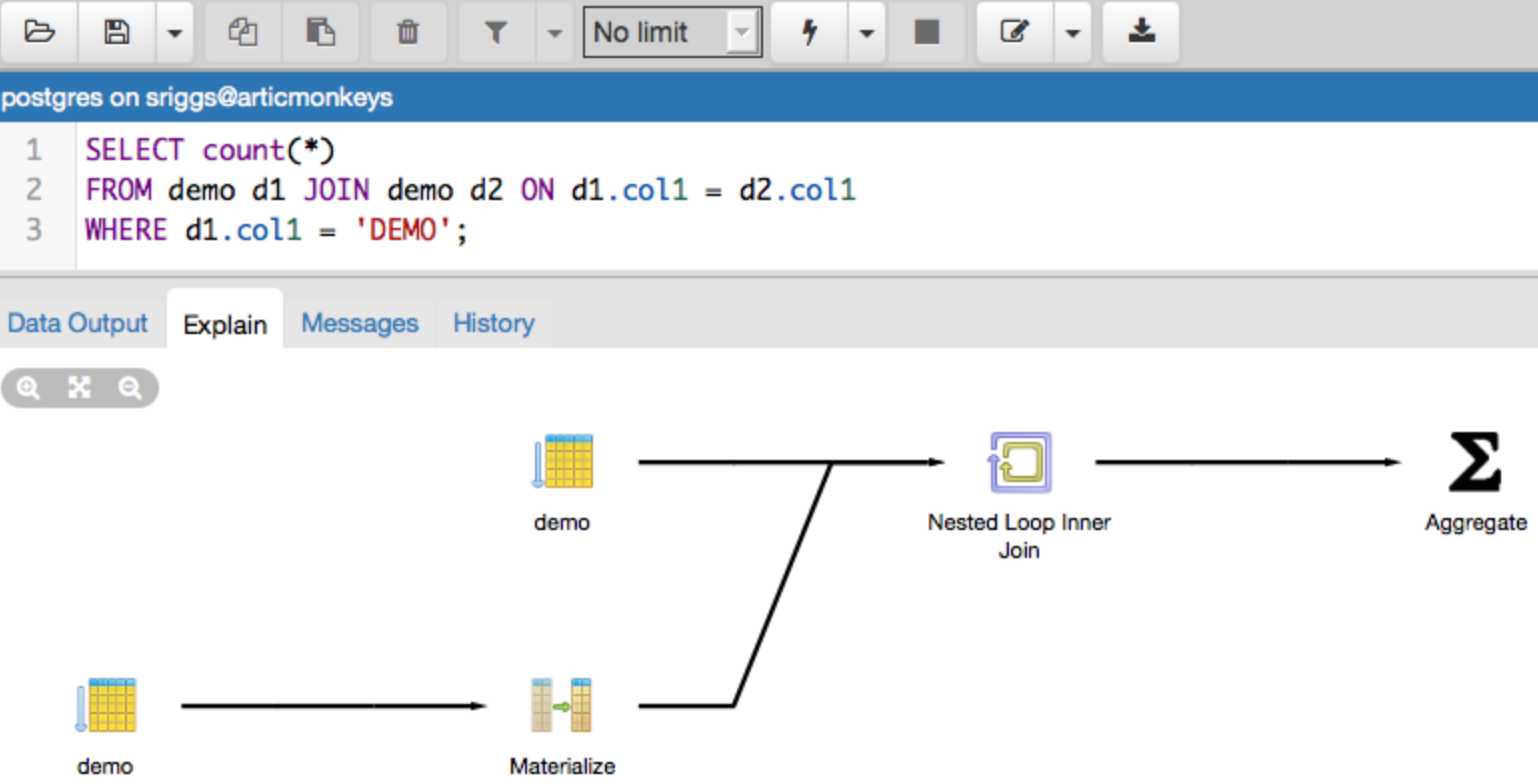
The pgAdmin query tool allows you to have multiple active sessions. The query tool has a good-looking Visual Explain feature, which displays the EXPLAIN plan for your query.