
Materials list
brayer
cardboard (optional)
craft foam (self-adhesive)
fluid acrylic paint
rice paper
Craft fun foam can be found in the kids section of your local craft store. This material is easy to cut with scissors or a mat knife and is self adhesive.
Cut the craft foam sheet in half. Use one half as a base and cut the other half into pieces with scissors, a craft knife or decorative-edged scissors.
Peel the self-adhesive backing paper off the patterned pieces and press them onto the foam base or cardboard to secure.
STEP ONE: Coat a brayer with acrylic paint and roll it over the foam stamp in an even layer.

STEP TWO: Press your stamp onto the paper, rubbing with your hands for a good impression.
By introducing a new stamp to the paper you are creating, you will not only add layers but also dimension. As you did with your first stamp design, add one color to one direction of the paper. Then rotate the paper and brayer on a new color of paint for a new layer. Fluid acrylics ensure that each layer shows through the next.
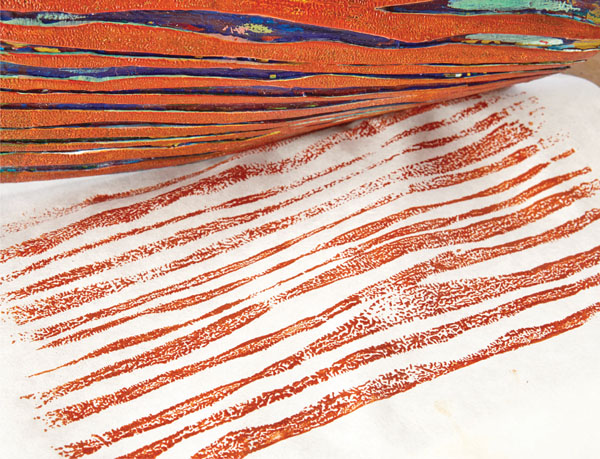
STEP THREE: After you have rubbed all areas of the stamp, lift the stamp off the rice paper.

STEP FOUR: Repeat the process with different colors in different directions on the paper. This particular stamp gives a woven look when it is overlapped with a different layer of color.