The light is coming from the upper left, casting on the sharp edges of the rocks to create striking and clearly defined shadows. The values of the rock formation groups diminish in contrast as they recede into the background.

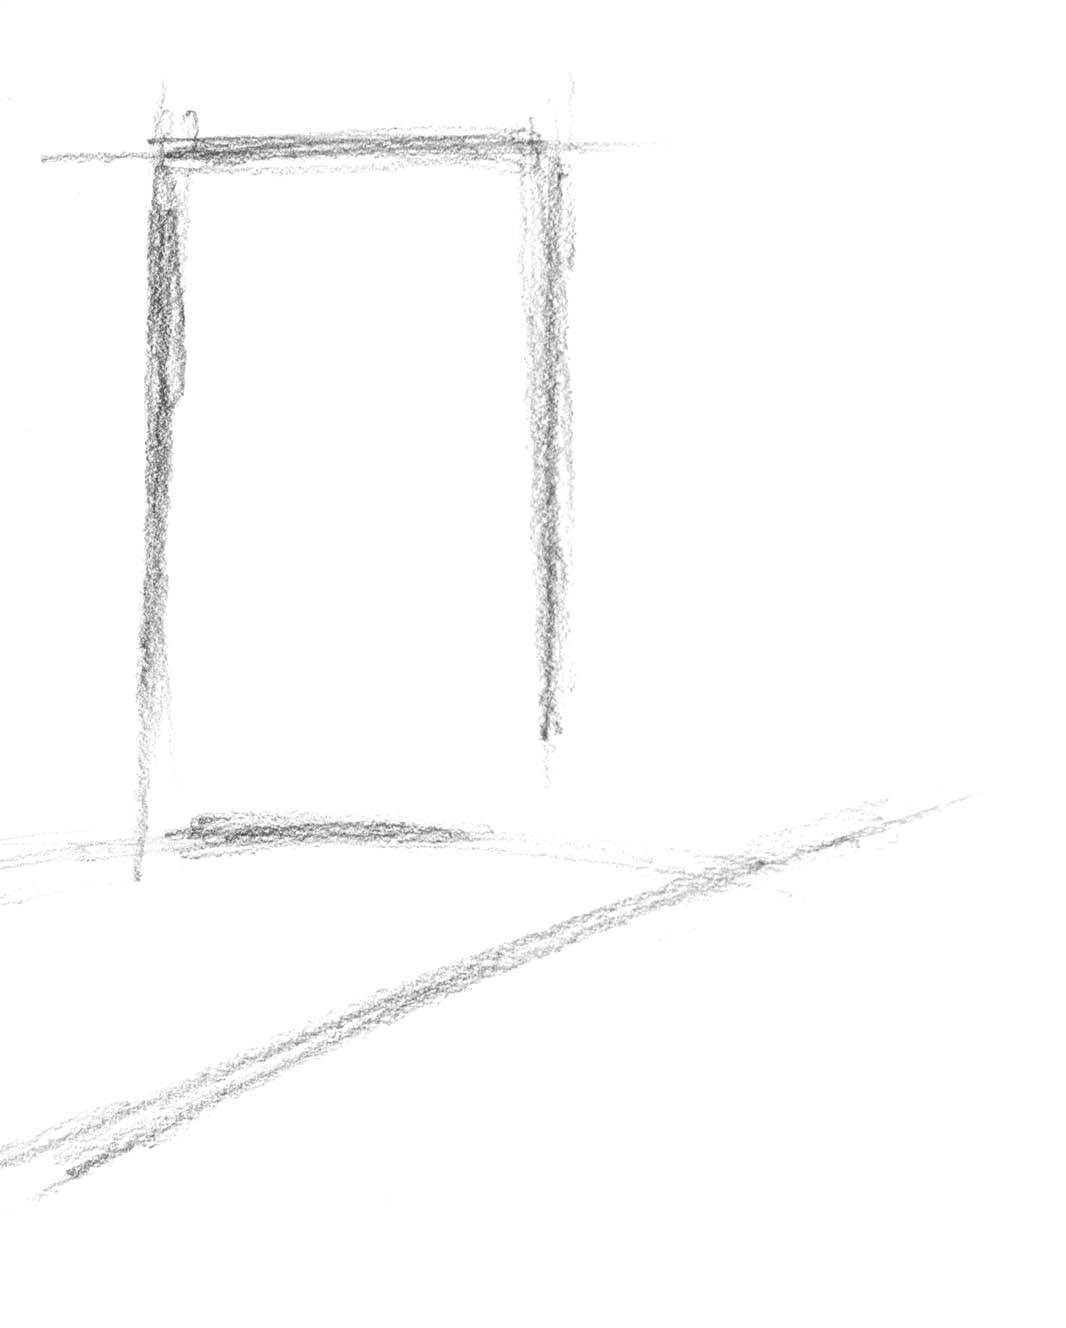
STEP 1 Proportion the Dominant Rock Formation
With a 2B pencil, sketch the proportions of the most dominant rock formation. Sketch the slope of the foreground hillside.
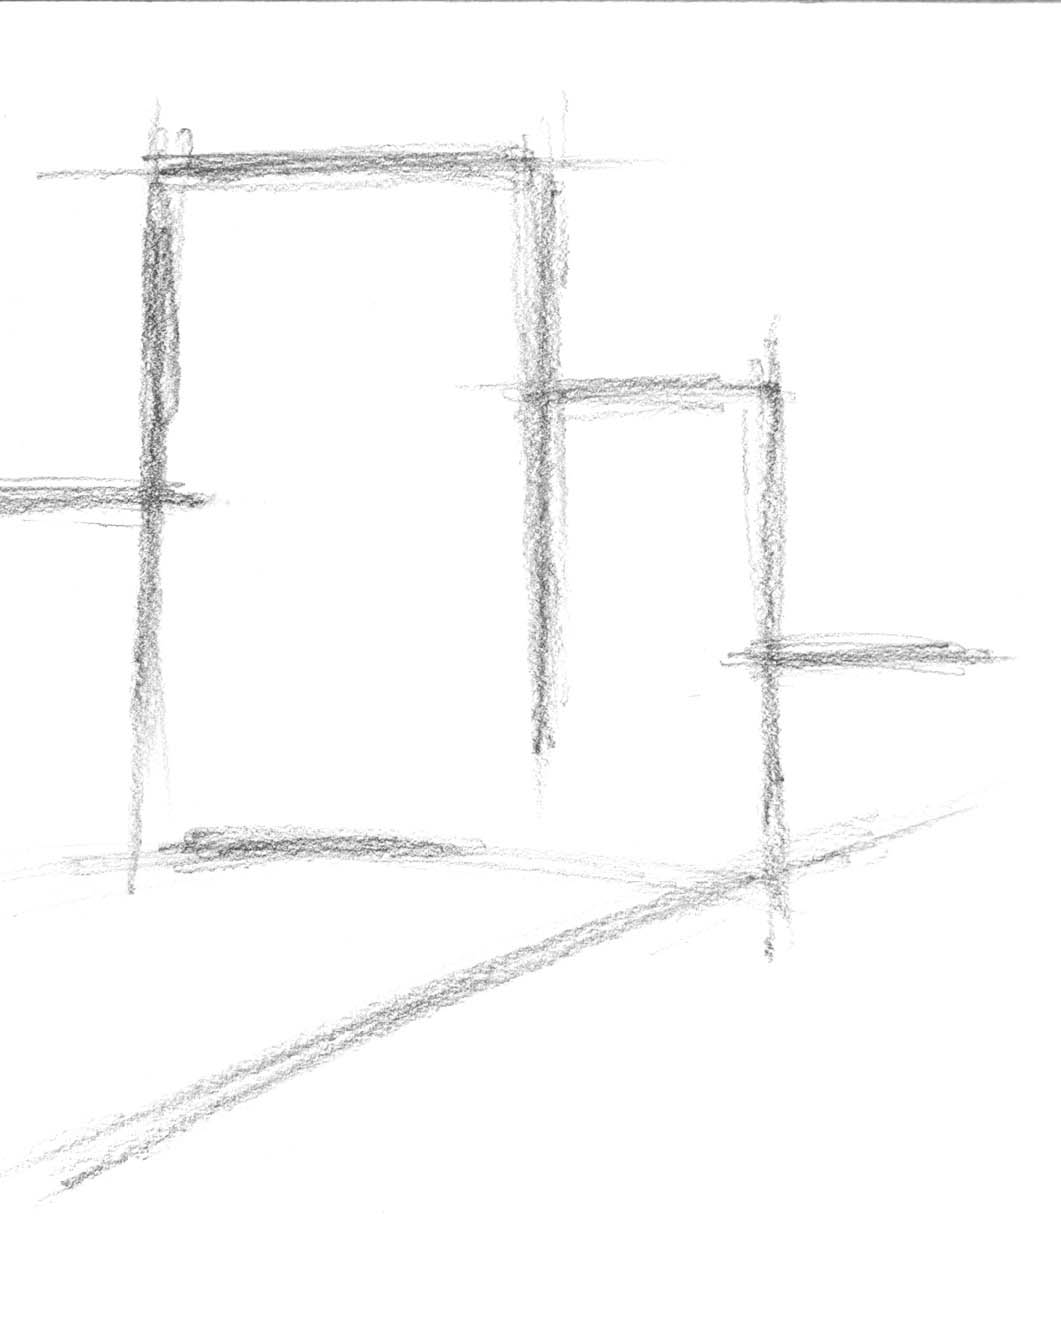
STEP 2 Add More Formations
Sketch the basic shape of additional rock formations.
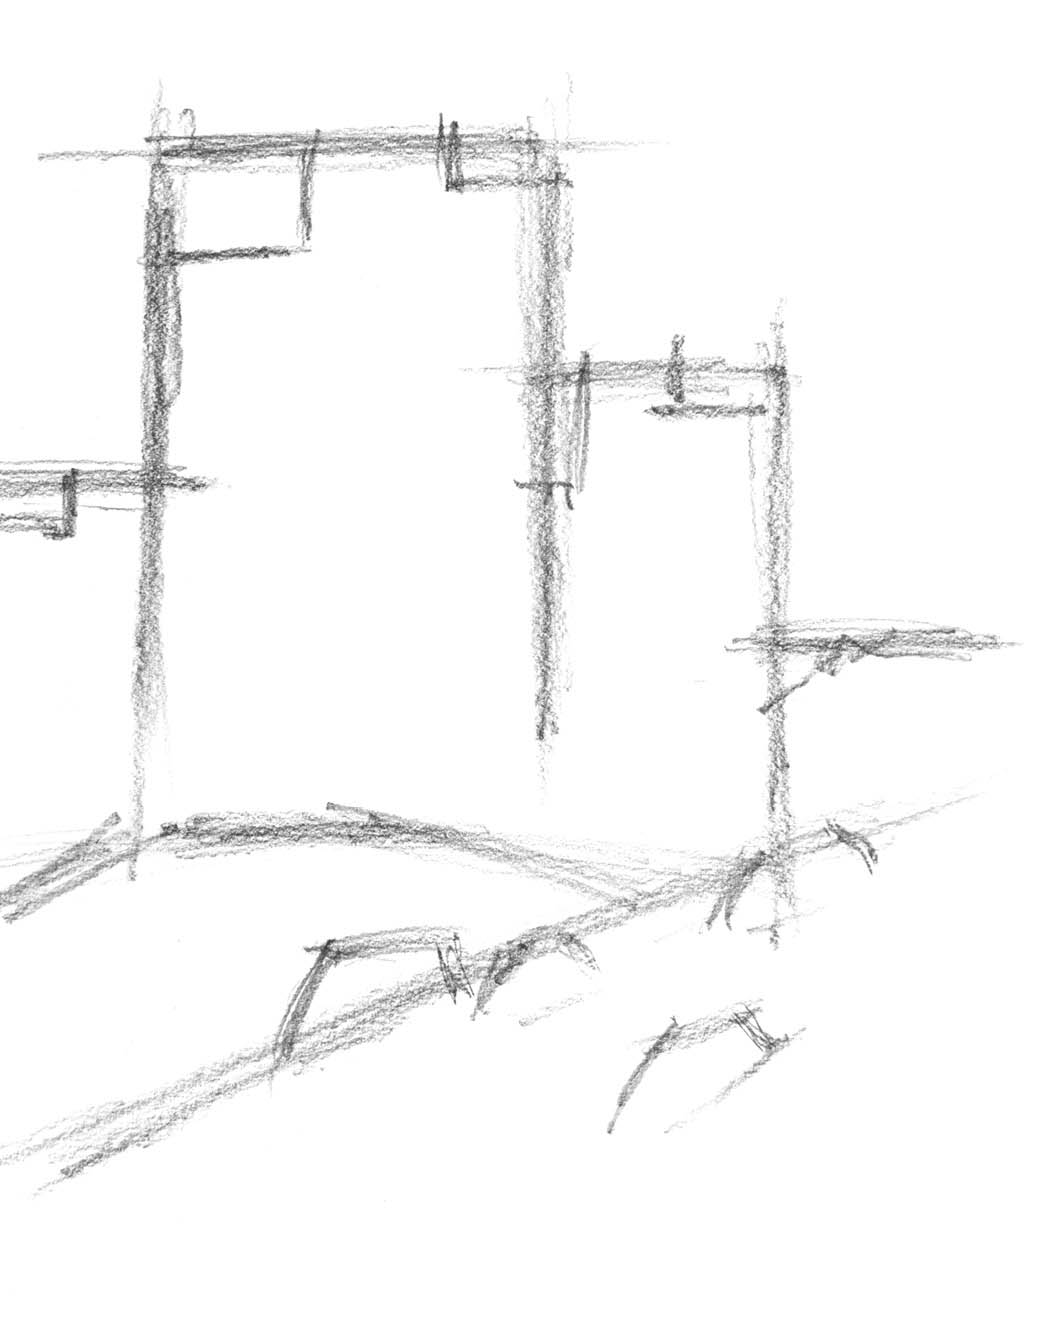
STEP 3 Develop the Outer Shapes
Beginning with the most prominent features, develop the outer shapes of the rock formations and the largest of the foreground rocks.
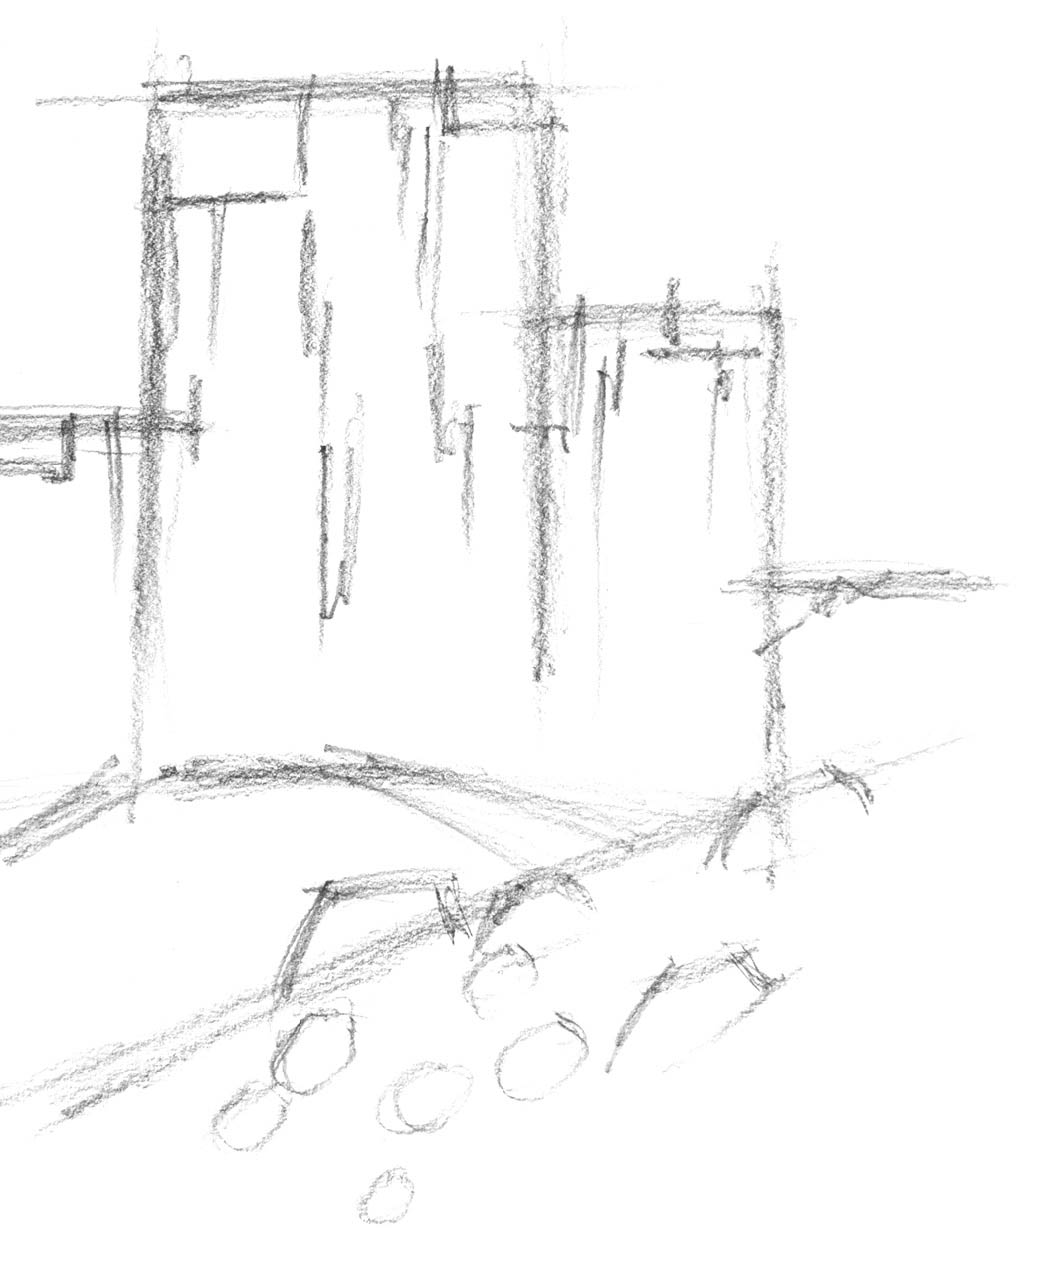
STEP 4 Begin Details and Add Rocks
Begin sketching the details of the formations and add some of the foreground rocks.
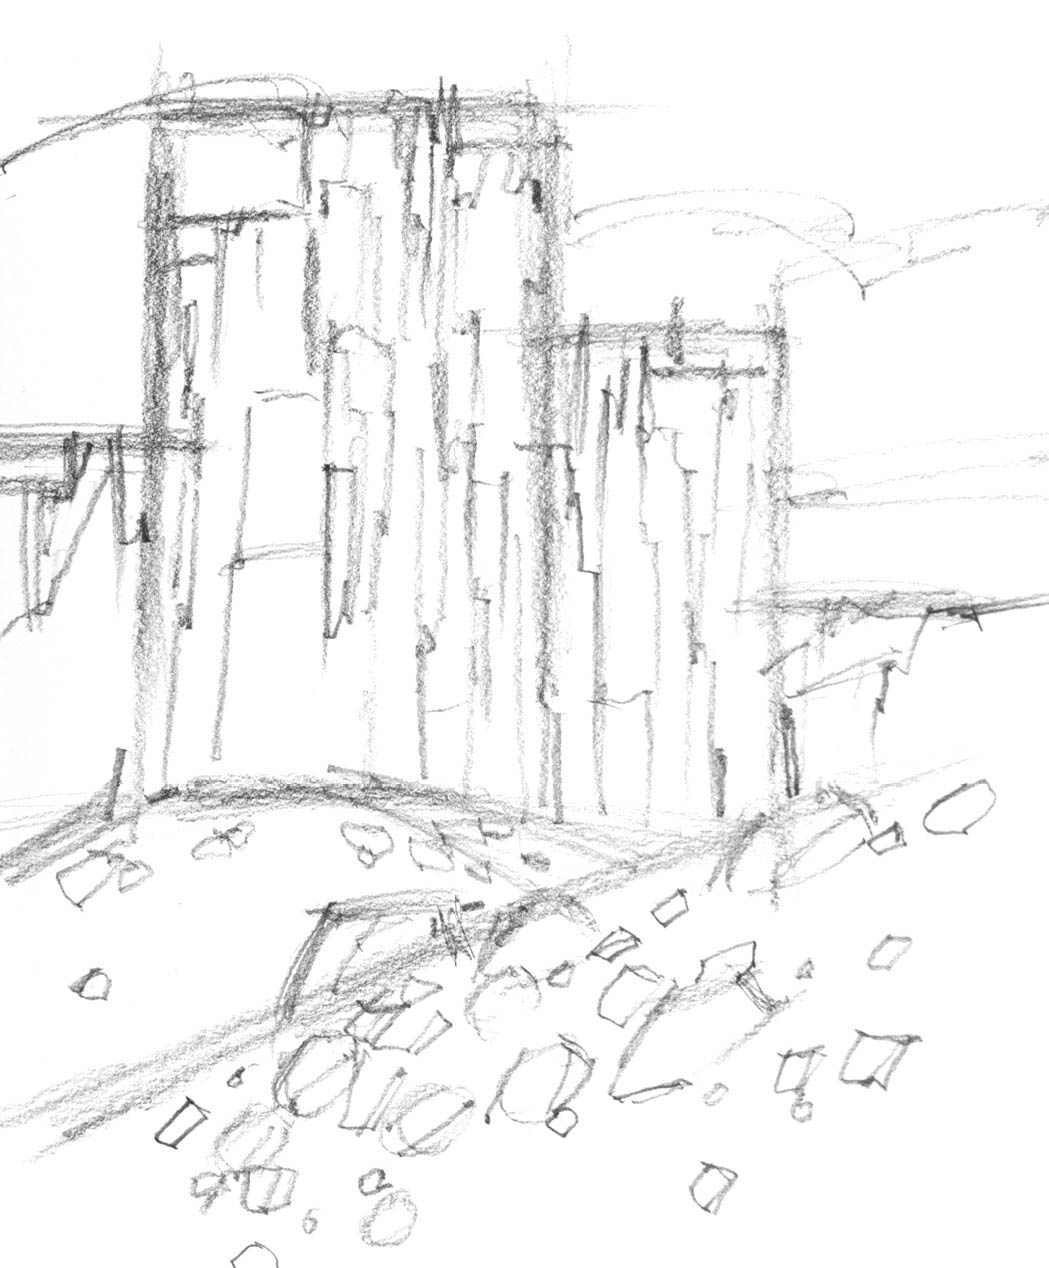
STEP 5 Add More Details
Add more details to the formations, defining the shapes. Add more foreground rocks and sketch cloud forms.
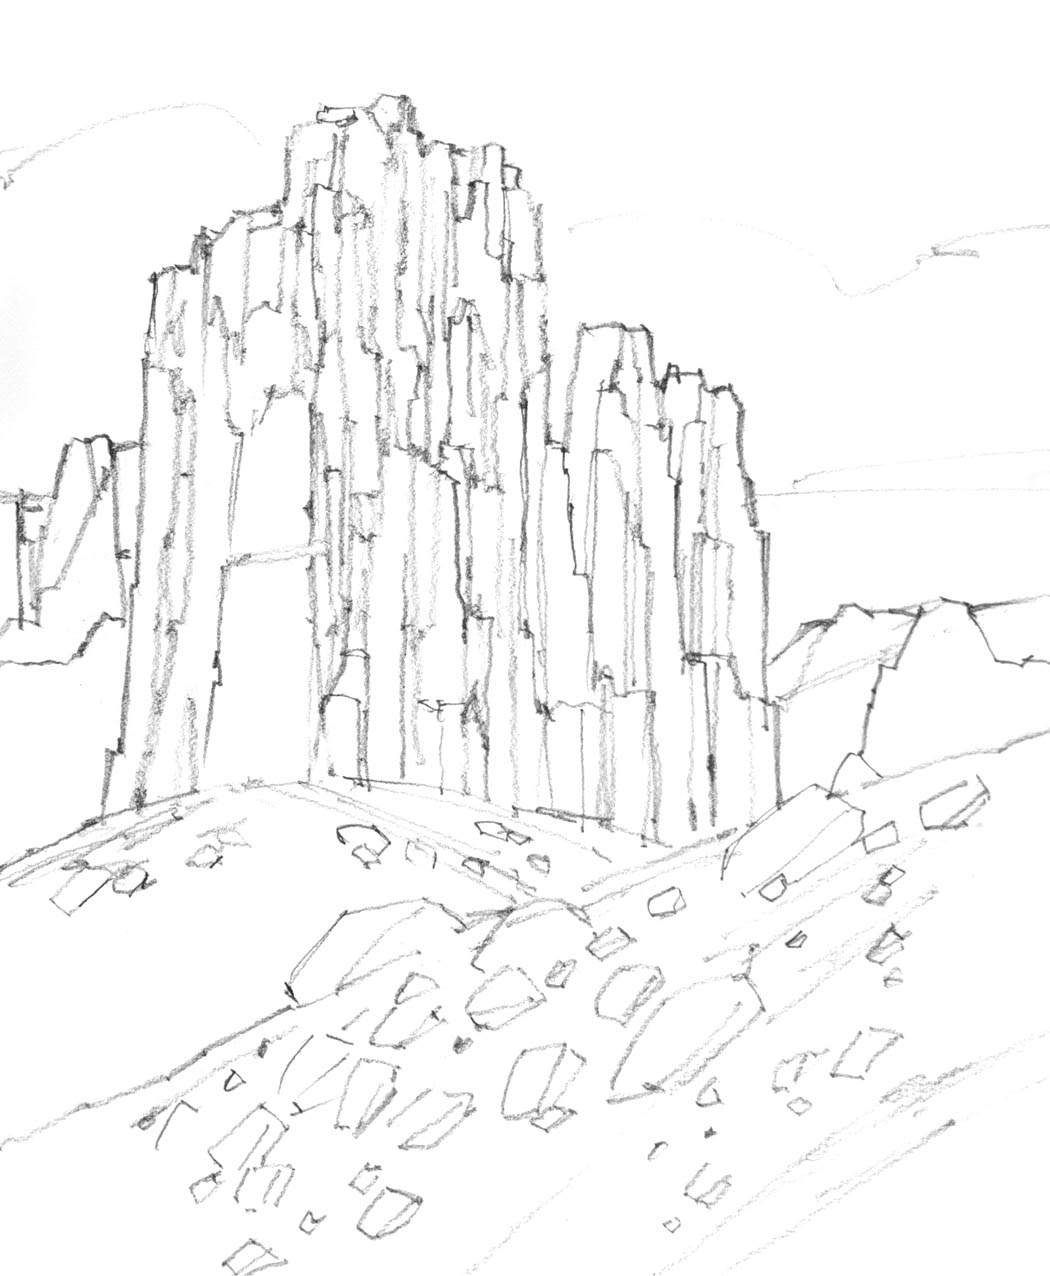
STEP 6 Erase or Transfer and Add Details
Erase any unwanted lines or transfer the sketch onto drawing paper, omitting any unwanted lines. Add more details as needed.
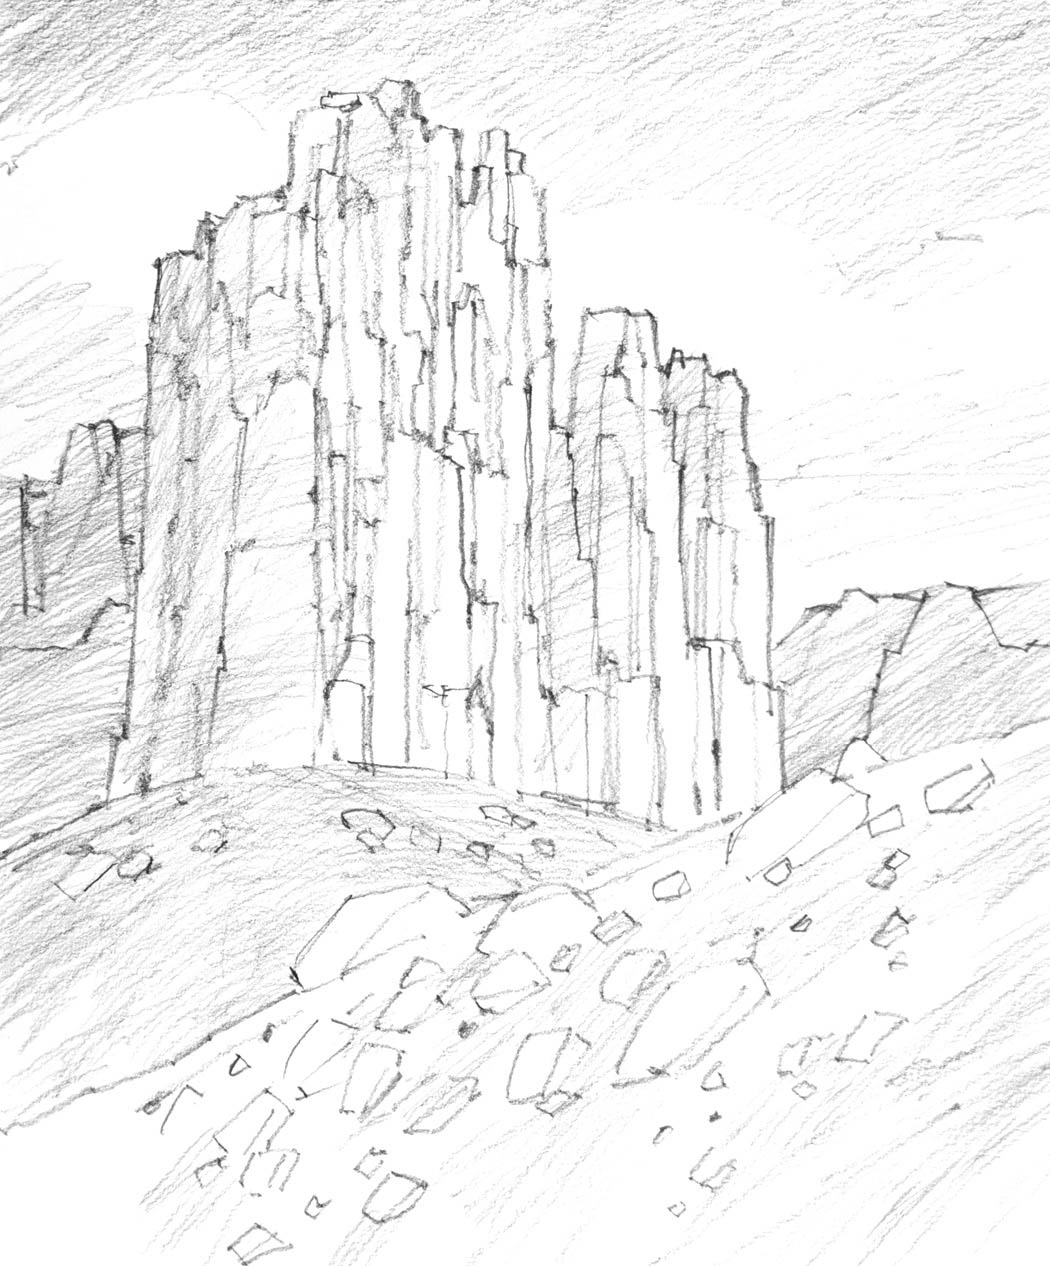
STEP 7 Add Lighter Values
With the 2B pencil, add the lighter values, keeping the clouds and much of the foreground white.
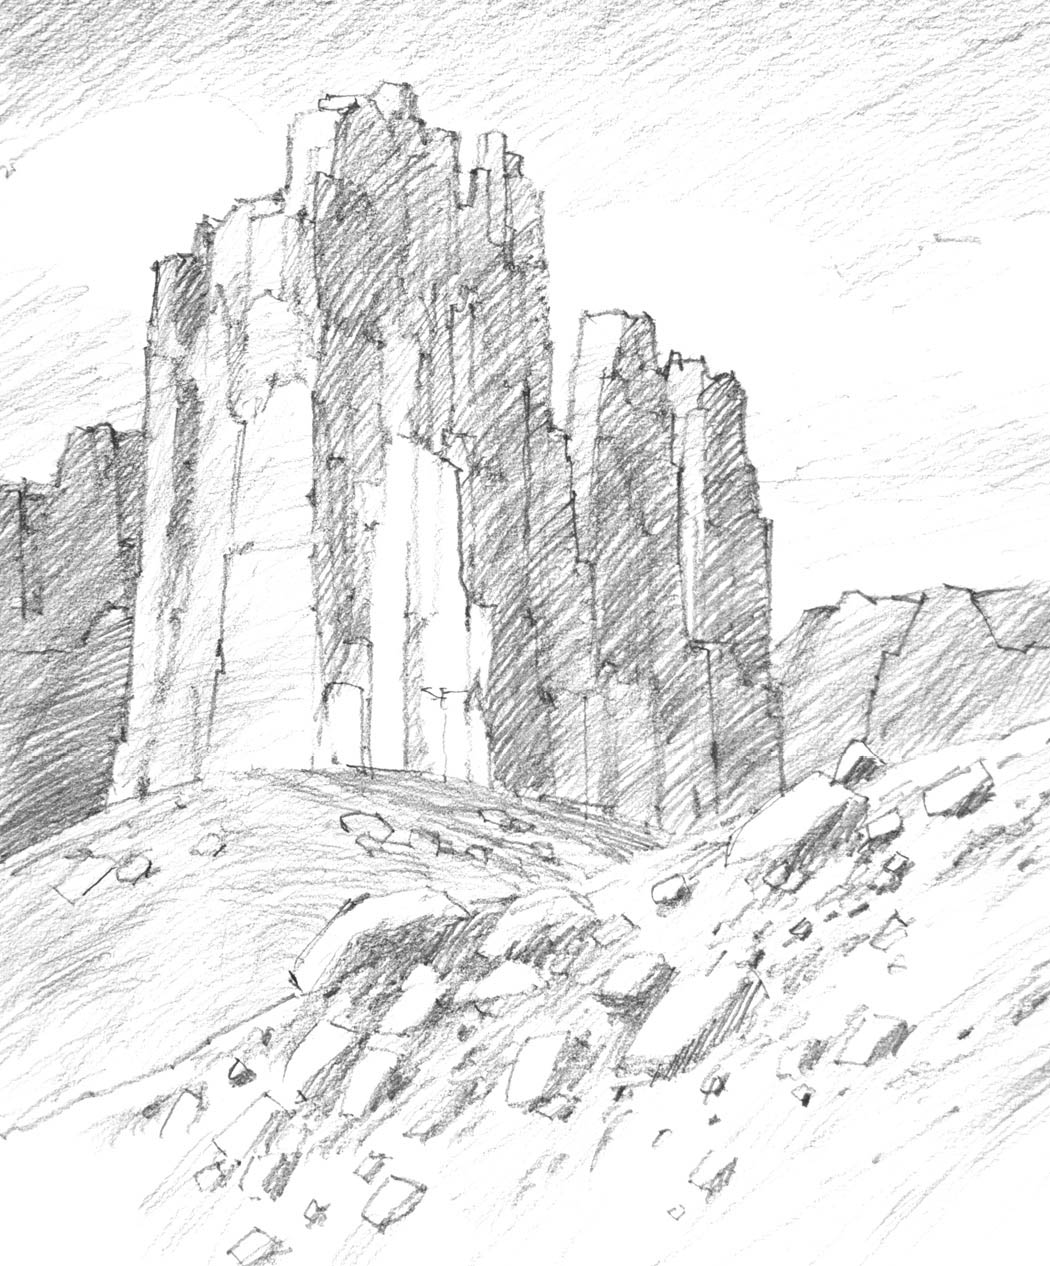
STEP 8 Add Middle Values
With a 4B pencil, add middle values throughout the drawing.

STEP 9 Add Dark Values
With a 6B pencil, add dark values to the shadowed areas.

STEP 10 Darken and Lighten to Finish
Using the 2B, 4B and 6B pencils, add any necessary details such as lines to the rock formations and small foreground rocks. Darken with the pencils or lighten with a kneaded eraser as needed. Add your signature to the front and date on the back.
Rock Formation
Graphite pencil on drawing paper
10" × 8"(25cm × 20cm)