

| |
We will now discuss the installation of important Linux amateur radio software. You can find the list of these software at http://www.raspberryconnect.com/raspbian-packages-list/item/71-raspbian-hamradio.
Hamradiomenus (it Establishes Menus)
Let’s first take an overview of this program:
This program creates a sub-menu for the applications of Ham radio that you have installed. The program only appears when you have installed at least one application with a desktop entry file that contains the category entry: HamRadio.
The program does not have any additional hardware requirements.
How to install it
There are two ways of installing the software that you can choose from:
Start by opening a terminal session; on the taskbar, click on the terminal icon at the upper part of the screen.
There are two ways to install software. Choose one of the following methods:
Using the command line to install it
If you’ve not recently done an update, you can do so for new and updated Linux packages currently available with:
![]()
If a new package version installed on your machine is available, the package will be upgraded with the command below. We don’t have any installed packages that are ever removed by the command.
![]()
Tap the enter key when you get a prompt asking you if you want to continue.
Now type the command below to install the program:
![]()
Likewise, when you get a prompt asking you if you want to continue, tap the enter key. Once the download is complete, you have completed the installation.
Using the add or remove software menu selection
On the task bar, find the Raspberry icon and click on it. On the drop down menu that appears, click on preferences. Choose add or remove software and then enter HamRadioMenus in the search box and tap enter. Click the hamradio menus for KDE and GNOME selection square and click on the Apply button. Input the Pi password and when the download is complete, it means the installation is complete as well.
NOTE:
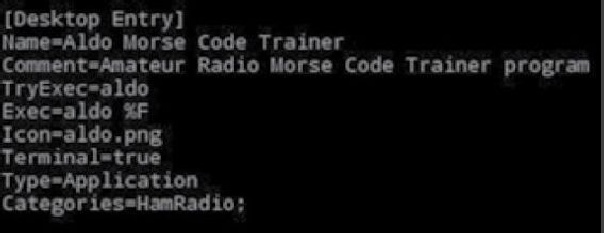
Aldo- Morse Code
Aldo is a learning tool in Morse code that provides four kinds of training methods shown as the startup menu. And they include the following:
The program does not have extra hardware requirements. For the installation however, you have two methods to choose from:
Installation by the command line
Open a terminal session by clicking the icon on the terminal on the task bar at the top of the screen. If you’ve not recently updated the information about the new, updated Linux packages that are available, please do so using:
![]()
If a new version of a package that is installed on your machine is available, it will be upgraded with the command below. You should note that there aren’t any installed packages that are ever taken away by the command.
![]()
In order to install the program, use:
![]()
When you get a prompt asking you whether you want to continue, tap the enter key. The installation will be complete when the downloading is done.
The installation by add or remove software menu selection
First click on the icon on the taskbar symbolizing Raspberry. On the drop down menu that appears, click on preferences. Now choose add or remove software and in the search box, enter aldo and tap enter. There will be a selection square labeled Morse Code training program; click on it. Click on the apply button and enter the Pi password. The installation will be complete when the download is done.
NOTE:
For the desktop entry- type the following to be able to generate a start menu window for ![]() in the resulting editor:
in the resulting editor:
––––––––

Type “[Ctrl] X”,”Y” then enter to save the file then restart the menu by typing:
![]()
For the configuration, select option 5, which refers to the setup, and then select option one for the Keyer Setup. Press the enter key twice after which the different parameters can be set. Once you complete the program setup, option 6 will take you to the main menu.
For the operating, simply click menu-HamRadio-Morse Code Training and then choose the code type you want to have generated. If you are using a HDMI HD TV as the monitor, you will hear the sound from the speaker of the monitor, or the monitor’s audio output jack if the monitor doesn’t have a speaker.
Chirp- configuration tool for amateur radios
Chirp is basically a tool meant for restoring, saving and management of memory, and preset data in the amateur radios. It basically supports many manufacturers and models, and also offers a way to interface with various data sources and formats. You can find the supported radio models in the site below.
http://chirp.danplanet.com/projects/chirp/wiki/Supported_Radios
For the hardware, this program will require a USB cable to connect with your device. Please see here for more information.
For the installation, you have two ways at your disposal to do that (choose one):
Installation by the command line
Open a terminal session by tapping on the terminal icon at the top of the screen (on the task bar). If you’ve not updated the information about the new and updated Linux packages that are available, use:
![]()
If a new version of a package installed on your machine is available, the command below will be used to upgrade the package. As usual, there are no packages that have ever been erased by this command.
![]()
Now in order to install the program, use:
![]()
You will receive a prompt asking you whether you want to continue- press enter. You will know the installation is complete when the download is complete.
Installation by add or remove software menu selection
On your taskbar, simply click on the raspberry icon; on the drop down menu that appears, choose add or remove software, and in the search box, enter chirp; now press enter. You will see a selection square labeled ‘configuration tool for amateur radios’ click on the apply button then enter the Pi password.
You will know the installation is complete when the downloading is done.
Desktop entry file: this one is generated automatically.
Configuration: the program does not require any initial configuration.
With regards to the operation, you can use this guide.
When the download is complete, you have completed the installation.
Fldigi- the Digital Modem Program
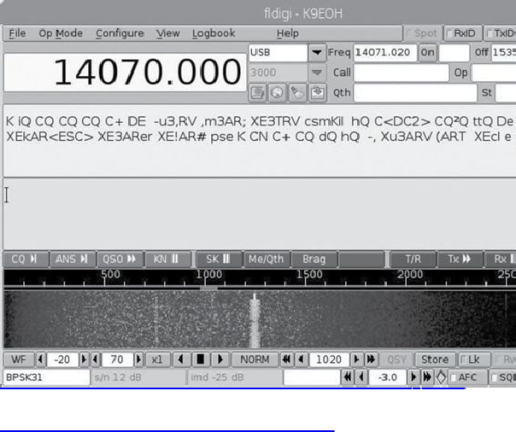
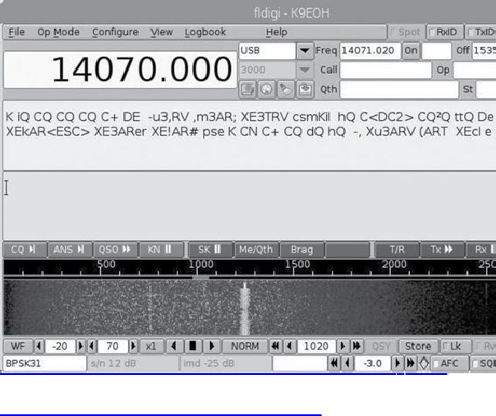
The image above describes the Fldigi screen.
Fldigi is basically a modem program that supports most current digital modes that are used by ham radio radio operators. You can also use the program to do a frequency measurement test or calibrate your sound card to WWV. This program also has a CW decoder. When you start open flarq you get a correction of errors in transmission caused by the subsequent ability to transmit as wekk as receive Automatic Repeat Request (ARQ) frames. But what is Flarq?
Flarq (fast light automatic repeat request) is an ARQ specification based file transfer application that has the capacity to transmit and receive ARQ data frames through MultiaPsk on windows or Fldigi on Linux.
Flmsg on the other hand is a management editor, which is best suited for amateur radio supported standard formats of message that include MARS, ICS, HICS, NTSRadiograms, Red Cross, plain text and IARU. Its data files are ASCII that can be transmitted from one point to another via amateur radio, the internet or other electronic links.
Flwrap is a little desktop app encapsulating an image file, text file or a binary file inside a group of identifier blocks. This app is created for use to its fullest with fldigi even though you can also use it with any digital model program.
Let’s now look at the hardware.
As you may have noticed, raspberry pi doesn’t have an audio input capability and so you’ll require an external audio adapter like the Tigertronics Signal Link USB. If you have a computer assisted transceiver (CAT), it means that the fldigi software and the transceiver will be able to pass the info to and fro. In the instance the transceiver frequency is altered, the fldigi display will also indicate and you can use it to enter the time and frequency information automatically in the built-in logging program in fldigi. A cable is needed for the CAT function (and probably the manufacturer has a cable available for you to connect the transceiver to the computer) so you should check with your transceiver’s distributor to get this cable.
Nonetheless, these cables normally use RS-232 specifications. You would probably also require a RS-232 TO USB adapter for the Pi connection. Just go to Amazon.com or a similar site and enter RS-232 TO USB adapter and search.
NOTE/CAUTION:
The program creates a complete duty cycle with high levels of modulation when used on the air using transmitting equipment.
You thus have to refer to the manual of your transceiver and reduce the output power of your transmitter to a safe level.
For the installation, there are two ways to choose from:
Installation using the command line
Just click on the terminal icon located on the taskbar on top of your screen to open a terminal session. If you have not updated the info about new and updated packages of linux, you can do so using:
![]()
(To get the available packages at the moment)
In the case that a new package version installed on your machine is available, the command below will be used to upgrade the package. There are no installed packages that are ever erased by this command though.
Installation by adding or removing the software menu selection
On the task bar, click on the Raspberry icon; on the drop down list that appears, click on preferences then choose add or remove software.
You will see a search box; enter fldigi then press enter, then click the selection squares labeled:![]()
![]() and
and
![]()
Next, tap on the button labeled ‘apply’; you might also be requested to enter the pi password. When the download finishes, it means the installation has finished as well.
As regards to the desktop entry file, you have to note that Fldigi and Flarq are both bundled in this package. The desktop entry files for both of them are created automatically. Nonetheless, network is included along with the Ham Radio category. In case you desire to remove the network entry, use:
![]()
In the editor, remove network that results; from the line of categories with these results:
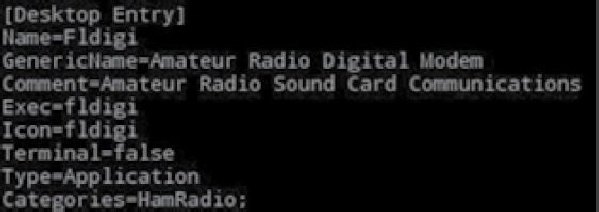
To save the file, press “[Ctrl] X”, ”Y” and press enter. repeat this for the desktop entries:

As regards to the configuration, you have to note that connecting the audio interface and the transceiver control cable is important (if you are using them) before you open fldigi. The first time the program is run, you will see some ‘Fldigi configuration wizard’ displayed. Now tap on next.
––––––––
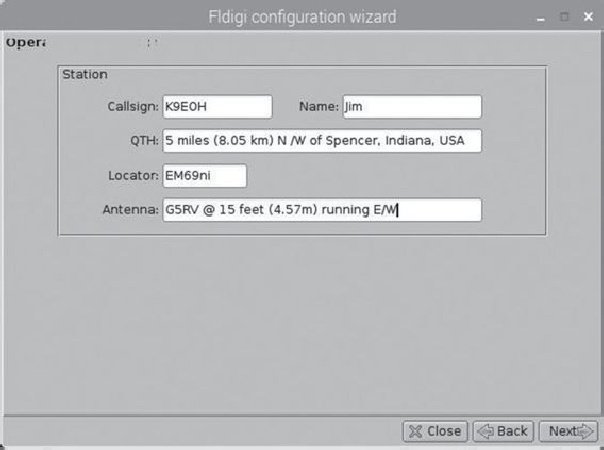
Now enter your call sign, Location, Name, locator or maidenhead locator
Enter your Callsign, Name, Location (QTH), Maidenhead locator and antenna info. Tap on next.
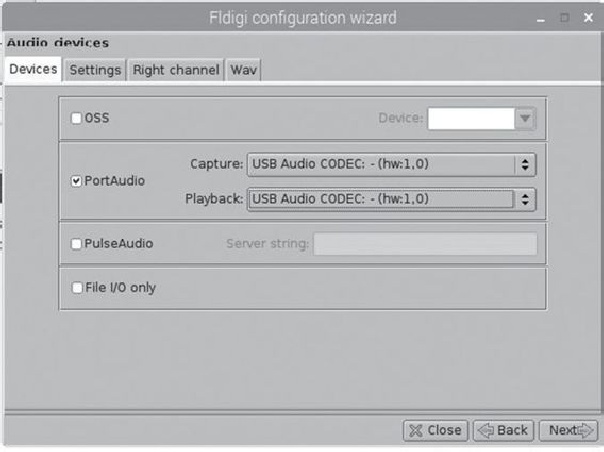
Click on the tab labeled ‘devices’ for SignaLink USB interface and then check the Port AudioBox; choose USB Audio CODEC: USB Audio (hw:1,0) for capture; choose USB Audio CODEC: USB Audio (hw:1,0) for Playback and select right channel tab.

Now click the right channel tab and choose ‘PTT tone on the right audio channel’ before clicking on next. Click on the Hamlib tab in the transceiver control window.
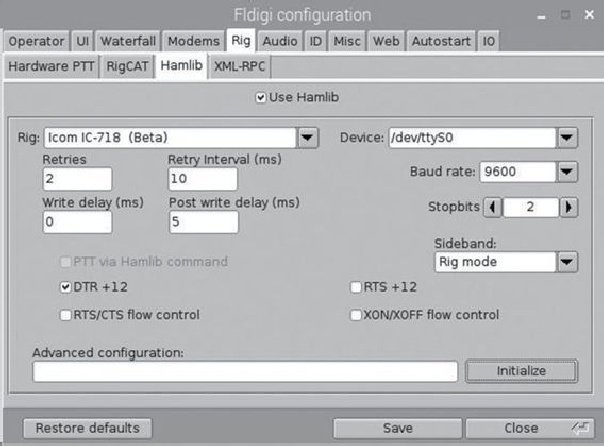
Choose the Hamlib tab and from the drop down menu that appears, choose your rig. Choose /dev/ttySO (under device- drop down menu). Next, set the Baud rate for your rig. You may need to experiment with the four boxes labeled RTS+12, DTR+12, the XON/XOFF flow control as well as the RTS/CTSflow control so that you push the Hamlib to operate your rig. Now click on the checkbox labeled ‘Hamlib’ and then click the ‘initialize’ button as well. Tap on next until the program starts. At the top of the fldigi window, you’ll find ‘configure selection’; click on it too.
On the drop down window, click on Misc and then on CPU; confirm that the slow CPU box is left unchecked if you know you are using a Raspberry Pi that is either 700 MHz or faster than that. After that click on the ‘NBEMS’ tab- if you wish for the incoming messages to be displayed on a flmsg form, ensure you check the ‘open with flmsg’ checkbox. If you would want a copy to be put in a browser HTML format as well, click on the checkbox labeled ‘open in browser’.
Now move to the taskbar and click on the terminal icon to open a terminal session. You can enter the command below to find the location of flmsg:
![]()

As you can see from the image above, go ahead and key in the line- /usr/bin/flmsg- which does not contain /doc/ in the flmsg: window. Click one save and close then click on the ‘x’ in the upper right corner to restart the program. You will need to click on the button labeled ‘yes’ as well to confirm quit.
After that, choose fldigi through the menu system in the task bar at the top of your screen (raspberry icon), Fldigi and HamRadio.
As regards to the operating, the digital brands include the following:

You can get the full list along with the modes here:

