Studying a new programming language traditionally starts with a “Hello, world!” example. This is a minimal, yet real and working, program that simply outputs the string “Hello, world!” somewhere and then quits. Let’s go through a minimal yet real Inkscape editing session which includes starting the program, creating some objects, editing them, and saving the result.
Starting Inkscape is no different from starting any other program. Depending on your OS and personal preferences, you can click the icon, select it from a menu, or type inkscape on the command line. Whatever you use, you will end up with a default Inkscape interface:

Inkscape’s window displays a white work area, called the canvas, in the middle and a number of tools and controls at the edges. The canvas is what interests us now. It represents a new, empty, document Inkscape has created for us, so you don’t need to select File ▸ New. We can start working on it right away.
In the column of icons on the left, click the icon with the blue square. This is the Rectangle tool that lets you create and edit rectangles. Now, click the mouse button anywhere on the canvas and drag. A blue rectangle will appear; when you release the mouse, the rectangle will be created as a new object in your document:

Now, click the A button on the left, which will switch you to the Text tool. Click (but do not drag) inside the rectangle. You will see a text cursor blinking where you clicked. Type Hello, world!. You have just created a text object, the second object in your document:
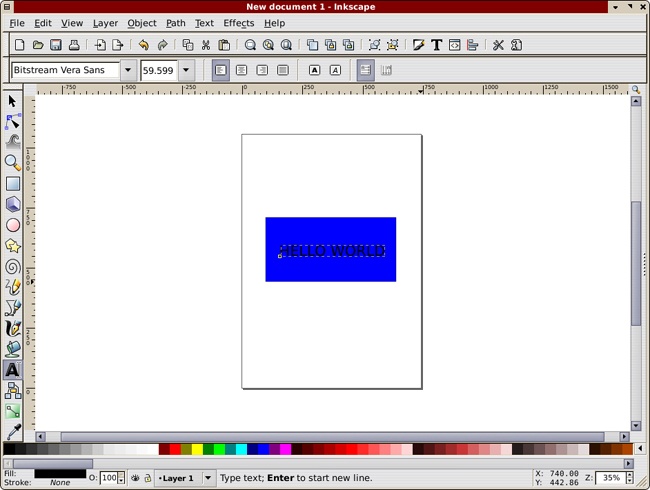
Now, you probably have a better idea as for the size, position, or color of your objects. Easy fix! In the toolbar on the left, click the topmost button showing an arrow. This is the Selector tool. Now you can move any of the objects anywhere on the canvas by dragging with the mouse. To change the color of an object, simply drag that color from the color palette at the bottom of the window and drop it on the object.
Enough tweaking. The document looks perfect. The only problem with it is that it’s not saved to a file yet. Just select File ▸ Save, navigate to the directory of your choice, and type a filename. That’s all: You have just created a new SVG document with graphics and text. Congratulations!