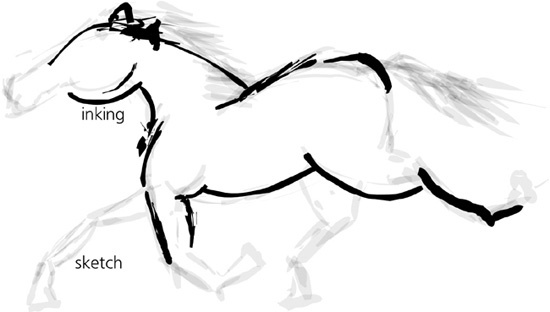
The workflow of a comic or cartoon artist includes two main stages: sketching (typically with a pencil) and inking (with a pen) over the rough sketch. You can follow the same process in Inkscape. Now that the drawing looks more or less like a horse, it is time to start inking over it to develop it further. This way, you can see what was good in the original sketch and try to build on that without the risk of destroying it with too much tweaking. Select all strokes ( ) and assign them an opacity of 0.05 so they become barely visible; this effectively hides the thin strokes, making it easier to concentrate on the bold ones. Then, lock this layer (using the lock toggle button in the status bar), create a new one (Layer ▸ Add Layer), and draw the same horse again, using the sketch as the guide:
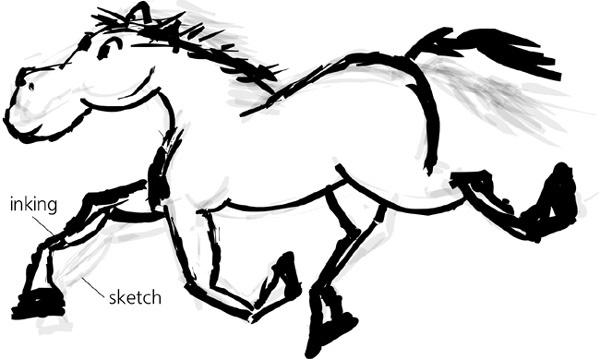
Is this the same horse? Not quite. The horse in the first sketch tried to look like a real horse—perhaps too real. Remember that what we want is a cartoon, not something realistic. This is typically achieved by enlarging, out of proportion, the head (especially the eyes) and the legs (or hands, or paws) of your creature. In the first inking layer, let’s do just that: Keep the body the same but enlarge the hooves and the head, adding a pair of oversized, cartoonish eyes:

